Embroidering on tulle is a captivating and intricate art form that allows for the transformation of sheer, lightweight fabric into a canvas of ethereal beauty.
The delicate nature of tulle, often used in wedding dresses, veils, and elegant garments, presents unique challenges and opportunities for skilled embroiderers.
This craft requires precision, patience, and an eye for detail. From selecting the appropriate materials to choosing the right design patterns, each step plays a crucial role in the final result.
In this guide, we will explore the step-by-step process of embroidering tulle by hand, offering insights into the techniques and considerations that will help you create stunning and delicate embroidered pieces.
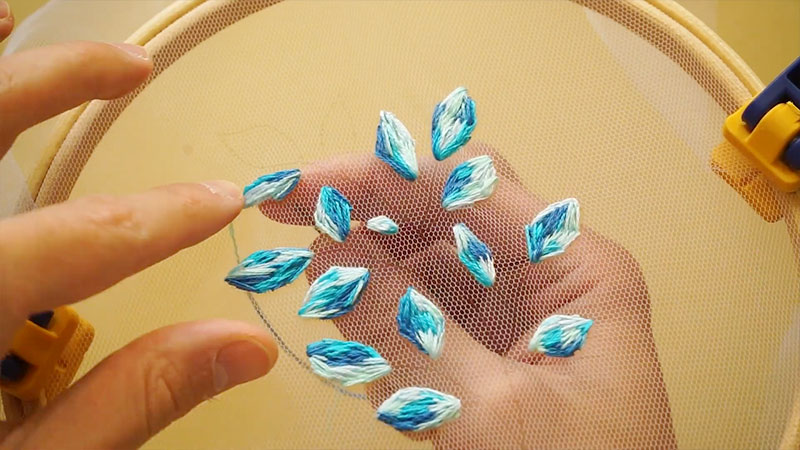
Step-by-Step Guide on How to You Embroider Tulle?
Embroidering tulle is a delicate and artistic craft that requires patience, skill, and attention to detail.
Tulle is a sheer, lightweight fabric often used in wedding dresses, veils, and other elegant garments. Adding embroidery to tulle can enhance its beauty and make it a standout feature in any design.
Here is a step-by-step guide on how to embroider tulle:
Materials You’ll Need:
- Tulle fabric
- Embroidery hoop
- Embroidery needle
- Embroidery floss or thread
- Scissors
- Water-soluble stabilizer
- Design pattern
Steps to Embroider Tulle:
1. Prepare the Tulle
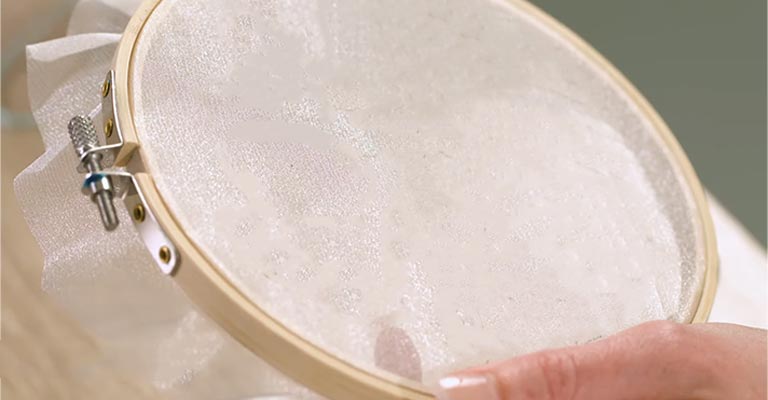
To begin, select a suitable piece of tulle for your project. The choice of tulle can impact the overall effect – soft tulle for delicate designs and slightly stiffer tulle for a more structured look.
Lay the tulle on a clean, flat surface, and place a sheet of water-soluble stabilizer beneath it. Gently stretch and smooth out the tulle, ensuring there are no wrinkles or folds.
Then, carefully position the embroidery hoop over the tulle and stabilizer layers. Be attentive to maintaining the tulle taut within the hoop without overstretching it.
2. Transfer Your Design
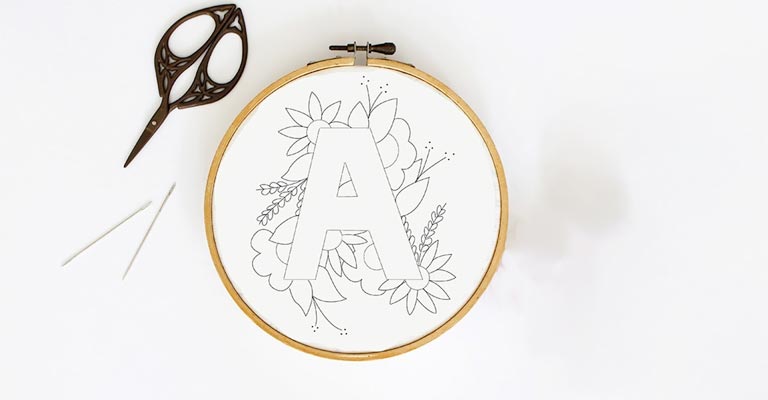
Your design choice is crucial when working with tulle due to its delicate nature. Opt for simple, open designs with fewer solid areas to minimize any potential damage to the fabric.
Using a water-soluble marker or chalk, lightly trace your design onto the tulle. Handle the tulle with care during this step to prevent tearing or stretching.
3. Thread Your Needle
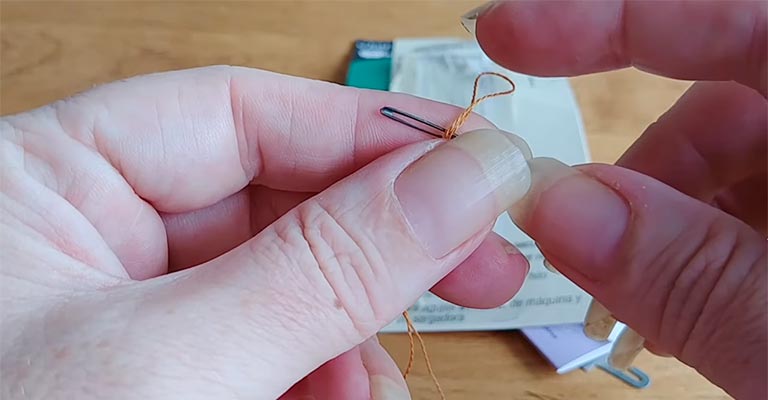
Select embroidery floss that complements your tulle and the design. You can use all six strands or fewer, depending on the desired level of opacity and detail.
Thread a fine, sharp embroidery needle with the floss, ensuring that the thread isn’t too long to prevent tangling or fraying.
4. Start Embroidering
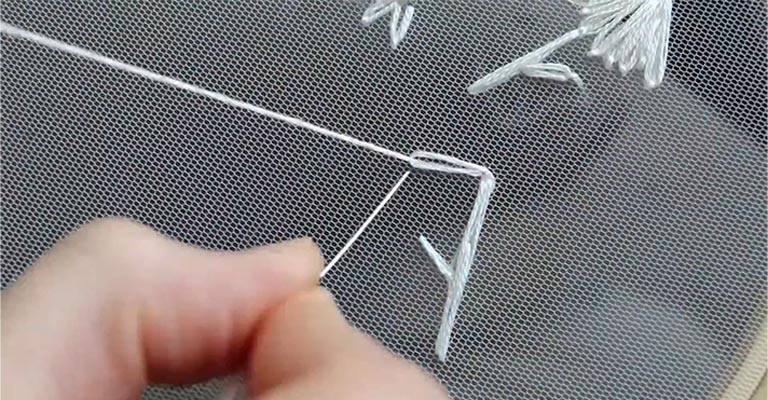
Commence your embroidery by gently inserting the needle from the backside of the tulle, bringing it up through the marked design. Take care not to damage the fabric during this process.
Common stitches for tulle embroidery include satin stitch for smooth, solid areas, French knots for small textured dots or accents, and seed stitch for a speckled or stippled effect. Avoid pulling the thread too tightly, as tulle is extremely delicate and can easily distort or tear.
5. Secure Your Stitches
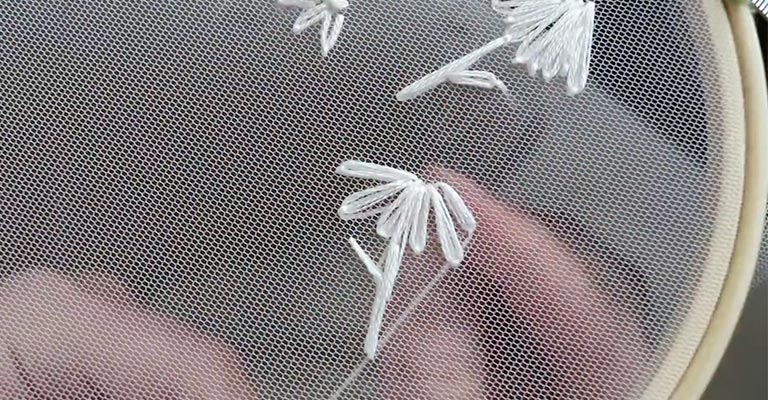
Knot the end of your thread when you begin and finish stitching to secure the embroidery. For a neater finish, create small, discreet knots on the back of the tulle to prevent any visible bulging on the front side.
6. Continue Stitching
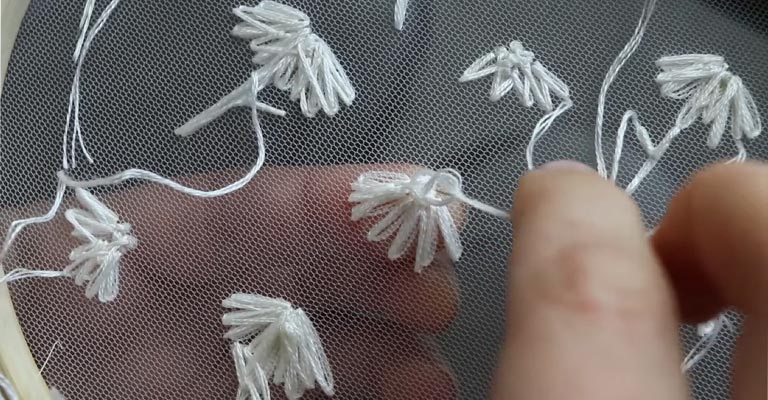
Progress through your design, following your pattern and using your chosen stitches. Be patient and take your time. Tulle is a fragile fabric, and it’s essential to avoid sudden or rough movements that could cause snags or tears.
7. Finish and Remove the Stabilizer
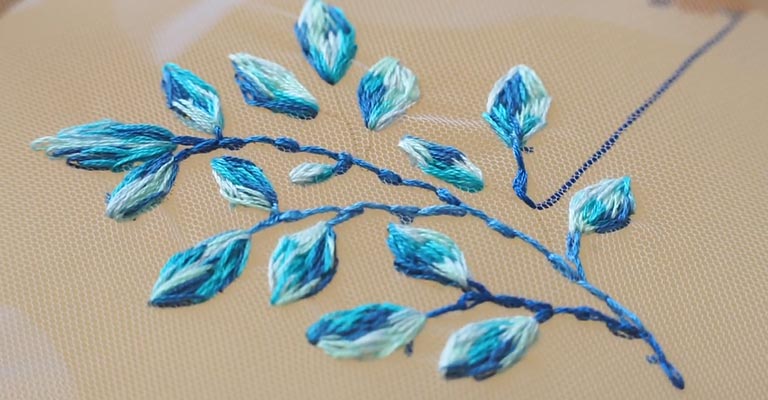
When your embroidery is complete, carefully remove the tulle from the embroidery hoop by gently loosening the tension. Trim away excess stabilizer around the edges of your design.
To remove the remaining stabilizer, soak the embroidered tulle in a bowl of lukewarm water for the recommended time specified on the stabilizer packaging. The stabilizer will dissolve, leaving only your embroidery.
8. Care for Your Embroidered Tulle
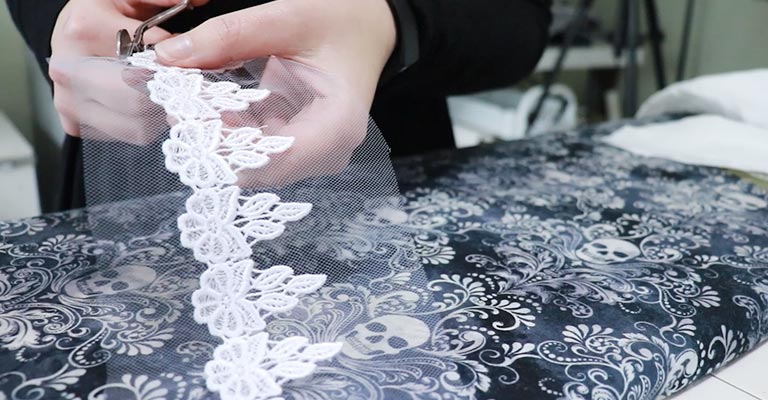
After the tulle is dry, handle it gently to avoid stretching or tearing. Store your embroidered tulle in a cool, dry place, away from direct sunlight and moisture, to prevent damage, discoloration, or fading.
Placing a piece of tissue paper between layers of tulle can help prevent friction and sticking. This ensures your embroidered tulle remains in pristine condition for years to come.
How Do You Embroider Tulle by Hand?
Embroidering tulle by hand is a delicate and artistic craft that requires a keen eye for detail and precision.
Tulle, with its sheer and lightweight nature, can be transformed into a beautiful canvas for embroidery.
Here’s a step-by-step guide on how to hand embroidery on tulle:
Materials You’ll Need:
- Tulle fabric
- Embroidery hoop
- Embroidery needle
- Embroidery thread or floss
- Scissors
- Water-soluble stabilizer
- Design pattern
Steps to Hand Embroider Tulle:
Step 1: Prepare the Tulle
Begin by choosing a high-quality tulle fabric that suits your project. The choice of tulle can significantly affect the overall outcome – softer tulle is generally easier to work with for embroidery, while stiffer tulle can provide more structure.
Lay your tulle fabric flat on a clean, smooth surface. Ensure there are no wrinkles or folds in the fabric, as they can affect the final result.
Place a sheet of water-soluble stabilizer beneath the tulle. The stabilizer acts as a supportive layer during embroidery and can be dissolved and removed later.
Carefully secure the tulle and stabilizer layers with the embroidery hoop. It’s essential to maintain the tulle taut within the hoop to create a smooth, even surface. However, be cautious not to overstretch the fabric, which could cause distortion.
Step 2: Transfer Your Design
Select or create a design that is well-suited to the delicate nature of tulle. Simple and open designs with few solid areas work best, as they reduce the risk of damaging the fabric.
Use a water-soluble marker or chalk to lightly trace your chosen design onto the tulle. Be gentle during this process to avoid tearing or stretching the fabric.
Step 3: Thread Your Needle
Choose an embroidery floss color that complements both your design and the tulle. Depending on the intricacy of your design, you can use all six strands of the embroidery floss or fewer for a more delicate look.
Thread a fine, sharp embroidery needle with the selected floss. Be mindful of the length of the thread to prevent tangling or fraying during the embroidery process.
Step 4: Start Embroidering
Begin stitching your design by gently inserting the needle from the backside of the tulle, bringing it up through the marked design. Handle the tulle with care to avoid damaging the fabric.
Common stitches for tulle embroidery include the satin stitch for creating smooth, solid areas, French knots for adding small textured accents, and the seed stitch for a speckled effect. It’s crucial not to pull the thread too tightly to prevent distortion or tearing of the delicate tulle.
Step 5: Secure Your Stitches
Knot the end of your thread when you start and finish stitching to secure the embroidery. To maintain a neater finish and prevent any visible bulges on the front side, create small, discreet knots on the back of the tulle.
Step 6: Continue Stitching
Continue to work through your design, following your pattern and using your chosen stitches.
Patience is key, as tulle is a fragile fabric that can snag or tear easily. Be gentle and avoid sudden or rough movements that could harm the delicate fabric.
Step 7: Finish and Remove the Stabilizer
When you’ve completed your embroidery, gently remove the tulle from the embroidery hoop by loosening the tension. Carefully trim any excess stabilizer around the edges of your design.
To remove the remaining stabilizer, place the embroidered tulle in a bowl of lukewarm water for the recommended duration specified on the stabilizer packaging. The stabilizer will dissolve, leaving only your beautifully embroidered tulle.
Step 8: Care for Your Embroidered Tulle
After the tulle is dry, handle it gently to avoid stretching or tearing. When storing your embroidered tulle, ensure it is in a cool, dry place, away from direct sunlight and moisture.
To prevent friction and sticking between layers of tulle, consider placing a piece of tissue paper. This ensures your hand-embroidered tulle remains in excellent condition for years to come.
Frequently Asked Questions
Can you embroider tulle with a regular sewing machine?
Yes, you can embroider tulle with a regular sewing machine. To do this, you’ll need to use a fine needle, a delicate thread, and a stabilizer.
It’s important to practice on scrap tulle to adjust the machine’s tension and stitch settings for the best results.
What types of thread are best for embroidering tulle?
For embroidering tulle, it’s recommended to use fine threads like rayon or polyester embroidery thread.
These threads are strong yet delicate and come in a wide range of colors, allowing for creative embroidery on sheer fabrics like tulle.
Can tulle be hand-washed after embroidery?
Yes, tulle can be hand-washed after embroidery. Use a gentle detergent and lukewarm water, and be sure to support the fabric while washing to avoid stretching or damaging the delicate embroidery.
Can You Embroider on Chiffon?
Yes, you can embroider on chiffon.
Can You Embroider on Tulle by Hand?
Yes, you can hand embroider on tulle.
Wrap Up
Embroidering tulle is a delicate and intricate art form that transforms this sheer and ethereal fabric into a canvas of elegance. This process demands not only creativity but also precision and patience.
By choosing the right materials, careful preparation, and the selection of appropriate design patterns, it’s possible to create stunning embroidery on tulle.
Each step, from transferring the design to the final stitches, requires meticulous attention to detail. The result is a delicate masterpiece that showcases both the artist’s skill and the beauty of the fabric.
With practice and dedication, tulle embroidery offers a unique and enchanting way to express artistry and craft.
Leave a Reply