Embroidery isn’t just a craft; it’s a form of artistic expression that deserves to be showcased proudly on your walls. Yet, finding the perfect way to display your delicate handiwork can be challenging.
Fear not, as we unravel the secrets of hanging embroidery with finesse and flair. This guide explores various techniques and considerations to ensure your embroidered masterpiece takes center stage in your home.
From selecting the right materials to understanding the importance of proper framing, we’ll walk you through the step-by-step process while answering, ‘How do you hang embroidery on the wall?’
Whether you’re a seasoned embroidery enthusiast or a beginner looking to creatively adorn your space, this guide is your passport to transforming your stitched wonders into captivating wall art.
Let’s delve into the art of hanging embroidery and elevate your space with the charm of meticulously crafted textile art.
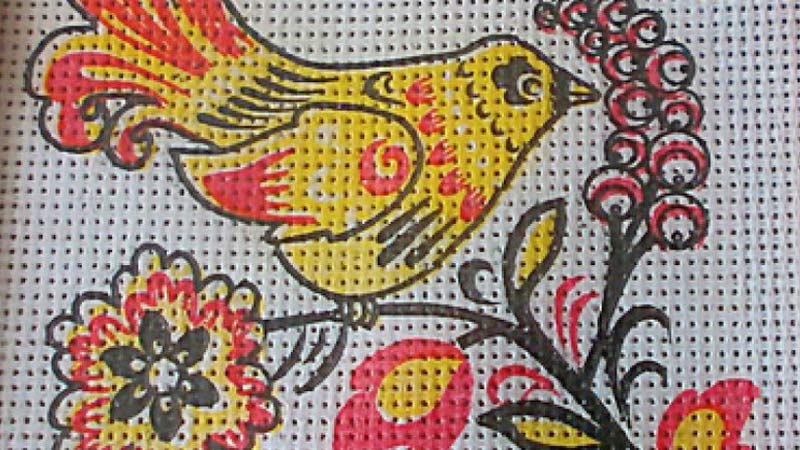
How Do You Hang Embroidery On The Wall?
Hanging embroidery on the wall requires careful consideration to ensure the delicate craftsmanship is displayed effectively while preserving its beauty.
Let’s explore a comprehensive guide on hanging embroidery, covering various techniques, materials, and essential tips for showcasing your textile art. Here’s how to hang embroidery hoops on the wall.
Selecting the Right Frame
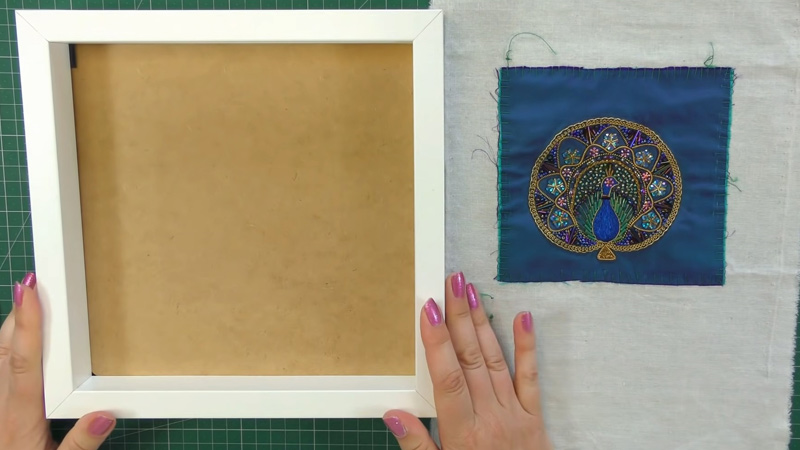
One of the most common methods to display embroidery is by using a frame. Choose a frame that complements the size and style of your embroidery.
Opt for frames with sufficient depth to accommodate the fabric without pressing it against the glass. Consider frames with UV-resistant glass to protect your embroidery from fading over time.
Mounting Fabric in a Hoop
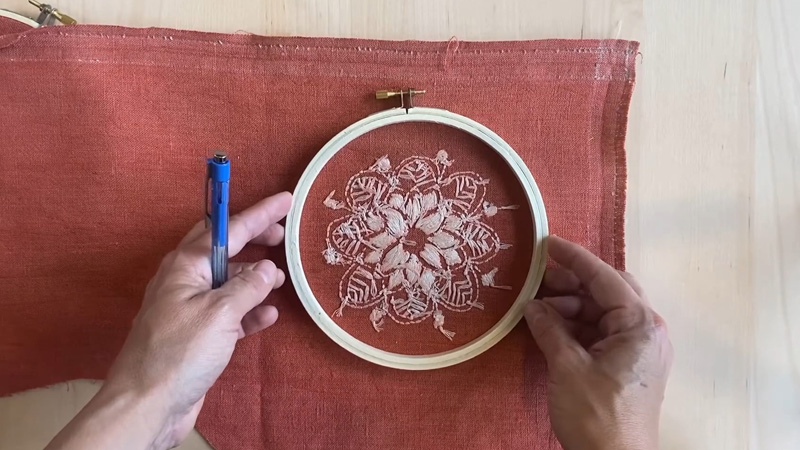
Embroidery hoops provide a classic and simple way to showcase your needlework. Gently stretch the embroidered fabric over the hoop, ensuring it is taut but not overly stretched.
Trim excess fabric, leaving a border around the hoop. Tighten the hoop’s screw to secure the fabric. For a decorative touch, wrap the outer hoop with fabric or ribbon.
Using a Shadow Box
Shadow boxes are ideal for displaying three-dimensional or layered embroidery pieces. These deep frames allow for preserving intricate details without crushing the fabric.
Arrange your embroidery within the box, ensuring there is enough space between the fabric and the glass. Consider adding background materials or layers to enhance the overall presentation.
Fabric Mounting Boards
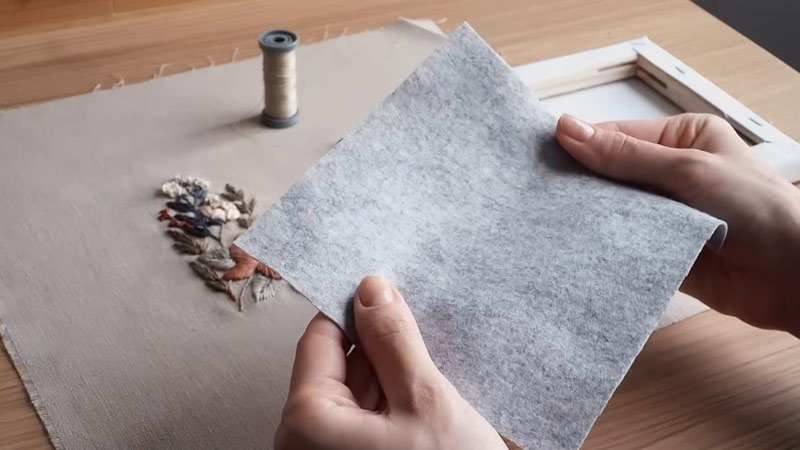
Mount your embroidered fabric onto a mat or mounting board for a clean and professional look. Use acid-free, archival-quality materials to prevent discoloration or damage to the embroidery over time.
Attach the fabric to the board with acid-free adhesive, leaving a small border for a polished finish.
Creating a Gallery Wall
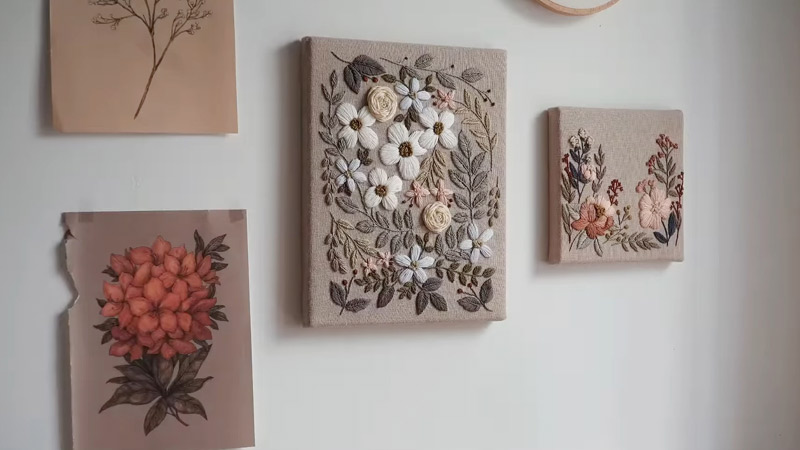
If you have multiple embroidery pieces, consider creating a gallery wall to showcase your collection. Experiment with different layouts and arrangements before hanging. Maintain a consistent theme or color scheme to create a cohesive and visually appealing display.
Command Strips for Lightweight Pieces
Consider using adhesive-backed hooks or Command strips for small or lightweight embroidery pieces. These are suitable for minimizing damage to walls and are easily removable.
Ensure the strips can support the weight of your embroidery, and follow the manufacturer’s guidelines for proper application.
DIY Embroidery Display
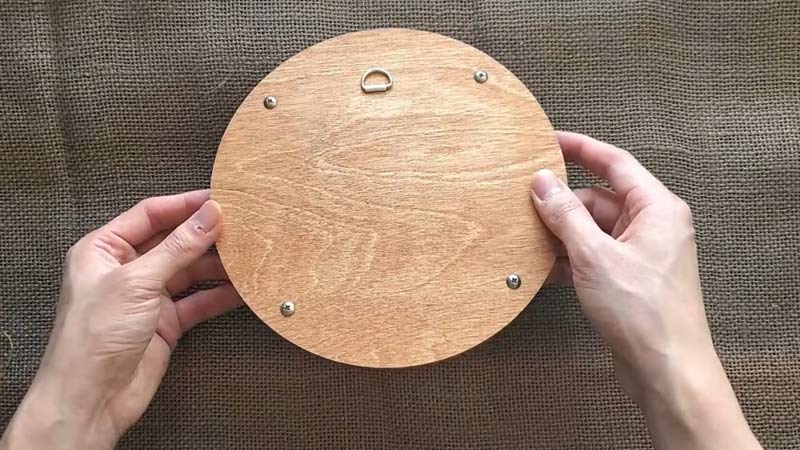
Get creative with DIY solutions to hang your embroidery. Use decorative clothespins or clips to attach the fabric to a string or wire. Arrange multiple pieces at varying heights for an eclectic display.
Explore unconventional materials like driftwood or vintage hangers to add character to your wall.
Grouping and Arrangement
When hanging multiple pieces, pay attention to the arrangement. Group similar themes or styles together for a harmonious display.
Experiment with symmetrical or asymmetrical layouts, depending on your preference. Leave enough space between each piece to allow individual artworks to shine.
Consider the Wall Location
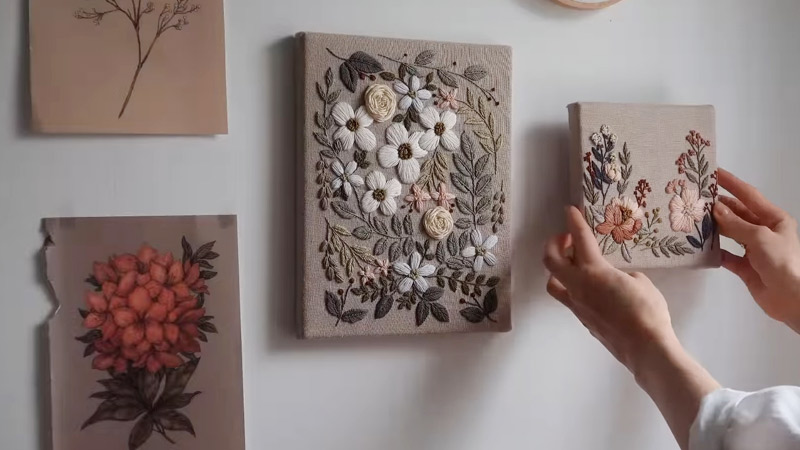
Think about the location on the wall where you plan to hang your embroidery. Avoid direct sunlight, as prolonged exposure can fade the colors and damage the fabric. Choose a spot that allows the embroidery to be appreciated without risking exposure to environmental elements.
Maintenance and Cleaning
Regularly dust your embroidery to prevent the accumulation of dirt or debris. If framed, ensure the frame is tightly sealed to prevent dust from entering. If cleaning is necessary, gently remove any particles and use a soft brush or a can of compressed air.
Seek Professional Framing Services
Consider seeking professional framing services if your embroidery piece holds significant value or is a cherished heirloom. Professional framers can guide you on the best materials and techniques to ensure the longevity and protection of your embroidery.
Simple Hand Embroidery Designs for Wall Hanging
Whether you’re a seasoned embroiderer or just starting, the following embroidery wall-hanging designs provide a perfect canvas for expressing your unique style.
Let the needle guide you through a world of possibilities, turning fabric and wall-hanging embroidery designs into personalized masterpieces.
Floral Wreath
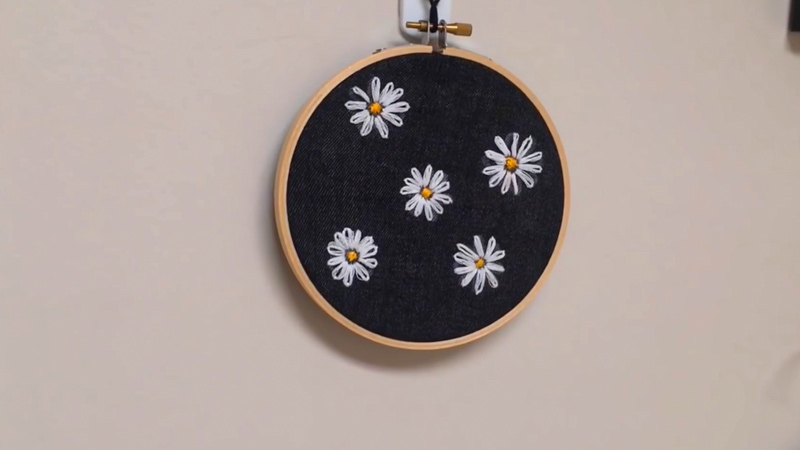
Create a charming floral wreath using basic embroidery stitches like the backstitch, satin stitch, and French knots. Outline the wreath shape with the backstitch, then fill it in with satin stitches to form lush petals and leaves.
Add tiny French knots as flower centers for a delightful touch. This design brings a touch of nature to your wall.
Geometric Shapes
Experiment with geometric patterns to create a modern and stylish wall hanging. Use simple stitches like the running stitch or backstitch to form triangles, circles, or squares.
Combine contrasting thread colors to add depth and visual interest to your design. Geometric shapes can be arranged in a symmetrical or abstract layout for a contemporary look.
Personalized Initials or Monograms
Incorporating your initials or monogram is among the best timeless embroidery wall-hanging ideas. Choose a stylish font and outline the letters using the backstitch or stem stitch.
Embellish with decorative elements like flowers, vines, or small motifs around the initials. This personalized touch adds a unique and sentimental aspect to your wall hanging.
Silhouette Art
Create elegant silhouette designs using basic embroidery stitches. Choose a subject, such as a tree, bird, or person, and outline its silhouette with the backstitch. Experiment with different thread colors to evoke a mood or theme.
Silhouette embroidery can be particularly striking against a contrasting background.
Inspirational Quotes
Stitch an inspirational quote or phrase using a combination of fonts and decorative elements. Use the backstitch or stem stitch for the letters and add flourishes or small motifs around the words.
Choose a fabric background that complements the message, creating a motivational and visually appealing wall hanging.
Whimsical Animals
Embroider’s whimsical animal designs for a playful touch. Select animals like cats, dogs, or birds and use basic stitches to outline and fill them. Experiment with vibrant thread colors to make the animals pop against the fabric.
This design is perfect for adding a touch of whimsy to a child’s room or any space that uses lighthearted charm.
Tree of Life
Create a symbolic Tree of Life design using a combination of stitches. Use the backstitch for the tree trunk and branches, and experiment with various stitches like the French knot or lazy daisy stitch to represent leaves or blossoms.
The Tree of Life design carries a universal theme and can be adapted to various styles and color palettes.
Abstract Watercolor Effect
Mimic the beauty of watercolor paintings with your embroidery. Choose a color palette that resembles watercolor hues and use the satin stitch or long and short stitch to create a blended effect.
This abstract design adds a touch of artistic flair to your wall and can be adapted to suit different color schemes.
Bohemian Feathers
Capture the bohemian spirit by embroidering feather designs. Use long, flowing stitches to create the feather shaft and add texture with the satin stitch or French knots.
Experiment with various thread colors to achieve a vibrant and eclectic look. Arrange multiple feathers in a cluster for a visually dynamic wall hanging.
Nautical Theme
Bring the sea to your walls with a nautical-themed wall-hanging embroidery design. Stitch anchors, waves, and sailboats using the backstitch or stem stitch.
Experiment with shades of blue and white for a classic maritime feel. This design is perfect for adding a touch of coastal charm to your home.
FAQs
How do I choose the right fabric for hand embroidery wall hangings?
Consider the design complexity and the type of stitches you plan to use. Opt for fabrics like linen or cotton, which are easy to work with, and ensure they complement the overall aesthetic of your embroidery.
What are the essential embroidery stitches for wall-hanging projects?
Basic stitches like backstitch, satin stitch, French knots, and running stitch are versatile and commonly used. Depending on your design, you can incorporate additional stitches to add texture and depth to your embroidery.
Can I wash hand-embroidered wall hangings?
Most hand-embroidered pieces can be gently hand-washed using mild soap. It’s crucial to test a small, inconspicuous area first and avoid excessive wringing or agitation. After washing, reshape the piece and let it air dry to maintain its integrity.
How do I secure and finish hanging the back of an embroidery hoop wall?
To tidy up the back of an embroidery hoop project, consider covering it with a piece of felt or another fabric. This not only conceals the back but also adds a polished finish. Ensure the fabric is taut and secure before trimming any excess material.
Can I frame my hand-embroidered piece without damaging it?
Yes, framing is a popular and safe way to display hand-embroidered art. Choose a frame with UV-resistant glass to protect your embroidery from fading. Ensure the fabric doesn’t touch the glass directly, and consider using acid-free materials to prevent long-term damage.
Conclusion
Hanging embroidery on the wall is not just about function but about elevating the aesthetic appeal of your living space.
By carefully considering framing options and wall placement and preserving the integrity of your embroidery, you can turn your creations into captivating focal points.
Remember, each stitch tells a story, and displaying your handiwork on the wall allows those stories to be shared and appreciated.
Whether you choose a classic frame, hoop display, or a creative DIY solution, the key lies in showcasing your embroidered pieces with pride and intention. Embrace the beauty of textile art and let your walls become a gallery of your skill and imagination.
As you embark on this journey of artistic presentation, may your walls reflect the passion and creativity stitched into every thread of your embroidered treasures. Get your hands on the necessary materials and get started today!
Leave a Reply