Creating a Bow Tie quilt block is like crafting a small piece of textile art that adds elegance and whimsy to your quilt projects.
This classic design, resembling the iconic shape of a bow tie, is a favorite among quilters for its timeless appeal.
Whether you’re a seasoned quilter or just starting your quilting journey, mastering the art of making Bow Tie quilt blocks can be a rewarding experience.
With a careful selection of fabrics and precise stitching, you can produce charming blocks that can be arranged in various patterns to achieve striking visual effects within your quilts.
In this guide, we will walk you through the step-by-step process of crafting these delightful blocks, opening the door to a world of creativity in quilting.
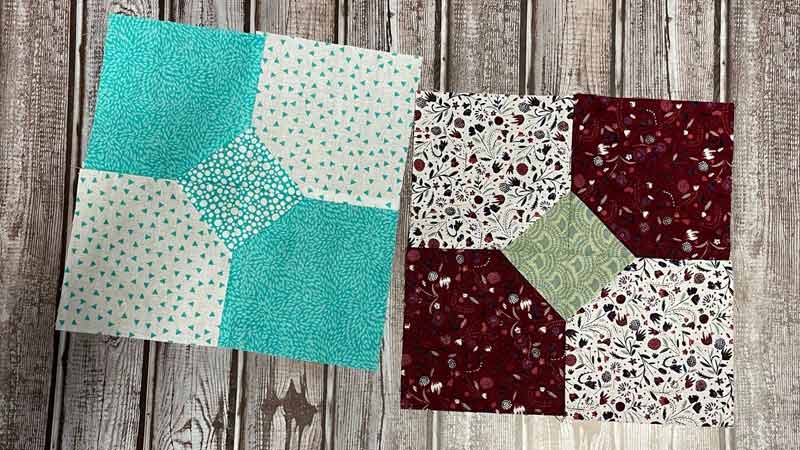
What is a Bow Tie Quilt Block?
A Bow Tie Quilt Block is a classic quilt pattern featuring a design resembling the shape of a bow tie.
It typically consists of two contrasting fabric squares sewn together to create the illusion of a central knot (bow) and two diagonal “wings.”
The choice of fabrics and color combinations can vary, allowing for endless creative possibilities.
Bow Tie blocks are often used in quilting to add a touch of whimsy and vintage charm to quilt projects.
They can be arranged in various layouts to create striking patterns within the overall quilt design, making them a versatile and timeless choice for quilters.
Easy 9 Steps Make a Bow Tie Quilt Block
Creating a bow tie quilt block may seem intricate, but with some patience and basic quilting skills, you can make a beautiful block to incorporate into your quilt.
Here’s a step-by-step guide on how to make a bow tie quilt block:
Materials You’ll Need:
- Fabric
- Rotary cutter and cutting mat
- Ruler
- Sewing machine and coordinating thread
- Iron and ironing board
- Scissors
- Pins or fabric clips
Step-by-Step Instructions:
Step 1: Choose Fabric

When selecting your fabric, take time to consider the overall aesthetic of your quilt project. Think about the theme, color scheme, and the ambiance you want to create.
The bow tie fabric will be the focal point, so choose a fabric that stands out and reflects your style. The background fabric should provide contrast to make the bow ties pop.
Step 2: Cut Fabric
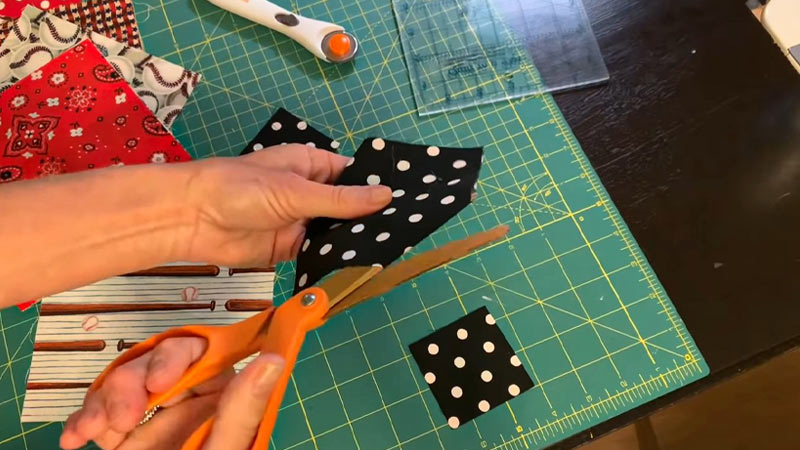
The size of your quilt block will determine the dimensions of the squares you need to cut. If you’re unsure about the size, 4 inches by 4 inches is a common choice.
Use a rotary cutter, a self-healing cutting mat, and a quilting ruler for precision. Be meticulous in your cutting to ensure all squares are the same size.
Step 3: Pair Fabric Squares
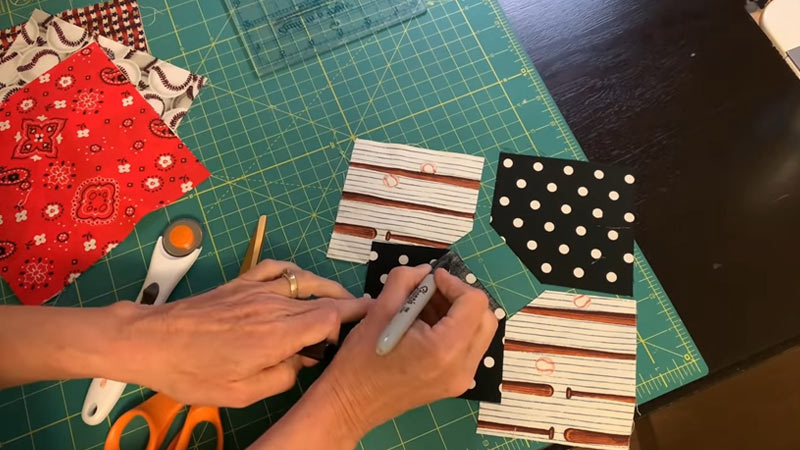
Matching up the fabric squares is a creative part of the process. Consider how different combinations of bow tie and background fabrics will look in your quilt.
Ensure that the right sides of the fabric are facing each other when pairing up the squares to prepare them for sewing.
Step 4: Sew Diagonal Lines
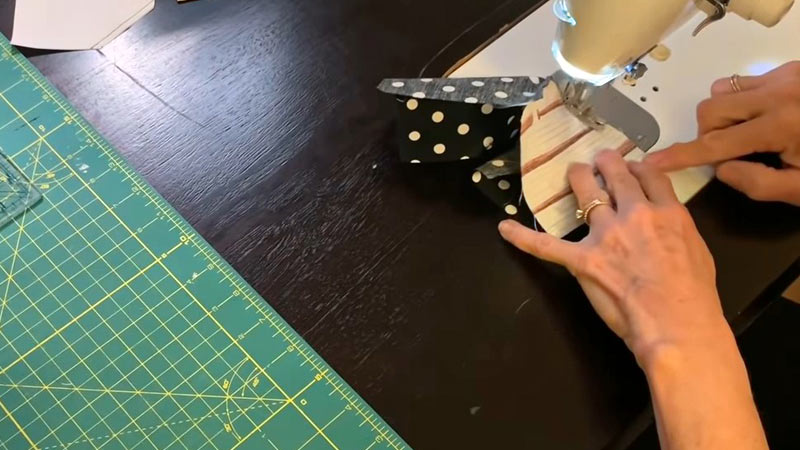
Drawing the diagonal line on the back of one of the background fabric squares is an essential preparatory step. This line acts as a sewing guide to create the bow tie effect.
As you sew along both sides of this line, about 1/4 inch away from it, maintain steady and even stitching to produce neat and symmetrical results.
Step 5: Cut and Press
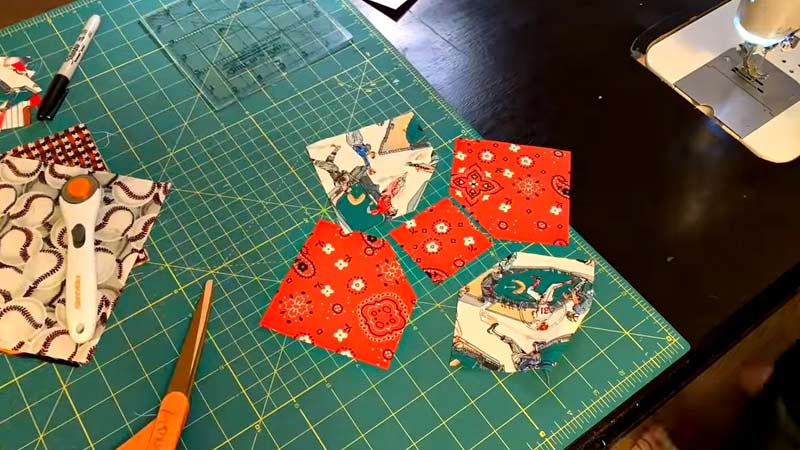
After sewing, take care when cutting along the drawn diagonal line. A clean cut ensures that the bow tie shape is well-defined. When you open the triangles, gently press the seams toward the background fabric using an iron.
This step not only flattens the seams but also gives your bow ties a crisp appearance.
Step 6: Repeat
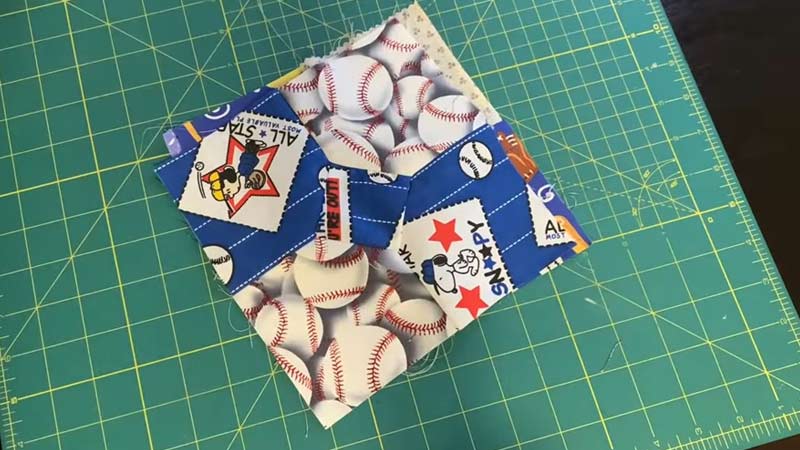
Continue the process of sewing, cutting, and pressing for each pair of squares. Creating multiple bow tie blocks allows you to experiment with different color combinations and arrangements, enhancing the visual appeal of your quilt.
Step 7: Arrange Blocks
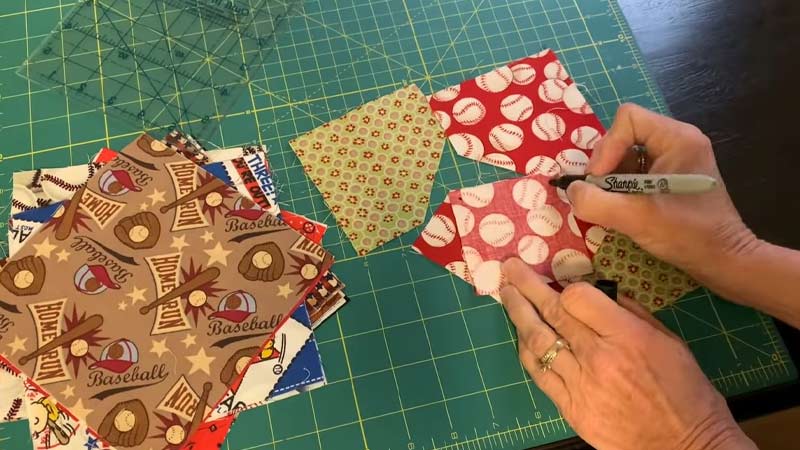
Laying out your bow tie blocks is an opportunity to be creative. Experiment with different layouts, such as diagonal rows, and checkerboard patterns, or even create secondary designs by rotating some of the blocks.
Take your time during this step, as the arrangement can greatly influence the final look of your quilt.
Step 8: Sew Blocks Together
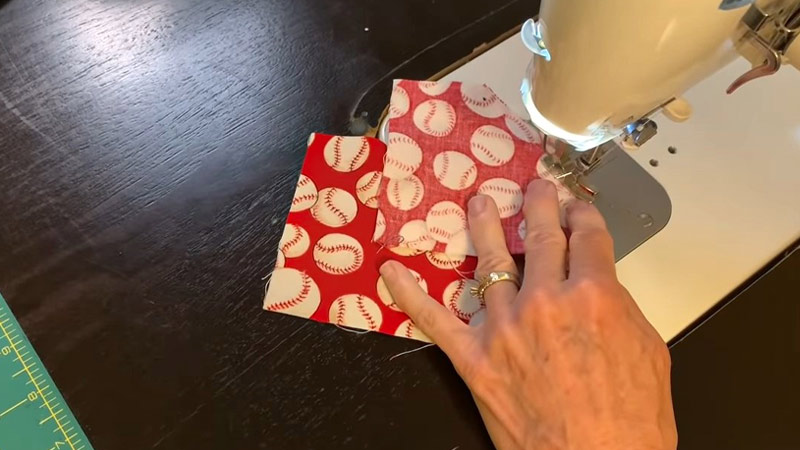
When sewing the blocks together, pay special attention to matching the seams where the bow ties meet the background fabric.
Proper alignment ensures a uniform appearance and helps maintain the bow tie design across the entire quilt top. Pins or fabric clips can be invaluable for holding the pieces in place as you sew.
Step 9: Finish Your Quilt
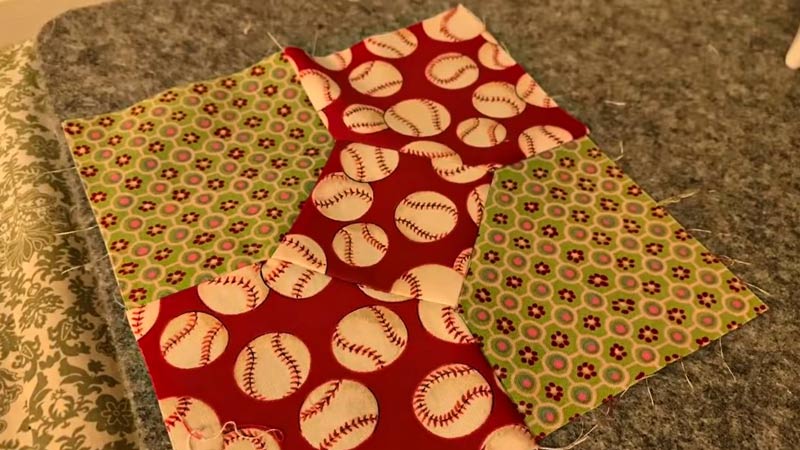
Layer your quilt top with batting and a backing fabric, then baste the layers together. When quilting, choose a technique that complements your bow tie design, such as quilting along the seam lines or in a decorative pattern.
Finally, bind the edges of your quilt to give it a finished and polished appearance while securing the layers together.
10 Unique Bow Tie Quilt Block Designs
Creating unique Bow Tie quilt block designs can be an exciting way to showcase your creativity in quilting.
Here are 10 distinctive Bow Tie quilt block design ideas to inspire your next project:
Floating Bows
Scatter Bow Tie blocks irregularly across your quilt top, allowing them to “float” in open space. This design lends a sense of whimsy and spontaneity to your quilt.
It’s an ideal choice for a contemporary or playful project, where the Bow Ties seem to dance across the quilt’s surface.
Scrap Bow Ties
Embrace the charm of scrap quilting by using an assortment of fabric scraps for each Bow Tie block. This approach encourages creativity, as you mix and match various patterns and colors.
The result is a visually eclectic and vibrant quilt, perfect for capturing memories from your fabric stash.
Bow Tie Medallion
Center a large Bow Tie block in the middle of your quilt and surround it with smaller blocks or complementary patterns.
This medallion design draws attention to the central element while maintaining balance and symmetry. It’s a classic choice that gives your quilt a focal point.
Bow Tie Borders
Frame the edges of your quilt with rows of Bow Tie blocks to create intricate borders. This approach adds a touch of elegance and complexity to the overall design. The borders can be wide or narrow, and the repeating Bow Ties create a captivating visual frame.
Monochromatic Elegance
Opt for a monochromatic color scheme by selecting Bow Tie and background fabrics within the same color family. Vary the shades and patterns subtly to achieve a sophisticated and harmonious look. This design choice exudes elegance and tranquility.
Bow Tie Stars
Arrange Bow Tie blocks strategically to form star patterns, with some blocks serving as star points and others as star centers.
This design choice adds a celestial and dynamic aspect to your quilt, creating a quilt that shines like the night sky.
Gradation Effect
Create a striking visual impact by selecting fabrics that gradually transition in color or pattern across the quilt top.
This technique results in a beautiful ombre or gradient effect, adding depth and interest to your design. It’s a wonderful way to evoke a sense of movement and transformation.
Bow Tie Mosaic
Experiment with small, detailed Bow Tie blocks, each showcasing intricate fabric patterns. When combined, these blocks create the illusion of a mosaic, making your quilt a captivating piece of textile art. This design option invites viewers to explore the quilt’s intricate details.
Retro Vibes
Channel nostalgia by using vintage-inspired fabrics and color palettes. This approach gives your Bow Tie quilt a retro, mid-century modern feel, perfect for those who appreciate a touch of the past. It’s a delightful way to infuse a sense of history into your project.
Bow Tie Applique
Add a playful and three-dimensional touch to your quilt by incorporating fabric appliqué bow ties. These can be strategically placed as accents or used as a central design element. Appliqué provides texture and visual interest, making your quilt a tactile work of art.
FAQS
Yes, you can adjust the size of your Bow Tie quilt blocks by altering the dimensions of your fabric squares.
Beyond the traditional layouts, consider arranging Bow Tie blocks to form secondary patterns, such as stars or interlocking circles.
Absolutely! You can add complexity to your Bow Tie blocks by using more than two fabrics.
Yes, pre-cut fabric squares, such as charm packs or layer cakes, can be used to make Bow Tie blocks, making the cutting process more efficient and saving you time.
To ensure consistent seam allowances, use a quarter-inch quilting foot on your sewing machine.
To Recap
Crafting a Bow Tie quilt block is a testament to the beauty of traditional quilting techniques. Through careful fabric selection, precise stitching, and creative arrangement, these blocks transform into charming design elements that can elevate any quilt project.
The simplicity of the Bow Tie block, with its timeless bow tie shape, allows quilters of all levels to participate in this delightful creative process.
As you’ve learned in this guide, it’s a journey filled with choices, from fabric combinations to layout arrangements, each offering a unique opportunity for personal expression.
So, whether you’re seeking to add vintage charm or a touch of whimsy to your quilts, mastering the art of creating Bow Tie quilt blocks is a wonderful skill that opens the door to a world of quilting possibilities.
Leave a Reply