Storing floss for cross stitch is a fundamental aspect of embroidery preparation. The intricate art of cross-stitching demands a vast palette of thread colors, making efficient and organized storage paramount.
Keeping your floss well-preserved not only ensures easy access to the required shades but also prolongs their lifespan.
This introductory guide explores various methods for storing your embroidery floss, from traditional floss bobbins and plastic organizers to modern digital solutions.
Whether you’re a seasoned cross-stitch enthusiast or just starting your creative journey, proper floss storage will help keep your supplies in order and your projects running smoothly.
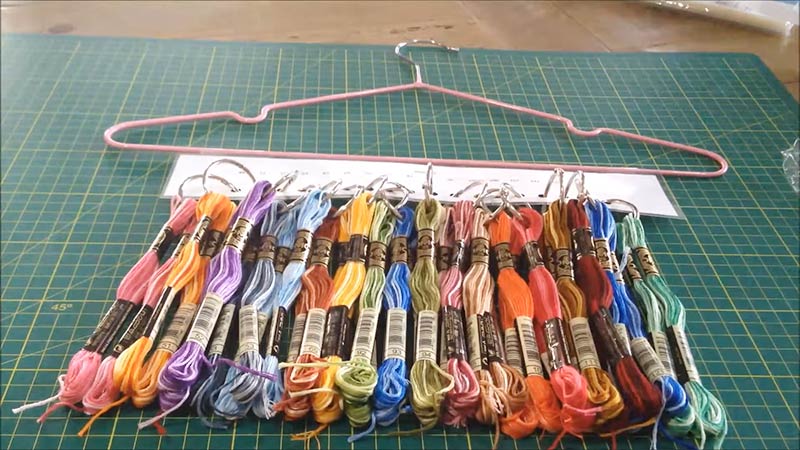
How Do You Store Floss for Cross Stitch?
toring floss for cross stitch is a crucial part of keeping your embroidery supplies organized and in good condition.
Floss, also known as embroidery thread or embroidery floss, comes in a vast array of colors and can easily become tangled or disorganized if not properly stored.
Here are some effective methods for storing floss for cross stitch:
Floss Bobbins
Floss bobbins are a popular and cost-effective way to store embroidery floss. These small plastic or cardboard cards have a notch at the top to secure the thread’s end.
You can wind your floss around the bobbin, making it easy to access and preventing tangling. Label each bobbin with the floss color number or name for easy identification.
Plastic Floss Organizers
Plastic floss organizers come in various shapes and sizes. They typically have multiple compartments or slots where you can wind and store your floss.
These organizers are especially useful when you have many different colors to work with. The transparent lid allows you to see the colors without opening the container.
Bobbin Boxes
Bobbin boxes are specialized containers designed to hold multiple floss bobbins. They are ideal for cross-stitch projects that require a large variety of colors. Bobbin boxes often have compartments for each bobbin, keeping them neat and separated.
Thread Bags or Pouches
Thread bags or pouches with multiple pockets are handy for storing floss. You can separate colors by brand or project and easily identify them through the clear pockets. These pouches are portable and convenient for on-the-go stitching.
Floss Rings
Floss rings are metal or plastic rings that allow you to secure and organize your floss by looping each skein or bobbin through the ring.
This method is particularly useful for smaller collections or when you need to transport your floss easily.
Plastic Storage Containers
Clear plastic storage containers with adjustable dividers can be customized to fit your needs. These containers can hold bobbins, spools, or skeins, keeping them separated and organized.
Floss Bags
Some cross-stitch enthusiasts prefer to store floss in plastic or fabric bags, each dedicated to a specific project.
This method keeps all the materials for one project together and prevents colors from getting mixed up.
Floss Organizer Software
For those who prefer digital solutions, there are various apps and software programs designed for organizing and cataloging your cross-stitch floss collection.
These applications can help you keep track of your inventory and find the colors you need quickly.
How to Put Floss on Thread Drops
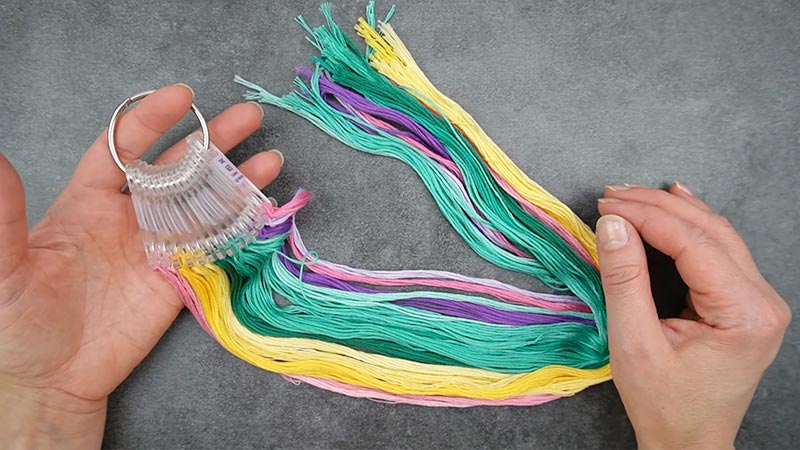
“Thread drops” usually refer to small, pre-made cards or plastic floss organizers designed for storing embroidery floss or thread.
Using these thread drops is a convenient way to keep your floss neat and organized for cross-stitch or embroidery projects.
Here’s how to put floss on thread drops:
Materials You’ll Need:
- Embroidery floss skeins
- Thread drops (pre-made cards with holes for holding floss)
- Scissors
- Your cross-stitch or embroidery pattern (to determine the required colors)
Steps:
1. Prepare Your Floss
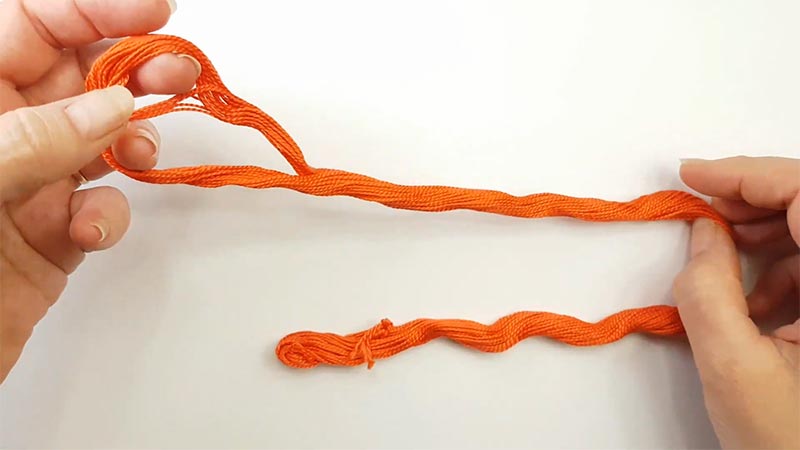
Before beginning the process, carefully select the specific embroidery floss colors that your cross-stitch or embroidery pattern calls for.
It’s essential to have all the necessary colors for your project readily available. If any colors are missing, make a note of them to ensure you have the right skeins in your collection.
2. Cut Floss Lengths
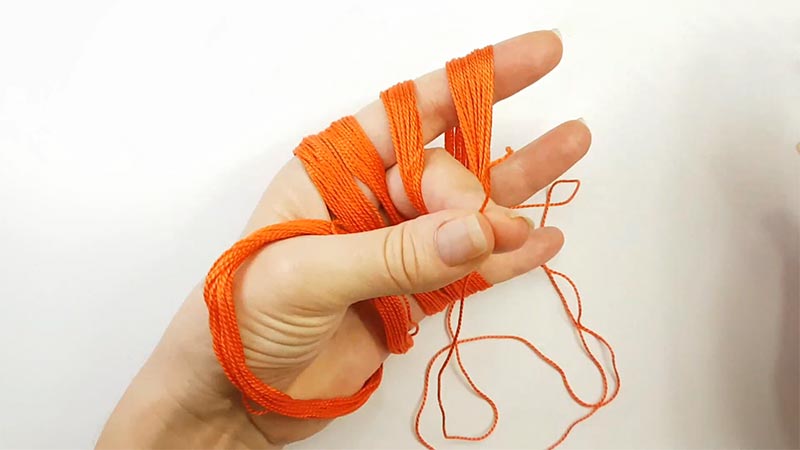
Using a pair of sharp scissors, measure and cut the embroidery floss to the desired length. The length you cut is a matter of personal preference and the needs of your project. Common lengths typically range from 18 to 24 inches, but this can vary.
Longer lengths can be challenging to manage, so consider the practicality of the length you choose.
3. Thread the Floss
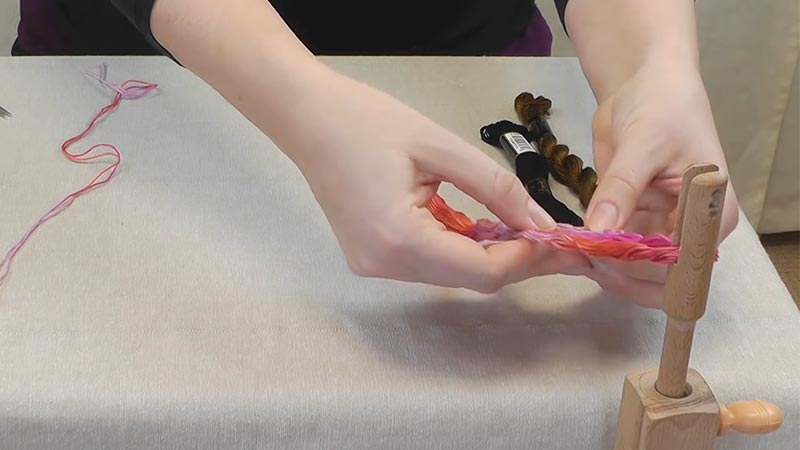
Take one end of the cut floss and carefully insert it through the hole located at the top of the thread drop card.
Gently pull the floss through until you have approximately equal lengths of thread extending from either side of the card.
4. Secure the Floss
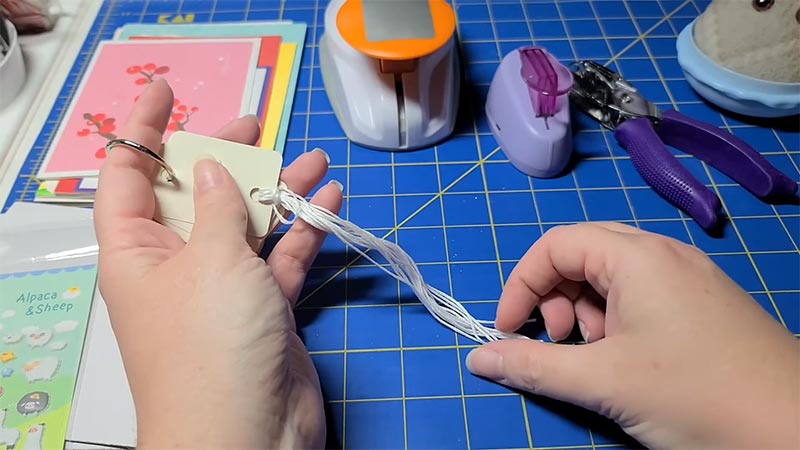
At the top end of the floss where it emerges from the card, tie a simple knot. This knot serves as a secure anchor, preventing the floss from accidentally slipping out of the card during use.
5. Wrap the Floss
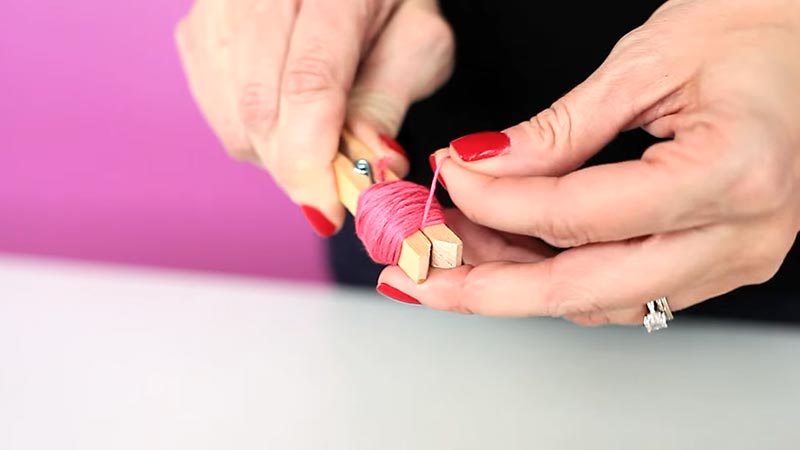
Starting near the hole at the top of the card, begin winding the floss around the card. Progress downward while maintaining a consistent and gentle tension.
It’s essential that the floss is taut but not overly tight, as excessive tension can lead to thread damage.
6. Secure the Other End
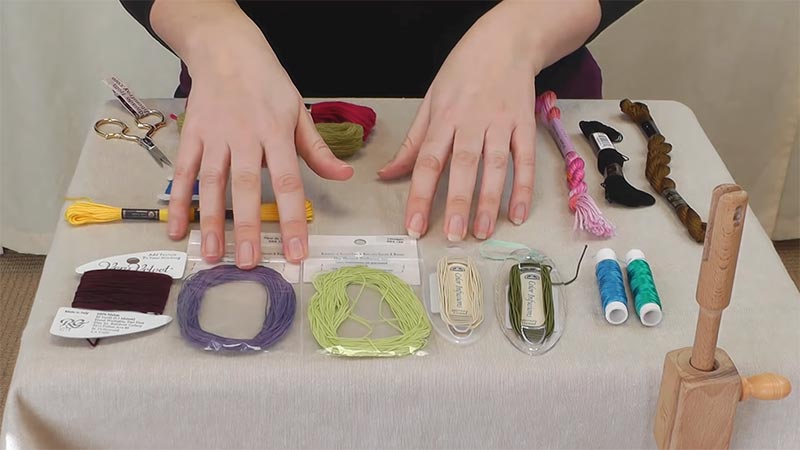
Upon reaching the bottom of the card, insert the other end of the floss through a small notch or slot provided on the card. This serves to secure the floss and prevents it from unraveling as you work with it.
7. Label the Card
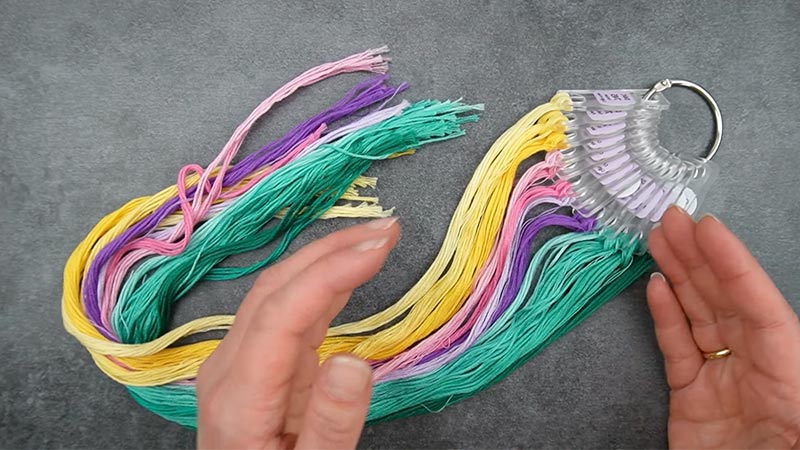
Label the thread drop card to identify the color clearly. This step can be done using a pen to write the color number or name directly on the card, or you can use pre-printed labels or stickers for a neater and more organized appearance.
Clear labeling is crucial to quickly identify the correct color when needed.
How to Make Floss Drops?
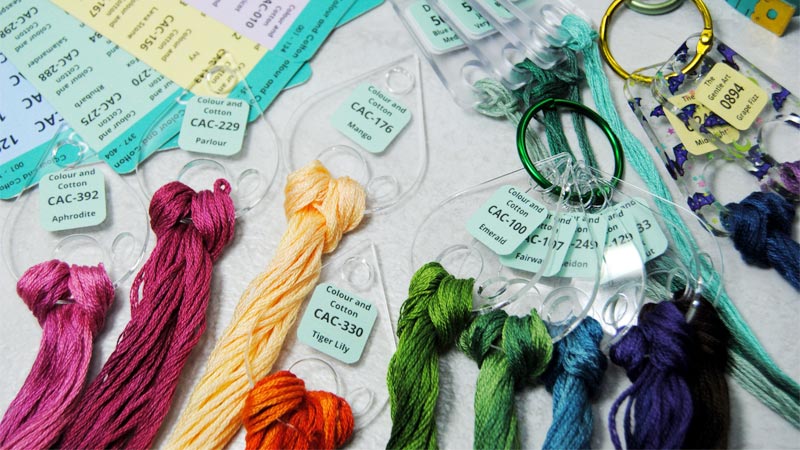
Floss drops, sometimes known as thread drops, are a convenient and organized way to store embroidery floss or thread for cross-stitch, embroidery, and other needlework projects.
These small cards or tags allow you to neatly arrange your floss and easily label them with the color number or name for quick identification. Here’s a step-by-step guide on how to make your own floss drops:
Materials You’ll Need:
- Embroidery floss skeins
- Floss drop cards or cardboard, cut into small rectangles
- Scissors
- A pen or fine-tip marker
- A hole punch (optional)
Steps:
1. Prepare Your Floss
Start by gathering the embroidery floss colors you plan to use in your project. If you’re working with skeins, separate the strands you need. Most embroidery projects use 2 strands at a time, but this can vary based on your pattern.
2. Cut the Cardstock
Cut your cardstock or cardboard into small rectangles, ideally about 2 x 3 inches in size. These will serve as the base for your floss drops.
3. Label the Card
On each card, write the color number or name of the embroidery floss. This step is crucial for identifying the floss quickly when you’re working on your project. Make sure your writing is legible and clear.
4. Prepare the Floss
Cut the length of the embroidery floss to the appropriate size for your project. The length depends on your project and personal preference, but 18 to 24 inches is common. If you’re using multiple strands, separate them and line them up evenly.
5. Attach the Floss
Lay the cut floss on the card with one end extending slightly beyond the edge. Use tape or a small piece of adhesive (like a glue dot) to secure the floss to the card. Alternatively, you can punch a hole at the end of the card and thread the floss through it to secure it.
6. Wind the Floss
Wind the floss around the card carefully. Start at the top, near the secured end, and work your way down the card.
Make sure to keep the floss taut but not overly tight, as excessive tension can cause the thread to stretch or damage.
7. Secure the Other End
When you reach the bottom of the card, use tape or adhesive to secure the other end of the floss to the card. Alternatively, you can punch another hole and thread the floss through it to keep it in place.
8. Repeat for Additional Colors
Repeat the process for each color you plan to use in your project, using separate cards for each. This will help you keep your embroidery floss organized and ready for your creative endeavors.
How to Organize Embroidery Floss Without Bobbins?
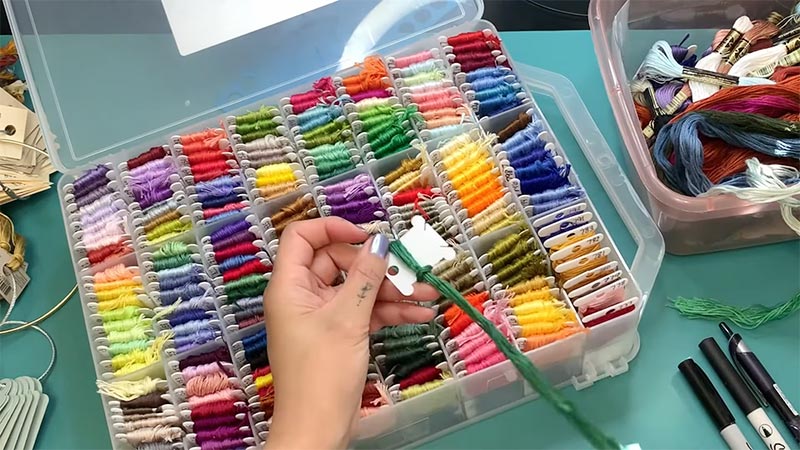
Organizing embroidery floss without bobbins is a practical alternative for those who prefer not to use thread bobbins or need a quick and cost-effective method.
Here are some steps to help you organize your embroidery floss without bobbins:
Materials You’ll Need:
- Embroidery floss skeins
- Zip-top plastic bags or small resealable plastic pouches
- A permanent marker or labels
- A storage container (plastic box, organizer, or a binder)
Steps:
1. Sort Your Floss
Begin the organization process by arranging your embroidery floss. Take your time to group the floss according to your preferences, either by color, project, or another method that suits your needs.
You might lay out all your skeins on a clean surface and create distinct piles or group them into containers.
2. Label Plastic Bags or Pouches
Select appropriate containers for your embroidery floss. Small zip-top plastic bags or resealable pouches work well for this purpose.
To ensure easy identification, label each bag or pouch with the corresponding color number or name. You can use a fine-tip permanent marker or adhesive labels for clear and legible markings.
3. Wind Floss Skeins
To prepare the individual skeins of embroidery floss, unwind them and straighten out the strands. This step helps prevent tangling and makes it more manageable.
Fold the floss in half and then fold it in half once more to create a looped shape that is easier to work with.
4. Store in Bags/Pouches
Carefully place the folded floss into the labeled plastic bags or pouches. If you have several skeins of the same color, you can store them together in the same container.
Pay close attention to avoid kinks or knots in the floss during this process to save time and frustration later.
5. Zip or Seal Bags
Seal each bag or pouch securely to keep the floss contained and to prevent any accidental spills or tangles.
Ensure that each container is fully closed to maintain the integrity of your organization system.
6. Organize in a Storage Container
Choose a suitable storage container to house your labeled bags or pouches. Options include plastic boxes with compartments, drawers, or dedicated storage organizers.
Alternatively, you can use a three-ring binder with clear plastic pockets or plastic page protectors for a more organized display.
7. Sort by Color or Project
Within the chosen storage container, sort the bags or pouches based on your criteria, whether it’s by color, project, or another distinguishing feature.
This arrangement helps you quickly locate the specific floss you need without having to sift through your entire collection.
Consider using dividers, labels, or separate sections within the container to maintain a clear organizational structure.
8. Maintain Your Organization
Regularly review and upkeep your organization system. When adding or removing floss from a bag or pouch, ensure it remains properly sealed and clearly labeled.
This ongoing practice prevents disarray and confusion and ensures that your embroidery floss stays organized and ready for your cross-stitch or embroidery projects.
FAQS
What is floss drop storage?
Floss drop storage refers to a method of organizing and storing embroidery floss, particularly for cross stitch and other needlework projects.
What are Annie’s Keepers for floss storage?
Annie’s Keepers is a popular brand of floss storage solutions. These keepers are designed to help you organize and store embroidery floss in a tidy and efficient manner, often using a system of labeled cards or containers.
How do I use floss drops for cross stitch?
Floss drops for cross stitch are small cards or tags used to hold and label embroidery floss.
To use them, you wind your floss around the card, label it with the floss color number or name, and store it neatly for your cross-stitch projects.
What is cross stitch storage?
Cross-stitch storage encompasses various methods and tools for organizing your cross-stitch supplies, including fabric, patterns, and floss.
It helps keep your materials well-organized and readily accessible for your needlework projects.
How do thread drops work for cross stitches?
Thread drops for cross stitch are small cards or tags that facilitate the storage and organization of embroidery floss.
You wrap the floss around the card, secure it, and label it for easy identification when working on your cross-stitch projects. These drops help prevent tangling and keep your thread neatly organized.
To Recap
Properly storing floss for cross stitch is the backbone of a well-organized and efficient needlework journey.
Whether you opt for traditional floss bobbins, plastic organizers, or even digital solutions, the goal remains the same: keeping your embroidery threads neat, accessible, and in pristine condition.
An organized floss collection not only streamlines your creative process but also reduces frustration and minimizes the risk of tangled threads.
The choice of storage method depends on your personal preferences and the scale of your projects.
Whichever route you choose, meticulous floss storage ensures that every cross-stitch project begins smoothly, enhancing the pleasure of this timeless craft.
Leave a Reply