Mod Podge is a decoupage medium that is used to glue and seal a variety of materials, such as paper, fabric, and wood. It is commonly used in crafts and DIY projects to create decoupage, collages, and mixed-media artwork.
Sealing is an important step in many crafts and projects, as it helps to protect the surface and preserve the finished piece. Sealing can also enhance the appearance of the finished project by adding a gloss or matte finish.
There are many different products that can be used as sealers, including Mod Podge. In this blog, we will discuss how many coats of Mod Podge are needed to effectively seal a project and offer tips on using Mod Podge as a sealer. We will also explore some alternative sealers that can be used in conjunction with Mod Podge.
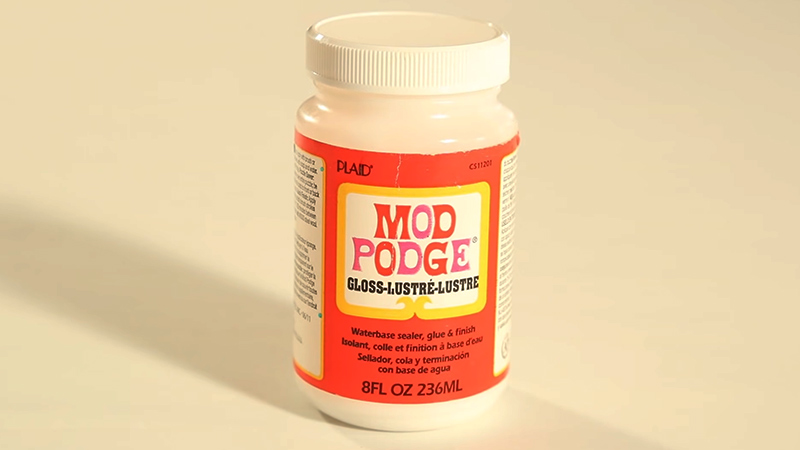
What Is Modge Podge?
Mod Podge is a versatile crafting adhesive and sealant that has become popular for various DIY and craft projects. Developed by Plaid, it is a brand name for a specific type of decoupage medium.
Mod Podge has multiple formulations, but the classic version is a water-based, all-in-one glue, sealer, and finish.
Here are its key characteristics:
Adhesive
Mod Podge serves as a strong adhesive, bonding various porous and non-porous surfaces together.
It’s commonly used in decoupage projects where paper or fabric is adhered to surfaces like wood, glass, or canvas.
Sealer
It acts as a sealer to protect surfaces from moisture and wear. This is particularly useful for preserving and protecting the materials used in decoupage.
Finish
Mod Podge provides a finish to the project, creating a smooth, clear, and glossy or matte surface, depending on the formulation chosen.
The finish enhances the appearance of the project and adds a protective layer.
Water-Based
Mod Podge is water-based, making it easy to clean up with water while wet. It is non-toxic, making it safe for most craft applications.
Versatility
Available in various formulations such as matte, glossy, satin, and more, Mod Podge caters to different project preferences.
Specialty formulations are also available, including those designed for outdoor use or fabric applications.
Application
Mod Podge is applied using a brush or sponge applicator. It can be used for a wide range of projects, including decoupage, collage, paper crafting, and creating various mixed-media art.
Drying Time
It dries relatively quickly, and multiple coats can be applied to achieve the desired effect. Drying times may vary depending on factors like humidity and the thickness of the application.
Compatibility
Mod Podge is compatible with a variety of materials, including paper, fabric, wood, glass, and more. It is suitable for both porous and non-porous surfaces.
Whether you’re working on scrapbooking, home décor, or other crafting projects, Mod Podge has become a popular choice due to its ease of use and versatility in providing adhesion, sealing, and finishing in one product.
How Many Layers of Mod Podge Do You Need?
Well, you must be confused about how many coats of Mod Podge to seal. The number of coats of Mod Podge needed to seal a project depends on the specific requirements of your project, the type of surface, and the desired level of protection.
However, a common recommendation is to apply two to three coats for most projects.
Here’s a general guideline:
Base Coat
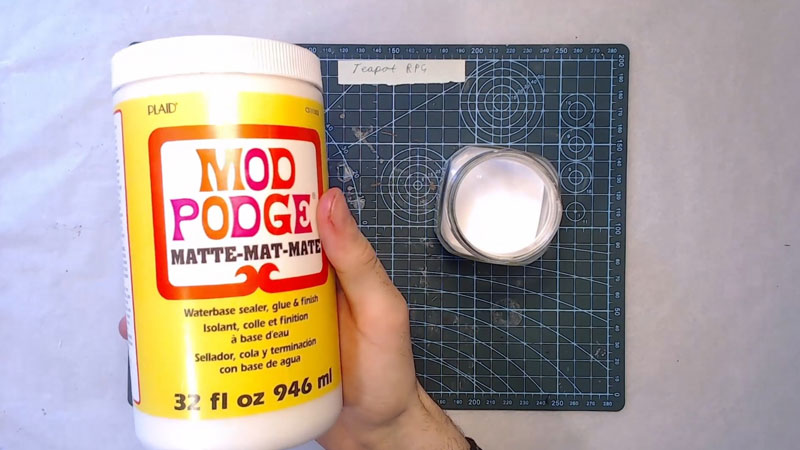
Start with a thin, even base coat of Mod Podge. This helps the surface absorb the adhesive and creates a foundation for additional layers.
Subsequent Coats
Apply additional coats after the base coat has dried. For most projects, two to three coats are often sufficient. Allow each coat to dry completely before applying the next one.
Drying Time
Mod Podge dries relatively quickly, but the exact drying time depends on factors like humidity and the thickness of the coats. Follow the recommended drying times on the Mod Podge label.
Sand Between Coats (Optional)
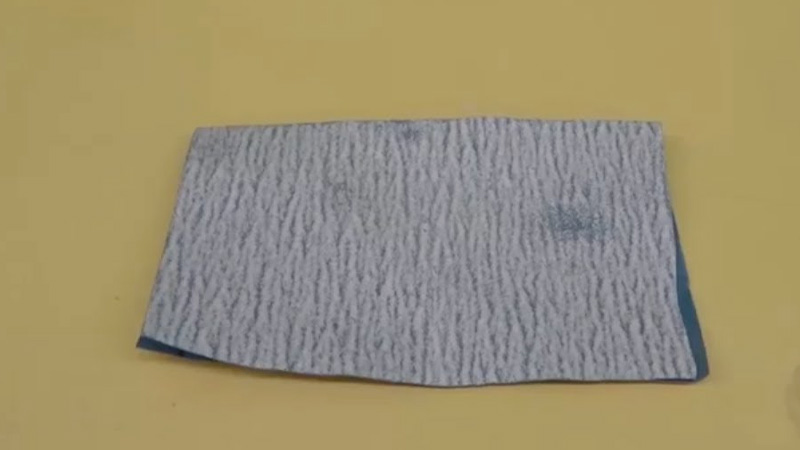
If you want an extra-smooth finish, you can lightly sand between coats using fine-grit sandpaper after the Mod Podge has dried. Be sure to wipe away any dust before applying the next coat.
Final Sealant (Optional)
If you want added protection, especially for projects exposed to moisture or heavy use, consider applying a clear sealant on top of the Mod Podge layers once they have dried completely.
Remember that Mod Podge is available in different finishes (e.g., matte, glossy, satin), and your choice may affect the final appearance of your project.
Additionally, follow the specific instructions on the Mod Podge label for the best results.
Always test a small, inconspicuous area first, especially if you are working on a delicate or valuable item, to ensure that the Mod Podge does not adversely affect the surface.
Sealing With Mod Podge
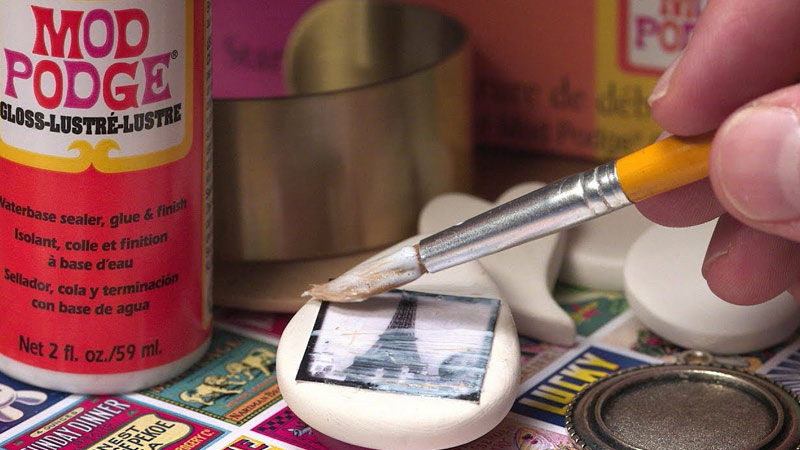
To use Mod Podge as a sealer, you will first need to apply the medium to your project in the same way that you would use it as glue. Once the Mod Podge is dry, you can then apply a top coat of the medium to seal and protect the surface.
Here are some tips for applying Mod Podge as a sealer:
- Allow the Mod Podge to dry completely before applying a top coat. This is important because the Mod Podge needs time to cure and fully adhere to the surface. If you apply a top coat too soon, it may not adhere properly and could result in a poor finish.
- Use a thin, even layer of Mod Podge for the top coat. Applying too much Mod Podge can result in drips and an uneven finish.
- Use a soft, clean brush to apply the Mod Podge. This will help to minimize brush strokes and create a smooth, even finish.
- Allow the top coat of Mod Podge to dry completely before handling the project. This will help to prevent smudging or damaging the finished surface.
- If you want a glossy finish, you can apply a second top coat of Mod Podge once the first coat has dried. This will help to create a more shiny, polished look.
Overall, the key to using Mod Podge as a sealer is to be patient and allow the medium to dry completely between coats. This will help to ensure that the Mod Podge has a chance to fully cure and create a durable, long-lasting finish for your project.
Alternative Sealers to Use With Mod Podge
Mod Podge is a versatile medium that can be used as a sealer in a variety of crafts and projects. However, there are also other sealers that can be used in conjunction with Mod Podge to add extra protection or a different finish to your project.
Some alternative sealers that can be used with Mod Podge include:
Water-based Polyurethane
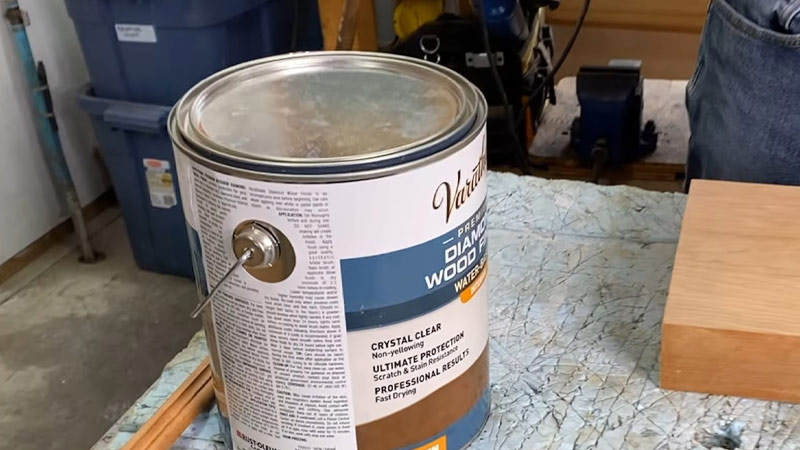
This type of polyurethane is a clear, water-based sealant that can be applied over Mod Podge to add extra protection and a glossy finish. It is easy to clean up with soap and water and dries quickly.
Spray Sealants
There are several types of spray sealants that can be used over Mod Podge, including acrylic spray sealants and varnishes. These products can be applied quickly and evenly and dry to a clear, glossy finish.
Resin
Resin is a clear, liquid sealant that can be used to create a glossy, professional-looking finish on a variety of surfaces, including Mod Podge. Resin is a more permanent sealant than Mod Podge and is ideal for projects that will be subjected to heavy wear and tear.
However, it can be more difficult to work with than Mod Podge and requires special equipment, such as a resin mixer, to achieve a smooth finish.
Overall, there are many different sealers that can be used in conjunction with Mod Podge to add extra protection and enhance the appearance of your project. It is important to consider the specific requirements of your project and choose a sealer that is appropriate for your needs.
How to Use Mod Podge as a Sealer?
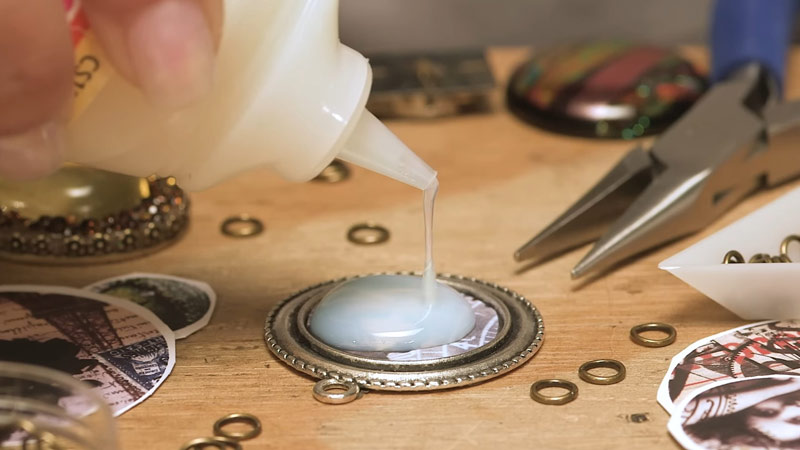
Using Mod Podge as a sealer is a common and effective way to protect and finish various craft projects.
Whether you’re working on decoupage, collages, or other DIY endeavors, here’s a step-by-step guide on how to use Mod Podge as a sealer:
Materials Needed
- Mod Podge: Choose the Mod Podge formulation that suits your project needs, such as matte, glossy, or satin.
- Craft Brush or Foam Applicator: Use a soft brush or foam applicator suitable for the size of your project.
- Project Surface: Ensure that your project is clean, dry, and free of dust or debris.
Steps:
Prepare Your Project
Complete your crafting or decoupage project, ensuring that all elements are securely adhered to the surface.
Choose the Mod Podge Finish
Select the Mod Podge finish that aligns with your desired outcome. Matte provides a non-shiny finish, glossy adds a shiny layer, and satin gives a subtle sheen.
Stir the Mod Podge
If your Mod Podge has been sitting for a while, gently stir it to ensure an even consistency. Do this with a stir stick or the end of your brush.
Apply the First Coat
Dip the brush or foam applicator into the Mod Podge and apply an even coat over the entire surface of your project. Work in one direction to avoid streaks.
Smooth Out Bubbles and Streaks
If you notice any bubbles or streaks, gently smooth them out with your brush. Be careful not to overwork the Mod Podge, as it can start to dry.
Allow to Dry
Let the first coat of Mod Podge dry completely. The drying time may vary depending on factors such as humidity and the thickness of the application. Follow the recommended drying time on the Mod Podge label.
Apply Additional Coats
For added protection and a smoother finish, apply additional coats of Mod Podge. Two to three coats are often recommended. Allow each coat to dry thoroughly before applying the next.
Sand Between Coats (Optional)
If you desire an extra-smooth finish, you can lightly sand the surface between coats using fine-grit sandpaper. Wipe away any dust before applying the next coat.
Final Sealant (Optional)
If your project will be exposed to moisture or heavy use, consider applying a clear sealant or varnish on top of the Mod Podge layers after they have dried completely.
Cure Time
Allow the final coat of Mod Podge to cure fully. This may take a few days, and during this time, it’s advisable to handle the project with care.
Using Mod Podge as a sealer provides a protective and professional-looking finish for your projects. The versatility of Mod Podge allows you to achieve different effects, from a subtle sheen to a high-gloss finish, depending on your preference and project requirements.
Comparison of Sealers for Use with Mod Podge
Here is a table comparing different sealers that can be used in conjunction with Mod Podge:
| Sealer | Advantages | Disadvantages |
|---|---|---|
| Water-based polyurethane | Clear, glossy finish | May yellow over time |
| Spray sealants | Quick and easy to apply | May yellow over time |
| Resin | Durable, professional-looking finish | Requires special equipment and can be difficult to work with |
FAQs
Here are some additional frequently asked questions about using Mod Podge as a sealer:
Yes, Mod Podge can be used on fabric as a sealant. To use Mod Podge on fabric, you will need to apply a thin layer of the medium to the fabric and allow it to dry completely. Mod Podge can help to stiffen fabric and prevent fraying, making it a useful tool for a variety of fabric crafts and projects.
Yes, Mod Podge can be used as a sealer for resin. To use Mod Podge as a sealer for resin, you will need to apply a thin layer of the medium over the resin once it has fully cured. Mod Podge can help to add a glossy finish to resin and protect it from scratches and other damage.
Mod Podge is a permanent medium, but it is not waterproof. While Mod Podge will not peel or flake off once it is dry, it can be susceptible to water damage. To make Mod Podge more permanent, you can apply a clear sealer, such as a water-based polyurethane or a spray sealant, on top of the Mod Podge once it has fully dried.
Yes, Mod Podge can be used on glass as a sealant. To use Mod Podge on glass, you will need to apply a thin layer of the medium to the glass and allow it to dry completely. Mod Podge can help to seal and protect glass surfaces, making it a useful tool for a variety of glass crafts and projects.
Yes, Mod Podge can be used on ceramic as a sealant. To use Mod Podge on ceramic, you will need to apply a thin layer of the medium to the ceramic and allow it to dry completely. Mod Podge can help to seal and protect ceramic surfaces, making it a useful tool for a variety of ceramic crafts and projects. Overall, Mod Podge is a versatile medium that can be used on a variety of surfaces as a sealant.
Conclusion
In the realm of crafting and creative projects, Mod Podge is a true champion. Here, how many layers of mod podge should I use depends on many facts. As we conclude our exploration into the question of how many coats of Mod Podge to seal, we’ve unveiled a versatile world of possibilities.
The answer, as it turns out, depends on various factors such as your project’s purpose, materials used, and desired finish.
Remember, there’s no one-size-fits-all solution. Experimentation and practice are key. Start with the recommended guidelines, but don’t hesitate to adjust as needed.
With the right knowledge and a little artistic intuition, you’ll master the art of sealing with Mod Podge, ensuring your creations endure for years to come.
So, go ahead, let your creativity flow, and seal your projects with confidence, knowing you have the wisdom to make them last.
Leave a Reply