Transforming a dress by adding a panel is a captivating journey in fashion customization. This creative DIY project allows you to infuse your personal style into your wardrobe, breathing fresh life into existing garments or crafting entirely unique pieces.
In this step-by-step guide, we will embark on a sartorial adventure to enhance a dress with the addition of a panel.
From planning your design to selecting the perfect fabric, mastering the art of sewing, and achieving a flawless finish, you’ll discover how to create a dress that’s stylish and a true reflection of your creativity and individuality.
Unleash your inner designer as we explore the art of dress transformation through paneling.
What is a Panel in a Dress?
A panel in a dress is a separate piece of fabric that is sewn onto the dress, typically in a contrasting color or pattern. It serves both decorative and functional purposes.
Panels can be added to the dress’s front, back, sides, or other areas to create visual interest, change its silhouette, or add length. This design element allows for creative customization, enhancing the overall look of the dress while providing versatility in style and fashion.
How to Add a Panel to a Dress?
Adding a panel to a dress is a fantastic way to breathe new life into your wardrobe and unleash your creativity.
Whether you want to experiment with different fabrics, colors, and patterns or enhance the style of your dress, this DIY project is both fun and rewarding.
Here’s a step-by-step guide on how to add a panel to a dress:
Step 1: Plan Your Design
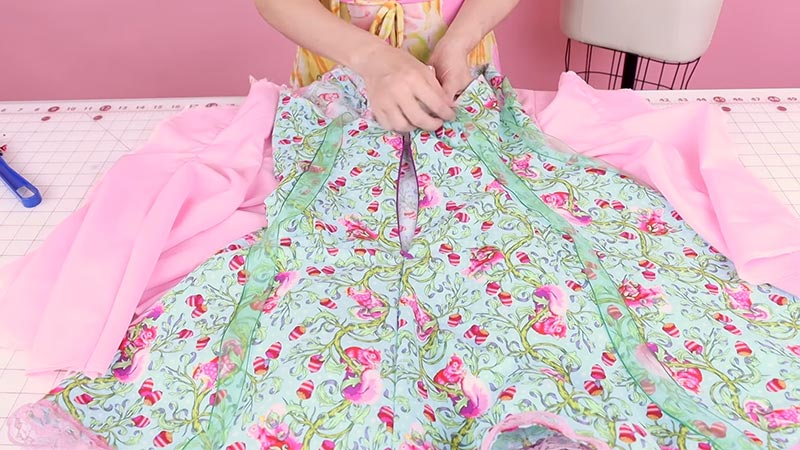
Before you start, take some time to plan your design. Consider where you want to add the panel on the dress – whether it’s the front, back, sides, or even diagonally across the dress.
Think about the size, shape, and style of the panel. Sketch out your ideas and take measurements of the area where you’ll be adding the panel. Having a clear design plan will help guide your decisions throughout the process.
Step 2: Choose the Right Panel Fabric
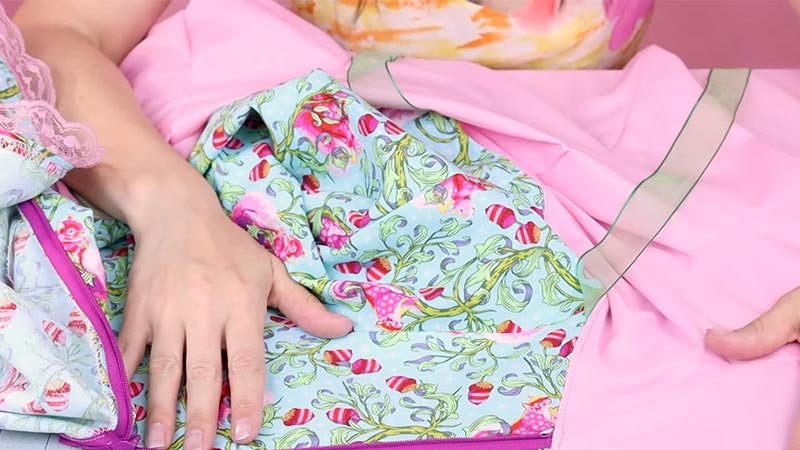
Select a fabric for the panel that complements your dress in terms of color, pattern, and texture. Ensure the panel fabric’s weight and drape match the dress material.
It’s essential to choose a fabric that not only looks good with your dress but also feels right. Consider how the two fabrics will work together when sewn.
Step 3: Measure and Cut the Panel Fabric
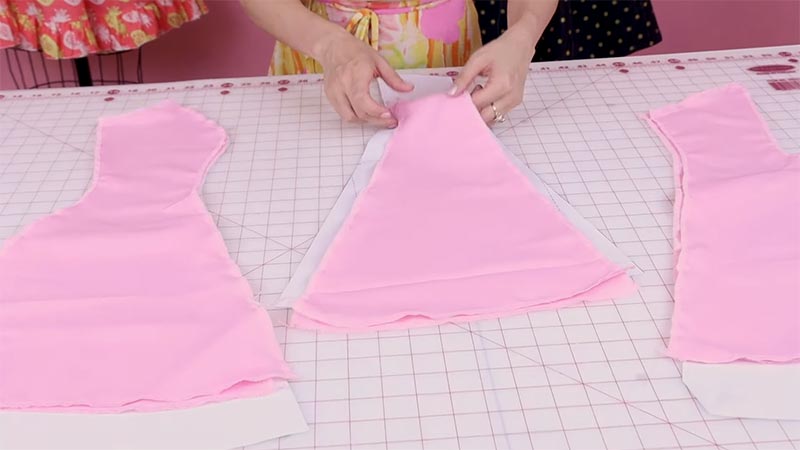
Measure the width and length of the area where you plan to add the panel on the dress. Once you have these measurements, cut a rectangular piece of the panel fabric accordingly, adding a small seam allowance (usually around 1/2 inch or 1.3 cm) on each side.
This allowance ensures that you’ll have enough fabric for neat sewing and finishing.
Step 4: Prepare the Dress
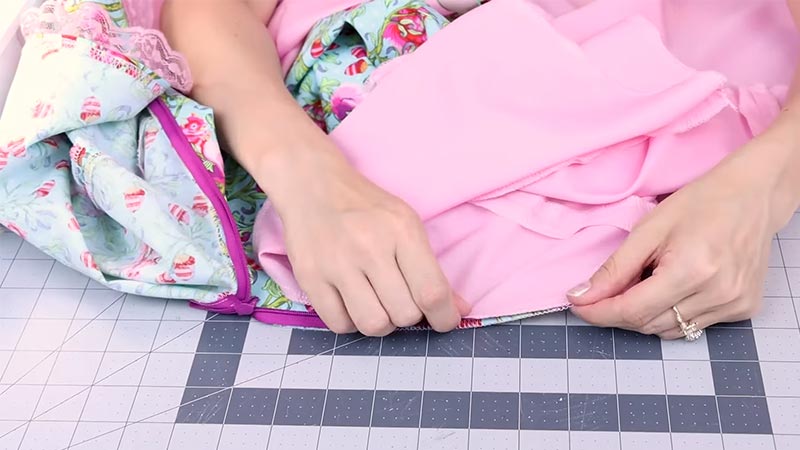
Lay your dress flat on a clean and smooth surface. If there are any existing features, such as darts, pleats, or seams in the selected area, consider removing or altering them.
This will help create a flat surface for attaching the panel and ensure a smoother, more professional-looking result.
Step 5: Pin the Panel in Place
Carefully position the panel fabric on the dress, aligning it perfectly with the edges of the selected area. Pin the panel and the dress together along the edges, ensuring the right sides of the fabrics face each other.
Proper pinning is crucial to prevent shifting during the sewing process and ensures accurate alignment.
Step 6: Sew the Panel to the Dress
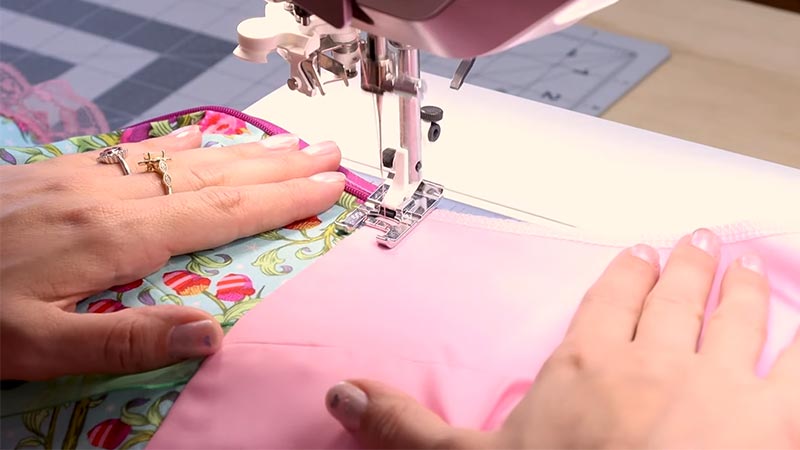
Using a sewing machine or hand-sewing with a needle and thread, begin sewing along the edges of the panel that you’ve pinned, attaching it securely to the dress.
Choose an appropriate stitch type (such as a straight or zigzag stitch), and remember to backstitch at the beginning and end of your seams for added durability.
Take your time to sew neatly and accurately.
Step 7: Trim Excess Fabric and Threads
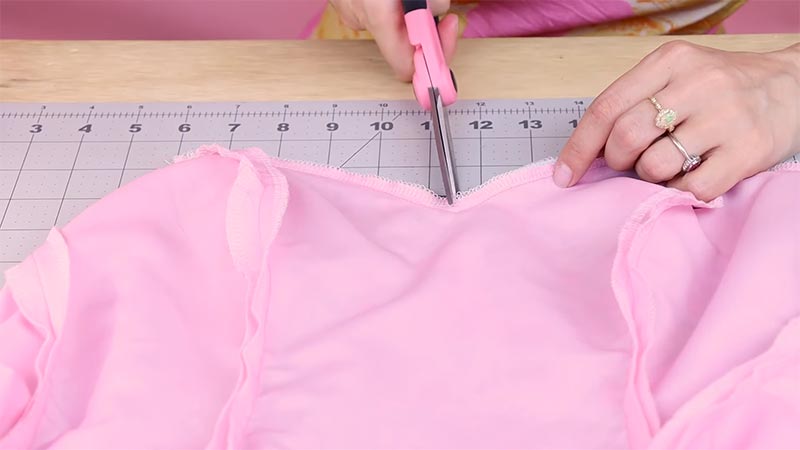
After sewing, carefully trim any excess fabric and threads. Maintain a small seam allowance (approximately 1/2 inch or 1.3 cm) on each side to ensure a clean and tidy finish.
Use sharp scissors for precision trimming to achieve a polished look.
Step 8: Press the Seams
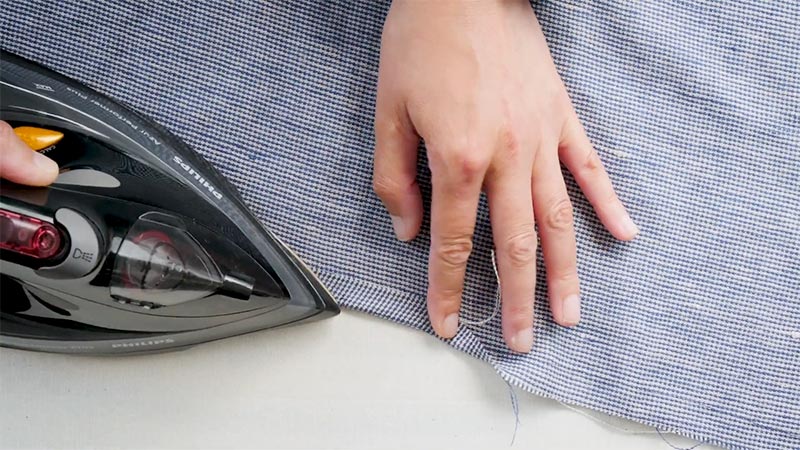
Press the seams open or to one side using an iron and an ironing board. This step is essential for removing wrinkles, creating a polished appearance, and helping the panel lay flat against the dress.
Properly pressed seams contribute to a more professional and finished result.
Step 9: Optional Topstitching
Consider adding topstitching along the edges of the panel. Topstitching serves a decorative purpose and provides additional strength to the seam.
It can help flatten any bulky seams and add a stylish finishing touch to your dress panel.
Step 10: Final Press and Inspection
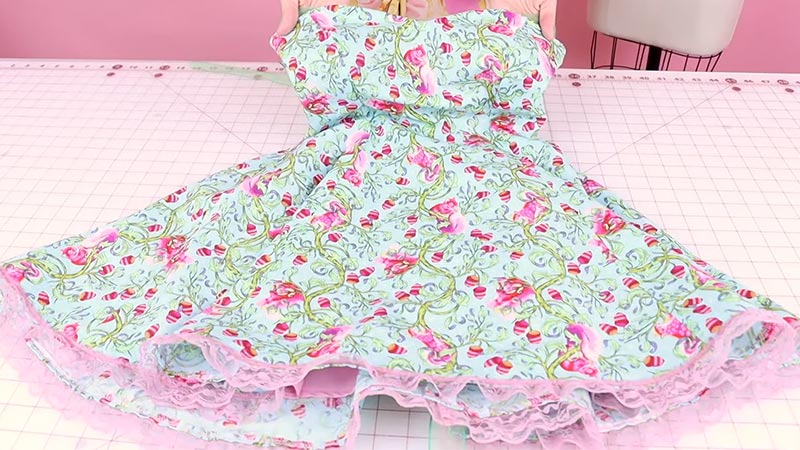
Give the entire dress a final press with an iron to ensure it lays flat and presents a neat, professional finish. Look closely at your work for any loose threads, irregular stitching, or areas requiring reinforcement.
Address any issues to ensure your dress panel looks its best.
Step 11: Enjoy Your Transformed Dress
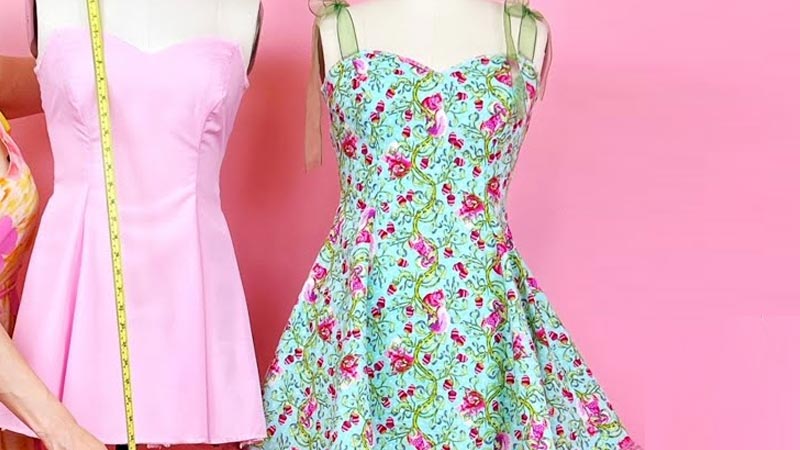
With the newly added panel, your dress is ready to wear confidently and style. Experiment with different panel placements, fabric combinations, and designs to express your unique fashion sensibilities.
Adding a panel to a dress is a creative and rewarding endeavor, allowing you to make your clothing your own.
Why Consider Adding a Panel to Your Dress?
Adding a panel to your dress is a creative and strategic fashion choice that can bring a fresh and unique dimension to your wardrobe.
Here are compelling reasons to consider this stylish transformation:
Enhanced Aesthetics
Panels introduce an exciting visual element to your dress. Whether it’s a pop of color, an intriguing pattern, or a different texture, they can make your dress more visually captivating and fashion-forward.
Personalization
Adding a panel allows you to tailor your dress to your individual style. You can choose the fabric, color, and design, making the dress a true reflection of your personality and taste.
Flattering Fit
Panels can work wonders for your body shape. A well-placed panel can create the illusion of a more flattering silhouette, accentuating your best features and downplaying areas you may want to minimize.
Reviving Old Favorites
Don’t let your beloved dresses collect dust in the closet. Adding a panel can rejuvenate older dresses, making them feel brand new and on-trend.
Budget-friendly Update
In an era of sustainable fashion, adding a panel is a cost-effective way to update your wardrobe without splurging on entirely new garments. It’s an environmentally conscious choice that aligns with responsible fashion practices.
Uniqueness
If you want a unique dress, adding a panel is an ideal solution. You can experiment with different fabrics and asymmetrical designs or even combine multiple panels to create a truly unique and memorable piece.
Special Occasions
When you need an outfit for a special event, a well-placed panel can transform a casual dress into an elegant and sophisticated ensemble. Luxurious fabrics like lace, satin, or sequined material for the panel can elevate the dress’s suitability for formal occasions.
Concealing Imperfections
Dresses with minor flaws or stains need not be discarded. Adding a panel strategically can effectively conceal these imperfections, prolonging the life of the dress and saving you money.
Creative Expression
Dress panels serve as a canvas for your creative expression. You can explore various design elements, such as color-blocking, geometric shapes, or decorative embellishments like sequins or intricate embroidery, making your dress a unique work of art.
Vintage Appeal
If you’re a vintage fashion fan, adding a panel can help you achieve the distinctive look of a particular era while enjoying the benefits of modern sizing, comfort, and versatility.
Can You Add a Panel to Any Dress?
Adding a panel to a dress is often possible but not always ideal. The feasibility depends on factors like the dress’s style, fabric compatibility, design intentions, construction complexity, and your sewing skills.
While simpler dresses with compatible fabrics are more suitable, complex designs may pose challenges. Assess the dress’s characteristics and abilities carefully before adding a panel to ensure a harmonious and attractive modification.
Remember that the panel’s purpose, whether for aesthetics or functionality, should align with the dress’s overall style and intended use.
FAQs
Is it possible to add a panel to a dress without sewing?
Sewing is the most common method for adding a panel to a dress, as it provides a secure and durable attachment. However, if you’re looking for a temporary solution, you can explore fabric adhesive or fusible bonding options, but these may not be as long-lasting.
What types of fabrics work best for panels?
The choice of panel fabric depends on the desired look and the dress material. Lightweight fabrics like chiffon or lace work well for delicate overlays, while heavier fabrics like denim or wool can add structure and warmth.
Can I add multiple panels to a dress?
Absolutely! You can get as creative as you like and add multiple panels to a dress. Consider mixing different fabrics, colors, or patterns for a unique, eye-catching design.
How do I ensure that the panel lays flat on the dress?
Pressing the seams ensures the panel lays flat against the dress. Use an iron and ironing board to press the seams open or to one side, removing any wrinkles and achieving a polished appearance.
Can I add a panel to a dress’s front and back?
Yes, you can add panels to a dress’s front and back to create a visually interesting design. Just make sure the panels are symmetrical or intentionally asymmetric, depending on your design goals.
To Recap
Adding a panel to a dress is a transformative and empowering endeavor that grants you the creative freedom to redefine your fashion narrative.
With careful planning and meticulous execution, you can breathe new life into old garments or craft unique pieces that showcase your style.
Following the steps outlined in this guide, you’ve learned how to choose the right fabric, prepare your dress, sew precisely, and achieve a polished finish.
The result is not just a dress but a wearable work of art that bears your distinct mark of creativity. So, embrace the joy of DIY fashion, experiment with different designs, and enjoy the satisfaction of wearing a dress that truly represents you inside and out.
Your wardrobe will never be the same, and your style will shine brighter than ever before.
Leave a Reply