Are you looking to add a professional touch to your fabric projects or create sturdy openings for curtains, bags, or banners? Grommets are the answer!
These small yet mighty metal rings provide reinforcement and a neat finish to fabric edges, allowing you to insert cords, hooks, or ties.
Whether you’re a seasoned seamstress or crafting enthusiast, learning how to add grommets to fabric is valuable.
In this comprehensive guide, we’ll explore adding grommets to fabric. With just a few simple steps, you can elevate your DIY projects and achieve a polished, durable result that will stand the test of time.
Get ready to transform your fabric creations and make them more functional and visually appealing. Let’s dive into the world of grommets and discover how to integrate them seamlessly into your sewing and crafting repertoire.
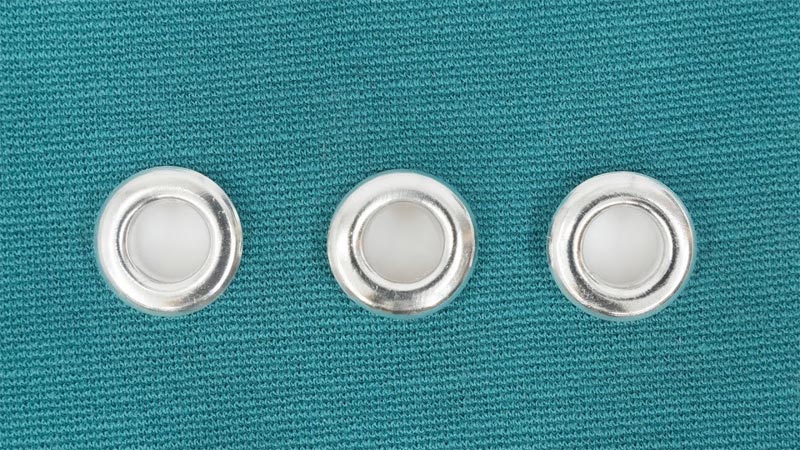
How to Add Grommets to Fabric? 6 Steps
Here, we’ll take you through the process step by step, covering everything from selecting the right materials to mastering the installation technique. So, let’s begin your journey to becoming a grommet pro!
Step 1: Marking Your Fabric
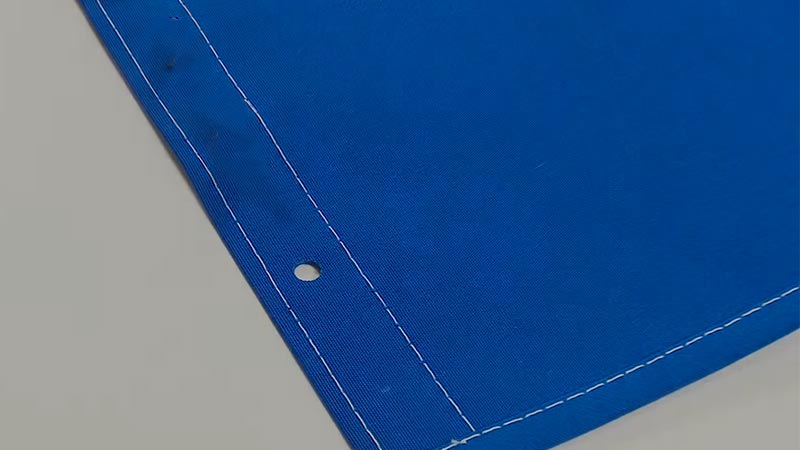
Begin by deciding where you want to place the grommets on your fabric. Measure and mark these locations with a marker or chalk. Ensure they are evenly spaced and aligned correctly for your project’s design.
Step 2: Preparing the Fabric
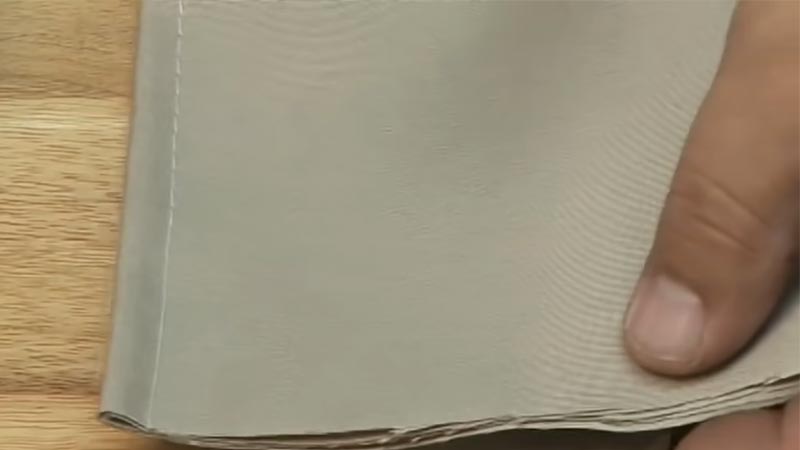
Lay your fabric on a flat, sturdy surface like a table. Place a cutting mat or scrap piece of wood under the area where you’ll work to protect your surface.
Step 3: Making Holes in the Fabric
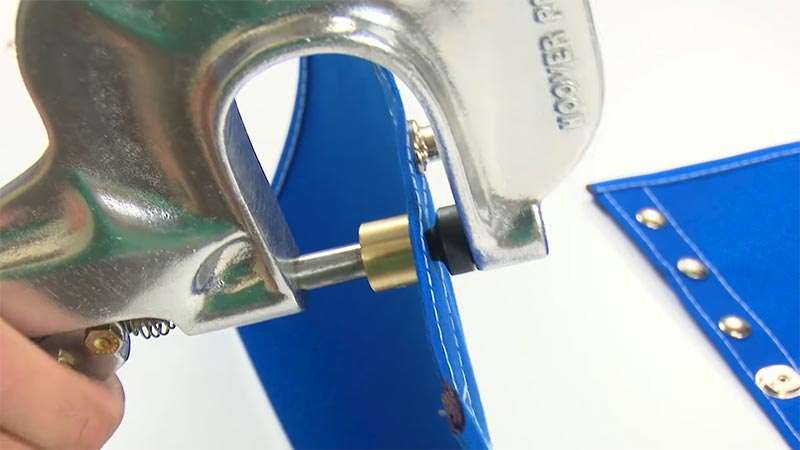
You can use a hole punch from your grommet setter kit to create holes for the grommets. Ensure the hole punch size matches the grommet size.
Position the hole punch over the marked locations on your fabric and press down firmly to create clean holes. Make sure the holes are centered and precise.
Step 4: Inserting the Grommets
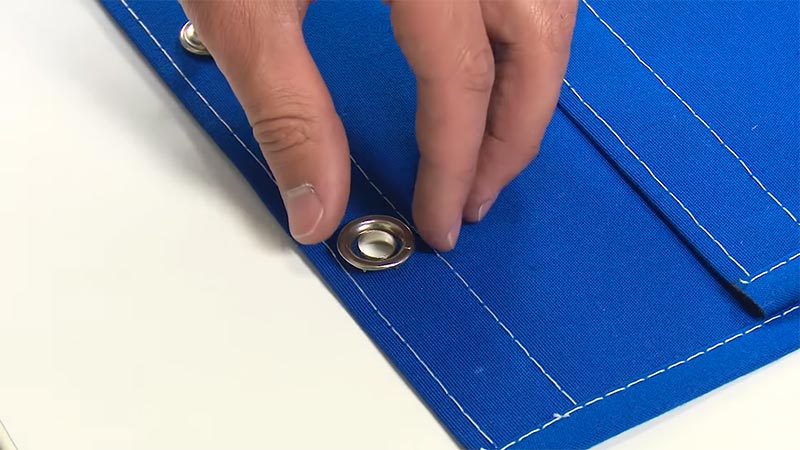
Separate the grommet pieces into two parts: the front and the back. Place the front grommet piece with the raised edge facing up on the anvil or a hard, flat surface.
Insert the fabric hole over the raised edge of the front grommet piece. Ensure the fabric is flat and evenly distributed over the grommet.
Step 5: Setting the Grommets
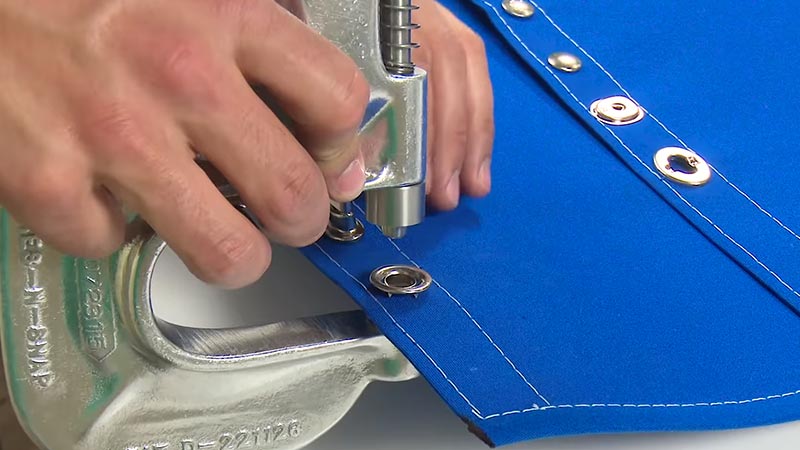
Position the back grommet piece over the fabric and the front grommet piece. The raised edge should be facing down towards the fabric. Place the setter tool, which matches the size of your grommet, over the back grommet piece.
Firmly strike the setter tool with a hammer. This will compress the two grommet pieces together and secure them in place.
Step 6: Checking and Finishing
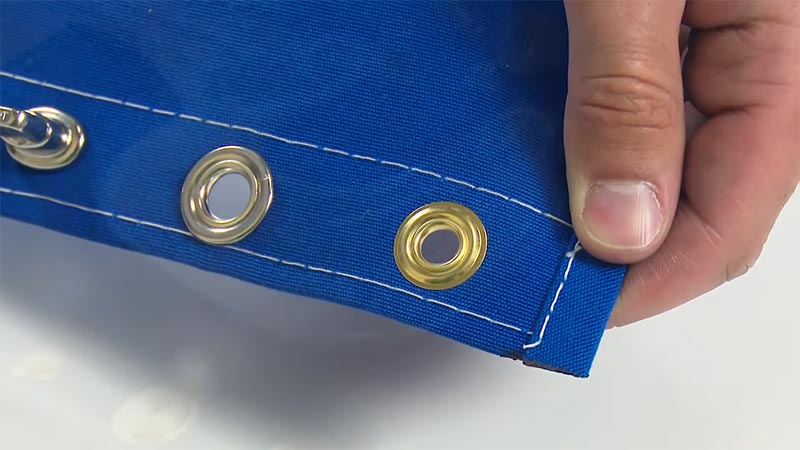
After setting all your grommets, double-check that they are secure and evenly placed. If any are loose or misaligned, you can repeat the process to fix them. Trim any excess fabric around the grommets, leaving a clean and neat finish.
Tips and Tricks
Practice on a scrap piece of fabric before working on your actual project to get a feel for the process. When choosing grommet sizes, consider the thickness of your fabric and the purpose of the grommets. Larger grommets are suitable for heavier fabrics and more substantial uses.
Always follow the manufacturer’s instructions for your grommet setter kit, as different kits may have specific requirements.
If you’re working with delicate or lightweight fabrics, consider adding interfacing to reinforce the fabric around the grommet holes.
Experiment with different grommet placements and styles to achieve unique designs in your projects. Congratulations! You’ve successfully learned how to add grommets to the fabric.
Materials and Tools You’ll Need
Here’s a table listing the materials you’ll need for adding grommets to fabric:
| Material | Description |
| Fabric | The fabric you want to add grommets to. |
| Grommets | Two-part fasteners typically made of metal or plastic. |
| Grommet setting tool | A tool for installing the grommets securely. |
| Grommet anvil or block | Used with the setting tool to support the fabric. |
| Hammer or mallet | To strike the setting tool and secure the grommet. |
| Ruler or measuring tape | For marking the placement of the grommets. |
| Chalk or fabric marker | For drawing guidelines on the fabric. |
| Hole punch or awl | To create holes in the fabric where the grommets will be inserted. |
| Cutting mat (optional) | Protects your work surface when using a hole punch. |
| Scissors or rotary cutter (optional) | For cutting the fabric if needed. |
| Eye protection | Safety glasses or goggles when using the setting tool. |
| Work surface | A sturdy and flat surface for working on the fabric. |
| Scrap fabric (optional) | Placed under the grommet area for reinforcement. |
These materials are commonly used for adding grommets to fabric, which is a common practice in various sewing and craft projects such as curtains, tarps, clothing, and more.
The specific tools and materials may vary based on the size of the grommets and the fabric being used.
How to Choose the Right Grommets?
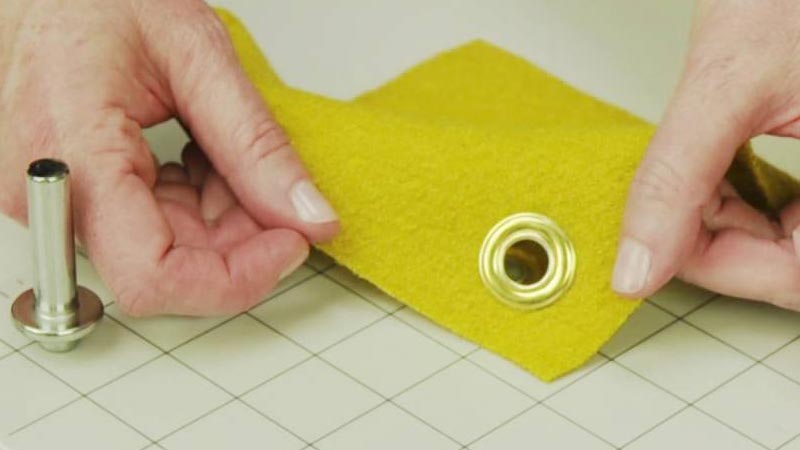
Choosing the right grommets for your project is essential to ensure the desired functionality, durability, and aesthetic appeal.
Grommets come in various sizes, materials, and styles, so it’s crucial to understand your project’s requirements and select the appropriate grommets. In this guide, we’ll help you make informed choices when it comes to picking the right grommets.
Consider Your Project’s Purpose
Before you start shopping for grommets, determine the primary purpose of your project. Are you reinforcing fabric for added durability, creating a decorative accent, or aiming for both functionality and style?
Knowing your project’s purpose will guide your grommet selection.
Grommet Size
The first consideration is the size of the grommets. Grommets are available in various diameters, typically measured in millimeters or inches. The size you choose should align with your fabric’s thickness and the grommet’s intended use.
Small Grommets (e.g., 1/4 inch or 6mm)
These are suitable for lightweight fabrics like sheer curtains or thin cotton. They work well for decorative purposes but may not provide significant reinforcement.
Medium Grommets (e.g., 3/8 inch or 9mm to 1/2 inch or 12mm)
These are versatile and can be used in various projects, including clothing, bags, and banners. They offer a good balance between functionality and aesthetics.
Large Grommets (e.g., 5/8 inch or 15mm and larger)
These grommets are ideal for heavy-duty applications like canvas tarps, tents, or leather goods. They provide robust reinforcement and are less likely to tear through thick materials.
Grommet Material
Grommets are made from various materials, each with its unique properties and appearances. Your chosen material can impact the project’s overall look, feel, and durability.
Brass Grommets
Brass grommets have a classic and elegant appearance. They are highly durable and resistant to rust, making them suitable for outdoor applications. Brass grommets are often used in marine projects and heavy-duty fabrics.
Nickel Grommets
Nickel grommets have a shiny silver finish that looks modern and sleek. They are also corrosion-resistant and suitable for both indoor and outdoor projects. Nickel grommets are commonly found in clothing, bags, and curtains.
Plastic Grommets
Plastic grommets are lightweight and affordable. They come in various colors and are often used for decorative purposes or in projects where weight concerns them. However, they may not be as durable as metal grommets.
Stainless Steel Grommets
Stainless steel grommets offer excellent rust resistance and durability. They are often used in marine and outdoor applications where exposure to moisture is a concern.
Grommet Style
Grommets come in different styles, which can affect your project’s overall look and functionality. Here are a few common styles:
Plain Grommets are simple, unadorned grommets that provide a clean and minimalist look. They are versatile and can be used in various projects.
If you want to add a touch of style to your project, consider decorative grommets. They come in various shapes and designs, adding a decorative element to your fabric.
Self-piercing grommets have a sharp edge, allowing them to pierce through the fabric as they are set. They are convenient and save you the step of pre-punching holes in the fabric.
Quantity and Placement
Determine how many grommets you need for your project and where they should be placed. Even spacing and correct alignment are essential for a professional-looking finish. Measure and mark the locations carefully before installation.
Installation Method
Consider how you plan to install the grommets. Some grommet setter kits have specific tools for different grommet sizes and materials. Ensure you have the necessary tools and follow the manufacturer’s instructions for setting the grommets correctly.
FAQs
What is the difference between eyelets and grommets?
Eyelets and grommets are both used to reinforce holes in the fabric, but they have distinct differences. Grommets consist of two parts and are typically more robust and used for heavy-duty applications.
Can I add grommets to thin or delicate fabrics?
Yes, you can add grommets to thin or delicate fabrics, but it’s essential to reinforce the area around the grommet hole. Use interfacing or a fabric stabilizer to provide extra support and prevent the fabric from tearing.
How do I remove grommets if I make a mistake during installation?
Removing grommets can be challenging, but it’s possible. You can use a grommet removal tool or carefully cut around the grommet to release it. Be cautious not to damage the fabric in the process, and consider practicing on scrap fabric first.
What are self-piercing grommets, and when should I use them?
Self-piercing grommets have a sharp edge that can pierce through the fabric as they are set, eliminating the need to pre-punch holes. They are convenient and save time. Use self-piercing grommets when you want a quick and easy installation.
Can grommets be used in leatherworking projects?
Yes, grommets are commonly used in leatherworking projects. They provide a secure way to create reinforced holes in leather for various applications, such as belts, bags, and leather clothing.
Conclusion
Adding grommets to fabric is a versatile and valuable skill that opens up a world of creative possibilities. Whether you’re revamping your home decor, designing custom clothing, or crafting accessories, grommets can provide that perfect finishing touch.
With the right materials and a bit of practice, you can achieve professional-looking results that are both aesthetically pleasing and functional.
Remember, the key to success lies in careful preparation, precise placement, and a bit of patience. Don’t be discouraged if it takes a few tries to perfect your technique; like any skill, practice makes perfect.
Soon enough, you’ll easily add grommets to your fabric projects. So, go ahead and explore the endless ways grommets can enhance your creations.
Whether you’re reinforcing fabric for durability, creating stylish accents, or improving functionality, this skill will undoubtedly become a valuable tool in your DIY arsenal.
Leave a Reply