Enhancing a dress with the delicate charm of tulle offers a creative avenue to personalize and elevate its aesthetic appeal.
Whether aiming for a touch of romance, vintage allure, or a whimsical flair, the addition of tulle introduces versatility to your wardrobe.
This guide unveils the art of seamlessly incorporating tulle into a dress, exploring techniques that don’t necessitate advanced sewing skills.
From thoughtful planning to precise measurements and attachment methods, discover the step-by-step process to transform any dress into a captivating ensemble.
Unleash your creativity as you embark on this journey of embellishment, turning a simple garment into a uniquely adorned and visually enchanting masterpiece.

How to Sew Tulle Onto a Dress?
Adding tulle to a dress can be a creative and stylish way to enhance its overall appearance.
Tulle is a lightweight, sheer fabric that can add volume, texture, and a touch of elegance to various types of dresses, including wedding gowns, prom dresses, or even casual dresses.
Here’s a step-by-step guide on how to attach tulle to a dress:
Materials Needed:
- Dress
- Tulle Fabric
- Scissors
- Measuring Tape
- Needle and Thread
- Pins
Steps:
Planning the Design
Initiate the process by contemplating the integration of tulle into your dress. Envision how you want the dress to be adorned – whether it’s the graceful flow of tulle on the skirt, the subtle addition to sleeves, a captivating touch to the bodice, or perhaps an ethereal overlay.
Take the time to sketch or mentally visualize the design to ensure it harmonizes with your aesthetic preferences and enhances the overall allure of the dress.
Measuring and Cutting Tulle
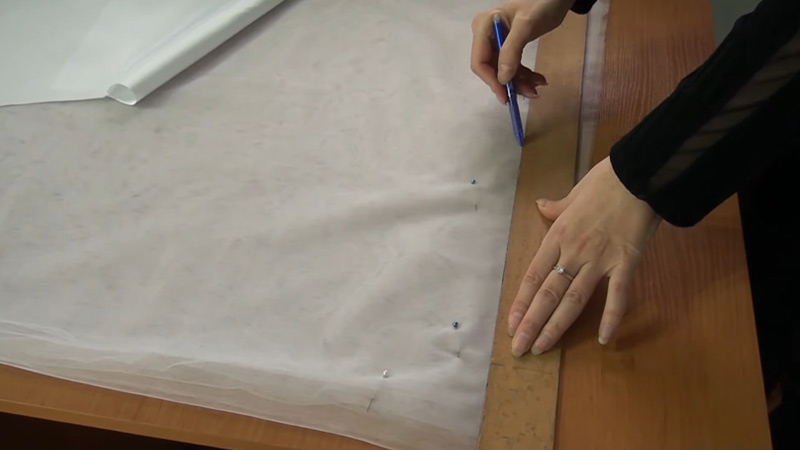
Precision is key in this phase. Carefully measure the sections of the dress where you intend to infuse the tulle.
Be meticulous in your measurements, ensuring accuracy for a seamless integration. When cutting the tulle, allow for a bit of extra fabric; it’s always better to have a surplus that can be adjusted later. This step sets the foundation for a well-fitted and visually appealing tulle addition.
Securing Tulle with Pins
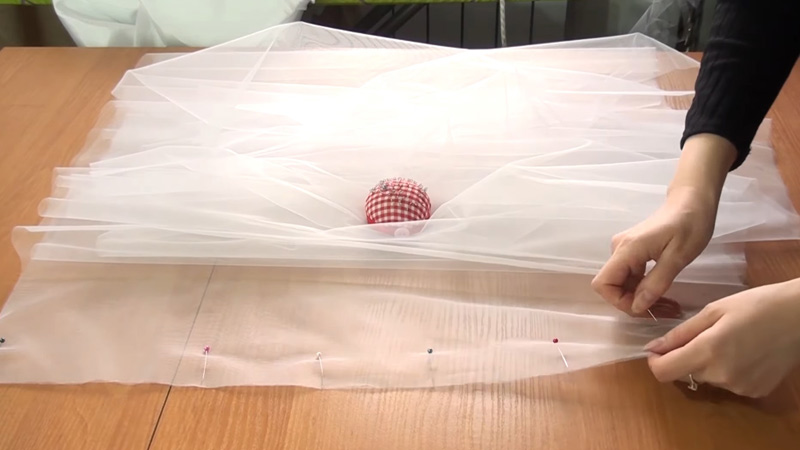
Before committing to permanent stitches, use straight pins to temporarily secure the tulle onto the dress. This allows for a hands-on, practical approach to your design.
Experiment with different placements, making certain that the envisioned design aligns with the actual aesthetic when draped on the dress. It’s a crucial step to avoid any regrets during the permanent sewing phase.
Sewing the Tulle
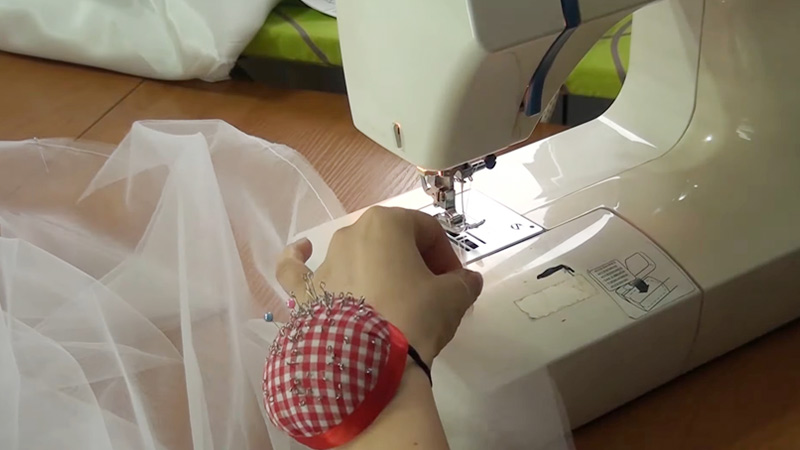
With a delicate touch, sew the tulle onto the dress using a needle and thread. Opt for small, inconspicuous stitches to ensure a secure attachment without causing damage to the underlying dress fabric.
This phase demands a keen eye for detail and patience, as it lays the foundation for the seamless integration of tulle into the dress.
Trimming Excess Tulle
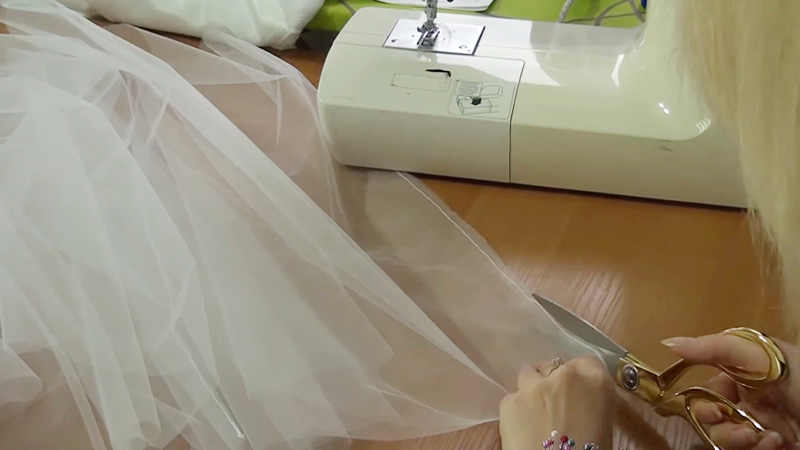
Post-sewing, refine the appearance by carefully trimming any excess tulle. This step is crucial for achieving a polished and refined look.
Precision is paramount to ensure that the tulle seamlessly blends with the dress, leaving no room for uneven edges or inconsistencies.
Final Adjustments
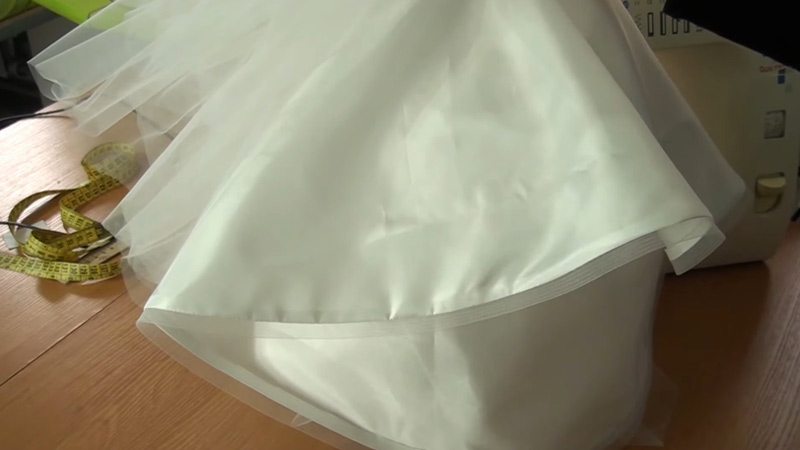
The moment of truth arrives as you try on the dress. Pay close attention to how the tulle drapes and moves with your body. Ensure that it doesn’t restrict your movement and feel comfortable.
This step is an opportunity for final adjustments, reinforcing stitching in areas where tension may cause strain, and guaranteeing that the tulle enhances rather than hinders the overall wearability of the dress.
Optional Embellishments
Should you desire an extra layer of sophistication, consider incorporating embellishments such as lace, beads, or sequins into the tulle.
These intricate details can elevate the dress further, adding a touch of individuality and glamour. Take the time to experiment with different embellishments to find the perfect balance that complements the overall design.
How to Add Tulle to a Dress Without Sewing?
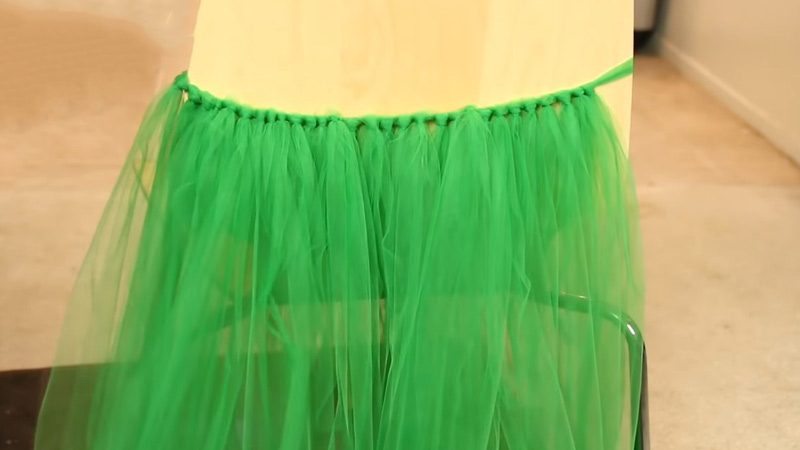
Adding tulle to a dress without sewing can be a versatile and accessible way to enhance your garment with a touch of elegance.
This no-sew method is particularly useful for those who may not have advanced sewing skills or for dresses made of delicate fabrics that may be challenging to sew.
Here’s a step-by-step guide on how to achieve this:
Materials Needed:
- Dress
- Tulle Fabric
- Fabric Adhesive or Velcro Strips
- Measuring Tape
Steps:
Plan the Design
Before embarking on the tulle addition, take a moment to envision and meticulously plan where you want to introduce this sheer fabric to your dress. Consider the dress’s overall design and the impact you want the tulle to have.
Whether gracing the skirt for a whimsical touch, adorning the sleeves for a romantic flair, or serving as an ethereal overlay, this initial visualization is crucial in achieving a harmonious and aesthetically pleasing design.
Measure and Cut Tulle
Precision is paramount in this phase. Use a measuring tape to carefully measure the sections of the dress earmarked for the tulle addition. With these measurements as your guide, cut the tulle pieces accordingly.
Remember to leave a margin for adjustments; cutting the tulle slightly longer than needed affords you the flexibility to fine-tune the length during the application process.
Attach Tulle with Fabric Adhesive
The choice of fabric adhesive plays a pivotal role in ensuring a seamless integration of the tulle.
Apply the adhesive to the edges of the tulle pieces, delicately pressing them onto the dress. Follow the adhesive manufacturer’s instructions diligently to guarantee optimal results.
Pay special attention to securing the tulle along seams and edges, where stability is crucial for a polished finish.
Velcro Attachment
For those seeking a reversible or semi-permanent attachment, consider the use of Velcro strips. Affix one side of the Velcro to the dress and the corresponding side to the tulle.
This method allows for easy removal and reattachment, offering versatility without compromising the secure hold necessary for a flawless appearance.
Smooth and Adjust
Once the tulle is affixed to the dress, take a moment to smooth out any wrinkles or uneven areas. Ensure that the tulle drapes elegantly and lays seamlessly on the dress.
This step is instrumental in achieving the desired look, and adjustments made at this stage contribute significantly to the overall aesthetic appeal.
Test Wear and Refine
The true test comes when you put on the dress adorned with tulle. Evaluate how the tulle feels against your skin and observe how it complements the dress during movement.
This practical step allows for final refinements to the placement and attachment, ensuring that the dress remains comfortable while the tulle enhances your overall presence.
Secure Loose Ends
For those utilizing fabric adhesive, periodic checks for any loose ends or areas requiring reattachment are essential.
Secure any spots where the tulle may have loosened to maintain the integrity of the attachment. This proactive approach ensures the longevity and stability of the tulle addition.
How to Add Tulle to Bottom of Dress?
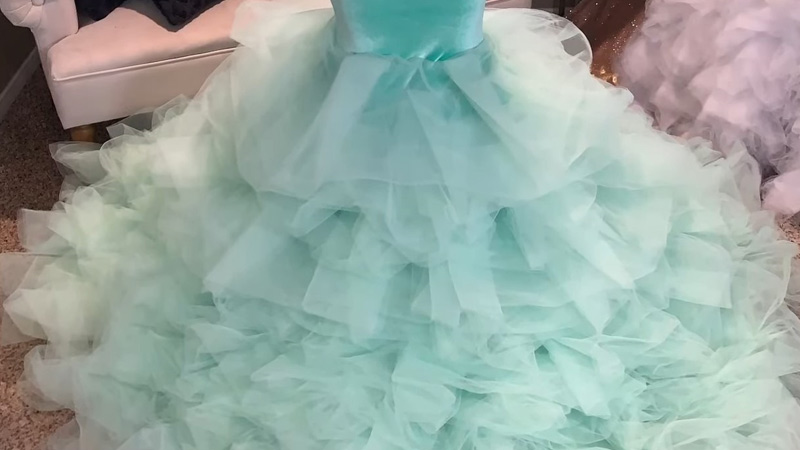
Adding tulle to the bottom of a dress can be a beautiful and creative way to enhance its appearance, adding volume, flair, and a touch of elegance.
Whether you’re working with a wedding gown, prom dress, or any other formal attire, here’s a step-by-step guide on how to add tulle to the under of a dress:
Materials Needed:
- Tulle Fabric
- Matching Thread
- Needle and Pins
- Scissors
- Measuring Tape
- Sewing Machine
Steps:
1. Measure and Cut
Before cutting the tulle, take a moment to envision the overall look you want to achieve. Consider the desired length, keeping in mind that a slightly longer length than the dress can add a graceful and flowing effect.
Using a measuring tape, determine the precise length and cut the tulle accordingly. This step sets the foundation for the entire process, so take your time to ensure accurate measurements.
2. Pin the Tulle
With the dress on, position yourself in front of a full-length mirror to better visualize the final appearance.
Start pinning the tulle in place at the chosen starting point, typically around the hem of the dress.
The straight pins will allow you to adjust and experiment with different placements until you achieve the perfect arrangement.
Take note of how the tulle interacts with the dress’s fabric, and make any necessary adjustments to enhance the overall harmony.
3. Sew the Tulle
Once you’re satisfied with the placement, it’s time to secure the tulle to the dress. If you have access to a sewing machine, use a straight stitch to attach the tulle securely.
Begin at one end and work your way around, ensuring a smooth and even connection. For those choosing to sew by hand, a whipstitch or running stitch along the edge of the tulle will provide a secure attachment.
Take care to maintain an even and consistent seam to achieve a polished appearance.
4. Gather and Fluff
This step adds dimension and volume to the dress. Experiment with gathering the tulle as you sew to create subtle pleats or consider adding layers for a more textured effect.
The goal is to achieve a fuller look that complements the dress’s style and enhances its overall aesthetic.
Take your time adjusting and fluffing the tulle until you achieve the desired level of volume and shape.
5. Trim Excess
Carefully examine the entire length of the tulle to identify any excess fabric. Using sharp scissors, trim the tulle to ensure a uniform length around the dress.
Pay attention to detail, and take your time to create a seamless transition between the dress and the added tulle.
6. Finishing Touches
Inspect the completed work for any loose threads or uneven sections. Secure any loose ends with additional stitches or knots to ensure durability.
Additionally, take this opportunity to ensure the even distribution of the tulle around the dress.
If you’re feeling adventurous, consider adding embellishments such as lace, beads, or sequins to further personalize and enhance the overall look of your dress.
FAQs
Can You Add Tulle to a Wedding Dress?
Yes, tulle can be added to a wedding dress to enhance its elegance, often applied to the skirt, and sleeves, or as an overlay for a touch of romance and sophistication.
Can I add tulle to any type of dress?
Yes, tulle can be added to various dress styles, including wedding gowns, prom dresses, or casual dresses.
The key is to plan the design thoughtfully to complement the dress’s overall aesthetic.
Do I need advanced sewing skills to add tulle to a dress?
Not necessarily. While some methods involve sewing, there are no-sew alternatives like using fabric adhesive or Velcro strips.
These options make the process accessible to individuals with varying levels of sewing expertise.
Can I remove the tulle later if I change my mind?
Yes, depending on the attachment method used. Velcro strips or fabric adhesive offer a semi-permanent option, allowing for easy removal and reattachment without causing damage to the dress.
Wrap Up
The process of adding tulle to a dress is a transformative journey that empowers individuals to infuse their style into garments.
From meticulous planning and precise measurements to creative attachment methods, this guide has unveiled a spectrum of possibilities for enhancing dresses with the ethereal beauty of tulle.
Whether opting for the classic charm of a tulle-adorned skirt, the subtlety of sleeves, or an enchanting overlay, this non-sewing approach opens doors for both novices and seasoned fashion enthusiasts.
The outcome is not just a dress but a wearable masterpiece, a unique reflection of individuality, creativity, and the timeless allure that tulle brings to the world of fashion.
Leave a Reply