Hoodies are a beloved casual fashion staple, offering warmth and comfort with an undeniable cool factor. However, the quest for that perfect fit can often lead to owning either too big or too small hoodies.
Instead of relegating these garments to the back of your closet, mastering the art of hoodie alteration can be both practical and rewarding.
Whether you’ve experienced changes in your body shape, received a gift that doesn’t quite match your size, or desire a customized fit, this guide will teach you how to breathe new life into your hoodies.
In the following steps, we’ll explore how to expertly alter oversized hoodies to achieve a snug fit and how to transform snug-fit hoodies into comfortably stylish essentials.
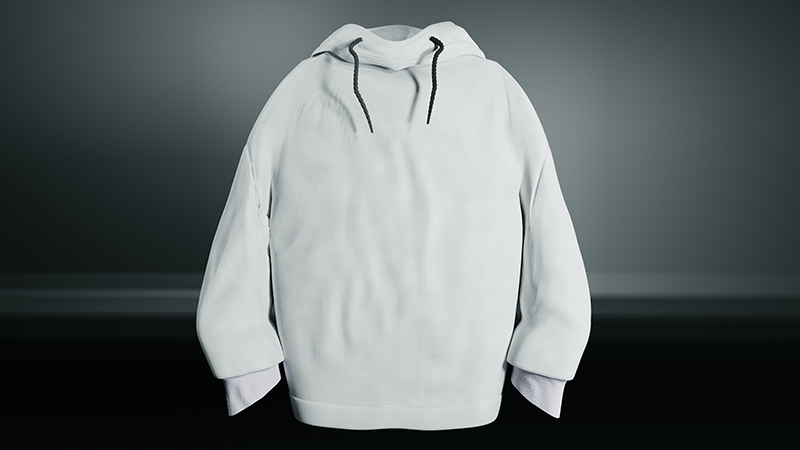
How do you alter a hoodie that’s too big or small?
Altering a hoodie that’s either too big or too small can be a cost-effective and rewarding DIY project. Whether you’ve recently lost or gained weight, received a hoodie as a gift that doesn’t quite fit, or want to personalize the fit to your liking.
Here’s a step-by-step guide on how to alter a hoodie to achieve the perfect fit:
For Altering a Hoodie, That’s Too Big: 8 Steps
When your favorite hoodie is too big, it doesn’t mean you have to part with it. Learn how to expertly alter an oversized hoodie expertly, achieving the perfect fit and extending the life of your cherished wardrobe staple.
Here’s a step-by-step guide for altering a hoodie that’s too big:
Step 1: Try It on Inside Out
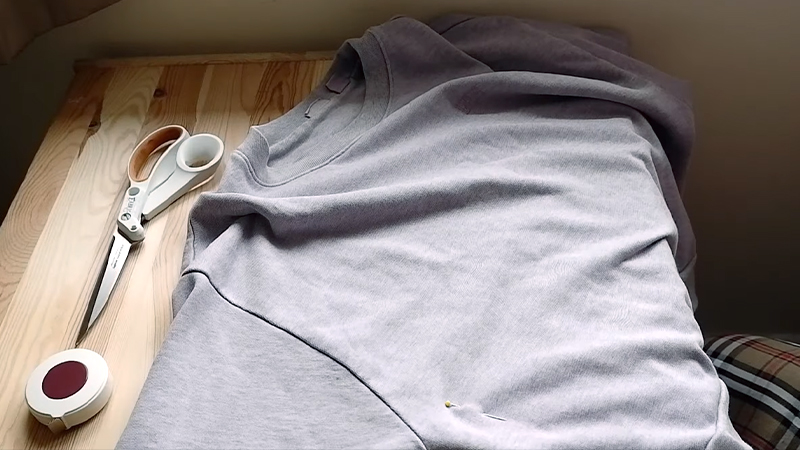
Begin by wearing your oversized hoodie inside out. This allows you easy access to the seams you’ll be adjusting. The inside-out positioning ensures that the seams will face inward after your alterations.
Step 2: Mark the Desired Fit
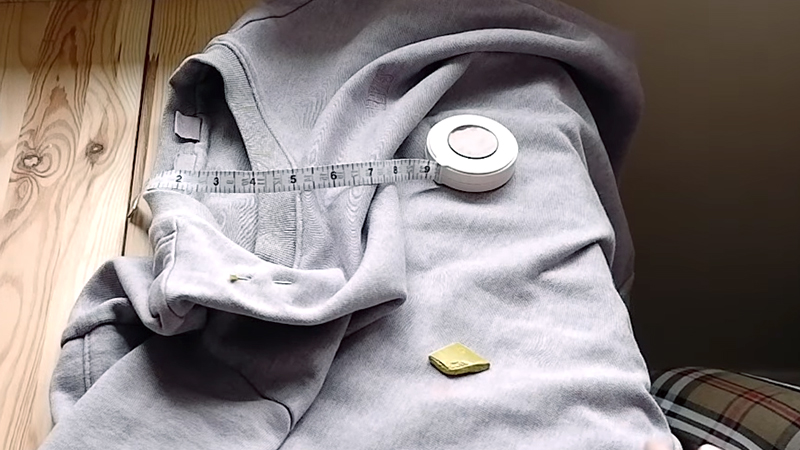
Stand before a mirror and determine how snug you’d like your hoodie to fit. Using a fabric marker or chalk, mark lines where you want to sew. A typical starting point is under the arms; you can mark lines running down to the bottom of the hoodie.
Step 3: Pin the Seams
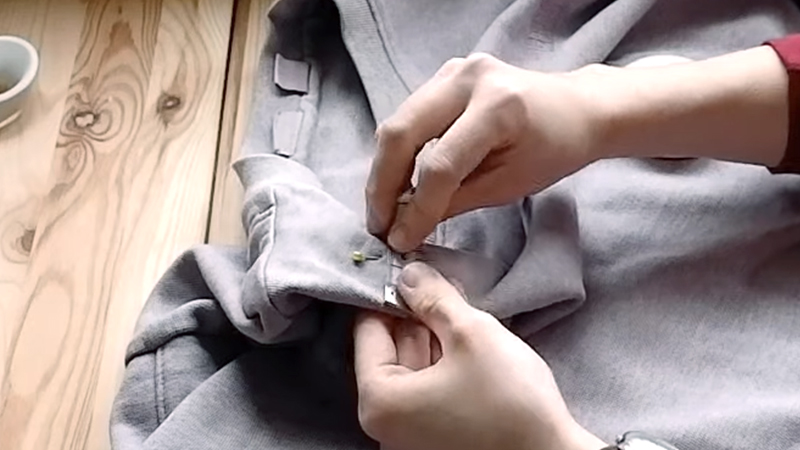
Carefully remove the hoodie while ensuring the marked lines remain visible. Secure the fabric along these lines using straight pins. Please ensure the pins are placed on the inside of the hoodie to avoid any discomfort when wearing it.
Step 4: Sew Along the Marked Lines
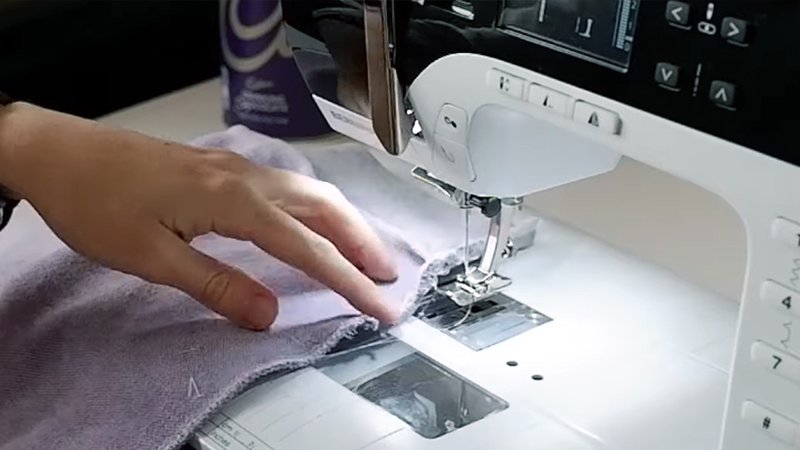
Using a sewing machine or hand-sewing needle, sew along the lines you’ve marked. Begin from the bottom and sew upwards to the armpits. It’s essential to leave a small seam allowance, usually about 1/2 inch (1.27 cm), from the marked lines for flexibility and to prevent fraying.
Step 5: Repeat on Both Sides
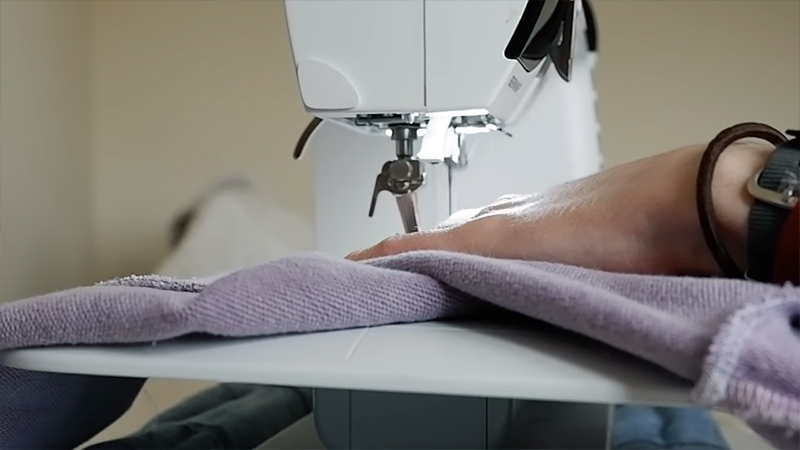
Start sewing on one side, following the marked line, and replicating the process on the opposite side. Ensure your stitches are even and secure, providing a professional finish to your alteration.
Step 6: Try It on Again
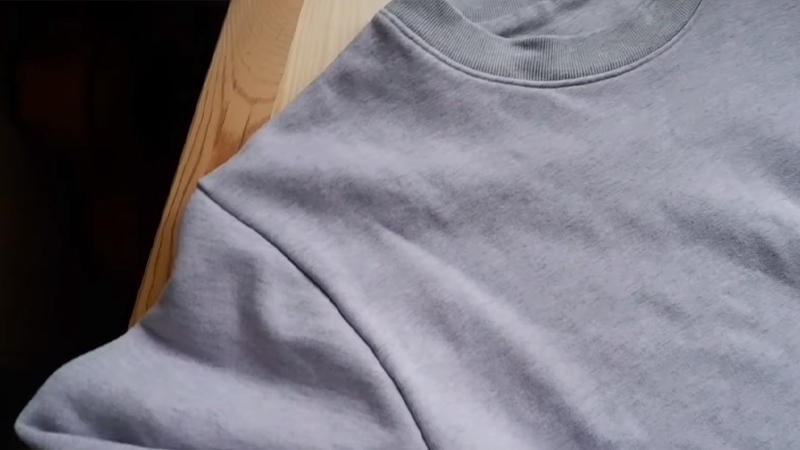
Do your hoodie once more to assess the fit. If it’s too loose in some areas, consider sewing closer to the original seam to achieve the desired snugness.
Step 7: Trim Excess Fabric
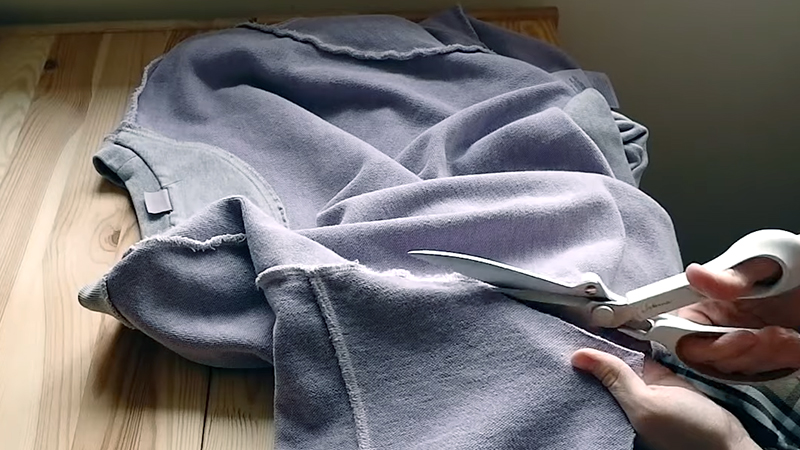
Once satisfied with the fit, carefully trim the excess fabric while leaving a small seam allowance. Be cautious not to cut into your stitches during this step.
Step 8: Finishing Touches
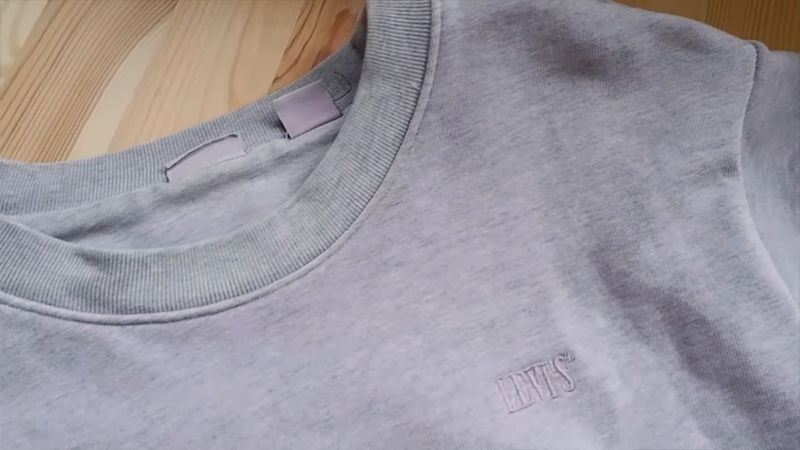
To prevent fraying, consider finishing the raw edges with a zigzag stitch or using a serger if available. Press the altered seams with an iron to set them in place and give your hoodie a polished appearance.
For Altering a Hoodie, That’s Too Small: 5 Steps
Don’t let a too small hoodie gather dust in your closet. Discover the art of hoodie alteration, where we guide you through the steps to transform a snug-fit hoodie into a comfortable and stylish wardrobe essential.
Here’s a step-by-step guide for altering a hoodie that’s too small:
Step 1: Identify Where to Take in
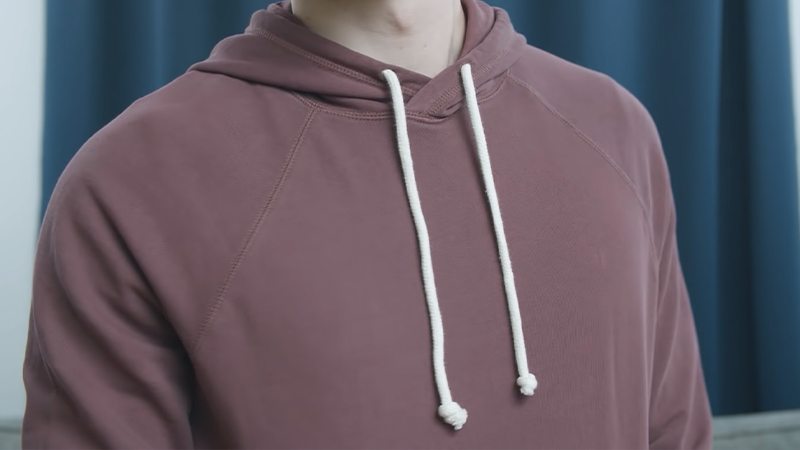
Begin by turning your hoodie inside and standing in front of a mirror. Identify the areas where you’d like to take in the hoodie, such as the waist, wrists, or other snugness adjustment points.
Step 2: Pin Along the Seams
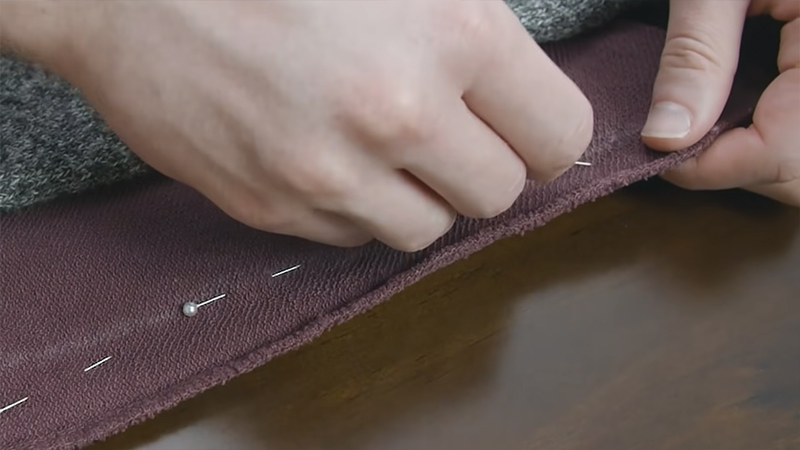
Using straight pins, carefully pin your hoodie along both sides where you want it taken in. Ensure the pins are evenly spaced and the fabric lays flat to create a smooth and even seam.
Step 3: Sew Along the Pinned Lines
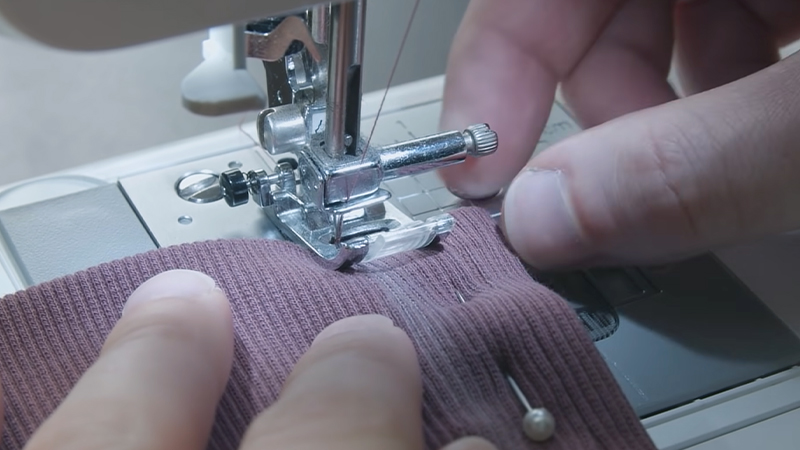
Start sewing along the pinned lines with your sewing machine or a hand-sewing needle. It’s crucial to leave a small seam allowance, typically around 1/2 inch (1.27 cm), to allow for flexibility and prevent fraying.
Sew along the entire length of the seam you pinned.
Step 4: Try It on and Adjust
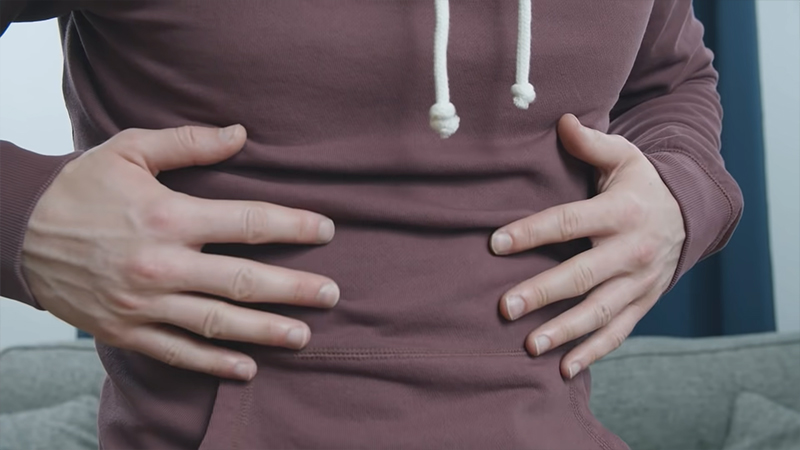
Put on the hoodie after sewing to assess the fit. If you find it’s still too small in certain areas or the adjustment isn’t quite right, you may need to unpick the seam and resew it with minor modifications.
It’s essential to achieve a comfortable fit.
Step 5: Press the Altered Seams
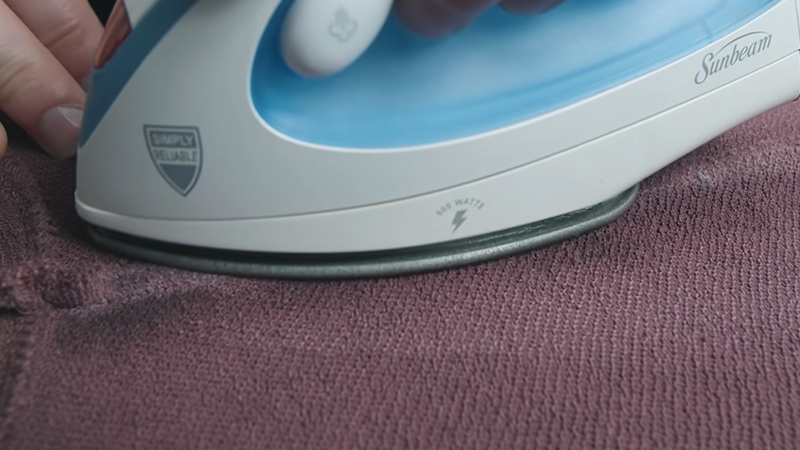
After you’re satisfied with the fit, use an iron and an ironing board to press the altered seams. This helps set the seams in place, creates a neater appearance, and ensures the adjustments remain intact.
How to Prevent the Fabric From Fraying After Altering the Hoodie?
Preventing fabric fraying after altering your hoodie is essential for maintaining a neat and durable finish.
Here are several methods to help you achieve this:
Sew With a Zigzag Stitch
Set your sewing machine to a zigzag stitch. Sew along the raw edges of the fabric, right next to the seam, using the zigzag stitch. This will create a close series of stitches that secure the fabric’s edge and prevent fraying.
Use Pinking Shears
Pinking shears are scissors with a serrated edge. Trim the raw edges of the fabric with pinking shears. The serrated edge creates a zigzag pattern, which helps prevent fraying.
This method is beneficial for lightweight fabrics.
Apply Fray Check or Fabric Glue
Fray Check or fabric glue is a liquid solution that can be applied to the raw edges of the fabric. It dries clear and helps bind the fibers, preventing fraying.
Follow the product’s instructions for application.
Serge the Edges
If you have access to a serger (overlock machine), use it to finish the raw edges of the fabric. A serger creates a neat and professional edge by trimming and overcasting the fabric.
Hem the Edges
Fold the raw edge inward and sew it down with a straight stitch for hems or openings like sleeves or waistbands. This not only prevents fraying but also gives a clean, finished look.
Use Bias Tape
Attach bias tape or binding tape to the raw edges of the fabric. This prevents fraying and adds a decorative edge to your alteration.
Double Fold the Edges
Fold the raw edges under twice before sewing. This creates a clean, finished edge and prevents fraying.
Tips for Altering a Hoodie That’s Too Big or Small
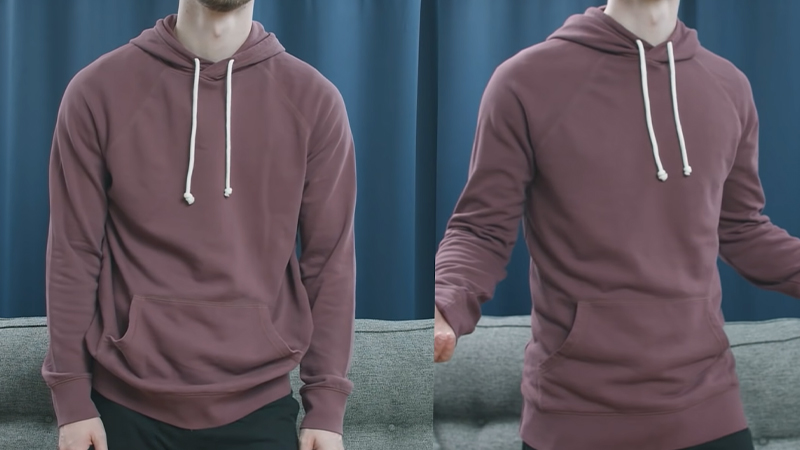
Altering a hoodie that’s either too big or too small can be a rewarding and cost-effective way to achieve the perfect fit.
Whether you’re a seasoned seamstress or a beginner, these tips will help you successfully alter your hoodie:
Measure and Plan
Before altering your hoodie, take precise measurements of your body and the hoodie itself. Note the areas where adjustments are needed, whether the length, sleeves, or width.
Having a clear plan and measurements will help you make accurate alterations.
Start With Minor Adjustments
You should begin with minor changes if you’re new to clothing alterations. You can always take in more fabric or adjust further if needed. Gradually alter the hoodie to achieve the desired fit, ensuring you don’t overdo it in the initial stages.
Use the Right Tools
Having the appropriate sewing tools is crucial for a successful alteration. Invest in a sewing machine or high-quality hand-sewing needles, matching thread, fabric markers or chalk for marking, straight pins to secure the fabric, and sharp scissors for cutting.
Pin Before You Sew
Before sewing, use straight pins to secure the fabric along the lines you’ve marked for alteration. This step is vital in ensuring the fabric stays in place while you’re stitching, preventing misalignment.
Practice on Scrap Fabric
If you’re uncertain about your sewing skills or new to garment alterations, practice on scrap fabric first. This allows you to hone your techniques, get comfortable with your sewing machine, and perfect your stitching.
Take Your Time
Rushing through alterations can lead to mistakes and a less-than-perfect outcome. Take your time to sew accurate and even seams. Precision is critical to achieving a professional finish.
Check the Fit Frequently
Try on the hoodie multiple times to evaluate the fit during the alteration process. This allows you to adjust as needed and ensures you’re on the right track toward achieving your desired fit.
Consider the Fabric
Different fabrics may behave differently when altered. Consider the fabric’s stretch, thickness, and texture when making adjustments. Be prepared to use various techniques for other fabrics.
Finish Raw Edges
Prevent fraying by finishing the raw edges of the fabric. Techniques like using a zigzag stitch, pinking shears, or bias tape will help keep the fabric edges tidy and durable.
Press Your Seams
After sewing, use an iron to press the altered seams. Pressing sets the stitches and gives the hoodie a polished appearance. It also helps maintain the shape of the garment.
Seek Help if Necessary
Don’t hesitate to seek guidance or assistance from a more experienced sewer or tailor if you encounter difficulties or uncertainties during the alteration process.
Their expertise can be invaluable.
Document Your Changes
Take notes or photos of your alterations, noting measurements and techniques used. This documentation can serve as a reference for future projects and help troubleshoot any issues that may arise.
Be Patient and Persistent
Achieving the perfect alteration may take time and practice. Don’t get discouraged if your first attempt doesn’t yield flawless results. With persistence, you’ll improve your skills and achieve better outcomes.
FAQs
Can I alter a hoodie if I don’t have a sewing machine?
Yes, you can hand-sew alterations using a needle and thread. It may take more time, but it can yield good results.
Is it possible to undo alterations if I make a mistake?
Yes, alterations can usually be undone by carefully unpicking the stitches.
Do I need to be an expert in sewing to alter my hoodie?
No, basic sewing skills are sufficient for most hoodie alterations. Practice and patience are essential.
What if I’m unhappy with the alterations after trying on the hoodie again?
You can adjust the alterations by unpicking and resewing the seams until you achieve the desired fit and comfort.
Can I alter a hoodie that has a zipper or pockets?
You can still alter hoodies with zippers or pockets, but it may be a bit more challenging. Be sure to work around these elements to maintain their functionality carefully.
To Recap
The ability to alter a hoodie that’s either too big or too small is a valuable skill for anyone looking to make the most of their wardrobe.
Following the steps outlined in this guide, you can rescue hoodies that no longer fit and transform them into perfectly tailored garments.
Whether adjusting the fit of an oversized hoodie or letting out a snug one, the process is a blend of creativity, precision, and patience. This DIY approach saves you money and allows you to personalize your clothing to your liking.
So, instead of saying goodbye to your favorite hoodies, say hello to a world of possibilities where you can confidently wear and enjoy them again.
Leave a Reply