Adding pearls to fabric can transform your projects into elegant and sophisticated creations. Whether crafting a wedding gown, designing custom clothing, or embellishing home decor, attaching pearls to fabric opens up a world of creative possibilities.
This delicate and intricate process requires precision and patience, but the results are stunning. This guide will take you through each step, from choosing the right materials to securing pearls in place.
Whether you’re a seasoned artisan or a beginner eager to explore this art form, our step-by-step instructions will empower you to adorn your fabric with pearls, adding a touch of timeless beauty and luxury to your designs.
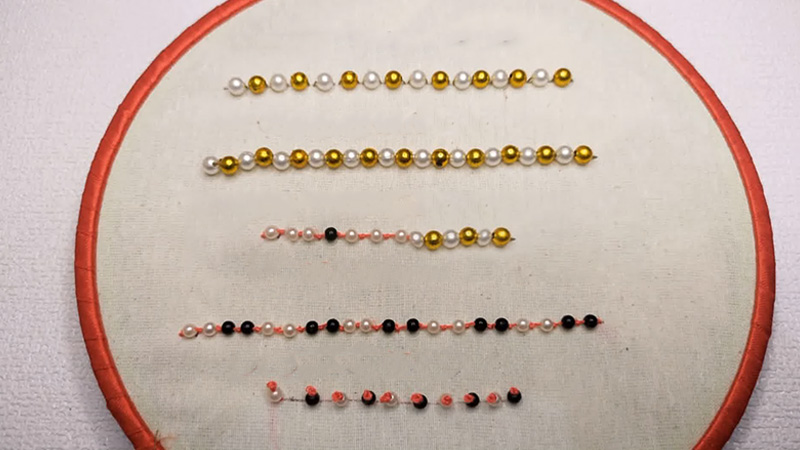
How to Attach Pearls to Fabric?
Attaching pearls to fabric can be a delightful and creative process, adding elegance and charm to your textile projects.
Here’s a step-by-step guide on how to attach pearls to fabric:
Step 1: Gather Your Materials
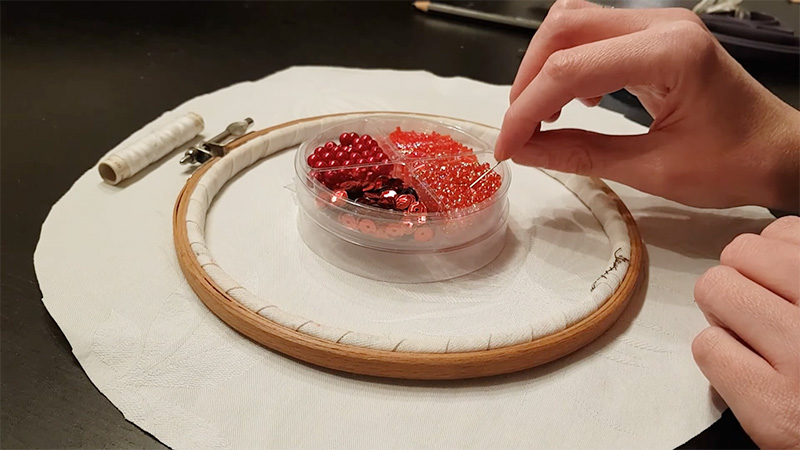
Begin by collecting all the necessary materials for your project. You’ll need your fabric, pearls (choose the type, size, and color that suits your design), needles (select the appropriate size and strength), matching thread, scissors, and other relevant tools, such as thimbles for hand-sewing.
Step 2: Plan Your Design
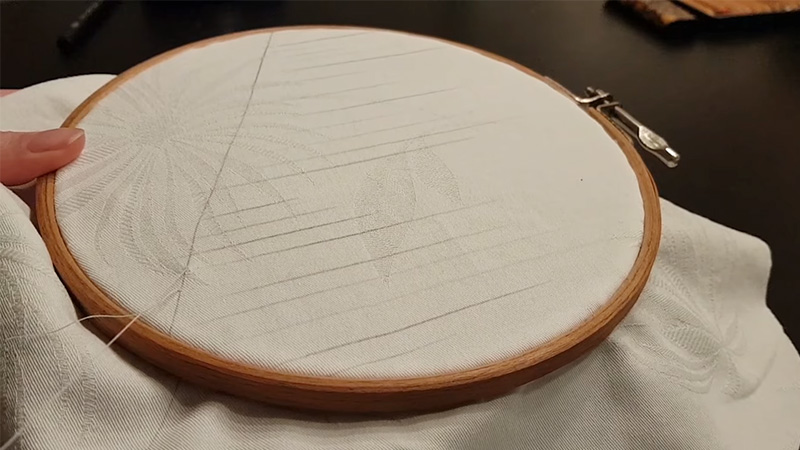
Before you start attaching pearls to fabric, take some time to plan your design. Decide where to place the pearls and create a pattern or layout that complements your project.
This planning stage is crucial as it ensures that your pearl embellishment will be visually appealing and well-executed.
Step 3: Prepare Your Fabric
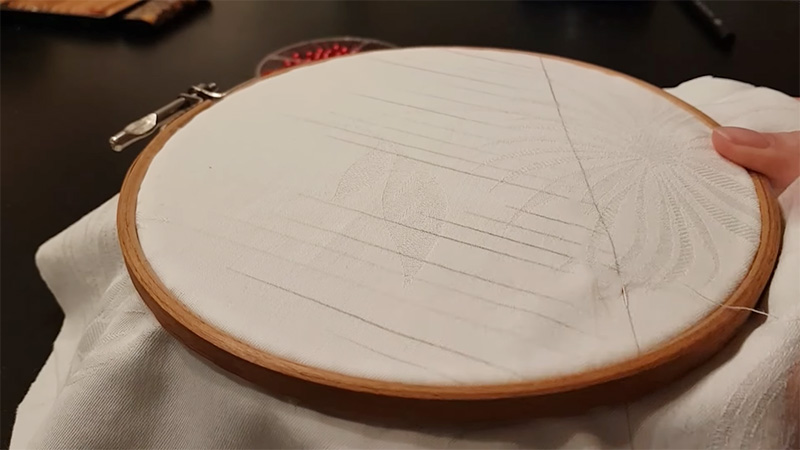
Lay your fabric on a clean, flat surface. Ensure it is free from wrinkles and debris. Iron the fabric to create a smooth canvas for your pearl embellishments if necessary.
A well-prepared fabric surface will make the attachment process easier and yield better results.
Step 4: Thread Your Needle
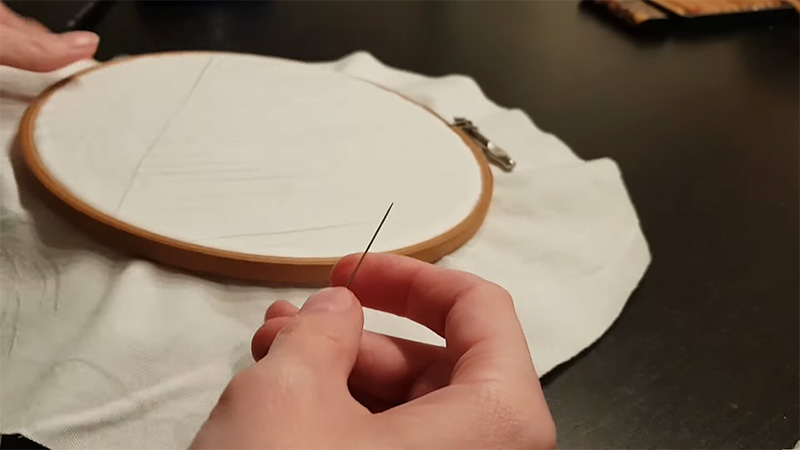
Thread your needle with a thread that matches the fabric or the pearls you use. Depending on your project’s requirements, you can choose a single strand or double it for added strength.
Make sure the thread is long enough for your project but manageable to work with.
Step 5: Knot the Thread
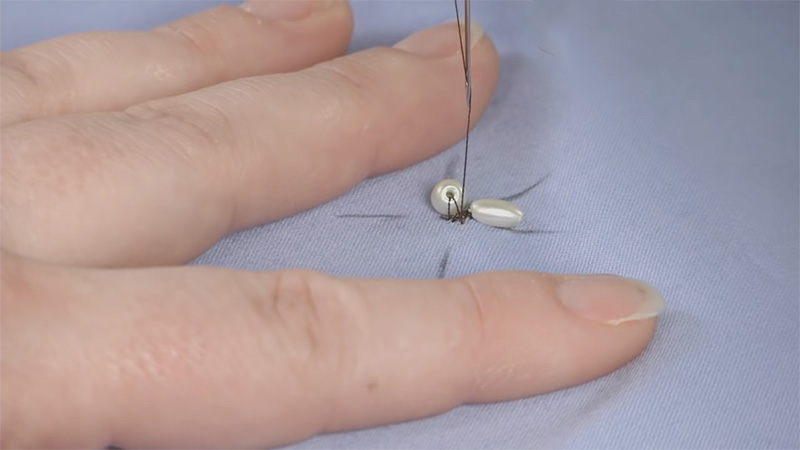
Tie a small knot at the end of the threaded needle to secure it. This knot prevents the thread from slipping through the fabric as you sew the pearls in place.
A secure knot is essential for a durable attachment.
Step 6: Start Sewing
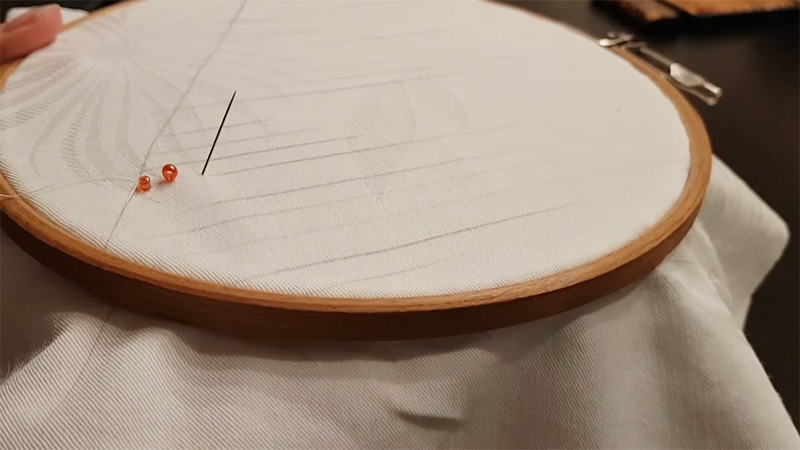
Position your fabric with the first pearl’s placement in mind. Insert the needle from the backside of the fabric to the front at this starting point.
This ensures the knot you tied in the previous step is concealed on the fabric’s underside.
Step 7: Attach a Pearl
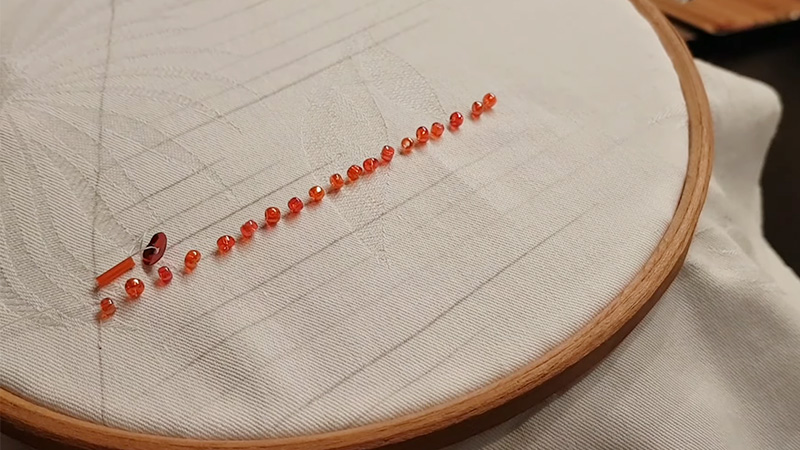
Thread a pearl onto the needle and slide it down the thread until it rests against the fabric. Carefully push the needle back through the fabric close to the pearl, ensuring the thread passes through the holes.
Repeat this process several times to securely fasten the pearl to the fabric.
Step 8: Secure the Pearl
Continue securing the pearl by repeating step 7 until you’re satisfied with its attachment. Ensure the pearl is snug against the fabric without any excess slack in the thread.
A well-secured pearl will stay in place and look elegant.
Step 9: Continue Adding Pearls
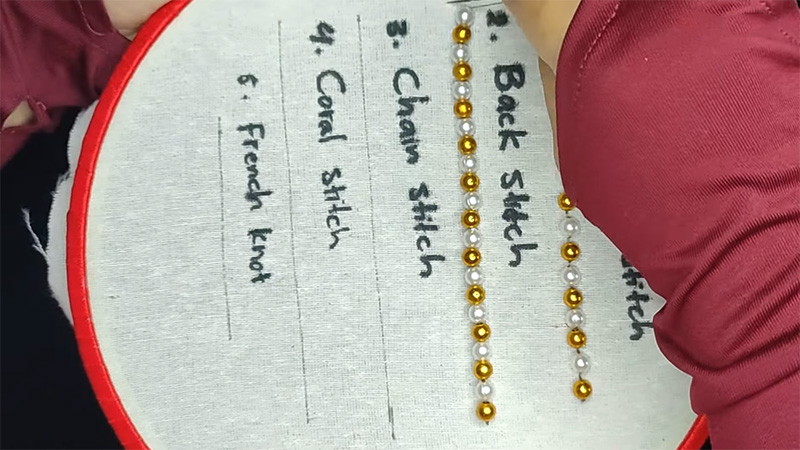
Repeat steps 7 and 8 for the remaining pearls, following your designed pattern. Take your time to ensure that each pearl is securely and neatly attached to the fabric.
Consistency in attachment is key to a polished result.
Step 10: Finish
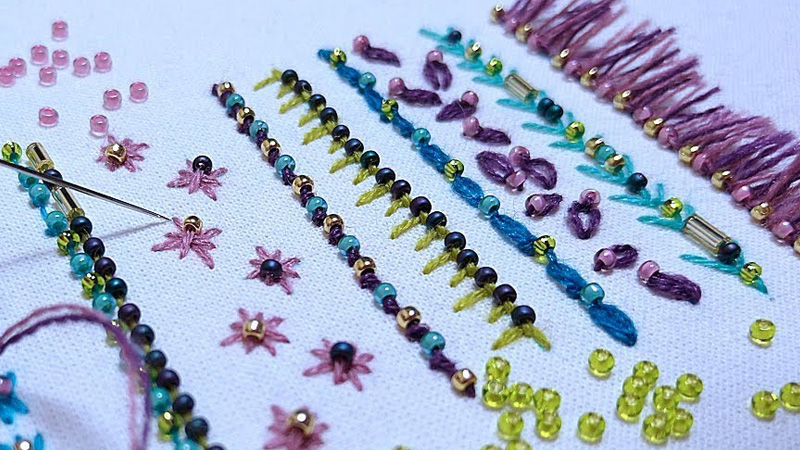
Once you’ve attached all the pearls in your design, knot the thread at the back of the fabric to secure it. Trim any excess thread, careful not to cut too close to the knots.
Your hand-sewn pearl embellishment is now complete and ready to enhance the beauty of your fabric project.
What Are the Best Pearls for Fabric Attachment?
When attaching pearls to fabric, the best type largely depends on your project’s style and personal preferences.
Here are some common types of pearls that work well for fabric attachment:
Cultured Pearls
These are the most common choices for fabric attachment. Cultured pearls come in various shapes, including round, oval, and teardrop, and are available in various colors and sizes.
They offer a classic and elegant look that suits various fabric types.
Swarovski Crystal Pearls
Swarovski crystal pearls are high-quality imitation pearls made of crystal. They have a consistent shape and luster, making them a popular choice for adding a touch of glamour to fabric projects.
Freshwater Pearls
Freshwater pearls can add a rustic and unique charm to the fabric with their irregular shapes and natural colors. They work particularly well for bohemian or vintage-inspired designs.
Faux Pearls
Faux pearls are synthetic pearls made from various materials. They are often lightweight and cost-effective, making them suitable for budget-friendly projects.
Baroque Pearls
Baroque pearls have irregular and asymmetrical shapes. They can create a distinctive and artistic look when attached to the fabric, perfect for avant-garde or statement pieces.
Seed Pearls
Seed pearls are tiny, round pearls that can be used to create delicate and intricate designs on fabric. They are often used for fine detailing.
Pearl Cabochons
These are flat-backed pearls that are easy to attach to fabric using glue. They are a good option if you want a smooth, flat surface on your fabric.
Button Pearls
Button pearls are flat on one side and can be sewn directly onto fabric. They are ideal for creating a flush and secure attachment.
What is the Right Thread for Attaching Pearls to Fabric?
The right thread for attaching pearls to fabric depends on your specific project and technique.
When attaching pearls to fabric, you generally have two main options for thread:
Silk Thread
Silk thread is popular for attaching pearls to fabric, especially in traditional and formal projects. It has a smooth texture, a delicate appearance, and a natural luster that complements the pearls beautifully.
Silk thread is often used for techniques like hand-knotting pearls in jewelry and attaching pearls to wedding gowns or eveningwear. The size of silk thread can vary, so you should select a size that matches the size of the pearls and the fabric you’re working with.
Smaller pearls and delicate fabrics may require finer silk thread, while larger and thicker ones may need a heavier thread.
Nylon Thread
Nylon thread is a versatile and durable choice for attaching pearls to fabric. It has various thicknesses and strengths, making it suitable for various projects.
Nylon thread is less delicate in appearance compared to silk but is known for its strength and reliability. It’s often used for sewing pearls onto fabric for garments, accessories, and home decor items.
The choice of nylon thread size depends on the project’s requirements, with thicker thread for heavier fabrics and larger pearls and thinner thread for lighter materials.
How to Prevent the Thread From Tangling While Sewing Pearls Onto Fabric?
Preventing thread tangling while sewing pearls onto fabric is essential to maintaining your project’s smooth progress and sanity.
Here’s a comprehensive guide on how to keep your thread tangle-free during this delicate crafting process:
Manage Thread Length
Begin using a manageable thread length, typically around 18 inches (45 cm). Longer threads are more prone to tangling. If your project requires a longer thread, consider dividing it into smaller sections and rethreading your needle as needed.
Exercise Thread Control
As you work, pay attention to how you handle the thread. Avoid letting excess thread dangle or become entangled around your fingers. Consider using a thread holder or a small spool to keep the thread organized and untangled.
Opt for Quality Thread
Invest in high-quality thread known for its smoothness and tangle resistance. Silk and nylon threads are popular for their reliability in preventing tangling issues during sewing.
Mindful Needle Insertion
Be conscious of the thread’s path as you insert the needle into the fabric. Ensure the thread doesn’t loop around the needle or catch on the rough edges of the fabric, as this can lead to tangling.
Maintain Consistent Thread Tension
Keep your thread tension consistent while sewing. Avoid sudden, forceful pulls or jerks, as these actions can increase the risk of tangling. Smooth, even stitching helps minimize tangles.
Organize Multiple Threads
If you’re working with multiple threads, such as when attaching several pearls in succession, keep them separate and organized. Use separate needles or thread each pearl individually to prevent tangling between threads.
Regularly Untangle
Take short breaks to inspect your thread and gently untangle any minor snarls or knots as they occur. Promptly addressing these tangles prevents them from worsening and disrupting your progress.
Consider Thread Lubrication
Some crafters find it beneficial to lightly run the thread through a beeswax block or a silicone thread conditioner for added prevention. This reduces friction and helps minimize tangling.
Practice Patience
Lastly, remember that sewing pearls onto fabric is a delicate process that benefits from a patient and calm approach. Rushing can lead to more errors and tangles.
Slow, deliberate movements are often more effective in preventing issues.
FAQs
Is it necessary to use a thimble when sewing pearls onto fabric?
Using a thimble while sewing pearls onto fabric isn’t necessary but can protect your finger from the needle, especially when working with thicker fabrics.
Can I wash fabric with attached pearls?
It’s best to avoid washing the fabric with attached pearls, as it can weaken the thread over time. Spot clean or hand wash gently when necessary.
What’s the ideal spacing between pearls when attaching them to fabric?
The ideal spacing between pearls when attaching to fabric depends on your design; aim for consistency and aesthetically pleasing spacing based on your project’s requirements.
How do I repair loose pearls on fabric?
To repair loose pearls on the fabric, gently rethread the loose pearl, secure it with additional stitching through its holes, and knot the thread securely on the fabric’s reverse side.
What’s the best way to store fabric with attached pearls?
Store fabric with attached pearls in a cool, dry place, away from direct sunlight, and avoid crushing or folding to prevent damage or discoloration to the pearls.
To Recap
The art of attaching pearls to fabric is a skill that allows you to infuse your textile projects with grace and sophistication.
You can create exquisite and personalized designs that stand out through careful planning, precise stitching, and attention to detail.
Whether you’re enhancing a bridal gown, crafting accessories, or beautifying home furnishings, the process outlined in this guide provides a comprehensive and accessible approach.
As you hone your techniques and experiment with different pearl sizes, colors, and patterns, you’ll discover this craft’s endless creative possibilities.
Embrace the journey of adding pearls to fabric, and let your creations reflect your unique style and elegance, making a lasting impression with every stitch.
Leave a Reply