Quilting is a centuries-old craft that weaves together artistry and functionality, creating beautiful and cozy textile masterpieces. However, a quilt is not truly complete until it has been meticulously bound.
Binding not only imparts durability and strength but also bestows a refined, professional appearance to your cherished creation.
In this comprehensive guide on “How to Bind a Quilt,” we will take you through each step of the process, from calculating and cutting binding strips to achieving those perfectly mitered corners, all the way to the final touches that elevate your quilt to a work of art.
Whether you’re a novice or an experienced quilter, this guide will empower you to add that finishing touch that transforms your quilt into a timeless heirloom.
What is Quilt Binding?
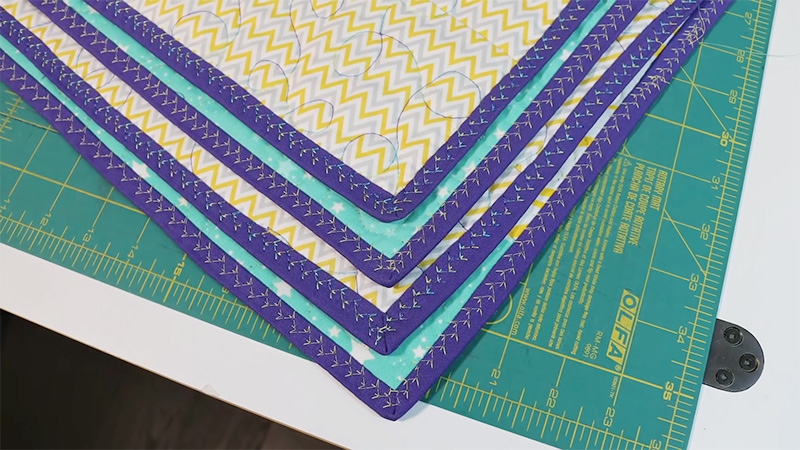
Quilt binding is the fabric strip used to encase and finish the raw edges of a quilt. It not only provides a protective border but also adds a polished, professional appearance to the quilt.
Typically, binding is made by sewing strips of fabric together, folding them in half, and then stitching them onto the quilt’s edges. This final step not only enhances durability but also contributes to the quilt’s overall aesthetics, completing the quilting process.
How to Bind a Quilt? 7 Steps
Binding a quilt is the final step in the quilting process, and it gives your project a polished, finished look while also protecting the raw edges of the quilt.
Here’s a step-by-step guide on how to bind a quilt:
Step 1: Calculate and Cut Your Binding Strips
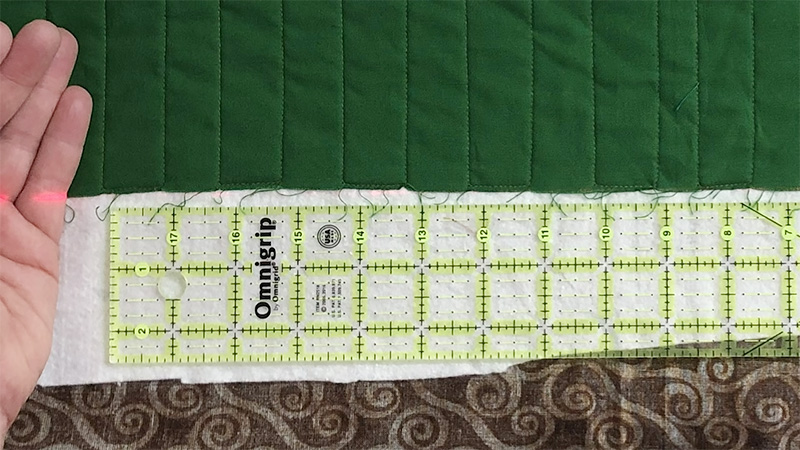
Before you can begin binding your quilt, you need to calculate the required length of your binding strips. Measure the perimeter of your quilt, add about 10-12 inches for seam allowances and joining the ends, and then cut your binding fabric into 2.5-inch-wide strips.
Ensuring precise measurements at this stage will save you time and frustration later in the process.
Step 2: Join the Strips
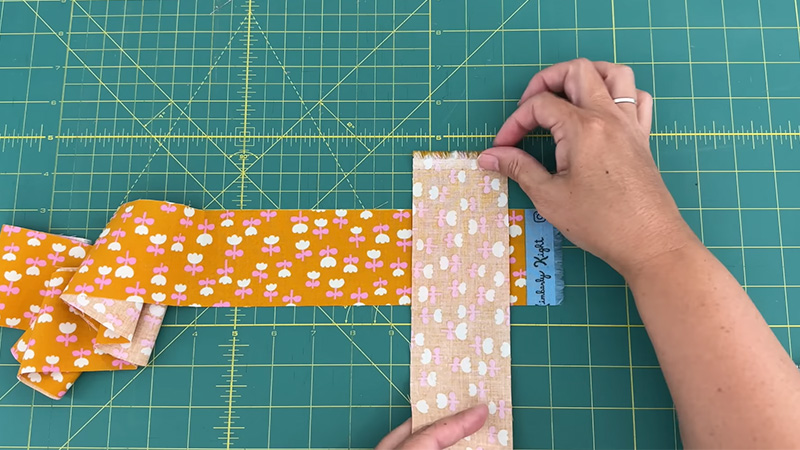
Creating a continuous binding strip is essential for a seamless finish. Lay two strips of binding fabric at right angles to each other, with their right sides facing each other, forming an L shape.
Sew diagonally from one corner to the other, creating a 45-degree seam. Trim the excess fabric, leaving a 1/4-inch seam allowance, and press the seam open.
Repeat this process until all your strips are joined, forming one long binding strip that matches the calculated length.
Step 3: Fold and Press the Binding
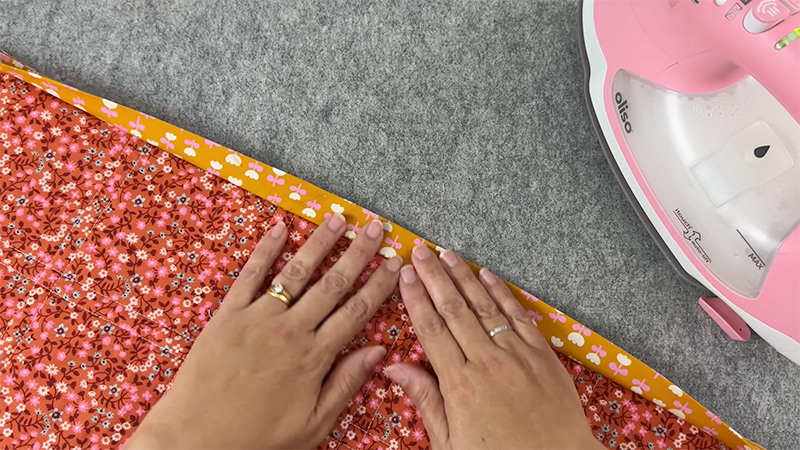
For added durability and ease of sewing, fold the entire binding strip in half lengthwise, wrong sides together. Take your iron and press it down along the entire length of the strip.
This double-fold binding will give your quilt a clean and polished edge when completed.
Step 4: Attach the Binding to the Quilt
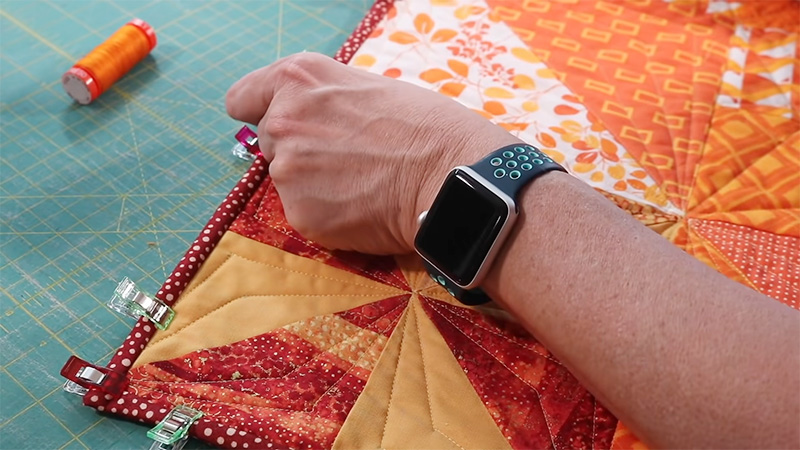
Now it’s time to attach the binding to your quilt. Starting on one side of your quilt, leave a tail of about 10-12 inches. Align the raw edges of the binding strip with the raw edges of your quilt’s front side, and secure it in place with pins or binding clips.
Using a 1/4-inch seam allowance, start sewing, but begin about 1/4 inch from the quilt’s edge. Continue sewing until you’re about 1/4 inch away from a corner, preparing for the next step.
Step 5: Miter the Corners
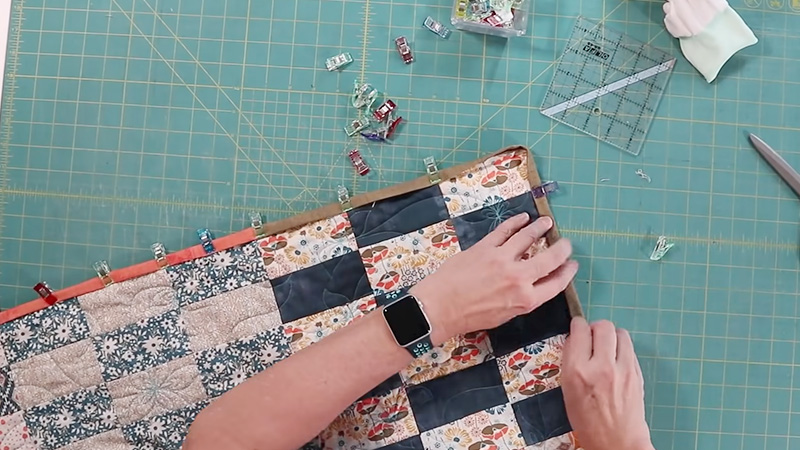
To achieve neatly mitered corners, pause sewing when you’re 1/4 inch away from a corner. Fold the binding strip up at a 45-degree angle, forming a triangle with its edge aligned with the quilt’s edge.
Then, fold it back down, aligning the strip’s raw edge with the next side of the quilt. This process creates a mitered corner. Pin or clip it in place, ensuring it’s crisp and tidy, and continue sewing from the corner while maintaining the 1/4-inch seam allowance.
Repeat this process for all four corners of your quilt.
Step 6: Join the Binding Ends
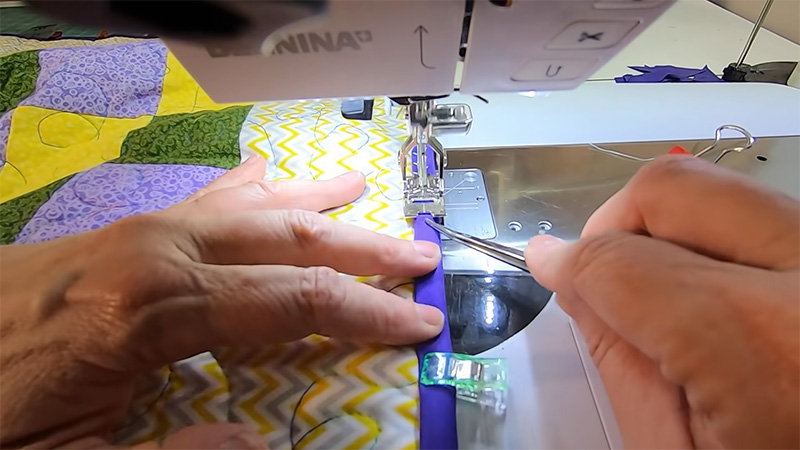
When you reach the starting point, leave about 10-12 inches of binding unsewn. Trim any excess binding, ensuring you have a 6-inch overlap. Open both ends of the binding, placing them right sides together, perpendicular to each other.
Mark a diagonal line at the intersection, sew along it, trim any excess fabric, and press the seam open. Fold the binding in half again, and finish sewing it to the quilt, ensuring a seamless and secure connection.
Step 7: Finish the Binding
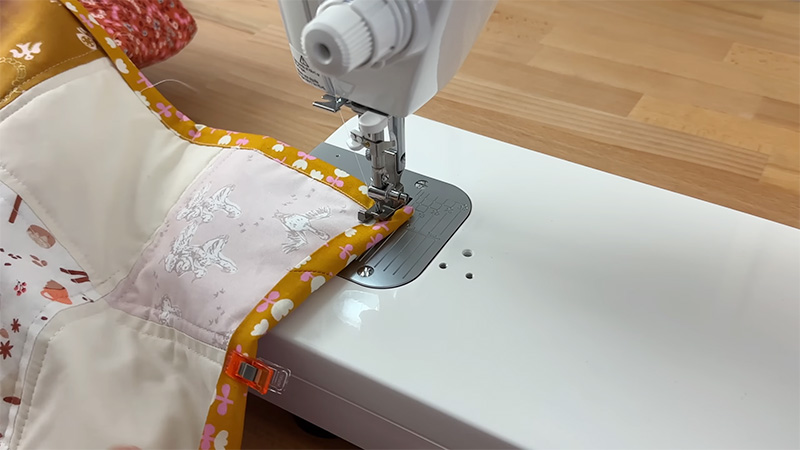
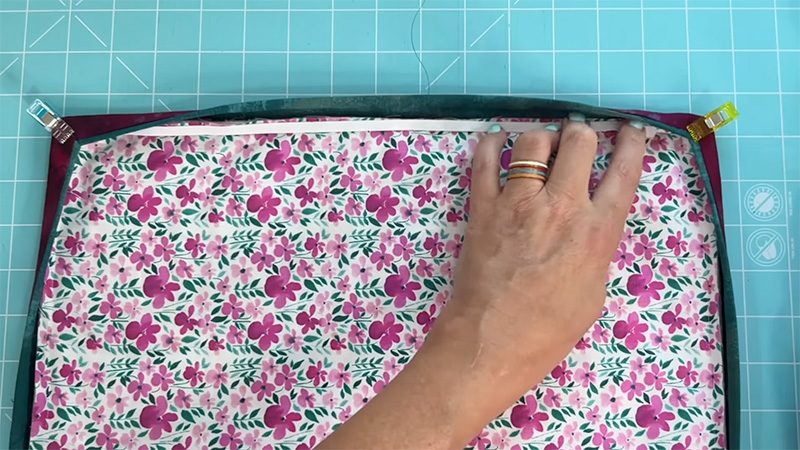
Finally, turn your quilt over to the backside, and fold the binding over to cover the front-side stitching completely. This step is essential for a clean and professional finish.
You have the choice of either hand-sewing with a blind stitch using matching thread for an inconspicuous finish or machine-sewing with a zigzag or decorative stitch using contrasting thread for added flair.
This last step will not only provide a polished appearance but also protect the raw edges of your quilt.
What is Quilt Binding Used for?
Quilt binding serves multiple essential purposes in the world of quilting. It is a vital finishing touch that enhances the functionality, durability, and aesthetics of a quilt.
Here’s an exploration of what quilt binding is used for:
Edge Protection
One of the primary functions of quilt binding is to protect the raw edges of a quilt. Without binding, the exposed edges of the quilt, composed of layers of fabric and batting, are susceptible to fraying, wear, and damage.
Binding acts as a shield, preserving the quilt’s structural integrity.
Durability
Binding contributes significantly to the durability of a quilt. It secures the quilt’s layers together, preventing them from separating or shifting over time.
This durability ensures that the quilt can withstand regular use, washing, and handling, extending its lifespan.
Polished Appearance
Binding provides a polished and finished appearance to the quilt. It neatly conceals the inner seams and raw edges, resulting in a clean, professional, and cohesive look.
Binding is the final step that gives the quilt its refined, completed aesthetic.
Creative Expression
Quilt binding offers an opportunity for creative expression. Quilters can choose binding fabrics, colors, and techniques that enhance or contrast with the quilt’s design.
This allows them to infuse their personality and artistic vision into the quilt, making each creation unique.
Longevity
By safeguarding the quilt’s edges from fraying and wear, binding plays a significant role in the quilt’s longevity. It helps preserve the quilt’s structural integrity, ensuring that it remains functional and beautiful for generations to come.
Personalization
Binding enables quilters to personalize their quilts. The choice of binding fabric, color, and technique allows for customization that reflects the quilter’s style and preferences.
This personal touch transforms each quilt into a distinctive work of art.
How Long Does It Take to Bind a Quilt?
The time it takes to bind a quilt varies depending on factors such as quilt size, complexity, and experience. For a small to medium-sized quilt, it may take a few hours to complete the binding.
Larger or more intricate quilts can take several hours or even days. Beginners may need more time initially, but with practice, the process becomes more efficient.
Overall, the binding process’s duration is influenced by the individual project and skill level.
What is the Ideal Width for Quilt Binding Strips?
The ideal width for quilt binding strips is typically 2.5 inches (6.35 cm). This width is widely used and considered standard in quilting. However, some quilters may prefer slightly narrower or wider binding strips based on their personal preference and the overall design of the quilt.
Here are some considerations for choosing the binding strip width:
Standard Width (2.5 Inches)
This width is a good starting point for most quilts. It provides enough fabric to secure the quilt’s edges and allows for a neat finish without overwhelming the quilt’s design.
Narrower Width
Quilters who prefer a more delicate or subtle binding may opt for 2-inch-wide strips. Narrower binding can work well for mini quilts or when you want the focus to remain on the quilt’s center.
Wider Width
If you want to make a bold statement with your binding or have a larger quilt that benefits from a wider frame, you can use 3-inch-wide binding strips or even wider.
Wider binding can add visual impact and make the quilt’s edges more prominent.
FAQs
Can I use different fabric for binding than what I used in the quilt top?
Yes, you can choose a different fabric for binding to add contrast or complement your quilt’s design. It’s a creative way to personalize your quilt.
Is hand-stitching the binding always better than machine-stitching?
Hand-stitching and machine-stitching both have their advantages. Hand-stitching provides a traditional, seamless look, while machine-stitching can save time and add decorative elements.
Choose the method that suits your preferences.
What do I do if I run out of binding fabric before finishing my quilt?
If you run out of binding fabric, you can piece together additional strips in a matching or complementary color. Just be sure to join them securely to maintain the binding’s strength.
How do I fix mistakes in the binding, like uneven stitching or puckering?
To fix binding mistakes, carefully remove the stitching in the problematic area and re-stitch it, paying attention to maintaining an even seam allowance and avoiding tension issues.
Can I use a different binding technique, such as bias binding, for my quilt?
Yes, bias binding is an option, especially for quilts with curved edges. It provides more flexibility and a smoother finish around rounded corners.
To Recap
In the world of quilting, the binding is the final act of love, care, and craftsmanship that bestows your creation with its well-deserved elegance and strength.
As you’ve journeyed through the steps of this guide on “How to Bind a Quilt,” you’ve learned not just a practical skill but a way to breathe life into your quilt.
The careful measurement, precise stitching, and artful mitered corners have all culminated in a beautifully finished quilt that is both a work of art and a testament to your dedication.
With each quilt you bind, you continue a tradition of creativity and craftsmanship, and you create a piece that will provide warmth, comfort, and joy for generations to come.
Happy quilting!
Leave a Reply