Knitting is a beautiful and rewarding craft that allows you to create cozy garments, stylish accessories, and intricate designs.
As you embark on your knitting journey, you’ll quickly discover that understanding the techniques for both casting on and binding off is essential for completing your projects with finesse.
In this comprehensive guide, we’ll focus on the vital finishing step: how to bind off knitting. Binding off, also known as casting off, is the process of securing your stitches at the edge of your work, ensuring that your project doesn’t unravel.
Whether you’re a novice knitter or someone looking to refine your skills, this step-by-step tutorial will provide you with the knowledge and confidence to achieve clean, professional edges in your knitting projects.
We’ll cover various binding-off methods and offer detailed instructions and tips to help you choose the right one for your project.
So, grab your knitting needles and yarn, and let’s dive into the world of binding off in knitting. Your finished projects will thank you for it!

How to Bind Off Knitting?
Binding off, also known as casting off, is the process of creating a neat, secure edge at the end of your knitting project. This edge prevents the stitches from unraveling and gives your work a polished, finished look.
The binding-off technique is as important as casting on, and it’s crucial for achieving professional results in your knitting projects.
Standard Bind-Off Method
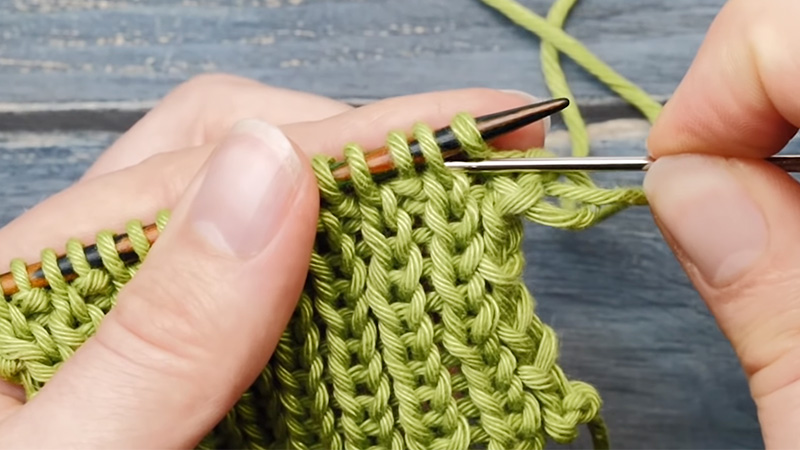
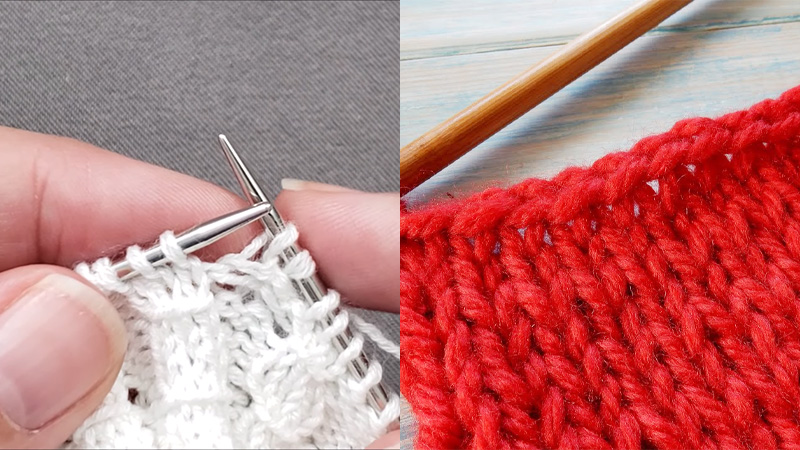
The standard bind-off method is the most commonly used and creates a neat, firm edge. Here’s how to do it. Knit the first two stitches of your row as usual. Lift the first knitted stitch over the second knitted stitch and off the right-hand needle.
You now have one stitch on the right-hand needle. Knit one more stitch. Lift the first knitted stitch over the second stitch and off the right-hand needle. Continue this process, knitting one stitch and passing the previous stitch over until you’ve bound off all stitches.
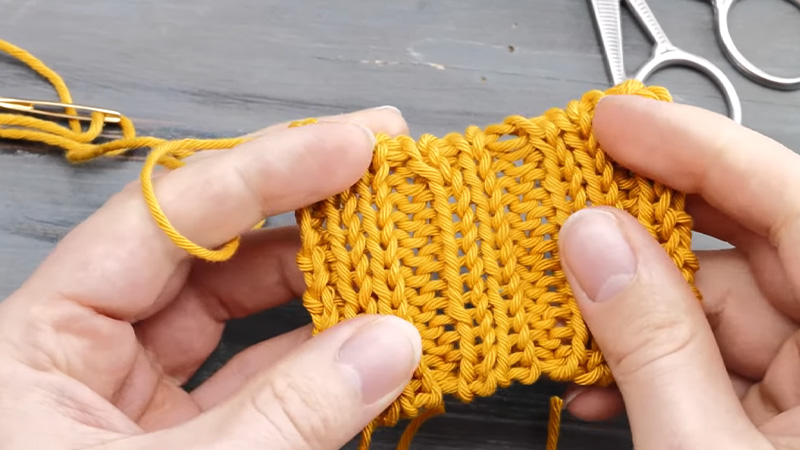
When you have one stitch remaining, cut the yarn, leaving a tail of several inches. Thread the tail through the last stitch and pull it tight to secure.
This method creates a tight edge suitable for most projects, but it might not be the best choice for projects that require stretchy or decorative edges.
Stretchy Bind-Off Method
If you’re working on a project that needs a more flexible edge, like a stretchy hat brim or cuff, the stretchy bind-off method is your best choice. First, knit the first stitch as usual. Knit the second stitch.
Now, here’s where the stretchy part comes in. Insert the left-hand needle into the first stitch on the right-hand needle (the stitch you just knitted) from left to right, as if you were going to knit it again.
Wrap the yarn around the left-hand needle and knit that stitch again. You’ve essentially created two stitches from one.
Pass the first stitch on the right-hand needle over the second stitch (the one you just knitted). Repeat the steps until you’ve bound off all your stitches. Cut the yarn, leaving a tail of several inches, and thread it through the final stitch, pulling it tight to secure.
This method creates a more flexible edge, making it ideal for projects that need a bit of stretch, such as sock cuffs or baby garments.
What Are Some Decorative Bind-Off Methods?

For projects that require a decorative or fancier edge, consider one of these methods:
Picot Bind-Off
The picot bind-off adds a delicate, decorative edge. It’s commonly used in lace knitting or on shawls. To do it, knit the first two stitches. Pass the first stitch over the second stitch, binding off one stitch.
Insert the left-hand needle into the first stitch on the right-hand needle from left to right (as if to knit), wrap the yarn around the left-hand needle, and pull the new stitch through. Knit one more stitch.
Pass the first stitch over the second stitch, binding off one stitch. Repeat the steps until you’ve bound off all your stitches. Cut the yarn, leaving a tail of several inches, and thread it through the final stitch, pulling it tight to secure.
I-Cord Bind-Off
The I-cord bind-off is great for creating a smooth, rounded edge. It’s perfect for projects like baby blankets or scarves. To do it, knit the first three stitches of your row. Slip all three stitches back to the left-hand needle, keeping the yarn at the back of your work.
Knit the first two stitches from the left-hand needle. Repeat the steps until you’ve bound off all your stitches. Cut the yarn, leaving a tail of several inches, and thread it through the final stitch, pulling it tight to secure.
These decorative methods can add a touch of elegance and style to your knitting projects.
Tips and Tricks
Regardless of the binding-off method you choose, strive to keep your tension consistent for a polished edge. Like any knitting technique, practice makes perfect. Experiment with different methods to find what works best for your projects.
When threading the yarn through the final stitch, use a tapestry needle with a large eye to make the process easier.
Ensure you leave a tail of several inches when cutting the yarn to secure your work properly. After binding off, don’t forget to weave in any yarn ends to ensure your work is tidy and secure.
What Is the Difference Between Bind off and Cast off in Knitting?

The terms “bind off” and “cast off” are often used interchangeably in the knitting world, and both refer to the process of securing your stitches at the end of a knitting project. Essentially, whether you say “bind off” or “cast off,” you are describing the same knitting technique.
However, there can be regional and individual preferences for using one term over the other. The difference between “bind off” and “cast off” is primarily a matter of semantics and the regional terminology used in various knitting communities.
Bind Off
The term “bind off” is commonly used in American English and some other regions. It implies the action of creating a finished edge by joining the stitches in such a way that they don’t unravel. It’s akin to binding or tying up the loose ends of your knitting.
In essence, “binding off” involves working through each stitch on your knitting needle in a specific manner, passing the previous stitch over the current one, thus creating a secure edge. This process results in a neat and finished look to your work.
Cast Off
The term “cast off” is often used in British English and some other parts of the world. It describes the same process as “binding off” in American English. “Casting off” means finishing your knitting by creating a secure edge.
The use of “cast off” in this context is a reflection of the linguistic differences between American and British English. It’s not unique to knitting; these language variations exist in other aspects of life as well.
In essence, both “bind off” and “cast off” refer to the same knitting technique, where you finish your project by working through your stitches in a specific way to create a secure edge.
The choice between using one term or the other depends on your personal preference, regional linguistic conventions, or the knitting tradition you follow.
It’s essential to note that while “bind off” and “cast off” describe the same technique, there are various methods for achieving this, each with its own characteristics and applications.
Some methods are more suitable for creating stretchy edges, while others are better for decorative or firm edges. Understanding these different methods and when to use them is more important than the terminology you use.
Here are a few examples of binding-off methods:
Standard Bind-Off
This method is the most basic and creates a firm, non-stretchy edge. It’s suitable for projects that require a clean, finished look.
Stretchy Bind-Off
As the name suggests, this method creates a more flexible edge and is ideal for projects like sock cuffs, where you need some elasticity.
Decorative Bind-Offs
Techniques like the picot bind-off or the I-cord bind-off add a decorative touch to your knitting, making them perfect for shawls, lacework, or other projects where aesthetics are crucial.
FAQs
What is binding off in knitting?
Binding off, also known as casting off, is the final step in knitting to secure the stitches and create a neat edge. It’s used to finish a project and prevent unraveling.
How do I bind off in knitting?
To bind off, knit the first two stitches, then pass the first stitch over the second one. Continue this process until only one stitch remains, then cut the yarn and pull it through the last stitch.
What is a stretchy bind-off in knitting?
A stretchy bind-off is a method that creates a more flexible edge. One common technique is the “Jeny’s Stretchy Bind Off,” which involves yarnovers to add elasticity.
How do I bind off in purl stitch or ribbing?
For purl stitch or ribbing, you can bind off in a pattern. Purl the first stitch, then pass the first stitch over. Continue this pattern, whether in knit or purl, to maintain the ribbing.
How can I prevent a too-tight bind-off in knitting?
To prevent a tight bind-off, use a larger needle size or a stretchy bind-off technique. You can also increase the space between your stitches while binding off to make it looser.
Conclusion
Mastering the art of binding off in knitting is a fundamental skill that can elevate the quality of your knitting projects. As you’ve learned in this guide, there are several binding-off techniques to choose from, each suited to different project types and desired outcomes.
Whether you opt for a standard bind-off, a stretchy method for ribbing, or a decorative edge for added flair, the key is practice and patience.
With consistent practice, you’ll develop the dexterity and confidence needed to create clean and professional edges that not only look great but also ensure your hard work doesn’t unravel.
Remember, knitting is as much about the journey as it is about the destination, and mastering techniques like binding off is all part of the creative process.
So, go forth with your newfound knowledge, experiment with different bind-off methods, and enjoy the satisfaction of completing beautiful knitting projects, knowing you have the skills to finish them off with finesse.
Leave a Reply