Embarking on the journey to change spaghetti straps is an empowering endeavor, offering a chance to rejuvenate and personalize your wardrobe.
These slender and delicate straps, reminiscent of their namesake, add a touch of grace to various garments.
This transformative process involves a series of meticulous steps, from delicately removing old straps to measuring, cutting, and seamlessly attaching new ones. The art lies in not just functionality but in the opportunity for creative expression.
This guide unveils the step-by-step process, from the meticulous removal of existing straps to the careful selection of fabric, ensuring a seamless integration of the new spaghetti straps, ultimately breathing new life into your cherished garments.
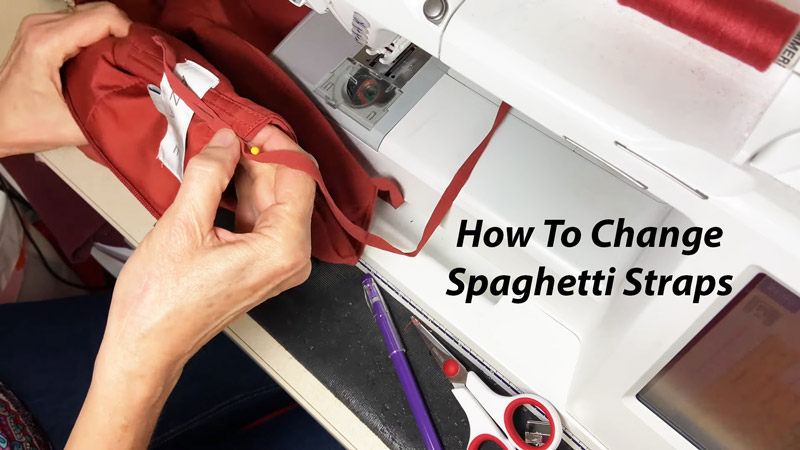
What Are Spaghetti Dress Straps?
Spaghetti dress straps are ultra-thin, delicate shoulder straps resembling strands of spaghetti, hence the name.
Typically made from the same fabric as the dress, these slender straps contribute to a dainty and feminine aesthetic.
Often found on sundresses, camisoles, and evening gowns, spaghetti straps provide minimalistic support while showcasing the shoulders and neckline.
Their subtle design adds a touch of elegance and is popular in warm-weather attire. While offering a delicate look, they require careful handling to maintain durability.
Spaghetti dress straps remain a timeless choice, seamlessly blending simplicity and sophistication in various fashion styles.
How to Alter Spaghetti Straps on a Dress?
Changing spaghetti straps on a garment can be a simple and creative way to personalize your clothing and give it a fresh look.
Whether you’re looking to replace worn-out straps, update the style, or add a touch of flair, here’s a step-by-step guide on how to replace spaghetti straps:
Materials Needed:
- Fabric of your choice.
- Matching thread.
- Needle and pins.
- Scissors.
- Measuring tape.
- Seam ripper.
Steps to Change Spaghetti Straps:
Remove Old Straps
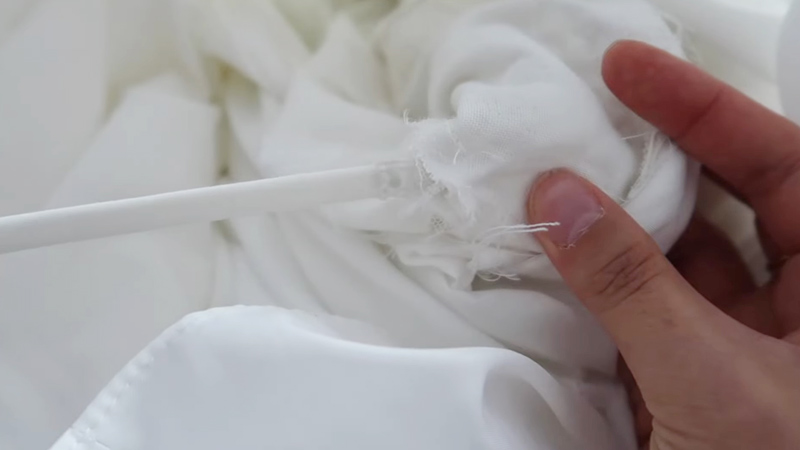
If your garment already has spaghetti straps, this step is crucial for a clean and seamless transition.
Using a seam ripper, gently cut and remove the existing straps. Take extra care to avoid tearing or fraying the fabric.
Start by snipping the threads at the seams and then carefully pull the straps away. Patience is key to preventing any damage to the garment.
Once the old straps are removed, inspect the area for any loose threads or residual stitches, and tidy up if necessary.
Measure and Cut New Straps
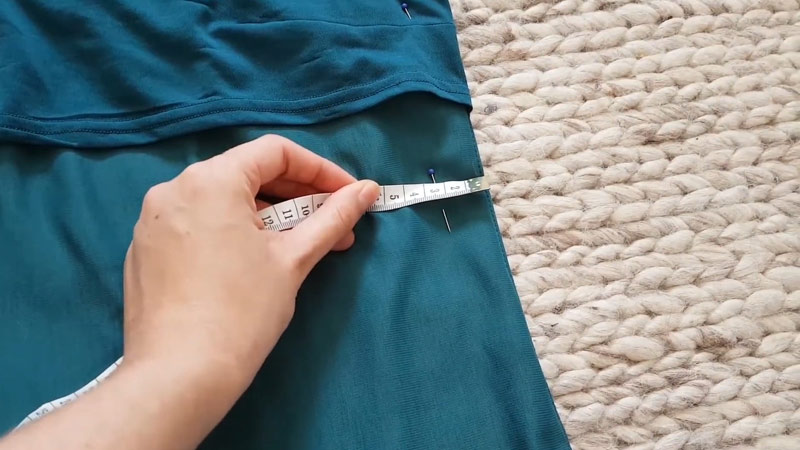
Precise measurements are essential for achieving the desired fit and look of your new spaghetti straps.
Using a measuring tape, determine the length you want for the straps. Consider factors such as comfort and style.
Cut fabric strips according to your measurements, making sure to add a little extra length for seam allowances.
This additional fabric will ensure a secure attachment when sewing the new straps onto the garment.
Prepare the Edges
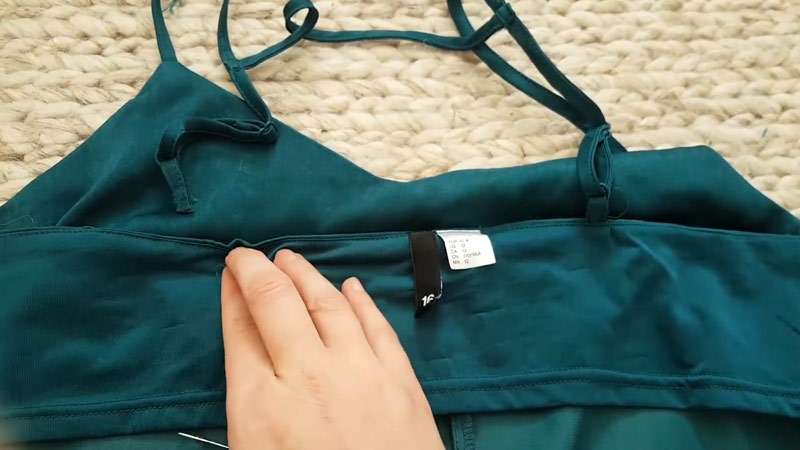
Creating clean and finished edges is crucial for a professional appearance. To achieve this, fold the edges of each fabric strip inward, typically about 1/4 inch.
Use an iron to press the folds and set them in place. This not only ensures a neat edge but also makes sewing the straps more manageable.
Take your time during this step to guarantee a polished finish and prevent any fraying.
Pin Straps in Place
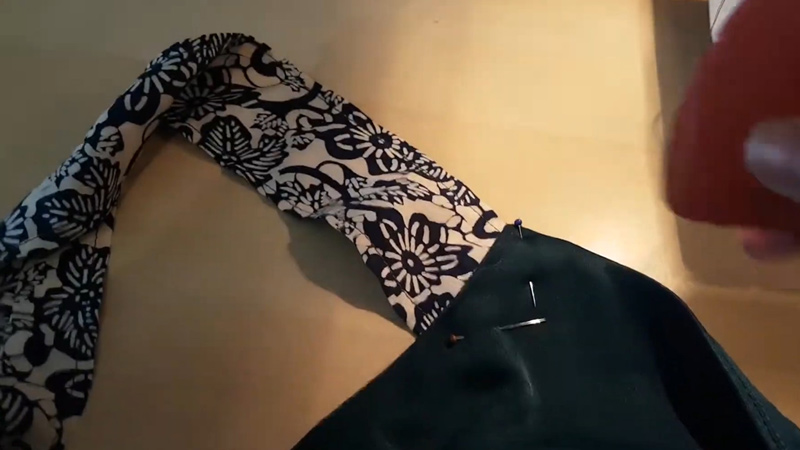
Before permanently attaching the new straps, position them on the garment using pins. Ensure they are evenly spaced and aligned properly according to your design preferences.
This step allows you to visualize the final look and make any necessary adjustments before sewing.
Taking the time to pin the straps in place will contribute to the overall symmetry and balance of the garment.
Sew Straps in Place
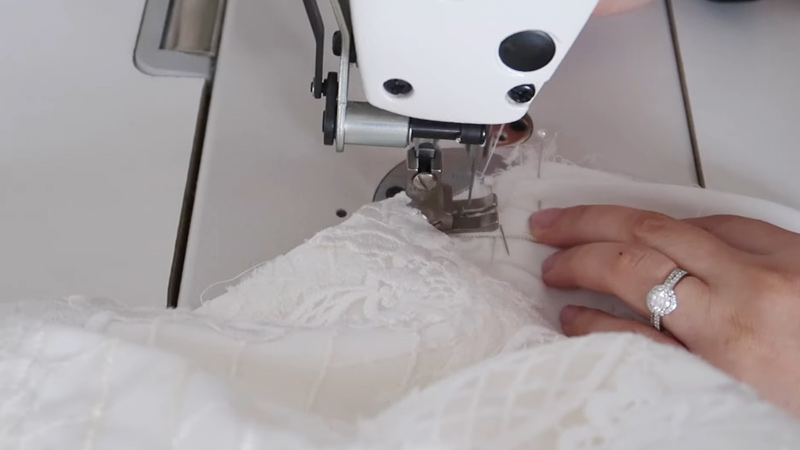
With the new straps securely pinned, it’s time to sew them onto the garment. Whether using a sewing machine or hand sewing, stitch carefully along the folded edges of the fabric strips.
This creates a strong and tidy attachment. Consider reinforcing the straps by sewing over them a second time for added durability.
Trim any excess thread to achieve a polished and professional appearance. Once the straps are securely in place, your garment will have a fresh and updated look, ready to be worn with confidence.
Reinforce and Finish
After initially attaching the new spaghetti straps, it’s essential to reinforce their attachment points for added durability.
Stitching over the straps a second time, especially along stress points, will provide extra strength and stability. This reinforcement ensures that the straps withstand regular wear and washing.
Additionally, take a moment to inspect the overall sewing quality and address any loose threads. Trim any excess thread carefully to achieve a clean and finished look.
Try on and Adjust if Necessary
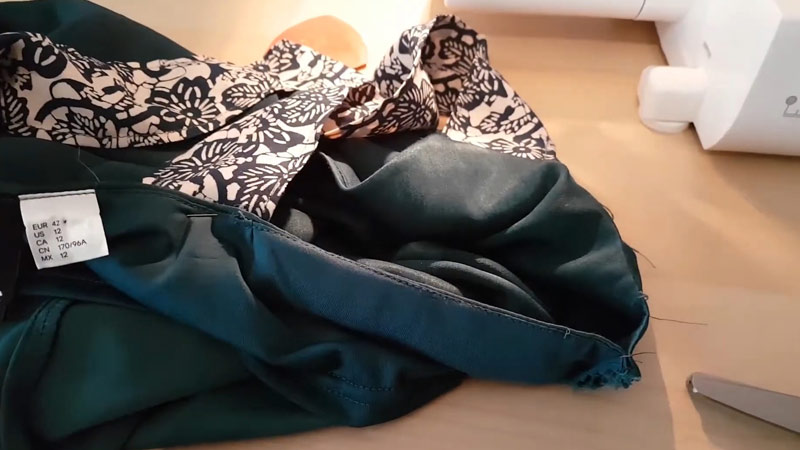
Before finalizing the attachment of the new straps, it’s crucial to try on the garment.
This step allows you to assess the fit and comfort of the spaghetti straps. Pay attention to how the garment drapes and if the straps sit comfortably on your shoulders.
If adjustments are needed, make them at this stage. This could involve tweaking the length of the straps or repositioning them for an optimal fit.
Taking the time to ensure the straps are just right will result in a garment that feels comfortable and looks flattering.
Optional Embellishments
For those looking to add a touch of personal flair or enhance the aesthetics of the garment, consider incorporating optional embellishments.
Decorative elements such as lace, beads, or embroidery can be added to the spaghetti straps.
Sew these embellishments carefully, ensuring they are securely attached and aligned symmetrically.
This step allows for creativity and customization, transforming a simple garment into a unique and eye-catching piece.
Just be mindful not to overdo it, ensuring the embellishments complement the overall design.
Press and Finish
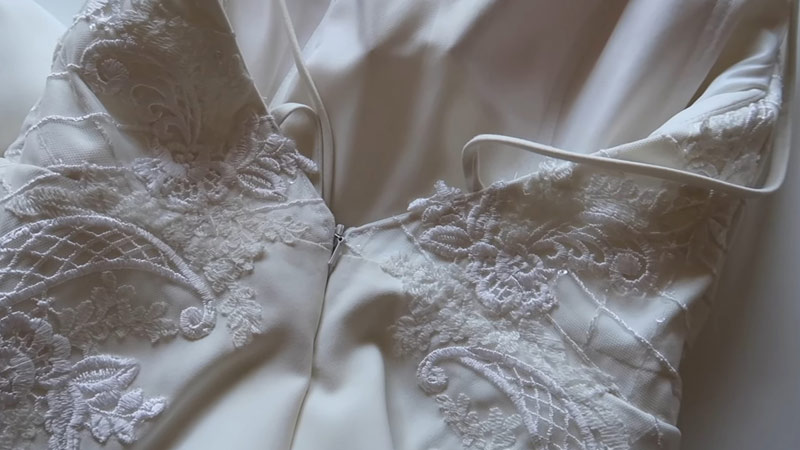
Give your garment a final press to ensure a neat and professional appearance. Using an iron, carefully press over the entire garment, paying attention to the newly attached spaghetti straps.
This step not only smoothens out any wrinkles or creases but also sets the stitches and folded edges, providing a polished finish.
Proper pressing contributes to the overall presentation of the garment, making it look well-crafted and ready to be worn with confidence.
Once you’ve completed this step, your revamped spaghetti straps will be a stylish and functional addition to your garment.
How to Widen Spaghetti Straps?
Widening spaghetti straps on a garment can be a practical and stylish modification, offering additional comfort and a unique aesthetic.
Whether you want to update a piece for a better fit or enhance the overall design, here’s a step-by-step guide on how to widen spaghetti straps:
Materials Needed:
- Fabric matching your garment.
- Matching thread.
- Pins and needles.
- Measuring tape.
- Scissors.
Steps to Widen Spaghetti Straps:
Examine the Existing Straps
Before embarking on the process of widening spaghetti straps, take a close look at the current design.
Assess the width of the existing straps and consider how the modification will impact the overall aesthetic of the garment.
Identify any specific areas where additional width is needed, whether for comfort or stylistic reasons.
By thoroughly examining the existing straps, you’ll gain valuable insights that will inform your decisions during the widening process, ensuring a thoughtful and well-planned modification.
Measure and Mark
Precision is key when widening spaghetti straps, and this starts with accurate measurements. Use a measuring tape to determine the desired width for the new straps.
Carefully mark these measurements on the existing straps, ensuring symmetry for a balanced appearance.
Take into account the overall design of the garment and how the widened straps will complement it.
Clear and precise markings will guide you through the cutting and sewing stages, resulting in a cohesive and well-executed modification.
Prepare the New Fabric Strips
Once you’ve established the desired width, cut fabric strips accordingly. Select a fabric that not only matches the original garment but also suits the purpose of spaghetti straps.
If you’re aiming for a more decorative look, consider using a complementary or contrasting fabric. Pay attention to the quality and durability of the chosen fabric to ensure longevity.
The preparation of these new fabric strips lays the foundation for a successful widening process, allowing you to seamlessly integrate the new straps with the existing garment.
Finish the Edges
Creating clean and finished edges is a crucial step in achieving a professional and polished look. Fold about 1/4 inch of each fabric strip inward and press with an iron.
This not only provides a neat appearance but also prevents fraying, ensuring the longevity of the widened spaghetti straps.
The attention to detail in finishing the edges contributes to the overall quality of the modification.
Take your time during this step to guarantee that the edges are well-folded and pressed, setting the stage for a refined and visually appealing final result.
Pin the New Straps
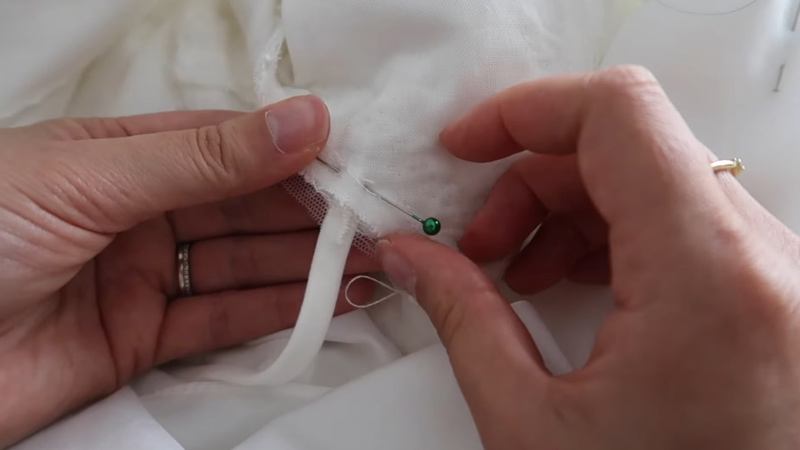
With the fabric strips prepared and edges neatly finished, proceed to pin the new straps onto the existing spaghetti straps.
Cover the marked areas symmetrically, ensuring that the pins hold the fabric securely in place.
Pay attention to alignment, making certain that the new width matches your desired measurements for a balanced and cohesive look.
The careful pinning stage allows you to visualize the final result and make any adjustments before moving on to the permanent sewing, ensuring precision and accuracy in the widening process.
Sew the New Straps
Using either a sewing machine or hand sewing, carefully stitch along the edges of the new fabric strips.
Sew directly onto the existing spaghetti straps, securing the new width in place. Take your time to maintain even stitching, especially along the length of the widened straps.
For added durability, consider stitching over the straps a second time, focusing on stress points where the straps meet the garment.
This reinforcement step ensures that the widened spaghetti straps will withstand regular wear and washing, providing a reliable and long-lasting modification.
Trim Excess Fabric and Thread
After securing the new width in place, trim any excess fabric and thread to achieve a clean and professional finish.
Pay attention to detail, ensuring that the trimmed edges seamlessly blend with the original garment.
Precision in trimming is crucial for a polished appearance, and it contributes to the overall quality of the widened spaghetti straps.
Take care not to cut too close to the stitches, maintaining the integrity of the modification.
Press for a Polished Look
Give the entire garment, including the newly widened straps, a final press with an iron. This step not only removes any wrinkles but also sets the stitches and folded edges, contributing to a neat and polished appearance.
The pressing stage is essential for achieving a professional finish, smoothing out any irregularities, and ensuring that the modified spaghetti straps sit seamlessly on the garment.
Pay attention to the entire garment during this step, providing a final touch that enhances the overall presentation of your widened straps.
How to Shorten Straps Without Sewing
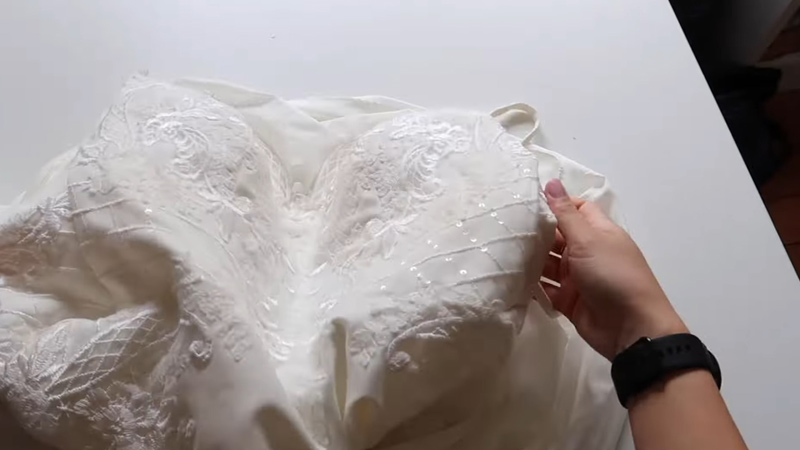
Shortening straps without sewing is a quick and temporary solution that can be useful when you need to adjust the length of straps on a garment without permanently altering it.
Here’s a step-by-step guide on how to shorten straps without sewing:
Materials Needed:
- Safety pins.
- Binder clips or small clips.
Steps to Shorten Straps Without Sewing:
Put on the Garment
Wearing the garment is the initial step to evaluate the fit of the straps. Pay attention to how the current strap length feels on your shoulders.
Assess whether the straps are too loose or too tight, and identify the level of comfort and security you’re aiming for.
This firsthand assessment will guide you in determining the appropriate adjustments needed to achieve the desired fit.
Adjustable Straps
For garments equipped with adjustable straps, take advantage of this built-in feature. Locate the sliders or adjusters on the straps and use them to shorten or lengthen the straps to your preferred fit.
Adjusting straps with sliders is a straightforward and efficient solution, providing an easy way to customize the length without the need for additional tools or accessories.
Create a Loop with a Safety Pin
In cases where the garment has non-adjustable straps, creating a loop with a safety pin offers a simple and effective solution.
Begin by folding the excess strap fabric at the desired length. Secure the folded fabric by using a safety pin, ensuring that the pin goes through both layers of fabric to hold them together.
This makeshift loop allows you to customize the strap length temporarily, providing a quick fix for a more comfortable and secure fit.
Secure Excess Fabric with Binder Clips or Small Clips
If safety pins are not preferred, another option is to use binder clips or small clips to secure the folded excess fabric.
Clip them tightly onto the straps to keep the fabric in place. This alternative method is particularly useful for individuals who find clips more comfortable or less obtrusive than safety pins.
Ensure the clips are secure and won’t easily shift during wear to maintain the adjusted strap length.
Test for Comfort and Fit
Once you’ve implemented the temporary adjustments—whether through safety pins, clips, or loops—put the garment back on and test the fit.
Pay close attention to how the shortened straps feel on your shoulders. Assess the overall comfort and make any necessary adjustments to achieve the desired fit.
This step is crucial for ensuring that the temporary modifications align with your comfort preferences and contribute to a secure and well-fitted garment.
Trim Excess Fabric
In cases where the excess fabric from the folded loops or clipped sections is too long and becomes bothersome, consider trimming it carefully.
Use scissors to cut the excess fabric, keeping in mind that this is an optional step. It’s important to note that trimming is a temporary solution and may not be necessary for everyone.
Be cautious during this step to avoid cutting too close to the safety pins, clips, or loops, ensuring that the temporary adjustments remain secure.
Use Fabric Adhesive
As an additional measure to enhance stability, you can use fabric adhesive or tape to secure the folded fabric in place.
Apply the adhesive along the folded sections to provide extra stability and prevent the fabric from unfolding.
This option can be especially useful if you want to further reinforce the temporary adjustments without resorting to sewing.
Keep in mind that fabric adhesive is a temporary solution and may need to be reapplied over time.
Check Regularly
Throughout the day, make it a habit to check the straps and ensure that the temporary adjustments are holding up.
Given the temporary nature of these solutions, there’s a possibility that they may shift or require periodic readjustment.
If you notice any changes in the strap length or if the temporary modifications need reinforcement, make the necessary adjustments promptly.
Regular checks will help maintain the desired strap length and ensure ongoing comfort and fit.
FAQs
Can I change the spaghetti straps on any garment?
Yes, spaghetti straps can be changed on most garments with the appropriate structure.
However, consider the fabric and design, as some may require additional considerations or alterations.
Do I need advanced sewing skills to change spaghetti straps?
Basic sewing skills are sufficient, but attention to detail is crucial. Following a step-by-step guide and practicing on scrap fabric can boost confidence for a successful strap replacement.
Can I reuse the old spaghetti straps?
Reusing old spaghetti straps is possible, but it depends on their condition.
Inspect for wear and tear, and if they’re in good shape, they can be reattached. Otherwise, consider using new fabric.
How do I choose the right fabric for new spaghetti straps?
Opt for a fabric that complements your garment and is sturdy enough for the intended use.
Cotton, satin, or other lightweight fabrics work well. Ensure the fabric can withstand regular wear and washing.
Are embellishments necessary when changing spaghetti straps?
Embellishments are optional but can add a personalized touch. Lace, beads, or embroidery can enhance the aesthetic appeal.
However, it’s entirely up to personal preference and the desired style of the garment.
To Recap
In the realm of how to fix a spaghetti strap, the process of changing spaghetti straps emerges as a gateway to both functionality and style.
As we conclude this transformative journey, the careful removal of old straps, precision in measuring and cutting new ones, and the artistic touch of embellishments culminate in a garment reborn.
The reinforced stitching ensures durability, while adjustments guarantee a comfortable fit.
This journey, though seemingly simple, encapsulates the essence of personal expression in fashion.
As you press the finished garment, a symphony of creativity and craftsmanship resonates.
The revamped spaghetti straps not only enhance the garment’s aesthetic but also serve as a testament to the joy of breathing new life into one’s wardrobe.
Leave a Reply