Covering a book with contact paper is a practical and creative way to safeguard your cherished reads while adding a personalized touch.
Whether protecting a favorite novel or preserving textbooks, this DIY process ensures durability against wear and tear, spills, and daily handling.
The choice of contact paper, whether clear or patterned, plays a pivotal role in the final aesthetic.
This simple guide, encompassing precise measurements, cutting techniques, and meticulous application, empowers individuals to transform their books into resilient, visually appealing treasures.
By mastering the art of covering books with contact paper, you extend their lifespan and infuse them with a touch of your unique style.
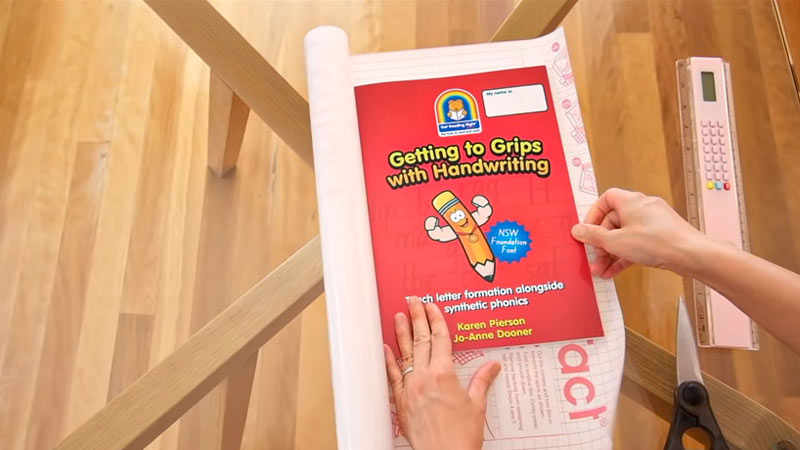
How to Cover Books With Contact Paper? – Step by Step
Covering a book with contact paper is a simple and effective way to protect it from wear and tear, spills, and other potential damage.
Follow these step-by-step instructions to cover your book with contact paper:
Materials Needed:
- Book
- Contact paper
- Scissors
- Ruler or measuring tape
- Pencil
- Craft knife or utility knife
Step-by-Step Guide:
1. Choose the Right Contact Paper
When selecting contact paper, consider both functionality and aesthetics. Clear contact paper allows the book’s original cover to show through, providing a protective layer without altering its appearance.
Alternatively, patterned contact paper adds a decorative touch, expressing your personal style.
Ensure that the dimensions of the contact paper are ample to cover the entire book, leaving some excess on all sides for a secure fit.
2. Measure the Contact Paper
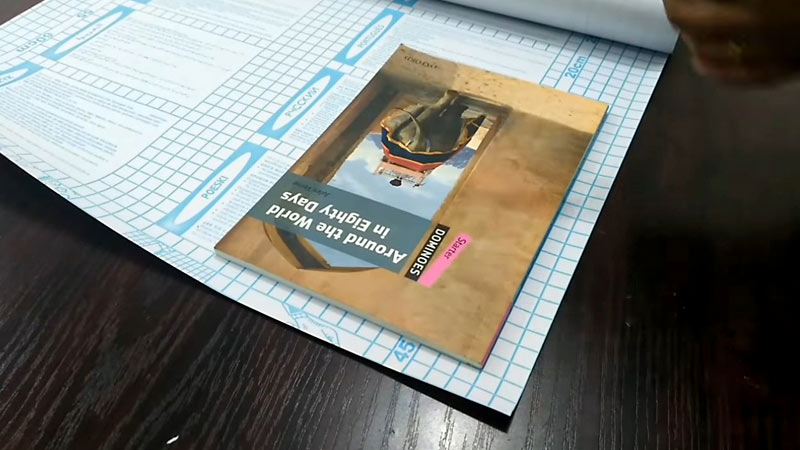
Lay the contact paper on a clean, flat surface, with the adhesive side facing up. Placing the book on top, avoid leaving extra paper on all sides.
Carefully measure and mark the dimensions needed to cover the book using a ruler or measuring tape. This step is crucial for achieving a precise fit and ensuring complete coverage.
3. Cut the Contact Paper
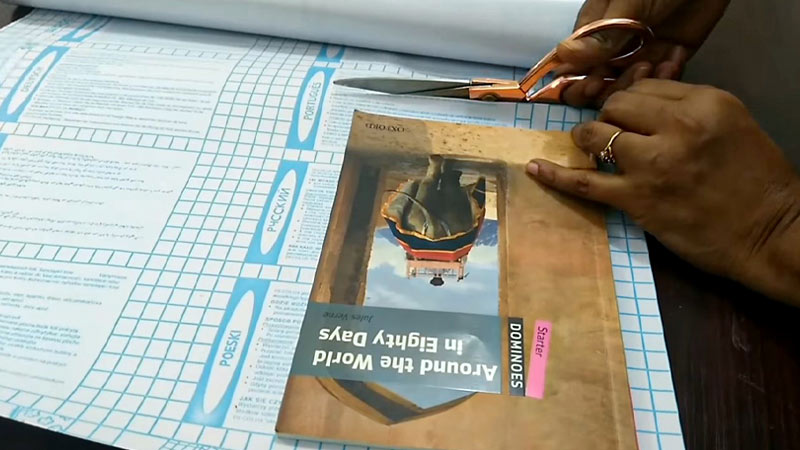
With the contact paper laid out and dimensions marked, use sharp scissors to cut along the lines. If the contact paper has a grid on the back, utilize it as a guide for creating straight and even edges.
Pay special attention to books with spines, ensuring that you cut enough contact paper to cover the front and back and the spine for comprehensive protection.
4. Peel Off the Backing

Once you have the correctly sized contact paper, peel back a few inches of the backing from one edge. This step exposes the adhesive side, allowing for a smooth and controlled application.
Taking your time during this process helps prevent the accidental sticking of the entire sheet before proper alignment.
5. Align and Stick
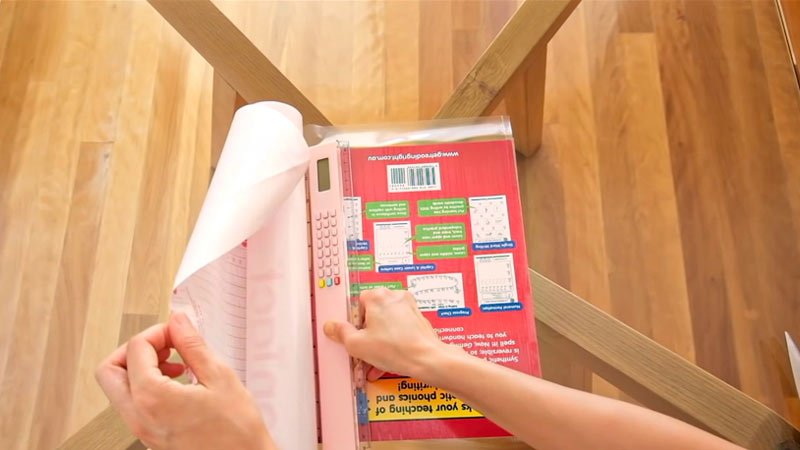
Carefully align the contact paper’s exposed edge with the book cover’s corresponding edge.
Starting from the center and moving outward, slowly press the contact paper onto the book cover.
Use your hands or a flat tool to smooth out any air bubbles or wrinkles as you progress. This step requires patience, ensuring a seamless and professional-looking finish.
Be meticulous when reaching the edges to create a snug fit, and if your book has rounded corners, gently fold the contact paper to maintain a neat appearance.
6. Continue Covering
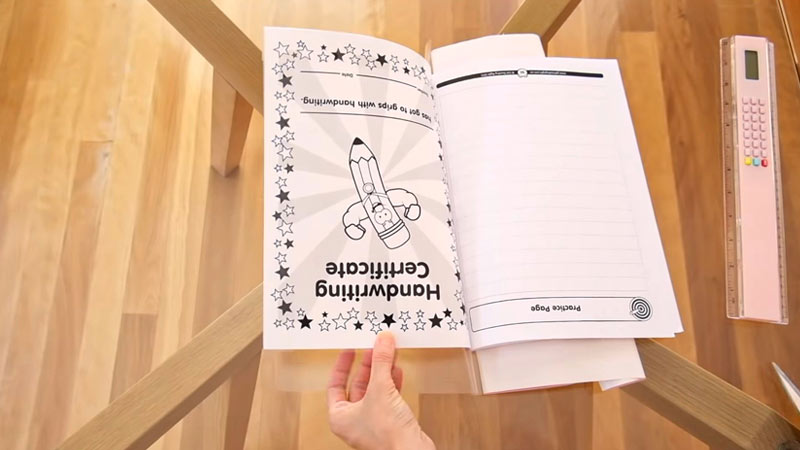
As you progress with covering your book, maintain a deliberate and gradual approach. Peel off the backing a few inches at a time, smoothing the contact paper onto the book cover.
This method helps to minimize the risk of air bubbles or wrinkles, ensuring a clean and professional-looking finish.
Take your time to achieve a seamless application, working your way across the entire front cover.
7. Fold Over the Edges
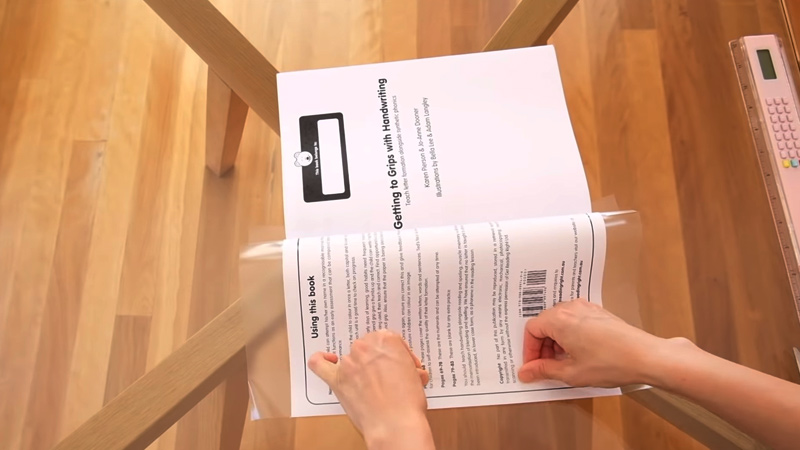
Once the front cover is entirely covered, attention shifts to the edges. Carefully fold the excess contact paper over the edges to the inside of the book cover.
This step reinforces the protection and guards against the edges peeling over time.
Smooth out the folded edges, ensuring a snug fit that enhances the durability and longevity of the contact paper covering.
8. Repeat for the Back Cover
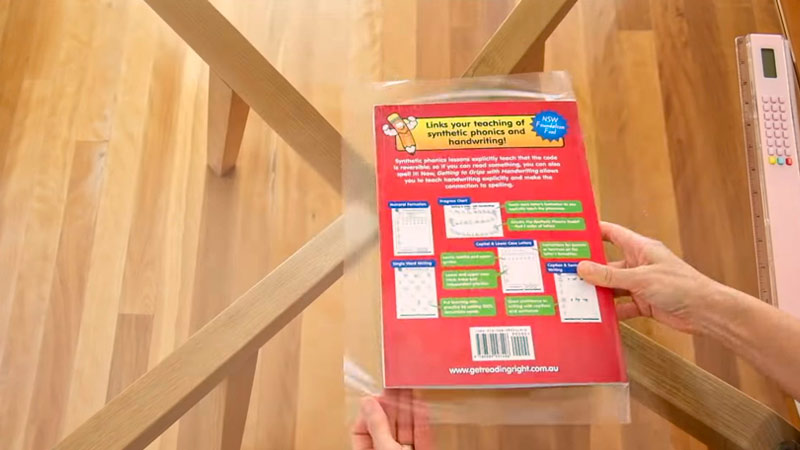
Mirror the process for the back cover to provide comprehensive protection for your book. Repeat the steps, ensuring that the spine is also covered.
Consistency in the application on both sides helps maintain a uniform appearance and reinforces the entire book against potential damage.
9. Trim Excess
With both the front and back cover securely covered, trim any excess contact paper along the edges.
Use sharp scissors or a craft knife for a neat and tidy finish. Take care to cut along the edges precisely, creating clean lines for a polished look.
Proper trimming enhances the aesthetics and ensures the contact paper remains securely in place.
10. Smooth Out Air Bubbles
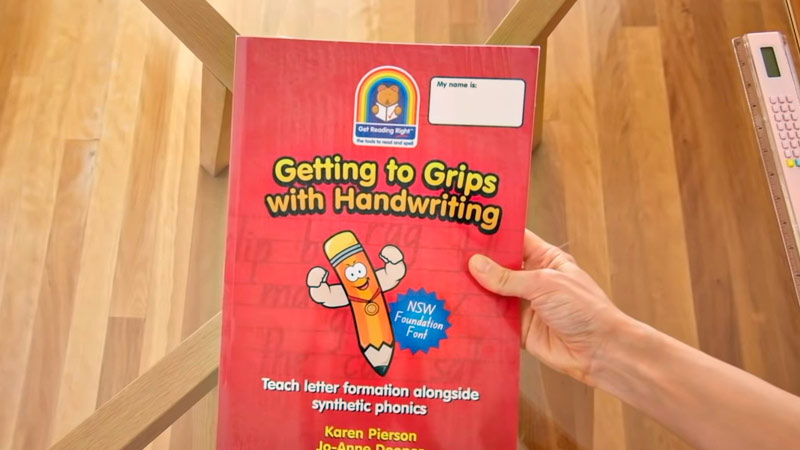
After the entire covering process, inspect the surface for any air bubbles or wrinkles. If you notice imperfections, carefully lift the contact paper and reapply, smoothing out the surface as you go.
This step is crucial for achieving a flawless appearance and maintaining the protective integrity of the covering.
During this final step, patience and attention to detail contribute to a professional and well-executed book cover.
Features of the Best Contact Paper for Covering Books
The best contact paper for covering books possesses several key features to ensure effective protection and a visually appealing finish.
Here are the features of the best contact paper:
Adhesive Quality
The adhesive quality of contact paper is crucial for a secure and long-lasting bond. High-quality adhesive ensures that the paper remains firmly in place, offering reliable protection against wear and tear.
It should adhere well without causing damage to the original book cover, maintaining its overall integrity.
Material Durability
The durability of the contact paper’s material is essential for withstanding regular use and potential spills.
Opt for materials that are robust and resistant to tearing, ensuring that the protective layer remains effective over time.
A durable material not only enhances protection but also contributes to the longevity of the book’s aesthetic appeal.
Variety of Designs
The best contact paper provides a range of design options to cater to diverse preferences. Clear variants allow the original cover to show through, preserving the book’s unique appearance.
Patterned options add a decorative element, allowing users to personalize their book collection with styles that align with their tastes.
Easy Application Features
Features that facilitate easy application, such as a grid pattern on the backing, contribute to a smooth and hassle-free covering process.
User-friendly designs make it easier to align and apply the contact paper accurately, minimizing the risk of air bubbles or uneven placement.
Appropriate Dimensions
The dimensions of the contact paper are crucial for achieving full coverage. It’s essential to choose contact paper with dimensions that are suitable for covering the entire book with some excess for folding over the edges.
This ensures a snug fit and comprehensive protection for the book.
Repositioning Flexibility
Some non-adhesive contact paper options offer repositioning flexibility during application.
This feature benefits individuals who prefer the ability to adjust the covering before finalizing the placement.
It provides a margin for error and allows for precise adjustments to achieve the desired look.
Clear Instructions
The best contact paper typically includes clear and comprehensive instructions for application.
Clear guidelines help users easily navigate the covering process, ensuring that each step is understood and executed correctly.
Following these instructions enhances the likelihood of achieving a professional-looking finish.
Residue-Free Removal
For those who value preserving the original condition of their books, contact paper with a residue-free removal feature can be crucial.
This ensures that no sticky residue is left behind when it’s time to remove the covering, maintaining the book’s pristine state.
FAQs
What type of contact paper is best for covering books?
Opt for clear or patterned contact paper based on your preferences. Clear options allow the original cover to show through, while patterns add a decorative touch. Ensure the dimensions are sufficient for full coverage.
What’s the significance of folding over the edges?
Folding excess contact paper over book edges reinforces protection and prevents peeling. It contributes to a neat finish and enhances the covering’s longevity.
To Recap
Covering a book with contact paper is a practical and creative endeavor that seamlessly blends protection with personalization.
Choosing the right contact paper and considering factors like adhesive quality, material durability, and design variety can elevate the longevity and aesthetic appeal of their cherished reads.
The step-by-step process, from precise measurements to meticulous application, empowers individuals to transform ordinary books into resilient treasures.
This DIY approach guards against wear and tear and allows for expressing individual style.
Mastering the art of covering books with contact paper becomes a gratifying journey, ensuring that each volume remains a well-preserved and uniquely adorned piece in one’s collection.
Leave a Reply