In the world of crochet, there’s no end to exploration. If you are starting out with crochets, our basic crochet stitch guide will help you.
However, if you are already a master and want to explore the unexplored part! We are here for you.
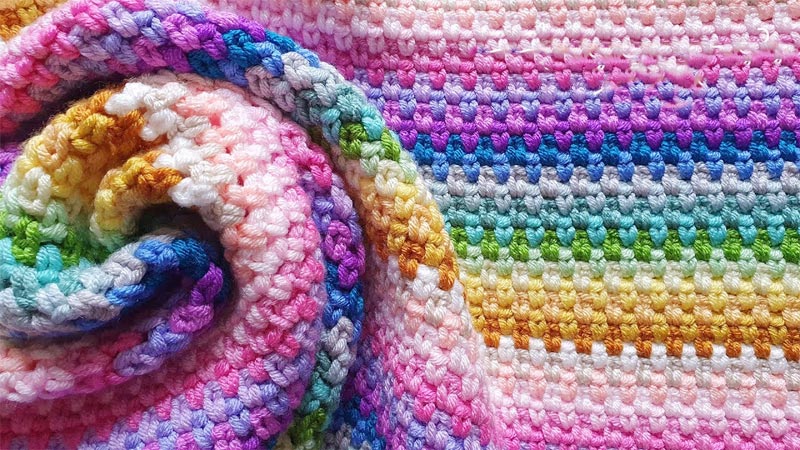
Moss stitch has been a popular form of crochet. It’s super simple and incredibly versatile.
So, if you want to surprise the one in front of you with a beautiful appearance, clothes with moss stitch won’t be a waste!
Try out the moss stitch today! If you don’t know how to crochet Moss Stitches, it is time now to add this skill to your inventory. We will start with some genuine facts about Moss Stitches and then learn how to crochet Moss Stitches FAST.
Let’s begin.
Highlights of the Day:
- Moss stitch consists of alternating knit and purl stitches in a single row. Unlike other common knitting stitches, it has a bumpy appearance and delivers a unique texture.
- The most unique feature of moss stitch is that it’s reversible. It means the stitch looks the same on both sides. This property makes it ideal for scarves and blankets. You can openly show off both sides of your clothes.
- Moss stitch traps air due to its unique and bumpy surface. Plus, the stitch also has minimal curling by the edges. You can confidently use it on winter garments such as sweaters, mittens, and other insulating fabrics.
- Moss stitch doesn’t need any additional finishing technique. It lays flat and looks neat due to the minimal borderline curls.
- Plus, it is exceptionally easier to learn than other crochet techniques (explained below). It is just the right thing for beginners to experiment and play with textured knits, delivering a unique touch.
So, you get that Moss Stitch is a bomb package for beginners. It is versatile, highly suitable for different applications, and easy to learn. Let’s jump to the steps of how to crochet Moss Stitch.
How to Crochet Moss Stitch?
Also known as seed stitch, tweed stitch, linen stitch, granite stitch, and woven stitch, you already know moss stitch is beginner-friendly.
Plus, if you have gone through our basic crochet stitch guide, you already know what chain stitches and single crochets are.
You only have to create an alternating pattern of these two basic stitches, and viola! Let’s get to work then.
You Will Need,
- Yarn: You can use any yarn of your preference. However, if you want our suggestion,
Bernat Maker Home Dec yarn (for professionals) or Caron One Pound yarn (for beginners) will help you maintain the proper tension, and you can easily undo it at times of mistakes.
- Hook: Select any crochet hook you are comfortable with. Follow our crochet hook guide for more. For this tutorial, you can use an L (8.0mm) crochet hook that would do just fine.
- Scissors and Yarn Needles.
Get all the supplies on board. Once you have them, follow the steps below with us. If it’s your first time, pay attention to the details so you can also experiment as you like later.
**Note: Since we have tried to keep our article as beginner-friendly as possible, we will avoid the abbreviations. It may confuse our starters on the first try!
1) Begin with A Chain
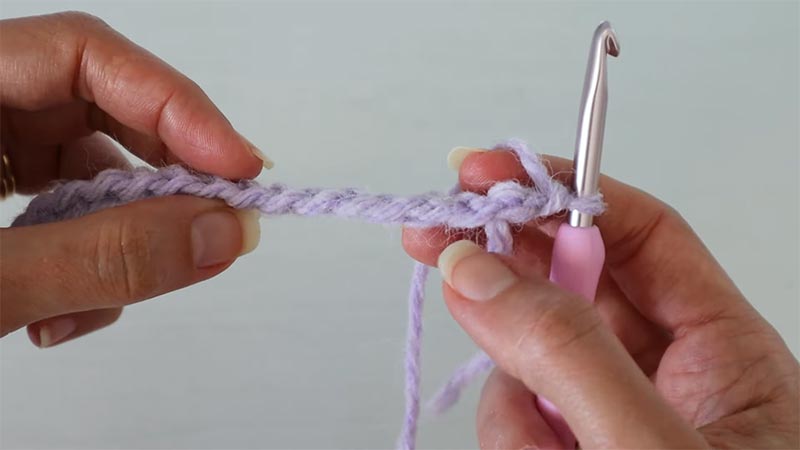
First, you have to create an even number of chains. If you already have one, that’s a bonus. Create a foundation chain with a multiple of two stitches.
Don’t worry! Later on, you can adjust the length depending on your project since the moss stitch works well with any number.
2) Set up The First Row
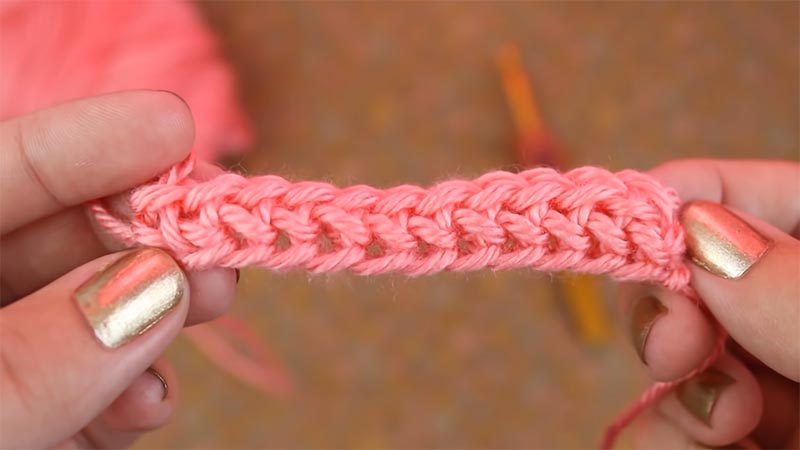
Now, you have to set up the first row of stitches. To do so, you must single crochet (SC) into the second chain from your hook. Next, chain one and skip the next chain.
Again, single crochet into the progressive chain and repeat to chain another one by skipping the next chain.
You have to repeat this pattern across the entire row. It will ultimately end up with a single crochet in the end chain.
3) Finally, the Moss Stitch
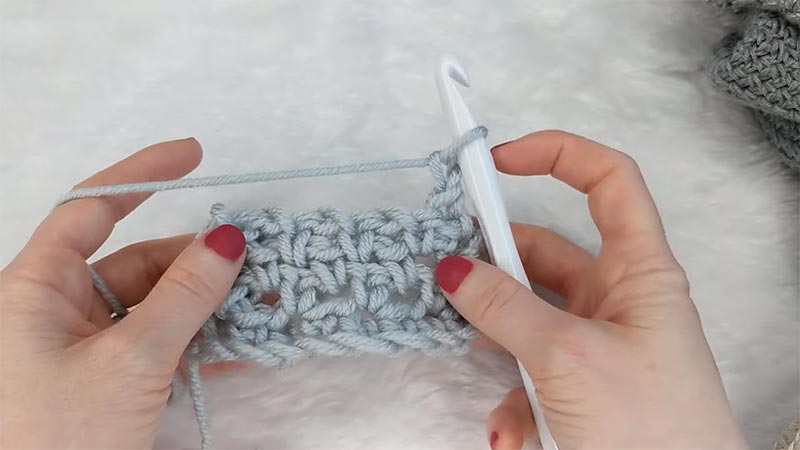
You will create the moss stitch pattern now for the upcoming rows. Start each row by chaining one and turning your project.
Single crochet (SC) into the first chain-one (ch-1) space from the previous row, and skip the first chain.
Here, the sequence is as follows: chain one (1ch) => skip the single crochet and single crochet into the next chain-one space.
Interestingly, in moss stitch, you only get to work with the chain spaces but not the chain.
You have your first moss stitch. To complete the first row, repeat this pattern across the row, i.e., chaining one after each crochet and skipping the crochets from the previous row.
4) Closing Ends
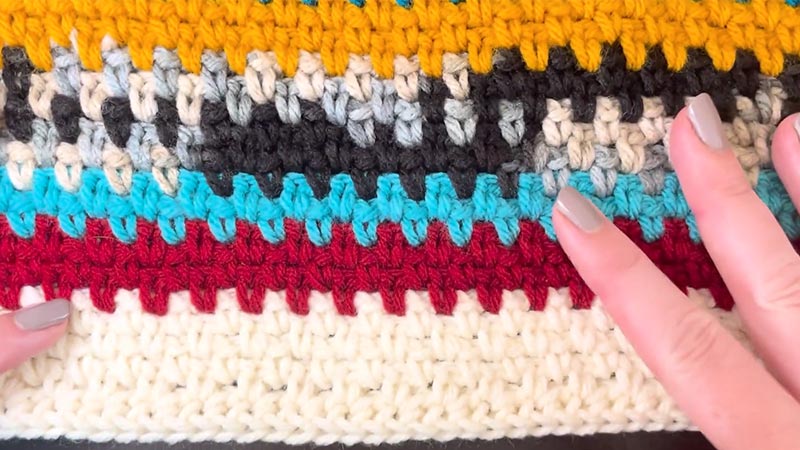
You have done your first row with Moss Stitched. The bigger picture includes repeating the step above as many times as you need to create the specific number of rows for your crochet work.
Finally, when you are all complete, cut the yarn with the scissors and leave a tail of a few inches.
Pull the yarn tail through the loop on the hook and weave in the loose ends with the yarn needle. Need help? Learn more about weaving the end, a handy guide for closing the ends properly.
In case you have any additional yarn, cut it!
Congratulations! You have successfully completed a crochet project with Moss Stitch. You need more practice to master the skill and be as creative as possible.
A Piece of Advice
As soon as you hone your skills in crocheting Moss Stitches, you are welcome to work with any colors and yarns to bring out the unique texture of the Moss Stitches.
Moss stitch has versatile applications. You can make attractive scarves, blankets, dishcloths, and more. So, keep practicing hard and deliver elegance with each of your crochet work.
Let us know where you are in the comment section. Also, share our article with others and help them out with the Moss Stitches! Happy crafting!
Leave a Reply