Cutting fabric correctly is a fundamental skill in sewing, quilting, and various crafting endeavors. The precision of your fabric cuts directly impacts the outcome of your project, from the fit of a garment to the accuracy of patchwork in quilting.
Whether you’re a novice or a seasoned seamstress, mastering this skill is crucial. In this guide, we will explore the essential steps to ensure that your fabric cutting is precise and error-free.
By following these steps, you’ll not only save time and materials but also enhance the quality and appearance of your creations.
Let’s delve into the art of cutting fabric correctly, ensuring your projects turn out as envisioned.
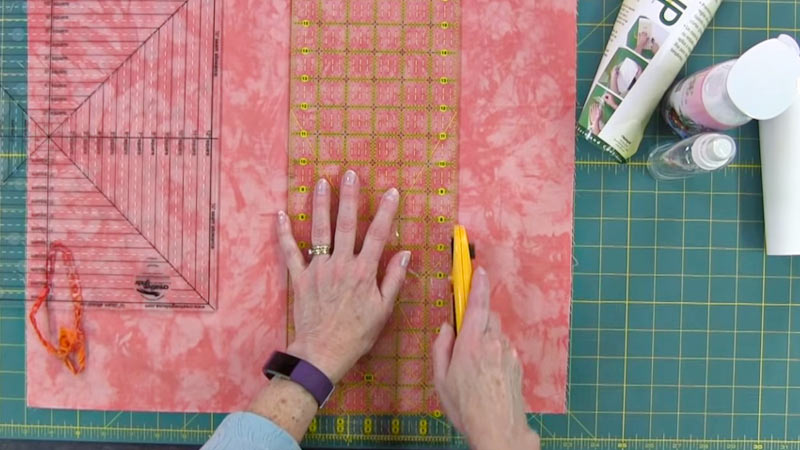
Technique for cutting large pieces of fabric Correctly
Cutting fabric correctly is an essential skill for anyone involved in sewing, quilting, or crafting. Whether you’re a beginner or an experienced seamstress, precise fabric cutting is crucial to ensure your projects turn out well.
Here’s a step-by-step guide on how to cut fabric correctly:
Step 1: Gather your supplies
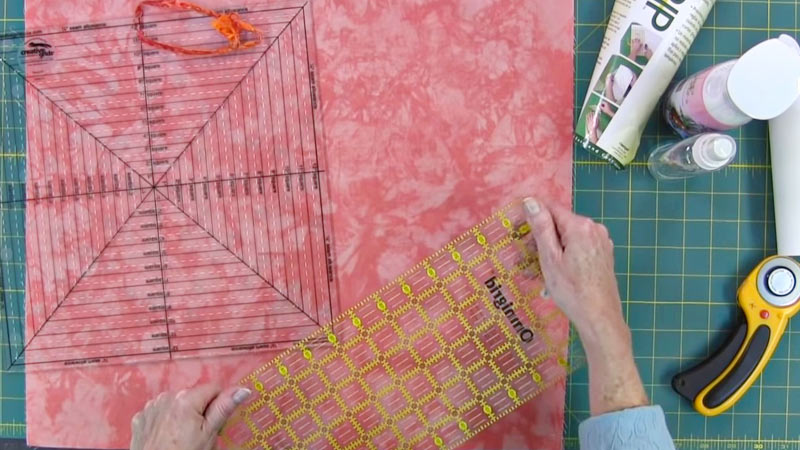
Before you begin, make sure you have all the necessary tools and materials ready. Start with the fabric you intend to cut, ensuring it’s clean and free of wrinkles.
Invest in a good pair of fabric scissors or a rotary cutter and a self-healing cutting mat if you’re using the latter.
Keep these tools dedicated to fabric cutting to maintain their sharpness. Additionally, have a clear, sturdy ruler or straight edge, and a fabric marker or chalk on hand.
Step 2: Prepare your workspace
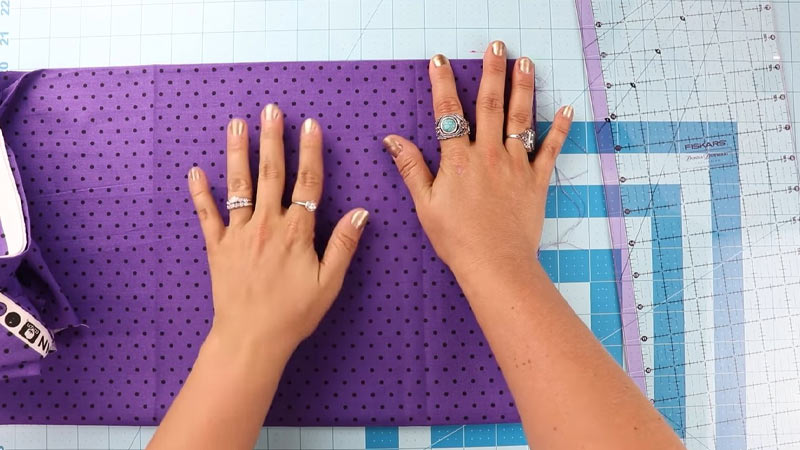
Create a dedicated workspace that is clean, well-lit, and spacious enough to accommodate your fabric. Lay out your fabric on a flat surface, ensuring there are no wrinkles or folds.
If you’re using a rotary cutter, place the self-healing cutting mat on your work surface to protect it from cuts and extend the life of your blades.
Step 3: Measure and mark
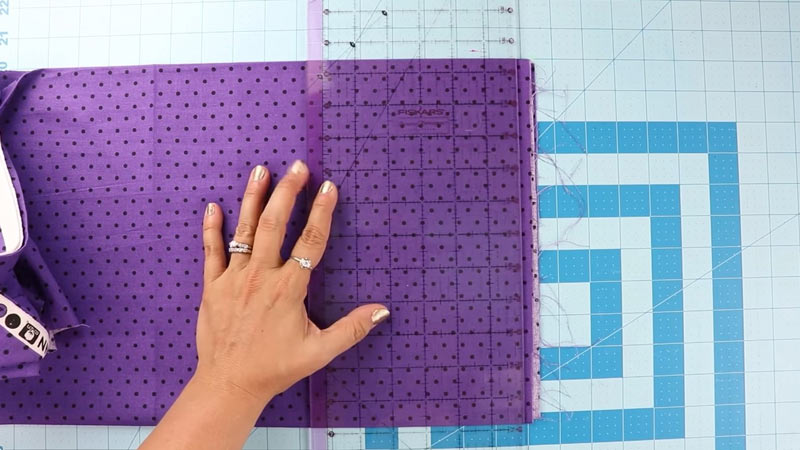
Take accurate measurements of the fabric you need for your project. Using a ruler or straight edge, draw clear, straight lines on the fabric where you’ll be cutting.
Double-check your measurements to avoid costly mistakes. If necessary, mark points or notches for reference.
Step 4: Align the fabric
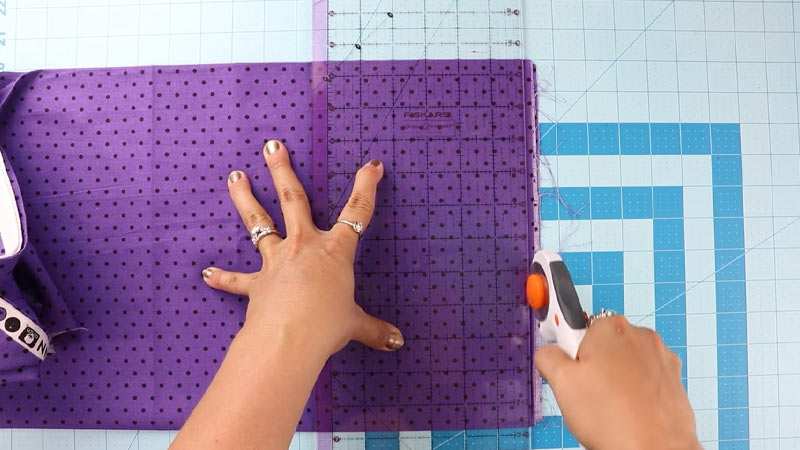
If you need to cut identical pieces, fold the fabric in half with the right sides together. Ensure the folded edge and the selvage (finished edge) of the fabric are aligned. This step helps maintain symmetry in your pieces and ensures a straight cut.
Step 5: Pin or weight the fabric
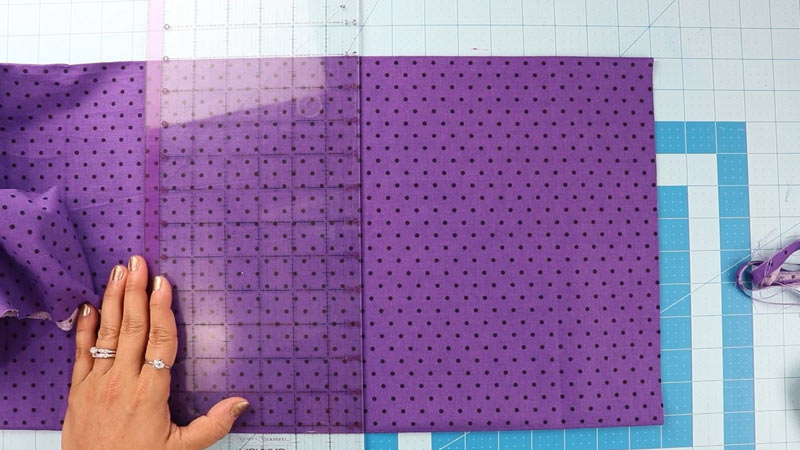
Depending on the project, use straight pins to secure the layers of fabric together. Pinning is particularly important when cutting through multiple layers of fabric to prevent shifting.
Alternatively, employ pattern weights to hold down the fabric. This method helps avoid distortion caused by pins.
Step 6: Cutting technique
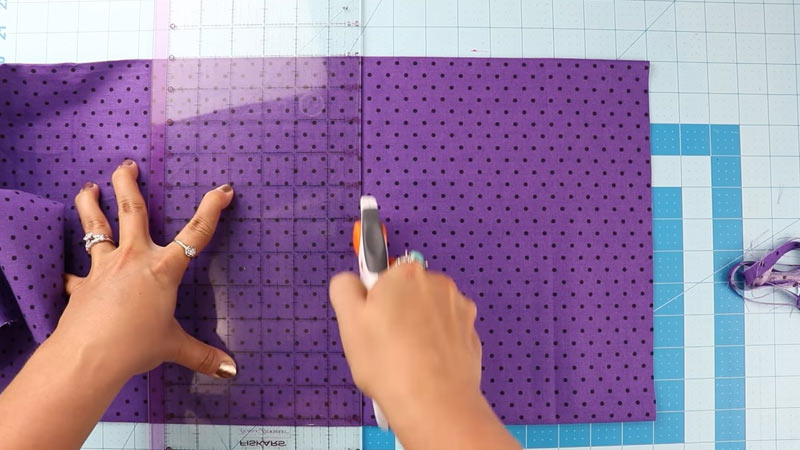
Hold your scissors or rotary cutter with a firm grip. When using scissors, make smooth, even cuts along your marked lines, ensuring you keep the blade perpendicular to the fabric.
For curved or intricate shapes, cut slowly and pivot the fabric as needed to maintain precision. If you’re using a rotary cutter, follow the same principles for straight and accurate cuts.
Step 7: Check your work
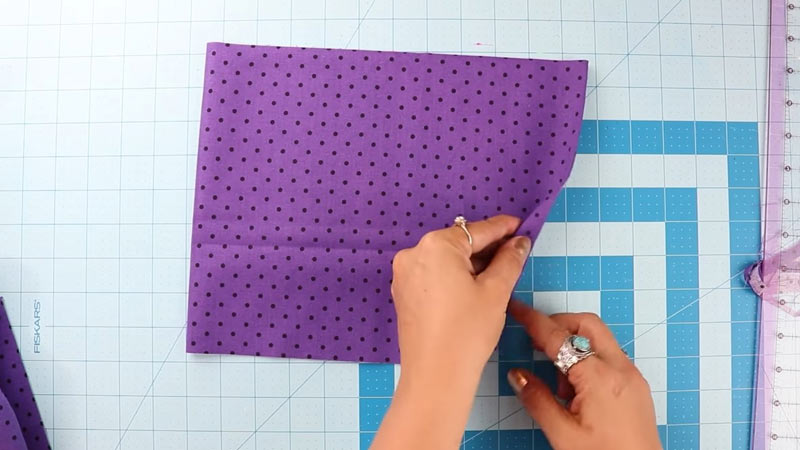
After cutting, carefully inspect the edges of your fabric pieces. Ensure they are clean and free from frayed threads or irregularities.
Use your scissors to trim any loose threads or uneven edges to achieve a polished and professional appearance.
Step 8: Keep your tools sharp

Regularly maintain your cutting tools by sharpening or replacing the blades as needed. Sharp tools make the cutting process easier and ensure clean, precise cuts in your fabric.
Step 9: Organize and label
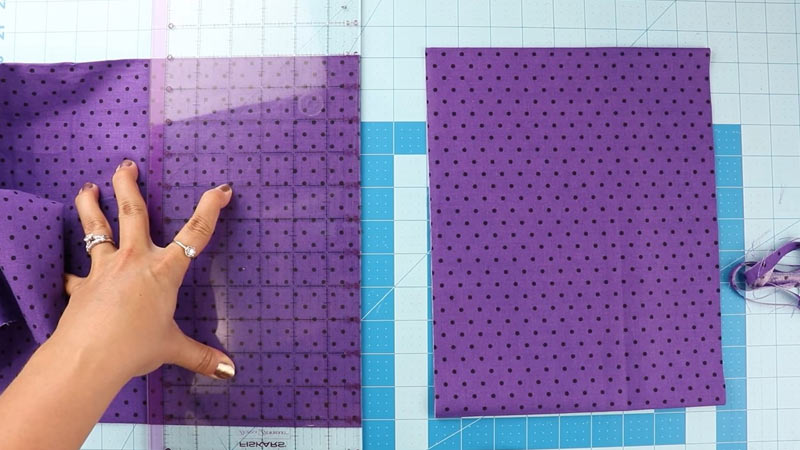
As you cut your fabric pieces, label them if necessary and keep them well-organized. Proper labeling and organization are essential to prevent confusion during the assembly of your sewing or crafting project.
Staying organized will help you keep track of your fabric pieces and create a successful end product.
How to Cut Fabric With a Pattern to Match Perfectly
Cutting fabric with a pattern to match perfectly requires careful planning and attention to detail.
Here’s a step-by-step guide on how to achieve seamless pattern matching:
1. Preparing Your Fabric
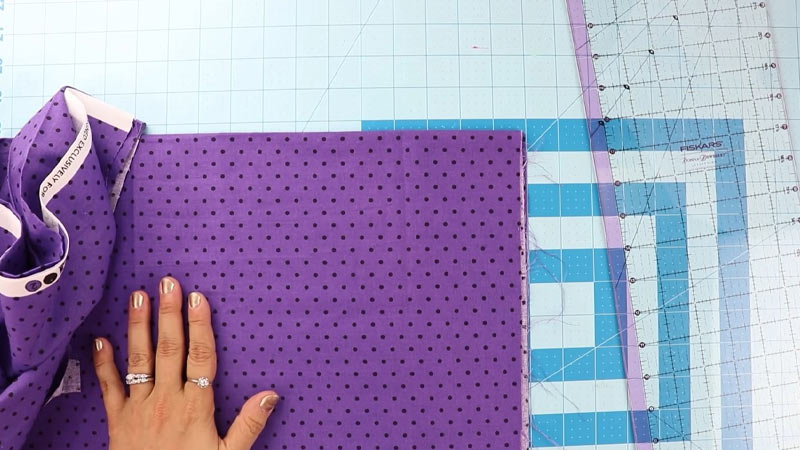
Before diving into pattern matching, ensure your fabric is in optimal condition. Thoroughly wash and press it to remove any dirt, sizing, or creases.
Lay the fabric on a flat, clean surface, such as a large cutting table, ensuring it’s free from any wrinkles or distortions. Adequate lighting is crucial to see the pattern clearly and make accurate cuts.
2. Identify the Pattern Repeat
Carefully examine your fabric to pinpoint the pattern’s repeat. This often involves identifying a recurring motif or a specific point where the pattern cycle begins again. Understanding the repeat is essential to ensure your cuts align seamlessly.
3. Fold and Align
Fold your fabric along the selvage edges (the finished edges that run parallel to the grain). As you fold, take extra care to match up the pattern on both layers precisely.
This alignment is crucial to achieving a consistent pattern match throughout your project. Spend time adjusting the fold until the match is nearly perfect.
4. Pin the Fabric
Use straight pins to secure the folded layers together. Place pins strategically along the fold line, ensuring they penetrate through matching points in the pattern.
Pinning prevents shifting during the cutting process, maintaining the alignment you’ve carefully established.
5. Mark Your Cutting Line
On the top layer of the folded fabric, use a fabric marker or chalk to mark your cutting line. Align this line with your pattern’s motif or repeat.
Be meticulous in your marking, and double-check that it lines up accurately with the pattern.
6. Cut the Fabric
Employ sharp fabric scissors or a rotary cutter to cut along the marked line. This step requires a steady hand and precision.
Be sure to cut through both layers of fabric while maintaining the alignment. Move slowly and steadily to prevent mistakes.
7. Check the Match
After completing the cut, gently unfold the fabric to reveal both pieces. Inspect the cut edges to ensure that the pattern matches seamlessly across the divide. If there are any discrepancies, make necessary adjustments to improve the alignment.
8. Continue as Needed
Repeat this pattern-matching process for all your fabric pieces, ensuring each piece aligns with the pattern established in the first cut. Consistency is key to a polished final project.
9. Seam Allowances
Factor in seam allowances when marking and cutting your pattern pieces. Some patterns may include seam allowances, while others require you to add them. Pay attention to this detail to avoid surprises during assembly.
10. Test with a Mock-Up
For especially intricate or challenging patterns, consider creating a mock-up or test garment with inexpensive fabric.
This allows you to practice pattern-matching techniques and refine your skills before working with your main fabric, ensuring a flawless result on your final project.
FAQS
Washing fabric before cutting can prevent unexpected shrinkage or color bleeding after a project is complete.
While regular scissors can be used for cutting fabric, it’s advisable to use specialized fabric scissors or rotary cutters for cleaner and more precise cuts.
To match patterns or prints, fold the fabric so that the motifs align on both layers before cutting. Pin the layers together and cut through both layers simultaneously, ensuring that the patterns match up.
While not mandatory, a cutting mat is highly recommended when using a rotary cutter. It protects your work surface and ensures smoother cuts. For fabric scissors, a flat, clean surface is sufficient, but using a cutting mat can extend the life of your scissors.
To Recap
Mastering the art of cutting fabric correctly is a foundational skill that can elevate your sewing and crafting projects to new heights.
The meticulous attention to detail, precise measurements, and proper techniques outlined in this guide are vital for achieving professional and polished results.
By investing time and effort in honing your fabric-cutting skills, you can avoid costly mistakes, ensure the proper fit of garments, and create beautiful quilts and crafts that showcase your talent and dedication.
Remember that practice makes perfect, and as you continue to refine your fabric-cutting abilities, you’ll find greater satisfaction and success in your creative endeavors.
So, embrace the art of fabric cutting, and watch your projects flourish with precision and beauty.
Leave a Reply