Cutting letters out of sheet metal is a meticulous craft that demands precision and the right tools.
Mastering this skill for artistic signage, industrial applications, or DIY projects opens the door to diverse creative possibilities.
This process involves a series of strategic steps, from choosing the appropriate sheet metal and crafting a precise design to employing various cutting tools.
This guide will delve into the intricacies of cutting letters from sheet metal, providing insights into material selection, design transfer, and using tools like jigsaws, nibblers, and even advanced techniques like plasma cutting or laser cutting.
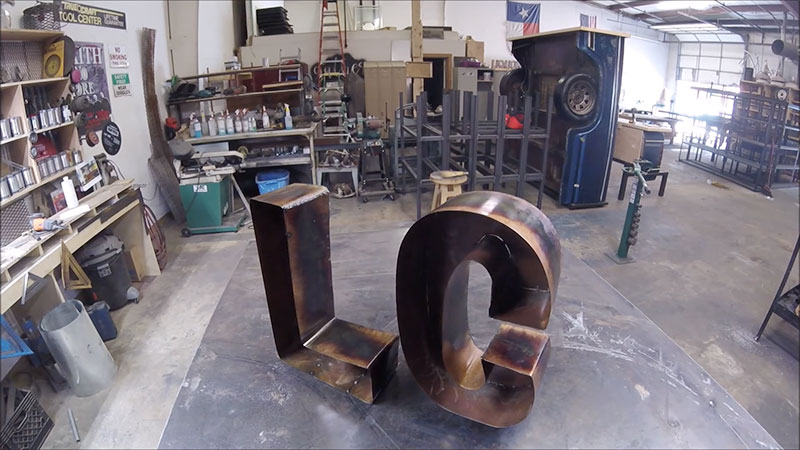
Step-by-Step Guide on How to Cut Letters Out of Sheet Metal?
Cutting letters out of sheet metal can be a precise and intricate process, requiring the right tools and techniques to achieve accurate results.
Here’s a step-by-step guide on how to cut letters out of sheet metal:
Materials and Tools:
- Sheet Metal.
- Template or Design.
- Safety Gear.
Cutting Tool:
- a. Jigsaw.
- b. Nibbler.
- c. Shears.
- d. Plasma Cutter.
- e. Laser Cutter.
Steps:
Prepare the Sheet Metal
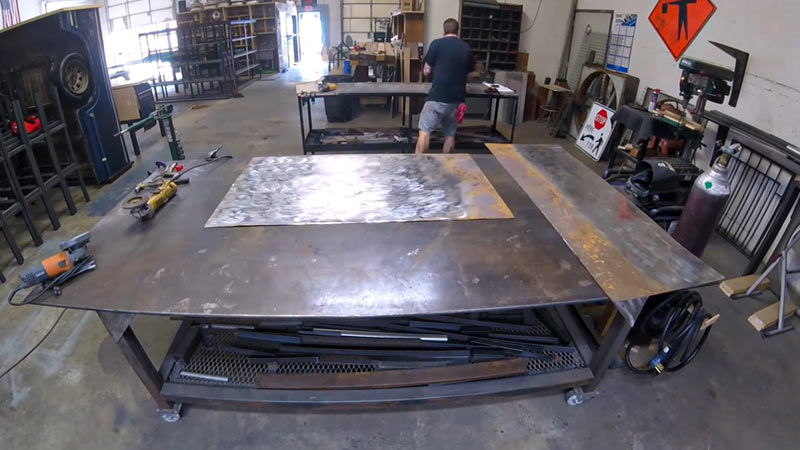
Begin by selecting a suitable workspace with ample lighting and a flat, stable surface. Lay the sheet metal carefully, ensuring it’s free from any warps or bends.
The stability of the sheet metal during the cutting process is crucial, so clamps are used to secure it firmly to the work surface.
This ensures that the metal won’t shift or vibrate, allowing for more precise cuts and maintaining the integrity of your design.
Transfer the Design
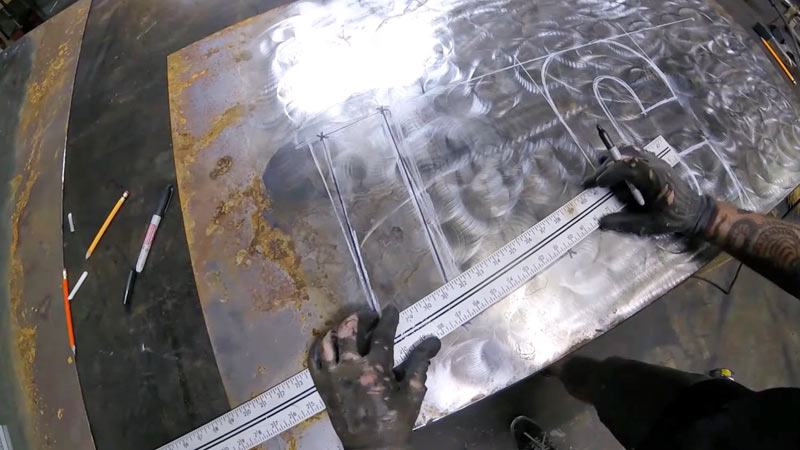
Take your time when transferring the letter design onto the sheet metal. Use a marker or scribe to make clear, visible lines. Measure key points to ensure symmetry and accurate placement of your letters.
If you’re working with a complex design, consider using templates or stencils to guide your markings. Precision in this phase is fundamental as it directly influences the outcome of your cuts.
Select the Cutting Tool
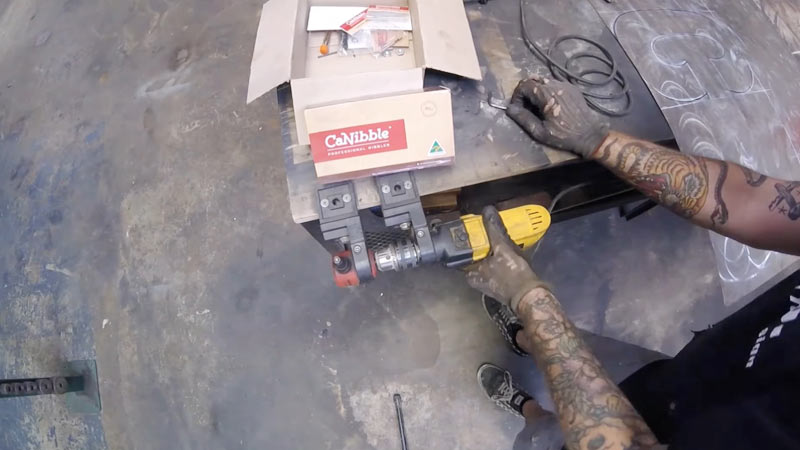
Carefully choose the cutting tool that aligns with your design’s intricacy and the sheet metal’s thickness.
Jigsaws, nibblers, and shears are versatile for various projects, balancing precision and ease of use.
For more intricate designs, a plasma cutter or laser cutter provides unparalleled precision but may require specialized knowledge and equipment.
Cutting Technique
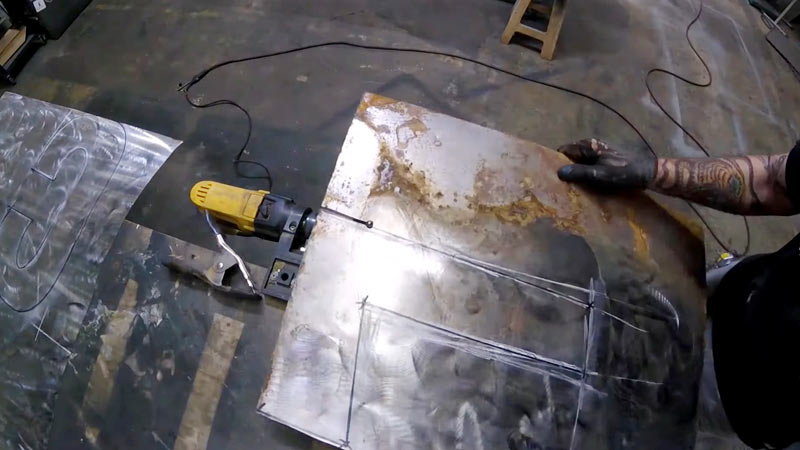
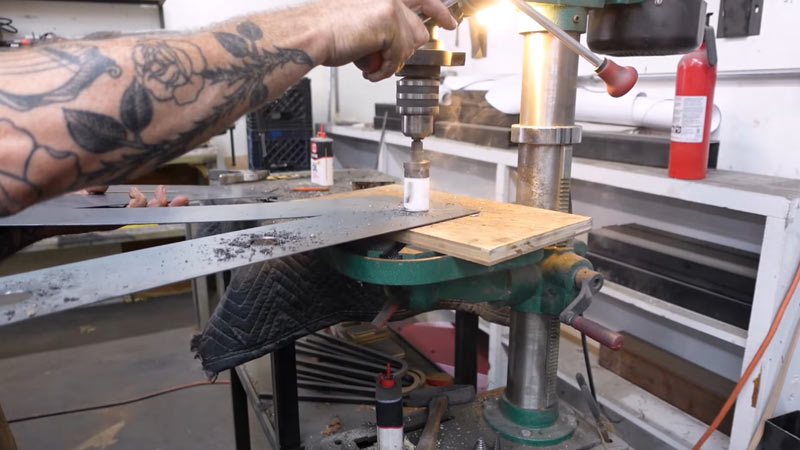
When using tools like jigsaws, nibblers, or shears, start by creating pilot holes at the corners of the letters.
This facilitates easier navigation through the interior sections of your design. Maintain a steady hand and a controlled pace as you follow the marked lines.
Adjust your technique based on the specific tool being used, considering the desired precision and finish.
Use a Plasma Cutter or Laser Cutter
Those fortunate enough to have access to advanced tools like plasma cutters or laser cutters follow the manufacturer’s instructions meticulously. These tools offer exceptional precision, making them ideal for intricate designs.
Adjust the settings according to the type and thickness of the sheet metal, and be aware of safety protocols associated with these high-powered tools.
Smooth Edges
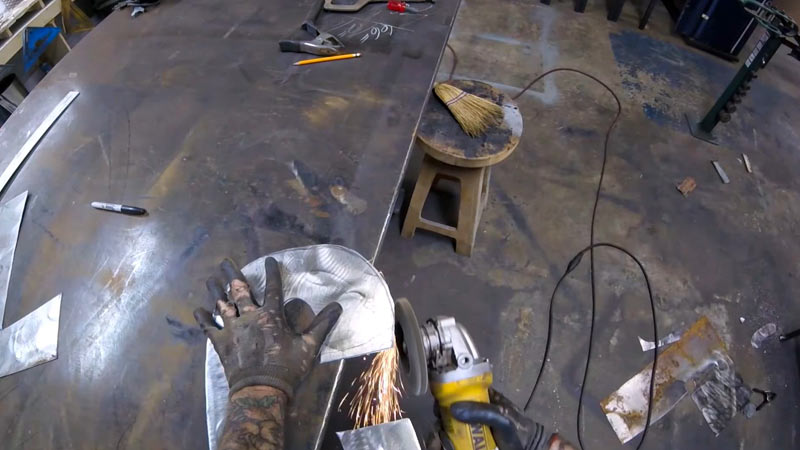
After completing the cutting process, carefully inspect the edges for any sharp burrs or rough spots. Use a metal file or a dedicated deburring tool to smooth out these imperfections.
This step is not just about aesthetics; it’s also a safety measure, ensuring the final product is free from jagged edges.
Inspect the Cut
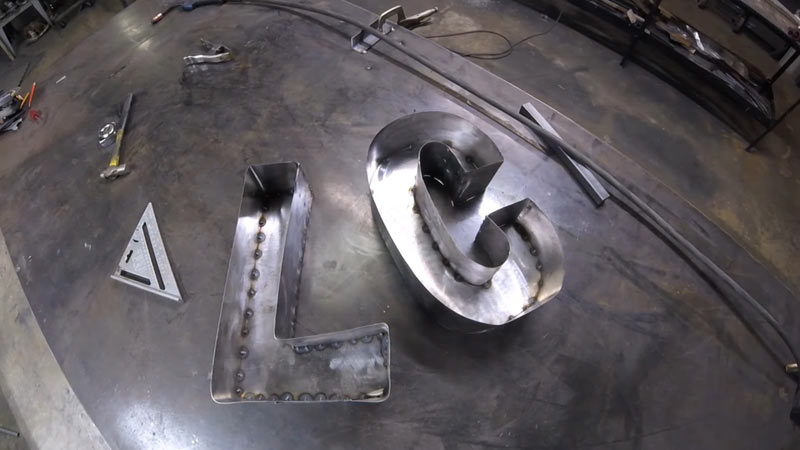
Thoroughly inspect the cut letters, checking for accuracy and the overall quality of the cuts. Pay attention to small details and, if necessary, make any refinements or adjustments.
This meticulous inspection ensures that your final product aligns perfectly with your design specifications.
Optional Finishing
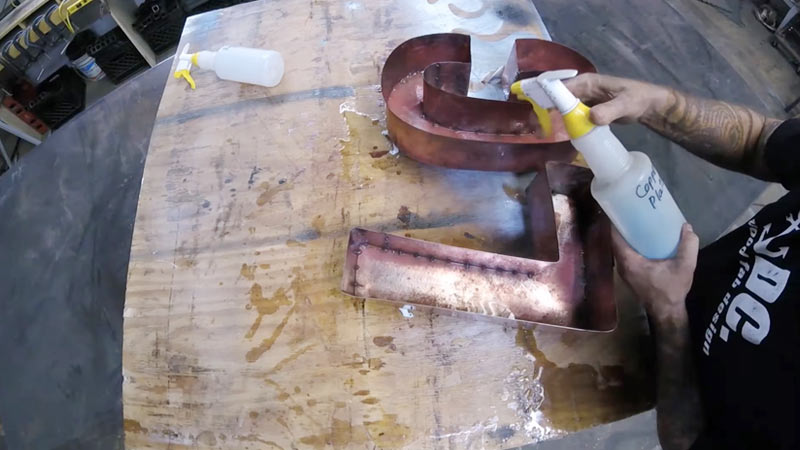
Depending on the project requirements, you may opt for additional finishing steps. Cutting cut letters can enhance their visual appeal, while polishing can add a professional touch.
Applying a protective coating, especially for outdoor applications, helps guard against corrosion.
Consider the intended use and aesthetic preferences when choosing optional finishing touches for your sheet metal letters.
What Safety Precautions Should Be Taken When Cutting Sheet Metal?
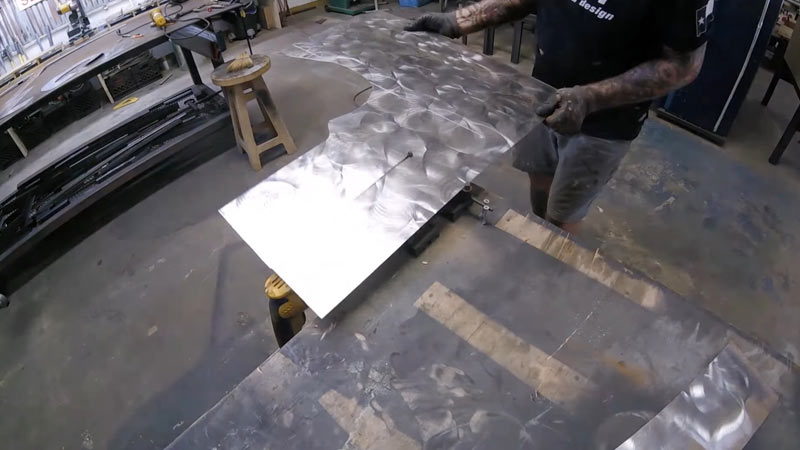
When cutting sheet metal, it’s crucial to prioritize safety to prevent injuries and ensure a smooth, efficient process.
Here are important safety precautions to take when cutting sheet metal:
Wear Personal Protective Equipment (PPE)
Safety should always be the priority when working with sheet metal. Safety glasses are essential for protecting your eyes from flying debris, sparks, and potential hazards during the cutting process.
Additionally, sturdy work gloves provide a crucial barrier against sharp edges, reducing the risk of cuts and abrasions.
Ensuring the consistent use of PPE creates a protective shield, minimizing the chances of injuries.
Secure the Workpiece
A stable workpiece is vital for achieving precise cuts and maintaining control over the cutting process.
Secure the sheet metal by using clamps to prevent any unintended movement. This step not only ensures safety but also contributes to the accuracy and quality of the final cut.
Taking the time to stabilize the workpiece properly is an investment in both safety and the successful completion of your project.
Ventilation for Certain Tools
In situations where tools, such as plasma cutters, generate fumes, prioritizing ventilation is crucial.
Adequate airflow helps disperse potentially harmful particles, creating a healthier work environment.
If working indoors, consider using an exhaust system to efficiently eliminate airborne particles, ensuring the safety and well-being of those nearby.
Read and Follow the Manufacturer’s Instructions
The manufacturer’s instructions are a comprehensive guide for properly using cutting tools. Understanding these instructions thoroughly is paramount for safe operation.
This includes the correct setup and usage and routine maintenance procedures. Adhering to these guidelines ensures the longevity of the tools, reduces the risk of malfunctions, and promotes a safer working environment.
Choose the Right Tool for the Job
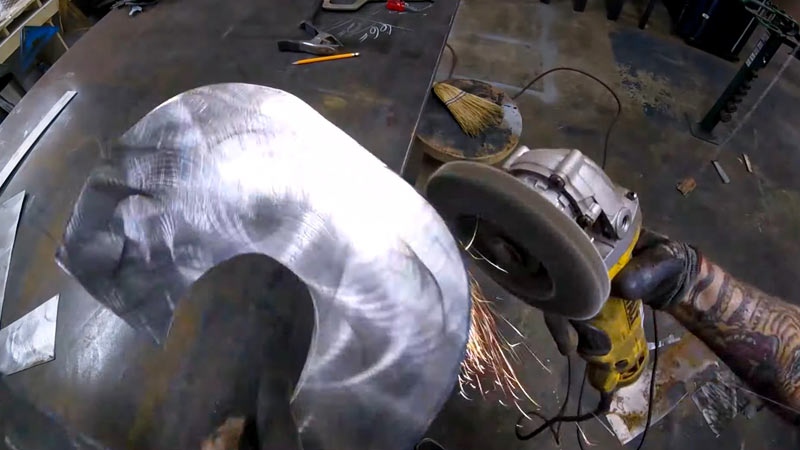
Selecting the appropriate cutting tool is critical in the sheet metal cutting process. Different tools are designed for specific purposes and materials, so it’s essential to match the tool to the type and thickness of the sheet metal.
Always follow the manufacturer’s guidelines to ensure safe operation, longevity of the tool, and optimal cutting results. Making the right tool choice enhances efficiency and minimizes potential risks.
Keep the Work Area Clean
Maintaining a tidy workspace is not just a matter of aesthetics; it’s a critical safety measure. Regularly removing debris prevents tripping hazards and ensures a clear line of sight during the cutting process.
A clutter-free environment contributes to a safer and more organized work experience, minimizing the risk of accidents.
Beware of Hot Metal
Tools that generate high temperatures, such as plasma cutters, demand a heightened awareness of hot metal surfaces.
After cutting, allow sufficient cooling time for the metal pieces before handling them. This precautionary step minimizes the risk of burns and ensures safe handling during post-cutting tasks.
Beware of Noise Levels
Protecting your hearing is essential when working with loud cutting tools. Constant exposure to high noise levels can lead to hearing damage over time.
To mitigate this risk, use ear protection such as earmuffs or earplugs. Prioritizing ear safety is crucial for maintaining long-term health and preventing potential hearing impairment.
Secure Loose Clothing and Tie Back Hair
Avoiding loose clothing and securing long hair are simple yet vital safety practices. Loose garments can get caught in machinery, posing serious risks, while tied-back hair prevents entanglement in cutting tools.
Adopting these preventive measures reduces the likelihood of accidents and creates a safer working environment.
Practice with Scrap Material
Before embarking on the final project, practicing with scrap material is a wise preparatory step.
This allows you to familiarize yourself with the specific cutting tool, refine your technique, and gain confidence in handling the equipment.
Learning and practicing scrap material contribute to a smoother and more controlled cutting process when working on the actual project.
First Aid Kit
Safety is never guaranteed, so having a well-equipped first aid kit nearby is essential. Be familiar with the first aid kit’s location and understand how to use its contents.
This proactive measure ensures immediate care for minor injuries, promoting a swift and effective response to unforeseen incidents.
How to Cut Letters Out of Paper?
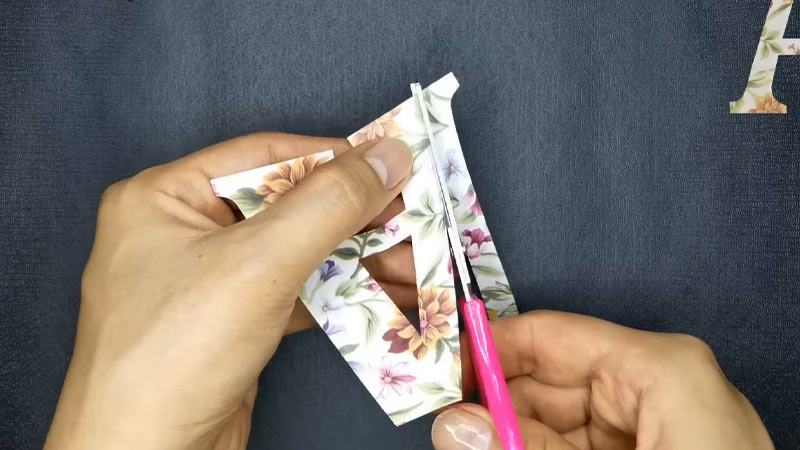
Cutting letters out of paper is a straightforward and creative process that requires minimal tools.
Whether you’re working on a craft project, creating handmade cards, or decorating for an event, here’s a simple guide on how to cut letters out of paper:
Materials and Tools:
- Paper.
- Pencil or Pen.
- Scissors.
- Craft Knife.
- Cutting Mat.
Steps:
1. Prepare the Paper
Begin by choosing a paper that suits your project. Lay it out on a flat, clean surface, ensuring that the paper is free of any wrinkles or folds.
A smooth surface is crucial for achieving clean and precise cuts. Take a moment to smooth out the paper and secure it with tape or weights to prevent movement during the cutting process.
2. Transfer the Design
Place your carefully crafted letter template onto the paper. Secure the template with tape or weights at the corners to prevent shifting while cutting.
With attention to detail, trace the outline of the letters onto the paper using a pencil or a fine-tip pen.
This step sets the foundation for the cutting process, so take your time to ensure accuracy and fidelity to your design.
3. Choose the Cutting Tool
The choice of cutting tool depends on the complexity of your design and your personal preference. For simple shapes, scissors might be sufficient, providing ease of use and flexibility.
Craft knives are ideal for intricate details, especially when guided by a ruler or straight edge for straight lines.
If you can access cutting machines like Cricut or Silhouette, these can accurately replicate digital designs, offering a precise and efficient cutting process.
4. Cutting Technique
If using scissors, carefully follow the traced lines with smooth and deliberate cuts. Pay attention to maintaining the shape and avoiding jagged edges.
Use a ruler or straight edge for craft knives to guide your cuts, especially when dealing with straight lines or sharp angles.
If utilizing a cutting machine, follow the specific instructions provided by the manufacturer for loading the paper and initiating the cutting process. Precision in this step ensures the faithful replication of your design.
5. Fine-Tune the Edges
After completing the initial cut, take a closer look at the edges of each letter. Inspect for any minor irregularities or jagged edges that may have occurred during the cutting process.
Use a pair of small, sharp scissors or a craft knife to make small, precise adjustments. This fine-tuning step enhances the overall quality of your project, ensuring that the cut letters have clean and polished edges.
Paying attention to details at this stage contributes to your paper letters’ professional and finished look.
6. Peel Away Excess Paper
For those utilizing cutting machines such as Cricut or Silhouette, the next step involves carefully peeling away the excess paper.
These machines often cut intricate designs, leaving the desired shapes surrounded by unused paper. Exercise patience during this step to avoid accidentally damaging or tearing the delicate paper pieces.
Gently lift and peel away the excess material, leaving behind the precisely cut letters on the cutting mat.
7. Arrange and Display
Now that you have your precisely cut letters, it’s time to bring your design to life. Arrange the letters as desired for your specific project.
Whether you’re working on a scrapbook layout, creating a personalized card, or designing a decorative banner, experiment with different arrangements until you find the most visually appealing composition.
Consider spacing, alignment, and overall aesthetics to achieve the desired impact.
8. Optional Decoration
Consider optional decorations to add a distinctive and personal touch to your cut letters. This creative step allows you to customize the letters further.
You might choose to color the letters using markers, colored pencils, or watercolors. Stamp patterns or designs onto the letters to introduce additional visual interest.
Explore attaching embellishments such as rhinestones, sequins, or decorative paper elements to enhance the overall aesthetic of your project.
Embrace your creativity during this optional decoration stage to make your cut letters truly unique and reflect your artistic style.
FAQs
Which tools are commonly used for cutting letters from sheet metal?
Jigsaws, nibblers, shears, plasma cutters, and laser cutters are common tools used for cutting letters from sheet metal.
What safety precautions should be taken when cutting sheet metal?
Wear safety glasses and gloves, and follow manufacturer guidelines for proper tool use. Ensure ventilation for tools like plasma cutters.
Can household scissors be used for cutting sheet metal letters?
No specialized tools like jigsaws or shears are needed for cutting sheet metal, as household scissors are unsuitable.
Why is smoothing edges important after cutting sheet metal letters?
Smoothing edges with a file or deburring tool is crucial for safety, preventing injuries, and achieving a polished final appearance.
Wrap Up
Cutting letters out of sheet metal is multifaceted, blending artistry with technical proficiency.
Achieving precision in design transfer and mastering the use of diverse cutting tools is paramount for a successful outcome.
From the initial selection of sheet metal to the final inspection of the cut letters, attention to detail ensures a polished and professional result.
This process demands skill and invites creative expression, making it a gratifying endeavor for artisans and DIY enthusiasts alike.
Whether crafting signage or personalized projects, the ability to cut letters from sheet metal opens up a world of possibilities, showcasing the fusion of craftsmanship and ingenuity.
Leave a Reply