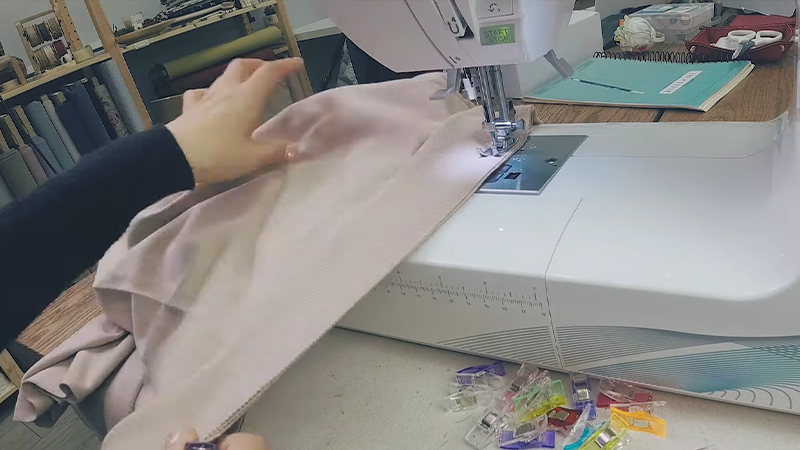
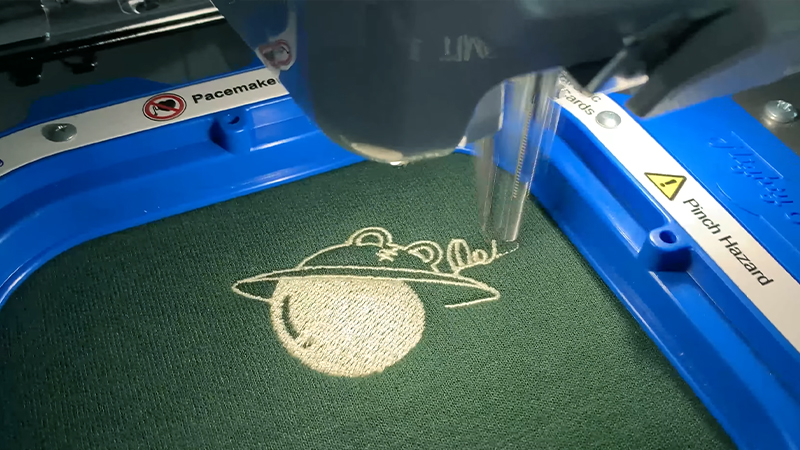
Distressing a sweatshirt is a captivating and hands-on method of personalizing your clothing, adding a touch of character and style. Whether you seek a vintage, worn-in look or a unique fashion statement, this DIY project offers endless possibilities.
By using techniques like sanding, cutting, and even bleaching, you can breathe new life into an ordinary sweatshirt.
The art of distressing requires a careful blend of creativity and craftsmanship. It allows you to turn a plain garment into a canvas for self-expression, transforming it into a wearable piece of art.
In this guide, we’ll explore step-by-step how to distress a sweatshirt, from preparation to final embellishments.

What Is a Sweatshirt?
A sweatshirt is a type of long-sleeved garment, typically made of cotton or a cotton-blend fabric.
It is designed for comfort and warmth and is commonly worn during casual or athletic activities. Sweatshirts often feature a soft, fleecy interior that helps retain body heat.
They may have a ribbed neckline, cuffs, and hem to provide a snug fit and prevent cold air from entering. Sweatshirts can come in various styles, including hooded, crew neck , and zip-up .
They are a popular choice for leisurewear, exercise, and casual outings, offering both comfort and versatility in modern fashion.
How to Distress a Sweatshirt?
Distressing a sweatshirt is a creative way to give it a unique, lived-in look. Whether you’re aiming for a vintage vibe or just want to add some character to your clothing, distressing can be a fun and satisfying DIY project.
Here’s a step-by-step guide on how to distress a sweatshirt:
Materials Needed
- Sweatshirt.
- Sandpaper or Pumice Stone.
- Scissors or Razor Blade.
- Bleach.
- Cardboard or Plastic Bag.
- Old Towel or Cloth.
Steps:
Wash and Dry the Sweatshirt
Before you begin the distressing process, it’s crucial to start with a clean sweatshirt. This helps remove any sizing, residue, or dirt that might interfere with the distressing process.
Run the sweatshirt through a regular wash cycle with mild detergent, and then let it air dry or use a dryer if you prefer.
Plan Your Design
Consider the style you’re aiming for. If you want a well-worn look, focus on areas that naturally experience more wear, like the cuffs, collar, hem, and elbows.
When you’re going for a more deliberate distressed look, think about where intentional cuts and frays might add character.
Fraying with Sandpaper or Pumice Stone
Take your sandpaper or pumice stone and begin to work on the chosen areas. The key here is to mimic the natural wear and tear that occurs over time.
Start with light pressure and increase as needed to achieve the desired level of distressing. Pay close attention to edges and seams, as these areas tend to show wear first.
Making Cuts
When you’ve chosen to make cuts, approach this step with care. Using scissors or a razor blade, start with small, controlled incisions.
You can always make the cuts larger, but remember, you can’t reverse them. Horizontal cuts will create a frayed effect, while vertical cuts lend a more defined distressed appearance.
Bleaching
When you’re opting for a faded, bleached effect, mix bleach with water in a spray bottle. It’s crucial to dilute the bleach to avoid damaging the fabric. Always test a small, inconspicuous area first to gauge the reaction.
Apply a light mist to the designated areas and allow it to sit for a few minutes. Rinse the sweatshirt thoroughly and wash it again to remove any residual bleach.
Create Thread Pulls
For an even more distressed look, use a needle or pin to gently pull threads at the edges of the cuts.
This adds a frayed texture that mimics natural wear. Take your time with this step, and don’t overdo it. Subtle pulls can make a big difference.
Distress the Seams
To achieve a more natural and aged appearance, work on the seams. Use the sandpaper or pumice stone to gently wear down the seams, paying special attention to areas that would naturally see more friction and wear.
Final Touches
Wrap up the distressing process by using a towel or cloth to gently rub over the distressed areas.
This helps to soften the fabric and blend the distressed spots with the rest of the sweatshirt, creating a seamless, lived-in look.
Wash Again
When you’ve used bleach in the process, it’s important to wash the sweatshirt once more. This ensures any residual bleach is thoroughly removed, making the garment safe to wear.
Adding Further Embellishments or Personalization

After distressing your sweatshirt, you might want to add some extra embellishments or personal touches to make it truly your own.
Here are some ideas:
Fabric Patches or Appliqués
Consider adding fabric patches or appliqués to cover larger distressed areas or simply to add a pop of color or pattern. This can be a great way to repurpose old fabric scraps or add a touch of uniqueness to your sweatshirt.
Embroidery or Fabric Paint
Express your creativity by using embroidery or fabric paint to create intricate designs, quotes, or patterns on the sweatshirt. This personal touch can turn your sweatshirt into a wearable piece of art.
Iron-On Transfers or Patches
Enhance your sweatshirt’s look by using iron-on transfers or patches. These can be used to add images, logos, or messages that reflect your personality or interests.
Studs or Rhinestones
For an edgy or glam-rock look, consider adding studs or rhinestones. You can arrange them in specific patterns or scatter them randomly for a unique, eye-catching effect.
Dyeing or Tie-Dyeing
Experiment with fabric dyes or tie-dye techniques to add a splash of color to your sweatshirt. This can create a vibrant and dynamic look that complements the distressed elements.
Frayed Edges
When you’ve made cuts in your sweatshirt, you can further fray the edges by gently pulling on the threads. This adds to the distressed aesthetic and can give a rugged, textured appearance.
Sewing or Stitching Details
Use a needle and thread to add decorative stitching, such as cross-stitching or embroidery, around the distressed areas. This intricate detailing can elevate the overall look of your sweatshirt.
Patches or Pins
Attach patches or pins that reflect your personal style or interests. This can be a fun and easy way to customize your sweatshirt with elements that hold meaning for you.
Bleaching Techniques
Experiment with different bleaching techniques to create unique patterns or effects on the sweatshirt. From splatter patterns to ombre fades, bleaching offers a range of creative possibilities.
Dye Sublimation
Consider dye sublimation, which involves transferring dye directly into the fabric. This can result in vibrant, permanent designs that seamlessly blend with the distressed areas.
Reverse Appliqué
This technique involves cutting away a section of fabric to reveal a different fabric underneath. It can create interesting layered effects and add depth to your sweatshirt’s design.
Layering with Other Garments
Try layering your distressed sweatshirt over a long-sleeve shirt or under a jacket. This can add dimension and texture to your outfit, creating a stylish and dynamic look.
Safety Pins or Lacing
Attach safety pins in creative patterns or use lacing to add an edgy, punk-inspired look. This unconventional approach can add a touch of rebellion to your sweatshirt’s style.
Fringe or Tassels
Attach fringe or tassels along the hem or sleeves for a playful, bohemian vibe. This can add movement and personality to your sweatshirt.
Sequin or Bead Embellishments
Add sequins or beads to create a touch of sparkle and glam. This can be a great way to make your sweatshirt stand out on special occasions or in evening settings.
Caring for a Distressed Sweatshirt

Taking proper care of your distressed sweatshirt will help ensure it stays in good condition and continues to look great over time.
Here are some tips on how to care for your distressed sweatshirt:
Handwashing or Gentle Cycle
It’s recommended to handwash your distressed sweatshirt to preserve the distressed details. Use a mild detergent and cold water. If you have to use a machine, opt for the delicate or gentle cycle.
Avoid Harsh Detergents and Bleach
Using harsh detergents and bleach can weaken the fabric and cause further distressing. Opt for a mild, non-abrasive detergent and avoid using bleach.
Turn Inside Out
Before washing, turn your sweatshirt inside out. This precaution helps protect the distressed areas from friction and abrasion during the wash.
Wash Separately
Wash your distressed sweatshirt separately from other clothing items, especially those with delicate fabrics or light colors. This helps prevent color bleeding and further distressing.
Air Dry
Avoid using a dryer, as the heat can cause further wear and tear on the distressed areas. Instead, lay your sweatshirt flat on a clean towel and allow it to air dry.
Avoid Ironing
Ironing can flatten or damage distressed details. If your sweatshirt gets wrinkled, consider using a steamer or simply hanging it up in a steamy bathroom to release wrinkles.
Store Carefully
When storing your distressed sweatshirt, fold it rather than hanging it. Hanging can cause stretching or distortion of the fabric, especially if there are distressing details near the shoulders or collar.
Avoid Rough Surfaces
Be mindful of where you wear your distressed sweatshirt. Avoid rough surfaces or situations where it might get snagged or caught on sharp objects.
Address Stains Promptly
When your sweatshirt gets stained, attend to it as soon as possible. Blot the stain gently with a clean cloth and a mild stain remover. Avoid rubbing, as this can push the stain further into the fabric.
Avoid Excessive Stretching
While distressed areas may naturally have some stretch, try to avoid excessive stretching, as it can cause further damage.
Rotate Wear
When you wear your distressed sweatshirt frequently, consider rotating it with other clothing items to reduce the amount of stress on the distressed areas.
Professional Cleaning
When your sweatshirt has delicate distressing details or embellishments, it may be best to take it to a professional cleaner to ensure it’s cared for properly.
FAQs
What tools do I need to distress a sweatshirt?
You’ll need sandpaper or a pumice stone, scissors or a razor blade, and optionally, bleach for additional distressing effects.
How can I avoid over-distressing my sweatshirt?
Start with light distressing and gradually add more as needed. It’s easier to add distressing than to reverse it.
Can I distress any type of sweatshirt fabric?
Distressing works best on cotton or cotton-blend fabrics. Thicker, sturdier fabrics tend to hold up better to the distressing process.
Should I wash my sweatshirt before distressing it?
Yes, it’s recommended to wash and dry the sweatshirt first. This removes any sizing or residue and makes it easier to distress.
How can I add color or patterns to my distressed sweatshirt?
You can use fabric dye, bleach, or fabric paint to add color. For patterns, consider using stencils or fabric markers in combination with your distressing techniques.
To Recap
Distressing a sweatshirt is a creative endeavor that offers a unique and personalized touch to your wardrobe.
By carefully choosing areas for distressing and employing techniques like sanding, cutting, and, optionally, bleaching, you can achieve a desired vintage or rugged look.
It’s important to approach the process with patience and start conservatively, as it’s easier to add distressing than to reverse it. With proper care and maintenance, your distressed sweatshirt can become a cherished, one-of-a-kind garment that reflects your individual style.
So, gather your materials and embark on this DIY journey to transform a simple sweatshirt into a fashion statement infused with character and personality.
Leave a Reply