Mastering the art of drawing perspective to scale is a fundamental skill for artists, architects, and designers seeking to imbue their creations with realism and spatial accuracy.
Perspective drawing involves translating three-dimensional scenes onto a two-dimensional surface while maintaining proportional relationships.
This process creates depth, making objects appear as they would in the real world. Whether employing a one-point, two-point, or three-point perspective, understanding how to establish a scale is pivotal.
This guide will delve into the step-by-step process, emphasizing the importance of horizon lines, vanishing points, and meticulous detailing to ensure drawings accurately represent spatial dimensions and evoke a compelling sense of depth and scale.
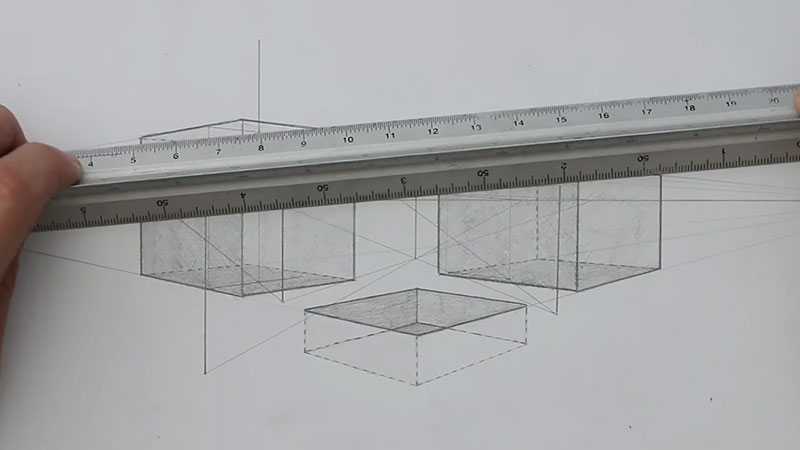
How to Draw Perspective to Scale? 10 Steps
Drawing perspective to scale is essential for artists, architects, and designers who want to create accurate and realistic representations of three-dimensional objects on a two-dimensional surface.
Perspective drawing involves depicting objects in a way that reflects their size and distance in relation to the viewer.
Here’s a step-by-step guide on how to draw perspective to scale:
Step 1: Understand the Basics of Perspective
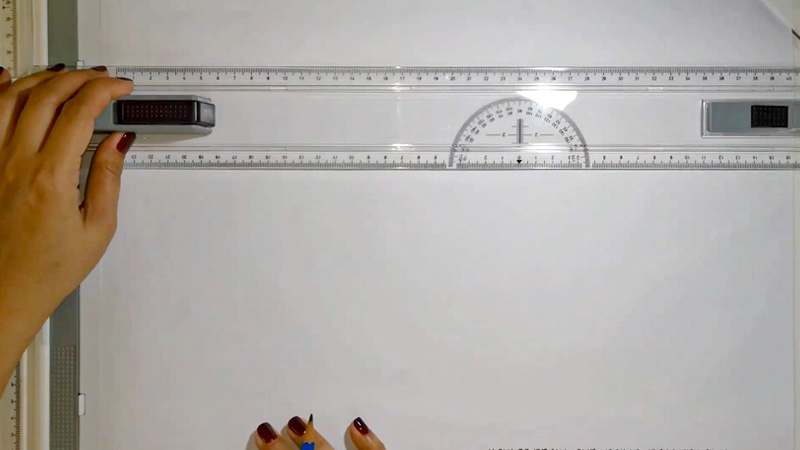
Before you start drawing, it’s crucial to grasp the fundamental principles of perspective.
There are two main types: linear perspective (which includes one-point, two-point, and three-point perspective) and atmospheric perspective. Linear perspective is particularly relevant to drawing to scale.
- One-Point Perspective: Useful for drawing objects facing directly towards or away from the viewer.
- Two-Point Perspective: Ideal for depicting objects at an angle.
- Three-Point Perspective: Useful for drawing objects from a high or low viewpoint.
Step 2: Choose Your Horizon Line and Vanishing Points
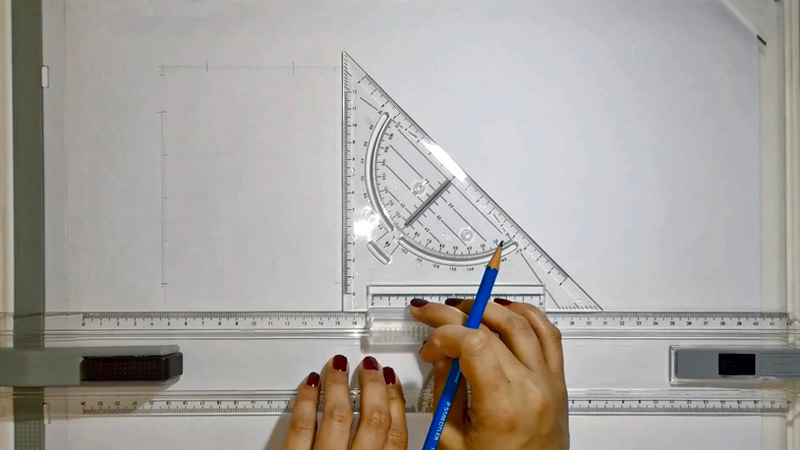
Identify your horizon line, which represents the viewer’s eye level. From a one-point perspective, there is only one vanishing point.
Two vanishing points are usually placed on the horizon line for the two-point perspective.
For the three-point perspective, there are three vanishing points, including one above or below the horizon line.
Step 3: Establish the Scale
Determining the scale of your drawing is crucial for maintaining accurate proportions. Decide on the relative sizes of objects in your composition and the overall dimensions of the scene.
Whether working in metric or imperial units, establish a scale that suits your artistic vision, ensuring that it aligns with the desired level of detail and precision.
Step 4: Draw the Horizon Line and Vanishing Points
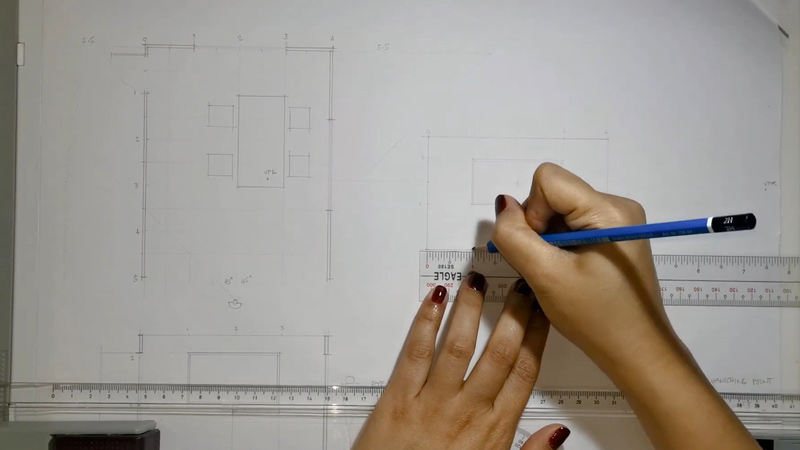
Draw a straight and level horizon line with a ruler across your paper or canvas. For a one-point perspective, mark a single vanishing point on this line; for a two-point, place two vanishing points.
These points are critical, as they dictate the direction in which lines converge, influencing the perception of depth and distance in your drawing.
Step 5: Sketch the Ground Plane
Create the imaginary ground plane where your objects will be situated. This baseline serves as a reference for placing elements within your scene.
Ensure its accuracy and straightness, as it anchors your composition and provides a foundation for the illusion of space.
Step 6: Draw Vertical Lines
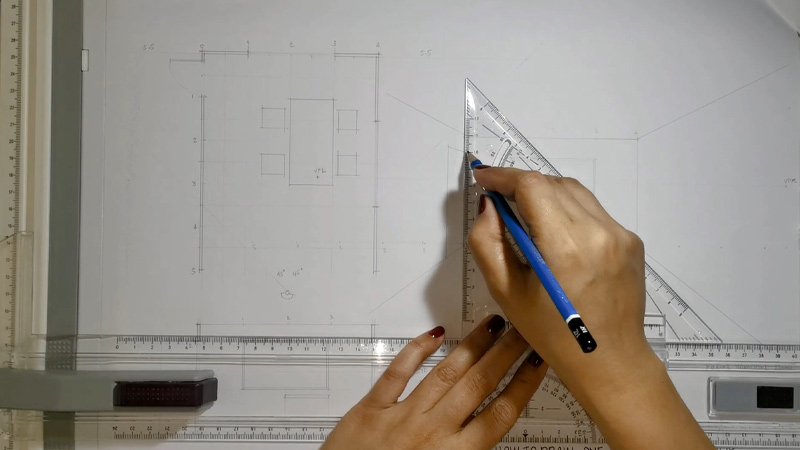
Establish the height of objects by drawing vertical lines from the ground plane to represent their respective elevations.
Utilize the vanishing points to determine the convergence of these lines, accounting for foreshortening as objects recede into the distance. This step forms the initial structure of your three-dimensional space.
Step 7: Connect the Lines
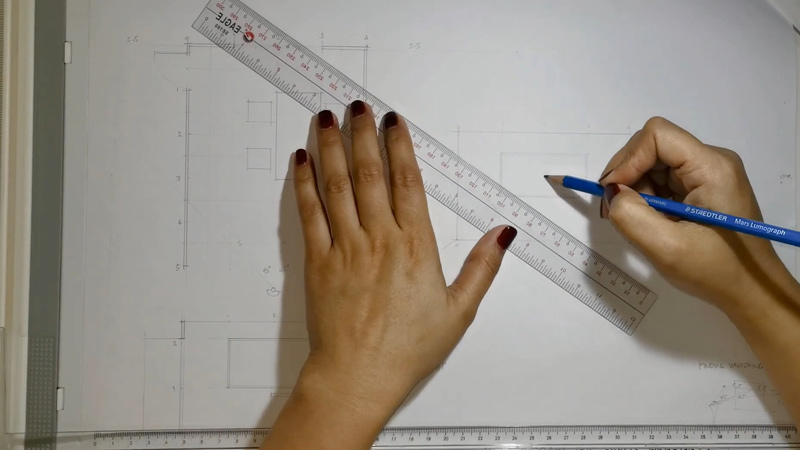
Connect the tops and bottoms of the vertical lines using diagonal lines that converge towards the vanishing points.
This process defines the sides of objects and contributes to creating a realistic sense of depth. Pay careful attention to the convergence angles, ensuring they align with your chosen perspective.
Step 8: Add Details
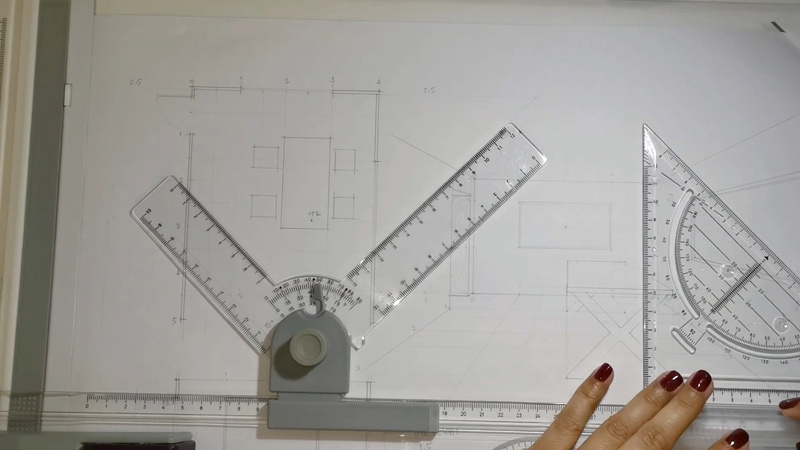
As the foundational structure takes shape, begin adding details to your drawing. Focus on the objects in the foreground, rendering them more precise and detailed than those in the background.
This step enhances the visual hierarchy within your composition and reinforces the illusion of depth.
Step 9: Practice and Refine
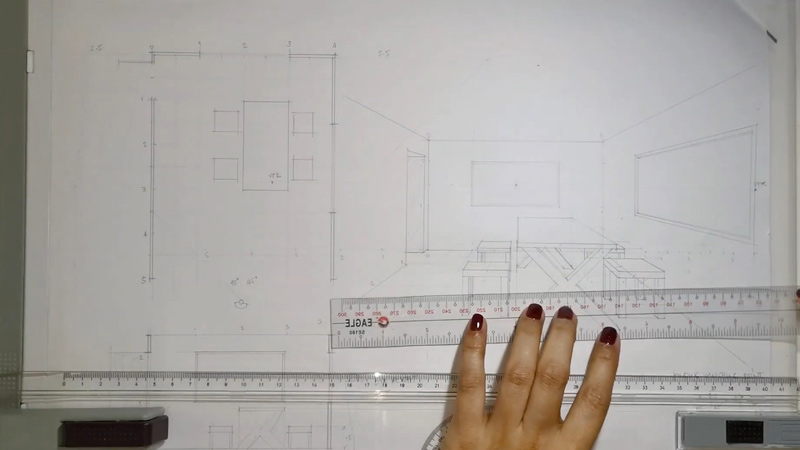
Regular practice is key to mastering perspective drawing. Experiment with different scenes, object arrangements, and perspectives to refine your technique.
Pay close attention to the relationships between proportions, angles, and distances within your drawings, honing your ability to represent three-dimensional space on a two-dimensional surface accurately.
Step 10: Use Reference and Resources
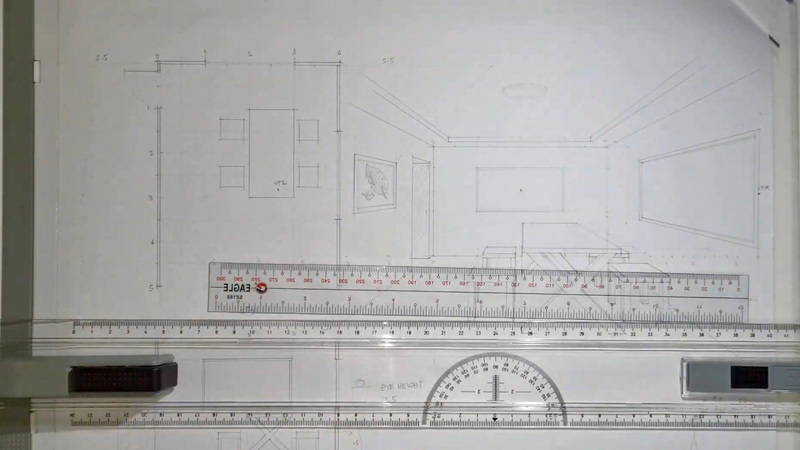
Refer to photographs, architectural drawings, or other reference materials to deepen your understanding of perspective and scale.
Analyze how lines converge in real-world situations and study the proportions of objects in various contexts.
Incorporate these observations into your practice to continually improve your perspective drawing skills.
How to Draw 2 Point Perspective to Scale? 10 Steps
Drawing in two-point perspective is a powerful technique to represent objects and scenes from an angle, adding depth and realism to your artwork.
Here’s a step-by-step guide on how to draw a two-point perspective to scale:
Step 1: Understand Two-Point Perspective
Before diving into the drawing process, take the time to understand the concept of two-point perspective.
Recognize that the two vanishing points on the horizon line provide a sense of direction for objects receding into the distance.
This understanding is fundamental for achieving a convincing illusion of depth in your artwork.
Step 2: Choose Your Horizon Line and Vanishing Points
Carefully select the placement of your horizon line based on the viewer’s eye level. Position the two vanishing points on this line, considering the desired angle and composition of your drawing.
The separation of these points influences the perceived width and angle of the scene.
Step 3: Establish the Scale
Determine the scale of your drawing by deciding on the objects’ relative sizes and the scene’s overall dimensions.
This step is critical for maintaining accurate proportions in a two-point perspective, ensuring that your drawing is both visually appealing and realistic.
Step 4: Draw the Horizon Line and Vanishing Points
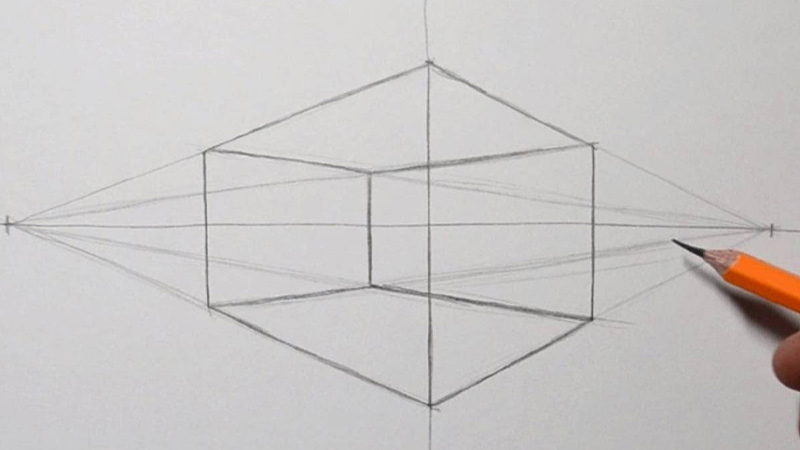
Use a ruler to draw a straight, level horizon line across your paper. Mark the vanishing points precisely on this line.
The accuracy of the horizon line and vanishing points is crucial, as they form the foundation for the convergence of lines and the creation of depth in your drawing.
Step 5: Sketch the Ground Plane
Create the ground plane by drawing a baseline where your objects will be situated. This baseline serves as a reference point for placing elements within the scene and helps establish the perspective of objects in relation to the viewer.
Step 6: Draw Vertical Lines
Establish the height of objects by drawing vertical lines from the ground plane. These lines represent the elevation of objects and converge towards the two vanishing points. Pay attention to the spacing between these lines to maintain consistent proportions.
Step 7: Connect the Lines
Connect the tops and bottoms of the vertical lines with diagonal lines that converge towards the respective vanishing points.
This step defines the sides of your objects and contributes to the illusion of depth. Ensure that these lines align correctly with the chosen perspective, emphasizing the three-dimensional quality of your drawing.
Step 8: Add Details
As the basic structure takes shape, progressively add details to your drawing. Concentrate on rendering objects in the foreground with greater precision and detail than those in the background.
This selective detailing enhances the visual hierarchy and reinforces the depth within your two-point perspective composition.
Step 9: Practice and Refine
Practice regularly to refine your understanding and application of the two-point perspective. Experiment with different scenes, angles, and object placements to enhance your proficiency.
Pay attention to the convergence of lines, consistently striving for improved accuracy and realism in your spatial representations.
Step 10: Use Reference and Resources
Refer to photographs, architectural drawings, or other reference materials to deepen your understanding of the two-point perspective.
Analyze real-world situations to observe how lines converge, and objects appear in different scenarios.
Incorporate these observations into your practice, allowing them to inform and elevate your two-point perspective drawing skills.
How Do You Draw a One-Point Perspective to Scale?
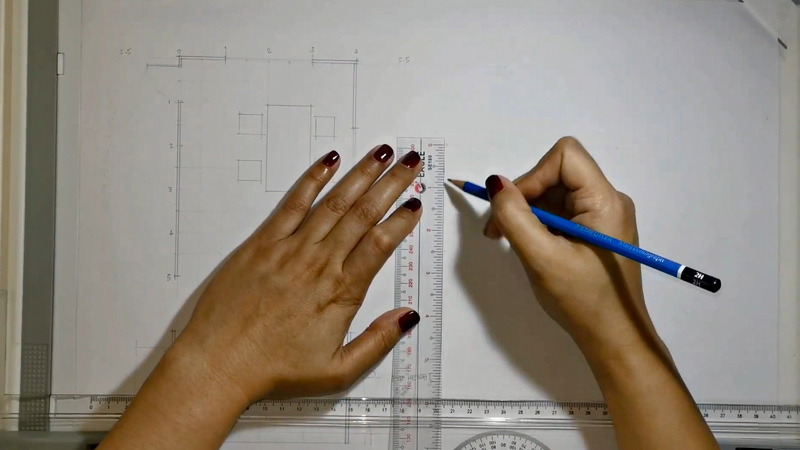
Drawing in a one-point perspective is a fundamental skill that artists, architects, and designers often use to create realistic depictions of scenes with a single vanishing point.
Here’s a step-by-step guide on how to draw a one-point perspective to scale:
Step 1: Understand One-Point Perspective
Comprehend the basic principles of one-point perspective, where all parallel lines converge to a single vanishing point on the horizon line.
This type of perspective is particularly effective when drawing objects or scenes facing directly toward or away from the viewer.
Step 2: Choose Your Horizon Line and Vanishing Point
Select the placement of your horizon line, representing the viewer’s eye level. Then, determine the location of the vanishing point on this line, considering the desired composition and angle of your drawing. The vanishing point is where parallel lines seem to converge in the distance.
Step 3: Establish the Scale
Decide on the scale of your drawing, considering the objects’ relative sizes and the scene’s overall dimensions.
Establishing a scale helps maintain accurate proportions, ensuring that your drawing appears realistic and cohesive.
Step 4: Draw the Horizon Line and Vanishing Point
Draw a straight and level horizon line across your paper or canvas using a ruler. Mark the vanishing point on this line, making sure it aligns with your chosen composition.
The accuracy of the horizon line and vanishing point is crucial for achieving a convincing sense of depth.
Step 5: Sketch the Ground Plane
Create the ground plane or baseline where your objects will rest. This imaginary surface serves as a reference for placing elements within the scene and provides a foundation for the perspective of your drawing.
Step 6: Draw Vertical Lines
Represent the height of objects by drawing vertical lines from the ground plane. These lines converge towards the vanishing point, creating the illusion of depth.
The spacing between these lines determines the perceived size of objects in relation to their distance from the viewer.
Step 7: Connect the Lines
Connect the tops and bottoms of the vertical lines with diagonal lines that converge toward the vanishing point.
This step defines the sides of objects and reinforces the one-point perspective, as all lines radiate from the single vanishing point.
Step 8: Add Details
Once the basic structure is in place, add details to your drawing. Focus on objects in the foreground, rendering them more detailed than those in the background.
This selective detailing enhances your one-point perspective composition’s visual hierarchy and depth.
Step 9: Practice and Refine
Practice regularly to refine your ability to draw in one-point perspective. Experiment with different scenes, objects, and viewpoints to improve your technique.
Pay attention to proportions, angles, and the convergence of lines to achieve a more accurate and convincing sense of space.
Step 10: Use Reference and Resources
Refer to photographs, architectural drawings, or other reference materials to deepen your understanding of the one-point perspective.
Analyze how objects and lines converge in real-world situations, incorporating these observations into your practice to enhance the realism and scale of your one-point perspective drawings.
FAQs
Why is establishing scale crucial in perspective drawing?
Establishing scale ensures accurate proportions, maintaining realism in drawings.
What’s the significance of the horizon line?
The horizon line determines vanishing points, influencing depth in the artwork.
How does a one-point differ from a two-point perspective?
One point has a single vanishing point, while two involve two, creating dynamic angles.
What’s the role of vanishing points in perspective?
Vanishing points guide lines’ convergence, shaping the illusion of depth.
Why is selective detailing important in perspective art?
Selective detailing emphasizes foreground elements, enhancing visual hierarchy and depth.
To Recap
Mastering the art of drawing perspective to scale empowers artists to breathe life into their creations, infusing them with a captivating sense of depth and realism.
One can successfully translate three-dimensional visions onto a two-dimensional canvas through a meticulous process involving horizon lines, vanishing points, and careful detailing.
The understanding of scale ensures that proportional relationships are preserved, contributing to the authenticity of the visual narrative.
As a skill honed through practice and observation, perspective drawing is a gateway for artists to convey spatial dimensions, create immersive environments, and captivate viewers with the illusion of a tangible world carefully crafted with precision and artistic vision.
Leave a Reply