Drawing ruffles on a sleeve is a delightful art form that infuses fashion illustrations with grace and charm.
Whether you’re an aspiring fashion designer, an artist looking to enhance your skills, or simply an enthusiast seeking to add intricate details to your artwork, mastering the technique of drawing ruffles can elevate your creations.
Ruffles on a sleeve can range from subtle and sophisticated to bold and extravagant, lending character and personality to your designs.
In this guide, we’ll explore a step-by-step approach to bringing these cascading fabric waves to life, enabling you to infuse your fashion sketches or artistic projects with the timeless elegance of ruffled sleeves.
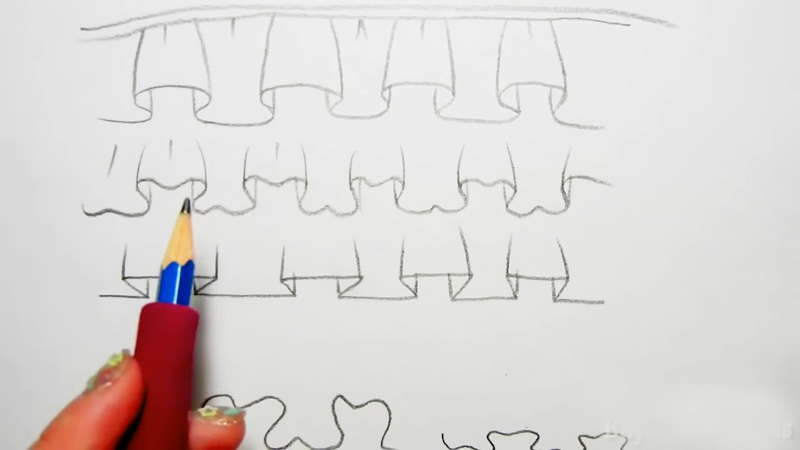
9 Steps to Draw Ruffles on a Sleeve
Ruffles drawing on a sleeve can add a touch of elegance and femininity to your fashion illustrations or artwork.
Whether you’re a fashion designer, an artist, or simply looking to improve your drawing skills, here’s a step-by-step guide on how to draw ruffles on a sleeve:
Materials you’ll need:
- Paper
- Pencil
- Eraser
- Fine-tip pen or marker
Step 1: Basic Sleeve Shape
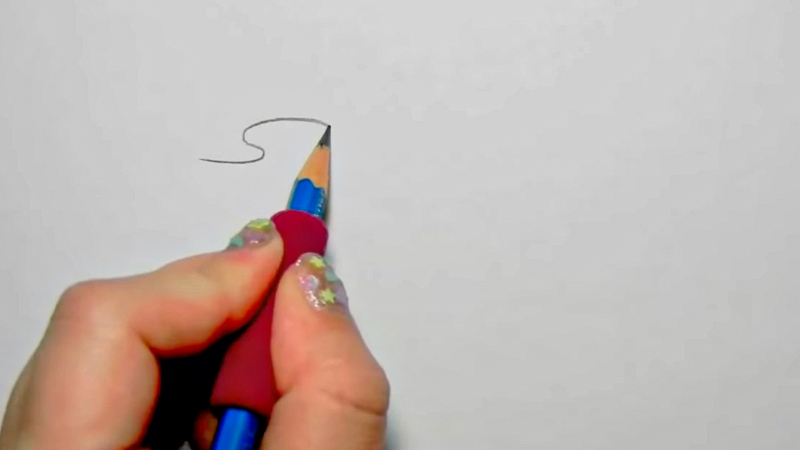
Begin by drawing the basic sleeve shape. Depending on the style you want to achieve, this can be a straight or curved line representing the arm.
Consider the pose of your figure or mannequin to determine the angle and length of the sleeve. Make light, gentle strokes, as this is just the foundation for your ruffles.
Step 2: Ruffle Placement
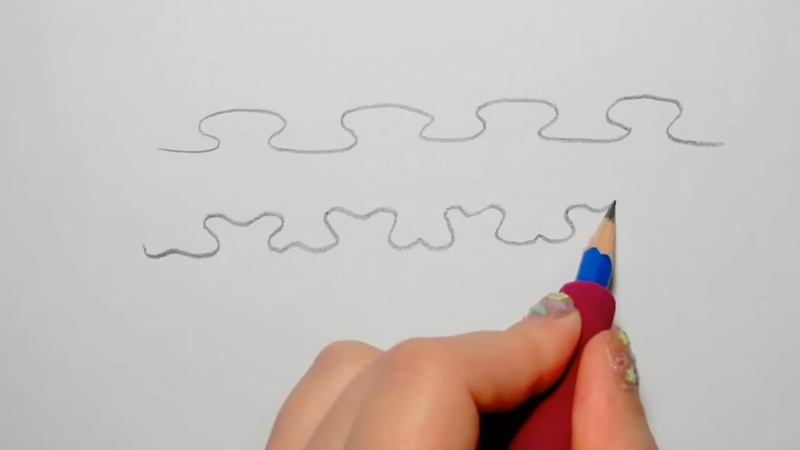
Decide where on the sleeve you want the ruffles to start. Ruffles can be positioned at various locations, such as the cuff, just above the elbow, or near the shoulder.
Mark this starting point lightly with a small dot or a faint line to guide you as you draw the ruffles.
Step 3: Draw the Ruffle Lines
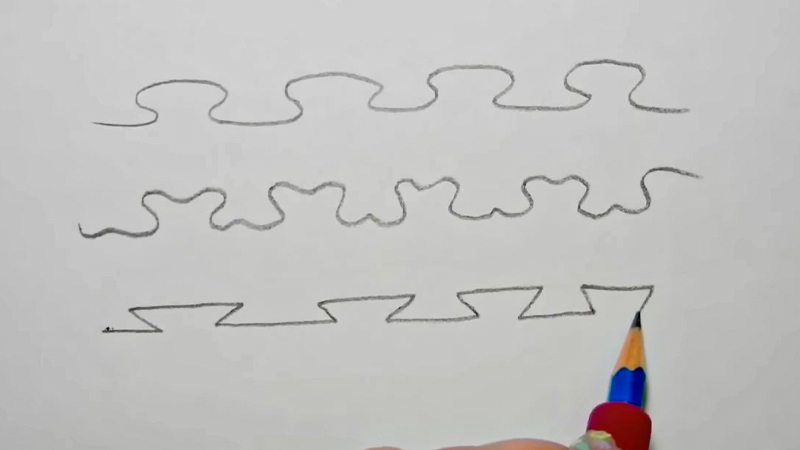
Starting from the marked point, draw a series of curved lines that radiate outward and follow the contour of the sleeve. These lines will serve as the framework for your ruffles.
Ensure that the lines are evenly spaced and gently curved. The number of lines you draw will determine the number of ruffles on the sleeve.
Step 4: Create Depth
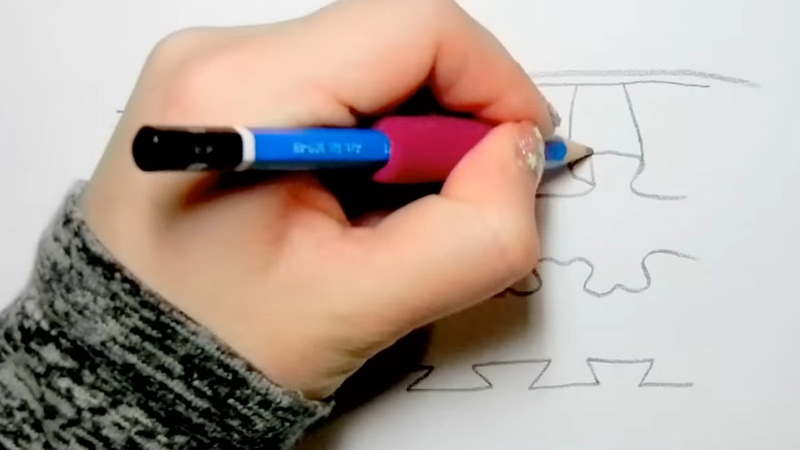
To give your ruffles a three-dimensional appearance, make the lines closer together near the starting point where the ruffles begin and gradually space them out as you move away from it.
This creates the illusion of ruffles folding and overlapping. Pay attention to the spacing between lines, making it narrower at the top of the ruffles and wider as you move down.
Step 5: Add Detail
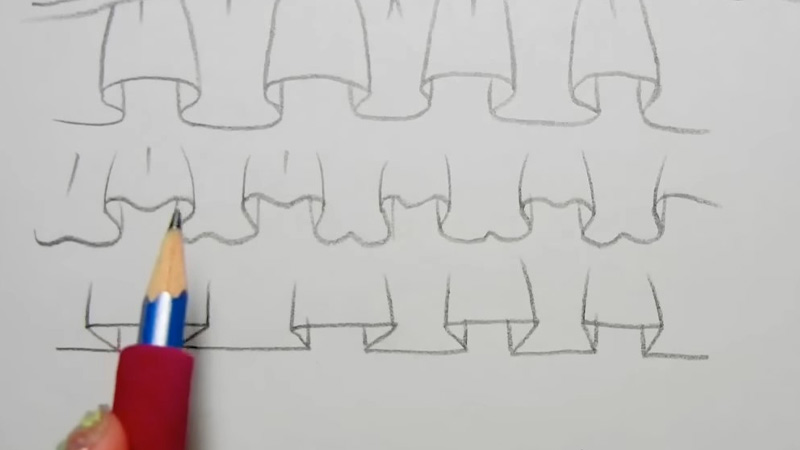
Refine your ruffles by adding small, curved lines within each ruffle. These lines represent the folds and creases in the fabric.
These details make the ruffles appear more realistic and add depth to your drawing. Pay attention to the direction of the curves to create a sense of flow in the fabric.
Step 6: Erase Unnecessary Lines
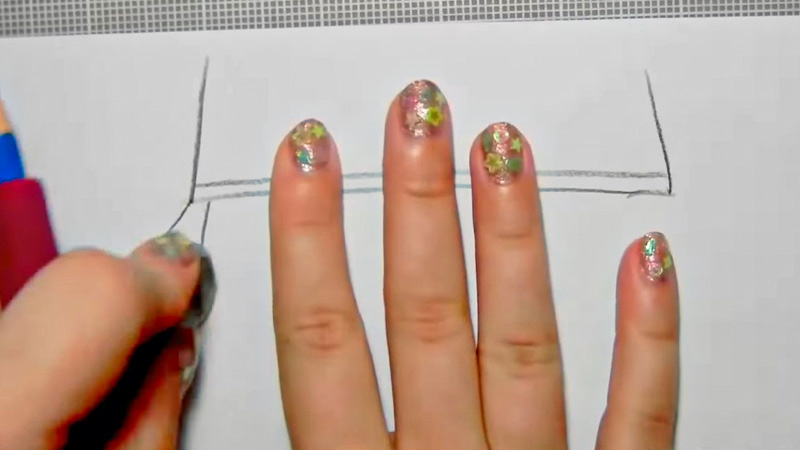
Erase any unnecessary lines or marks, such as the initial arm outline you sketched in step 1. Ensure that only the ruffles remain on the sleeve.
This step helps clean up your drawing and gives a polished look to your ruffled sleeve.
Step 7: Ink Your Drawing
Once you are satisfied with your pencil sketch, use a fine-tip pen or marker to carefully trace over the ruffle lines. This inking process gives your drawing a cleaner and more defined appearance.
Take your time to create smooth, confident lines while maintaining the curved shapes of the ruffles.
Step 8: Shade and Texture
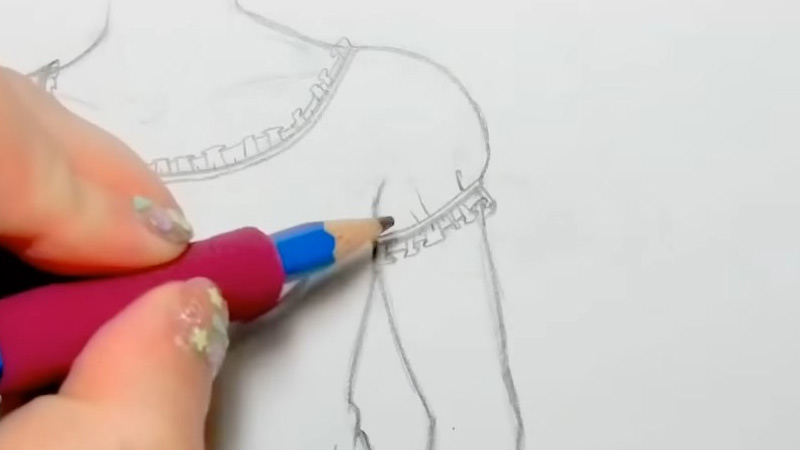
If you wish to add depth and texture to your ruffled sleeve, consider shading. Use cross-hatching or stippling techniques to create shadows and highlights. Shading can make the ruffles look more three-dimensional and add realism to your artwork.
Step 9: Color
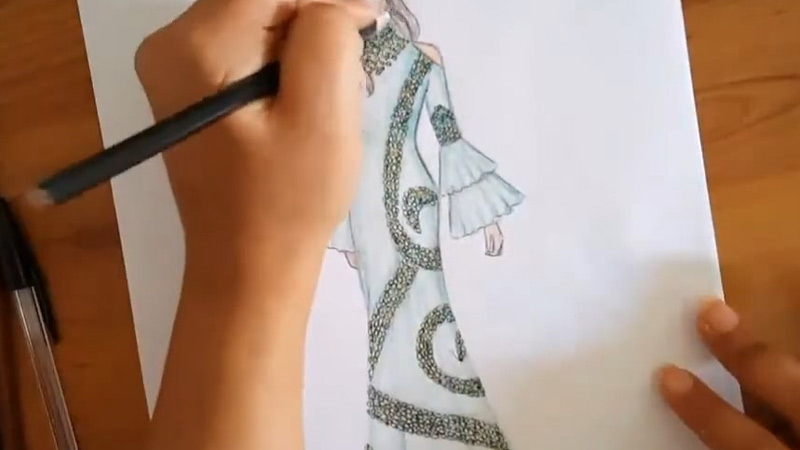
If you want to add color to your drawing, select appropriate colors for the fabric and ruffles. Use colored pencils, markers, or digital tools to carefully apply color.
Consider shading the ruffles with lighter and darker tones to create depth and make them visually distinct from the sleeve’s base color.
How to Draw Frills?
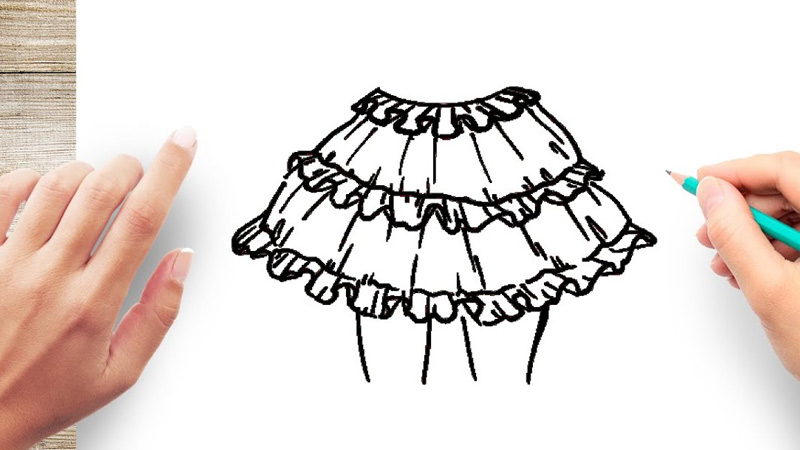
Drawing frills, also known as ruffles, can add a touch of elegance and dimension to various clothing items, home decor, or artistic projects.
Whether you’re sketching fashion designs, creating detailed illustrations, or adding texture to your artwork, here’s a step-by-step guide on how to draw frills effectively:
Materials you’ll need:
- Paper
- Pencil
- Eraser
- Fine-tip pen or marker
Step 1: Decide on Frill Placement
Before you start drawing, consider where you want to incorporate frills into your design or illustration. Frills can enhance various elements, such as clothing, curtains, or decorative items.
Mark the exact starting point with a small dot or a faint line to guide you in the following steps.
Step 2: Sketch the Base Shape
Begin by sketching the basic shape of the item you’re adding frills to. For instance, if you’re drawing a dress with frills along the hem, outline the dress’s silhouette first.
Keep your lines light and basic, as the primary focus will shift to the frills in subsequent steps. The base shape will serve as a foundation for your frills.
Step 3: Draw the First Frill
Commence at the marked starting point and create a series of short, evenly spaced curved lines that radiate outward. These lines should follow the shape of the item and be curved in a consistent direction.
The number of lines you draw will determine the fullness and intricacy of the frills. Ensure that the lines maintain a gentle and flowing curve.
Step 4: Add Depth and Volume
To give your frills a realistic appearance, introduce variation in the length of the curved lines. Make some lines shorter and others longer, especially as you move away from the starting point.
This variation will provide depth and volume to the frills, mimicking the way fabric folds and flows.
Step 5: Create Overlapping Layers
Continue to build on the frills by adding more rows of curved lines. Each subsequent row should be positioned slightly below the previous one to create a layered effect.
Overlapping these layers will give the frills dimension and complexity. Keep the spacing between the rows consistent for a neat appearance.
Step 6: Add Detail
Inside each frill, draw small, delicate curved lines to depict folds and creases in the fabric. These details contribute to the texture and realism of the frills, making them appear soft and dynamic.
Pay attention to the direction of these lines to ensure they follow the curvature of the frills.
Step 7: Erase Unnecessary Lines
Use your eraser to remove any extraneous lines from the base shape of the item, leaving only the frills visible.
This step cleans up your drawing and directs the viewer’s focus toward the intricacies of the frills themselves.
Step 8: Ink Your Drawing
If you prefer a polished and defined look, carefully trace over your pencil lines with a fine-tip pen or marker.
This inking process emphasizes the frills and sets them apart from the rest of the drawing. Take your time to maintain the fluidity and curvature of the frills.
Step 9: Add Shading and Color
For added depth and realism, consider shading the frills. Use techniques such as cross-hatching or stippling to create shadows and highlights, giving the frills a three-dimensional appearance.
If you wish to add color, choose appropriate shades for the fabric and apply them with colored pencils, markers, or digital tools to achieve the desired effect.
FAQS
How can I add depth to my ruffles?
Vary the length of your ruffle lines and overlap them for depth.
Is it possible to draw ruffles on textured fabrics?
Yes, adapt your lines to mimic the fabric’s texture for realism.
Do I need ink or digital tools for realistic ruffles?
Not necessary; pencils alone can create realistic ruffles.
What’s the key to drawing uniform ruffles?
Maintain consistent spacing and curvature for even ruffles.
Can I draw ruffles on sleeves with a pen tablet or graphic software?
Yes, digital tools can offer precision and ease for creating ruffles, especially for digital artists.
Last Words
Mastering the art of drawing ruffles on a sleeve, you’ve embarked on a creative journey that merges elegance with technique.
The steps outlined in this guide serve as a foundation, enabling you to infuse life and dimension into your fashion sketches or artistic projects.
Through patience and practice, you can elevate your ruffle-drawing skills, achieving various styles and intricacies.
Remember that ruffles can grace not only sleeves but also a myriad of fabric surfaces.
Whether you choose to employ traditional pencils or digital tools, the ability to craft realistic, flowing ruffles opens doors to endless possibilities for design and expression.
Embrace this skill, and let your imagination unfold, creating fashion and art that mesmerize and inspire.
Leave a Reply