Embarking on the art of dyeing thread black opens a realm of creative possibilities in the world of crafting and sewing.
Whether seeking to match a specific color scheme, enhance a project’s aesthetics, or simply infuse a personal touch, the process of dyeing thread allows for customization and uniqueness.
This transformative journey involves careful steps, from preparing the thread and selecting the right dye to meticulous application and thoughtful consideration of potential heat activation.
This guide will illuminate a systematic approach, ensuring that each strand absorbs the rich black hue uniformly.
Dive into this tutorial to master the skill of dyeing thread and infuse your creations with a touch of personalized elegance.
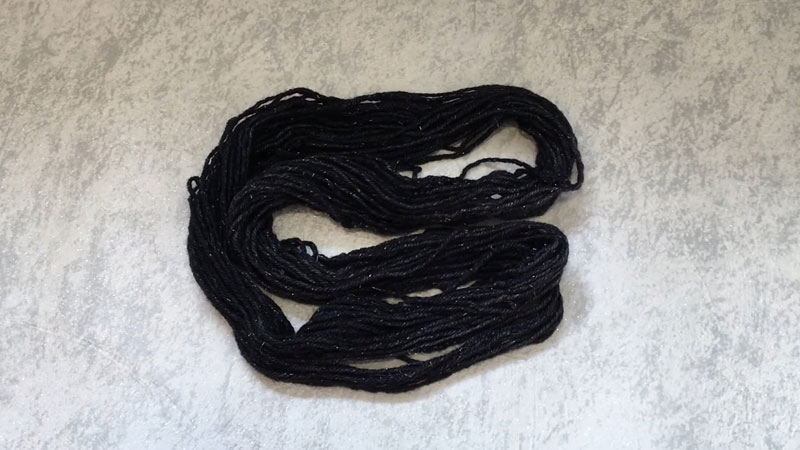
How to Dye Thread on Clothes Black?
Dyeing thread black is a straightforward process that allows you to customize your materials for various craft or sewing projects.
Here’s a step-by-step guide on how to dye thread black:
Materials Needed:
- White or light-colored thread.
- Fabric dye.
- Large pot or stainless steel bowl.
- Stirring utensil.
- Gloves.
- Water.
- Stovetop or heat source.
Instructions:
Prepare the Thread

If the thread is brand new, it often comes with sizing or residues that can impede the dye absorption process.
To eliminate these hindrances, wash the thread using a mild soap and warm water solution.
Gently agitate the thread in the soapy water, ensuring all parts are thoroughly cleaned.
After washing, allow the thread to air dry completely. This step ensures that the dye can penetrate the thread fibers uniformly.
Mix the Dye
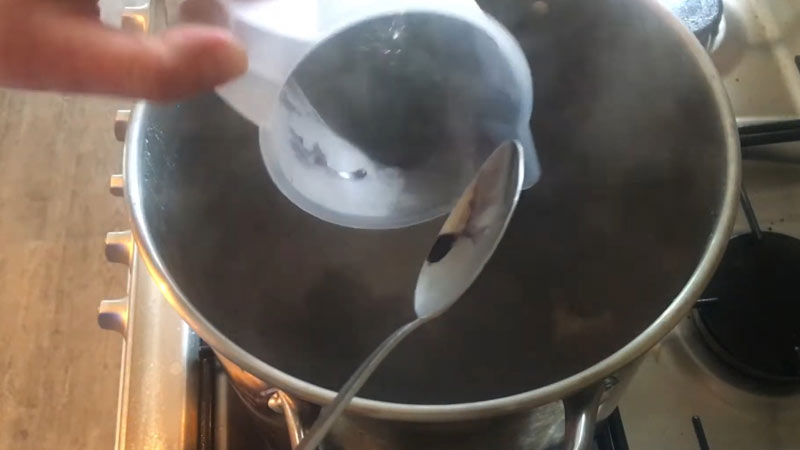
Carefully read and follow the instructions provided on the dye packaging. The process typically involves creating a dye solution by mixing the dye with water or another specified liquid.
Stir the mixture thoroughly to ensure that the dye particles are completely dissolved and that the color will be consistent throughout the dyeing process.
Pre-Wet the Thread
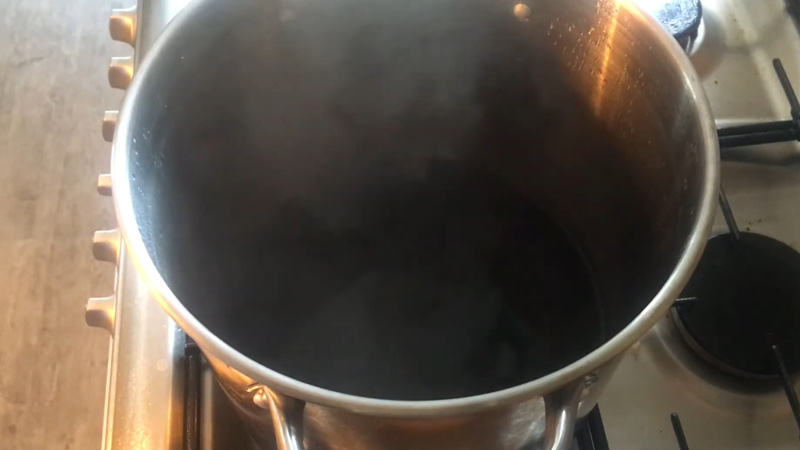
Before immersing the thread into the dye, pre-wetting is essential. Submerge the thread in warm water, allowing it to absorb moisture and become more receptive to the dye.
Gently squeeze out excess water so that the thread is damp but not dripping. This step facilitates even dye absorption and prevents uneven color distribution.
Dye the Thread
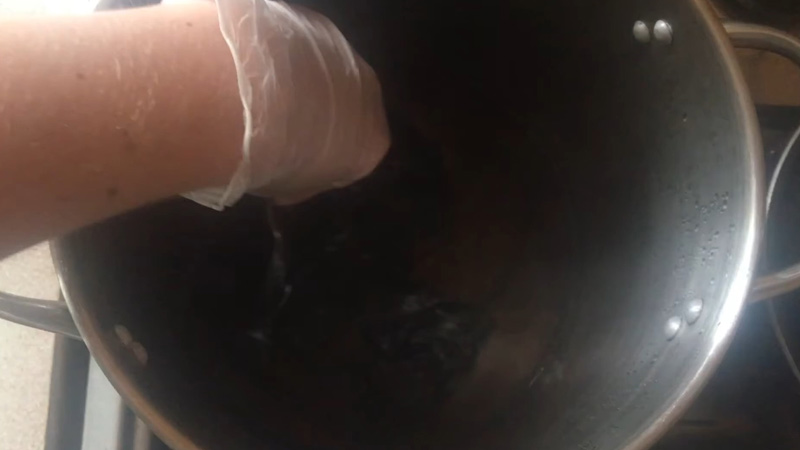
Immerse the pre-wet thread into the dye bath, making sure that it is fully submerged. Stir the thread continuously to promote uniform color absorption.
The duration the thread spends in the dye bath determines the depth of the color. Refer to the dye instructions for recommended dyeing times, keeping in mind that the longer the exposure, the darker the resulting color will be.
Heat Activation
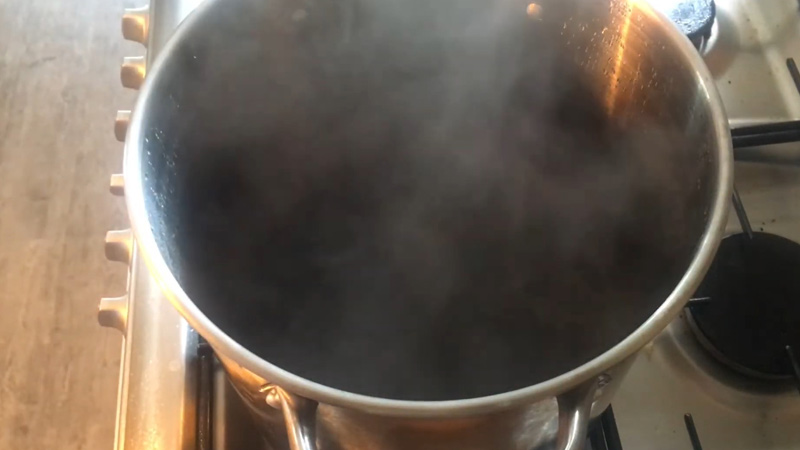
Check the dye instructions to determine if heat activation is necessary. Some dyes require heat to set the color.
If so, place the dye bath on a stovetop and slowly heat it according to the guidelines.
Be cautious not to bring the mixture to a boil, as excessive heat can potentially damage the thread. Heat activation enhances color fastness and ensures that the dye sets properly.
Rinse and Wash
Once the thread achieves the desired color, carefully remove it from the dye bath. Rinse the dyed thread under cool running water until the water runs clear, indicating that excess dye has been removed.
After rinsing, wash the thread with a mild detergent to further eliminate any remaining dye particles.
This step is crucial for preventing color bleeding and ensuring the longevity of the dyed thread.
Dry the Thread
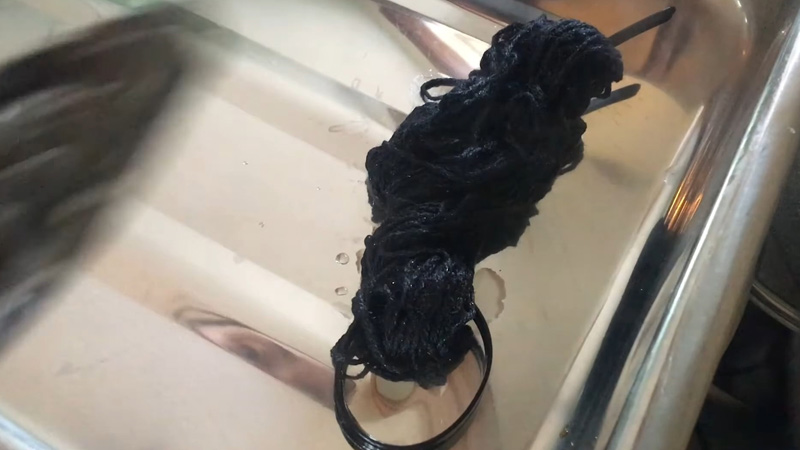
Allow the dyed thread to air dry completely. Avoid exposing it to direct sunlight for extended periods, as this can lead to color fading.
Once dry, the thread is ready for use in your crafting or sewing projects. Ensure it is stored in a cool, dry place to maintain the vibrancy of the black color.
How to Make Threads Black?
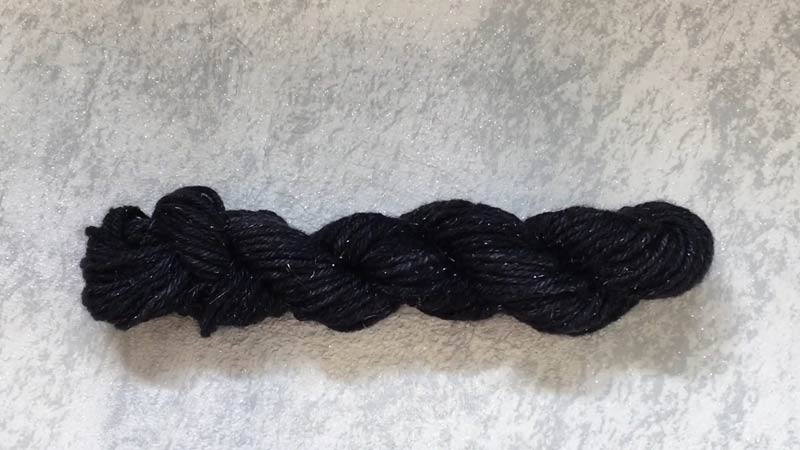
Making threads black involves a dyeing process where the thread absorbs a black colorant.
Here’s a step-by-step guide on how to make threads black:
Materials Needed:
- White or light-colored thread.
- Fabric dye.
- Large pot or stainless steel bowl.
- Stirring utensil.
- Gloves.
- Water.
- Stovetop or heat source.
Instructions:
Prepare the Thread
If the thread is new, it often comes with sizing or residues that can hinder dye absorption.
To address this, wash the thread in a basin of mild soap and warm water. Gently agitate the thread to ensure that any coatings are removed, allowing for better dye penetration.
After washing, let the thread air dry completely. Choosing a thread made of natural fibers like cotton or silk is crucial, as these materials absorb the dye more effectively.
Mix the Dye
Refer to the instructions on the fabric dye packaging to create the dye solution. The type of dye (powder, liquid, or pre-mixed) will dictate the mixing process.
Stir the solution thoroughly to ensure an even distribution of the dye particles. This step is vital for achieving a consistent black color throughout the thread.
Pre-Wet the Thread
Before dying, submerge the thread in warm water. This pre-wetting process helps the thread absorb the dye more evenly.
Gently squeeze out excess water, ensuring that the thread is damp but not dripping. This step is essential to promote uniform color absorption and prevent uneven dye distribution.
Dye the Thread
Immerse the pre-wet thread into the dye bath, ensuring it is fully submerged. Stir the thread continuously to guarantee an even application of the black dye.
The length of time the thread spends in the dye bath will influence the depth of the black color.
Follow the dye instructions for recommended dyeing times, keeping in mind that a longer duration will result in a darker hue.
Heat Activation
Check the dye instructions to determine if heat activation is necessary. Some dyes require heat to set the color.
If so, place the dye bath on a stovetop and gradually heat it according to the guidelines.
Be cautious not to bring the mixture to a boil, as excessive heat can potentially damage the thread. Heat activation enhances color fastness and ensures the dye sets properly.
Rinse and Wash
Once the thread achieves the desired black color, carefully remove it from the dye bath. Rinse it under cool running water until the water runs clear, indicating the removal of excess dye.
Subsequently, wash the dyed thread with a mild detergent to eliminate any remaining dye particles.
This step is crucial to prevent color bleeding and enhance the longevity of the black color.
Dry the Thread
Allow the dyed thread to air dry completely. Avoid exposing it to direct sunlight for extended periods, as this can lead to color fading.
Once dry, store the black threads in a cool, dry place for future use. Proper drying ensures that the thread retains its vibrancy and integrity.
How to Dye White Stitching Black?
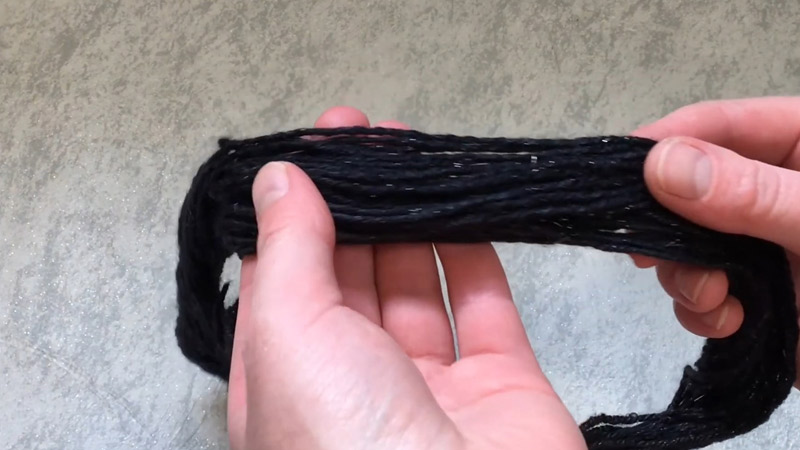
Dyeing white stitching black involves a precise process to ensure that the color change is even and durable.
Here’s a step-by-step guide on how to dye white stitching black:
Materials Needed:
- White-stitched fabric or item.
- Fabric dye.
- Small brush or applicator.
- Protective gloves.
- Protective coverings.
- Water.
- Drop cloth or newspaper.
Instructions:
Prepare the Fabric
Before dyeing the white stitching black, it’s crucial to ensure the fabric is clean and free from any contaminants.
If the item is washable, follow the care instructions to clean it. Make sure the stitching is thoroughly dry before proceeding with the dyeing process. This step is essential for optimal dye absorption and even color distribution.
Protect Surrounding Areas
To avoid unintentional dyeing of other parts of the fabric, cover any areas you don’t want to dye with plastic or painter’s tape.
This precaution ensures that the dye is applied only to the stitching, preventing any accidental color transfer to the rest of the material.
Take the time to secure these protective coverings to create clean lines between the stitched and unstitched areas.
Mix the Dye
Refer to the instructions on the fabric dye packaging to prepare the dye solution. Depending on the type of dye, you may need to dilute it with water or another specified liquid.
Stir the mixture thoroughly to achieve a homogeneous solution. Ensuring proper mixing is essential for achieving an even and consistent black color on the stitching.
Wear Protective Gear
Before applying the dye, put on protective gloves to shield your hands from staining.
Fabric dye can be challenging to remove from the skin, so wearing gloves is essential for personal safety and to avoid unintended skin discoloration. This protective measure ensures a more controlled and cleaner dyeing process.
Apply the Dye to the Stitching
Using a small brush or applicator, carefully apply the black dye to the white stitching. Work systematically to cover each section evenly, ensuring that the dye penetrates the stitching fibers.
Take your time to prevent drips or uneven coloring. Pay close attention to details and hard-to-reach areas to achieve a professional-looking result. This precision ensures that the stitching is thoroughly and uniformly dyed.
Allow the Dye to Set
Follow the instructions on the fabric dye packaging for the recommended setting time. This period allows the dye to bond with the stitching material and ensures a lasting color change.
Some dyes may require heat setting; in such cases, follow the instructions carefully to enhance color fastness.
Rinse and Wash
After the dye has set, rinse the fabric thoroughly to remove any excess dye. Continue rinsing until the water runs clear, indicating that most of the excess dye has been eliminated.
If necessary, wash the fabric with a mild detergent, following the care instructions provided. This step not only removes any remaining dye particles but also enhances the durability of the color change.
Dry the Fabric
Allow the fabric to air dry completely before handling or using it. To prevent color fading, avoid exposing the dyed fabric to direct sunlight for extended periods.
Once dry, inspect the stitching to ensure an even and satisfactory color change. The fabric is now ready for use in your desired project with its new black stitching.
Apply the Dye to the Stitching
Using a small brush or applicator is crucial for precision when applying black dye to white stitching.
Begin by dipping the brush into the dye and carefully brush it onto the stitching in a consistent manner.
Ensure even coverage by taking your time and applying the dye methodically. Work in sections, paying close attention to details, edges, and corners.
Be diligent to avoid drips or uneven coloring that could compromise the professional look of the final result. The goal is to achieve thorough coverage on every inch of the stitching.
Allow the Dye to Set
Once the black dye has been applied to the stitching, follow the dye instructions regarding the recommended setting time.
This waiting period allows the dye to fully bond with the stitching material. It may involve letting the dyed stitching sit undisturbed for a specific duration.
For certain dyes, a heat setting might be necessary to enhance color fastness. Follow the instructions carefully, as the proper setting ensures the longevity of the color change.
Rinse and Wash
After the designated setting time, it’s time to rinse the fabric to remove any excess dye. Rinse thoroughly until the water runs clear, indicating that most of the excess dye has been eliminated.
If needed, wash the fabric with a mild detergent to further remove any remaining dye particles.
This step not only enhances the cleanliness of the dyed fabric but also contributes to the overall durability of the color change.
Following the care instructions for the fabric is essential during this stage to prevent any potential damage.
Dry the Fabric
Allow the fabric to air dry completely before handling or using it in any project. During the drying process, it’s important to avoid exposing the dyed fabric to direct sunlight for extended periods, as this can cause color fading.
Find a well-ventilated area for drying to ensure optimal results. Once dry, inspect the stitching to ensure that the black color is uniform and has adhered effectively.
Your fabric is now ready for use, showcasing its transformed appearance with sleek and black stitching.
FAQs
Can You Dye Thread?
Yes, thread can be dyed by following a systematic process that involves preparing the thread, selecting an appropriate dye, applying the dye, and ensuring proper setting and drying.
Can any type of thread be dyed black?
Ideally, natural fiber threads like cotton or silk are best for dye absorption, facilitating a successful black dyeing process.
Is it necessary to pre-wet the thread before dyeing it black?
Yes, pre-wetting the thread in warm water helps in even dye absorption, ensuring a uniform black color throughout.
Wrap Up
Dyeing thread black is a straightforward yet meticulous process that allows for creative customization in various crafting and sewing projects.
By following a systematic approach preparing the thread, mixing the dye, pre-wetting, dyeing, potential heat activation, rinsing, and proper drying—one can achieve a rich and even black color.
Attention to detail, adherence to dye instructions, and protective measures, such as wearing gloves, are crucial.
The result is a beautifully dyed thread ready for incorporation into projects, reflecting personal style and enhancing the overall aesthetics of the finished piece.
This method provides a versatile means of transforming thread to suit individual preferences and project requirements.
Leave a Reply