Hand embroidery is a timeless craft that allows you to infuse your creativity and personal touch into the fabric.
Among the myriad of embroidery techniques, there’s something uniquely captivating about adding letters to your projects.
Whether you want to monogram a cherished gift, label homemade creations, or simply embellish fabric with your favorite quotes, hand-embroidered letters are a versatile and delightful skill to master.
In this comprehensive guide, we will explore how to embroider letters by hand. From selecting the perfect fonts and sizes to mastering the essential stitching techniques, we will walk you through the steps to ensure your letters stand out with finesse.
Whether you’re a complete beginner or looking to refine your skills, this guide will provide you with the knowledge and inspiration to transform your fabric into personalized works of art.
Join us on this creative journey as we explore the magic of stitching letters by hand.
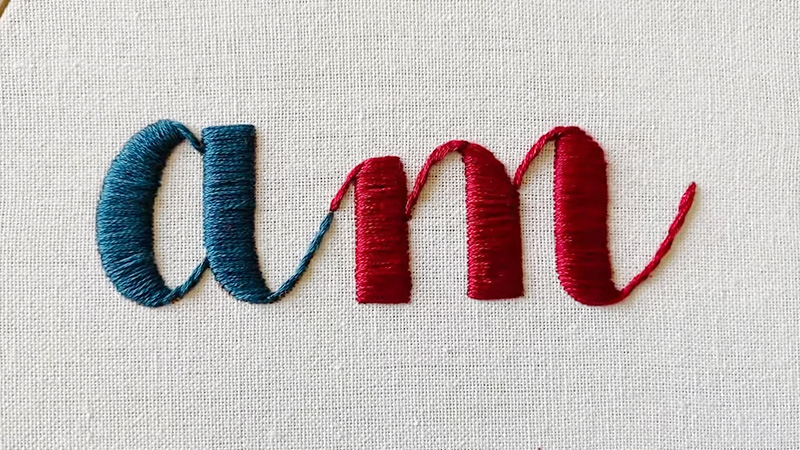
How to Embroider Letters by Hand?
Embroidering letters by hand is a creative and personalized way to add text to your fabric projects. Here’s a step-by-step guide on how to embroider letters by hand:
Materials You’ll Need
Fabric (choose the type and color you prefer), embroidery hoop, embroidery floss (select a color that contrasts with your fabric), embroidery needle (with a sharp point and a large eye), scissors, and a pattern or stencil of the letters (optional).
Step 1: Prepare Your Fabric
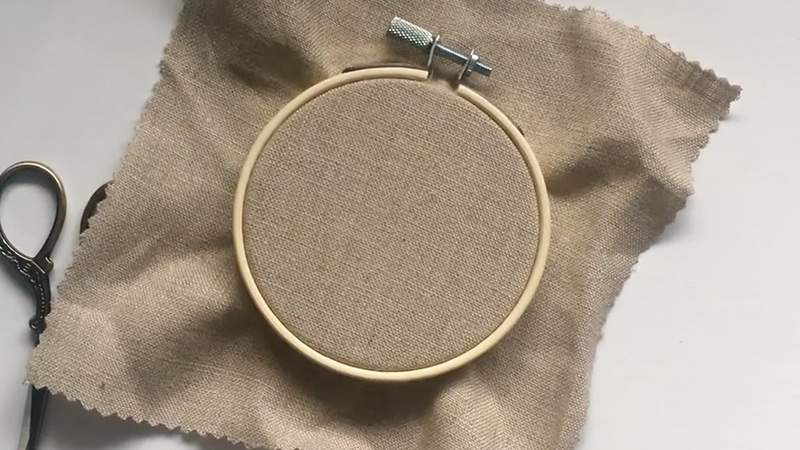
Start by securing your fabric in the embroidery hoop. This keeps the fabric taut, making it easier to stitch. You can experiment with fabrics to choose the right one for you.
Step 2: Select Your Letters
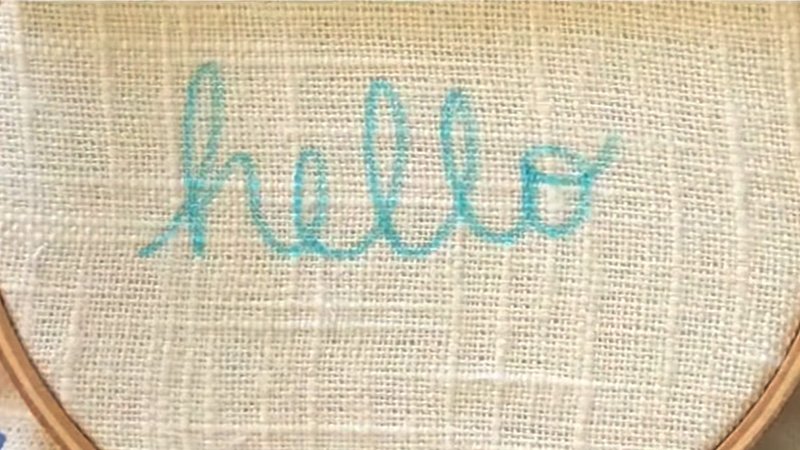
If you’re not using a pattern or stencil, lightly sketch or draw the letters you want to embroider on the fabric with a removable fabric marker or pencil. Cut a length of embroidery floss (usually around 18 inches) and separate it into strands.
Embroidery floss is typically made up of six strands, and you can adjust the number of strands depending on the thickness you want for your letters.
Step 3: Thread and Start Stitching
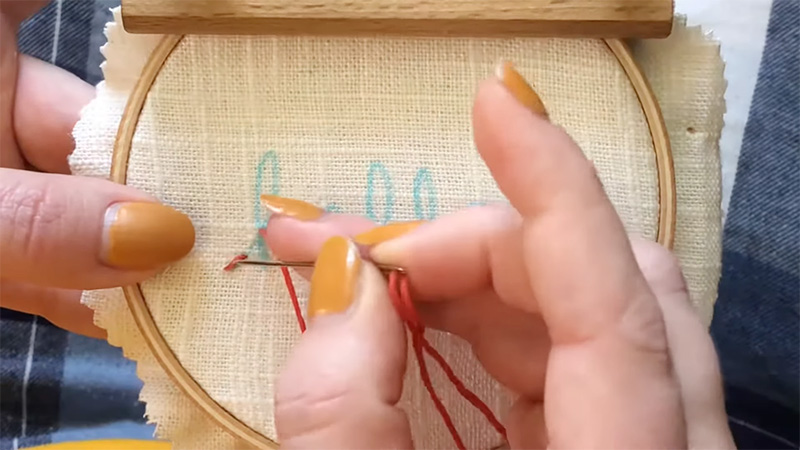
Thread the embroidery floss through the needle’s eye, leaving a tail that’s about 3 inches long.
Start at the beginning of your first letter. Bring the needle up from the backside of the fabric, starting at the first point of the letter.
Step 4: Create the First Stitch – Back Stitch
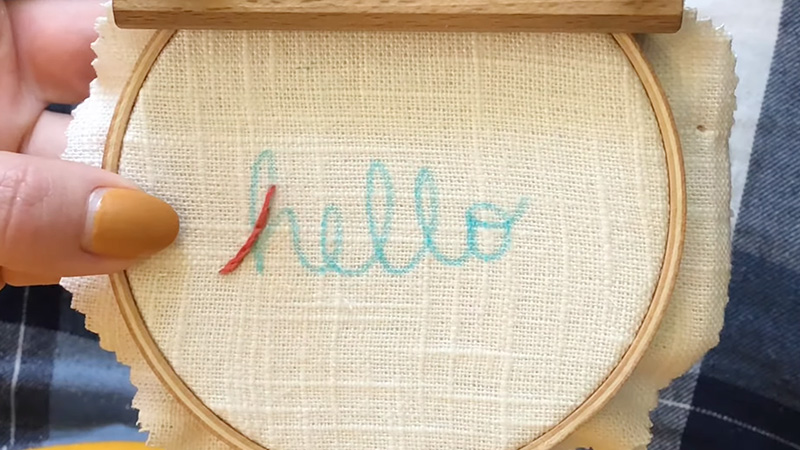
Make a small stitch backward (toward the starting point), coming up just ahead of where the needle went down. Continue to make small, evenly spaced back stitches following the shape of the letter.
Step 5: Finish the Letter
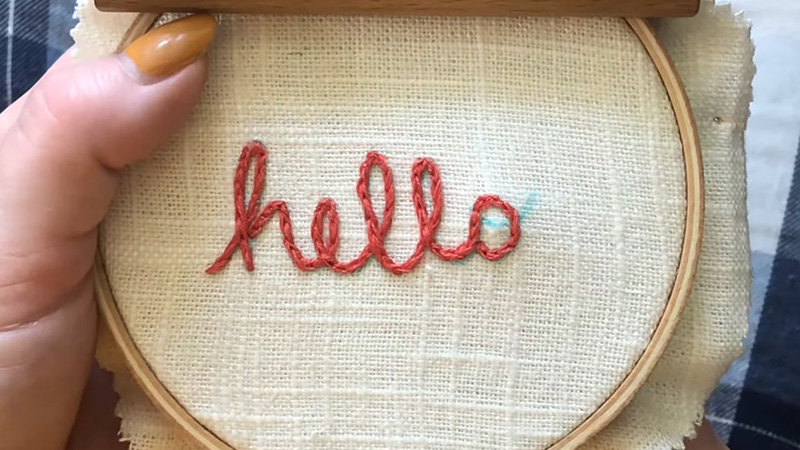
To finish a letter, make a small backstitch and then bring the needle down to the backside of the fabric. Secure the thread with a small knot on the backside. If your design includes multiple letters, repeat the process for each one.
Step 6: Finishing Touches
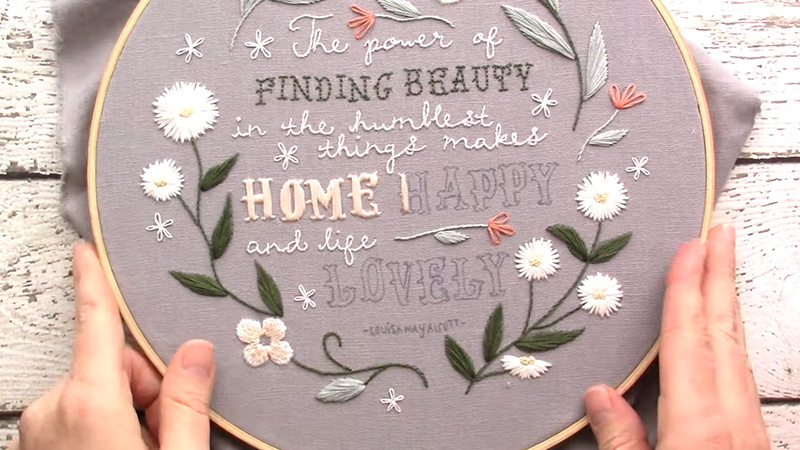
Once all the letters are embroidered, trim any excess thread on the backside of the fabric. If you used a removable fabric marker or pencil for your lettering, gently erase or wash it off according to the manufacturer’s instructions.
Step 7: Display Your Work
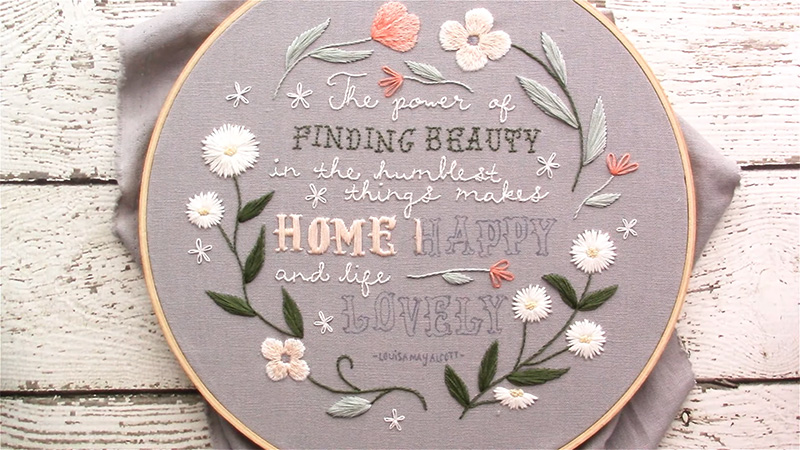
Your hand-embroidered letters are ready to be displayed on clothing, accessories, home decor items, or wherever your creativity takes you. Remember that practice is key to improving your hand-embroidery skills.
Experiment with different fonts, thread colors, and fabric types to create unique and beautiful lettered designs. Enjoy the process of transforming plain fabric into personalized, hand-embroidered works of art!
What Are the Best Hand Embroidery Stitches for Letters?
When it comes to hand-embroidering letters, there are several embroidery stitches to choose from, each offering a unique look and style.
The choice of stitch depends on your project, the size of the letters, and your personal preference. Here are some of the best hand embroidery stitches for letters:
Backstitch and Split Stitch
Backstitch is one of the most commonly used stitches for embroidering letters. It creates a smooth, clean line that is easy to read and follow.
The split stitch is similar to the backstitch but has a slightly different texture. It’s a great choice for cursive or script letters and adds a subtle, textured appearance.
Chain and Stem Stitch
Chain stitch can be used for bold and decorative lettering. It creates a continuous line with a slightly twisted appearance.
Stem stitch is ideal for creating elegant, flowing letters. It resembles a twisted rope and works well for cursive and calligraphic styles.
Satin and Running Stitch
Satin stitch is perfect for filling in larger letters with a smooth, solid appearance. It’s often used for monograms and decorative initials. Running stitch can be used for a simple, dashed-line effect in lettering. It’s great for a casual or folk art look.
French Knots
French knots can be used to add texture and dimension to individual letters or as decorative elements.
They work well for small dots or embellishments within the letters. However, these are not so useful for stitching the letters only.
Lazy Daisy Stitch (Detached Chain Stitch) and Whipped Backstitch
Lazy daisy stitches are excellent for creating floral or leafy motifs within or around letters. Whipping a backstitch with a contrasting color thread adds a decorative outline to your letters.
Outline Stitch
Outline stitch, as the name suggests, outlines the letters with a twisted cord-like appearance. The best stitch for your lettering project depends on your design goals.
Experiment with different stitches to achieve the desired look and feel for your embroidered letters. Additionally, combining different stitches within a single lettering project can add depth and creativity to your embroidery.
How to Choose the Letter Font and Size for Embroidery?
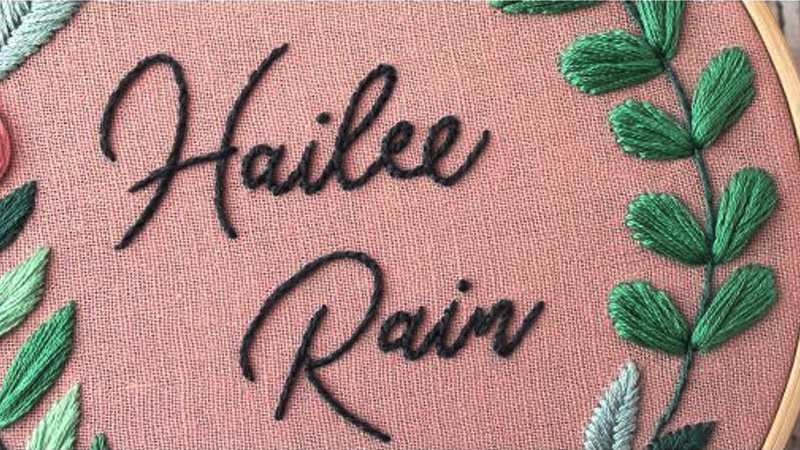
Choosing the right letter font and size for embroidery is essential to ensure your project looks visually appealing and matches your design goals. Here’s how to go about it:
Project Type
Think about the type of project you’re working on. Different fonts and sizes work better for various applications.
For example, a formal script font might be perfect for monogramming a handkerchief, while a bold block font might be ideal for a tote bag.
Size of the Project
The size of your embroidery project matters. Larger projects can accommodate more intricate fonts and details, while smaller projects may require simpler, larger fonts for readability.
Font Style
Consider the style or mood you want to convey. There are numerous font styles to choose from, such as script, cursive, block, serif, sans-serif, and decorative. Each style imparts a different look and feel to your letters.
Legibility
Ensure that the chosen font is legible. Fancy, intricate fonts might look beautiful but can be difficult to read, especially in smaller sizes. If readability is essential, opt for clear and straightforward fonts.
Design Harmony
Your font should complement the overall design of your project. For example, a playful, whimsical font might suit a child’s item, while an elegant, formal font is fitting for a wedding accessory.
Measure the Space
Measure the area where you plan to embroider the letters. It allows you to have an overall idea of the letter size and spacing. This will help you determine the maximum width and height your letters can be.
Test Stitching
Consider creating a test stitch of your chosen font and size on a scrap piece of fabric. This will give you a visual sense of how the letters will look in your specific project.
Consider Embroidery Thread Thickness
Keep in mind that embroidery thread adds some thickness to the letters, so make allowances for this when choosing the size.
Ultimately, your choice of font and size should align with your personal taste and artistic vision. Feel free to experiment and adapt fonts to suit your creative ideas.
Design Software
If you’re using embroidery design software, it may offer tools for adjusting fonts and sizes, making it easier to visualize and select the right combination.
By considering your project type, font style, legibility, and size constraints, you’ll be better equipped to choose the perfect letter font and size for your embroidery project.
Remember that your choice can significantly impact the overall look and impact of your embroidery work.
FAQs
What type of needle should I use for embroidering letters?
Use a sharp embroidery needle with a fine point and a large eye. The fine point allows for precise stitching, while the large eye accommodates embroidery floss or threads of varying thickness.
How do I transfer letters onto fabric for embroidery?
There are several methods for transferring letters onto fabric, including using a water-soluble pen, tracing paper, or iron-on transfer paper.
Choose the method that best suits your project and the type of fabric you’re working with.
Can I embroider letters on stretchy or knit fabrics?
Yes, you can embroider letters on stretchy or knit fabrics, but it requires some extra care. Use stabilizers to prevent stretching and puckering, and consider using a hoop or embroidery stabilizer to keep the fabric taut while stitching.
What’s the best way to finish off the back of my embroidery with letters?
To finish the back of your embroidery neatly, secure the thread ends with knots or weave them through nearby stitches.
Trim any excess thread. You can also consider a method like the “no-knot method” to keep the backside tidy.
Can I use regular sewing thread for embroidering letters?
While you can use regular sewing thread for embroidery, it’s recommended to use embroidery floss or specialized embroidery thread.
These threads are designed for the unique demands of embroidery, offering a wider range of colors and textures.
Conclusion
The art of hand-embroidering letters is a skill that allows you to infuse your creations with character, sentiment, and style.
Whether you’re embroidering initials on a cherished gift, adding a personal touch to your clothing, or creating decorative pieces with meaningful words, the ability to stitch letters by hand opens up a world of creative possibilities.
Throughout this guide, we’ve explored the fundamentals of selecting fonts, sizing, and stitching techniques.
We’ve also touched on the importance of patience, practice, and attention to detail in achieving beautifully embroidered letters.
As you continue your journey in hand embroidery, remember that each stitch is a brushstroke of your creativity. Embrace the opportunity to express yourself and make your projects uniquely yours.
With dedication and a passion for the craft, you’ll find that hand-embroidering letters are not only a delightful pastime but a way to create lasting, meaningful treasures that will be cherished for generations to come.
Leave a Reply