Finishing a cross stitch project in a hoop is a skill that adds a professional touch to your handcrafted creations.
This method provides a clean and elegant frame for your intricate needlework, allowing it to be proudly displayed or easily rotated with new projects.
Each step plays a crucial role in achieving a polished result, from preparing your finished piece to securing it within the hoop.
This guide will walk you through the process, ensuring your cross-stitch project is presented in a way that highlights its beauty and craftsmanship.
Follow these steps to master the art of finishing cross stitch in a hoop and create stunning, long-lasting displays

What Is a Hoop Finish?
A “hoop finish” refers to a specific framing method or displaying a completed cross stitch or embroidery project.
In this technique, the finished piece is stretched and secured within an embroidery hoop, which is a circular frame typically made of wood or plastic with an adjustable screw mechanism.
This method provides a clean and simple way to showcase the embroidery work. The excess fabric around the edges of the design is usually trimmed, and the project can be further embellished with backing materials, hangers, or additional decorative elements.
This type of finish is popular for its minimalistic and contemporary look, making it easy to switch out projects for display or storage.
How to Finish Cross Stitch in a Hoop?

Finishing a cross-stitch project in a hoop is a popular and stylish way to display your handiwork. Hoops provide a neat frame for your embroidery and make it easy to switch out your projects for a fresh look.
Here’s a step-by-step guide on how to finish a cross-stitch project in a hoop:
Materials You’ll Need:
- Completed cross stitch project
- Embroidery hoop (choose a size that fits your project with some extra fabric to spare)
- Scissors
- Needle and matching thread
- Iron and ironing board
- Fabric marker (optional)
- Felt fabric (matching or complementary color)
- Craft glue
- Pencil
Prepare Your Finished Cross Stitch
Before framing, take a moment to examine your cross-stitch project carefully. Inspect for any loose threads, stains, or marks that might detract from the final presentation. If you spot any imperfections, address them before moving forward.
To eliminate wrinkles or creases, use a clean, warm iron on the reverse side of the fabric. To protect the stitches, place a clean cloth between the iron and your project.
Choose the Right Hoop
Select an embroidery hoop that complements your cross-stitch design. It should be slightly larger than the actual design, allowing for extra fabric around the edges. This ensures you have enough material to secure it within the hoop properly.
Place Your Project in the Hoop
Begin by separating the inner and outer rings of the embroidery hoop. Lay the inner ring on a flat, stable surface. Now, position your cross-stitch project over this inner ring.
Take your time to ensure that the design is centered and properly aligned. Gently adjust the fabric until it’s evenly distributed and taut across the hoop.
Secure the Fabric
Hold the outer ring of the hoop and carefully position it over the inner ring and your project.
As you do this, watch the fabric tension to ensure it stays taut and centered. Gradually tighten the screw on the outer ring.
This step is crucial for keeping your fabric in place, but take care not to overtighten, as this could potentially distort the stitches.
Trim Excess Fabric
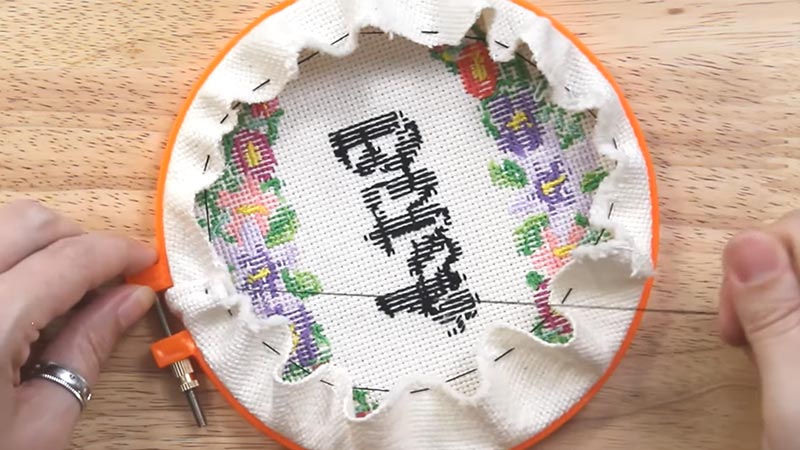
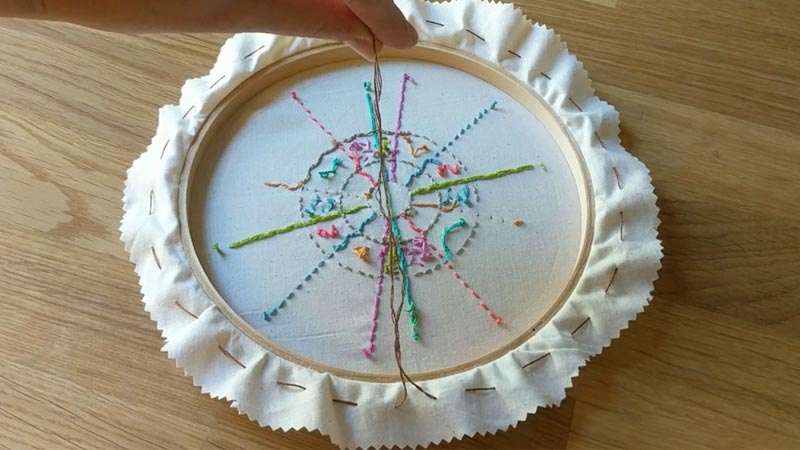
With a sharp pair of scissors, begin to trim away the excess fabric carefully. Leave approximately one inch (2.5 cm) of fabric beyond the hoop’s edge. This surplus will be used later on to secure the fabric.
Finish the Back
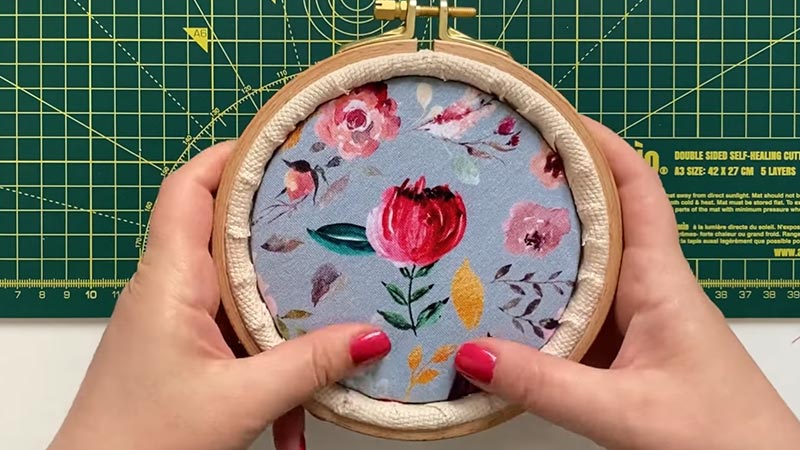
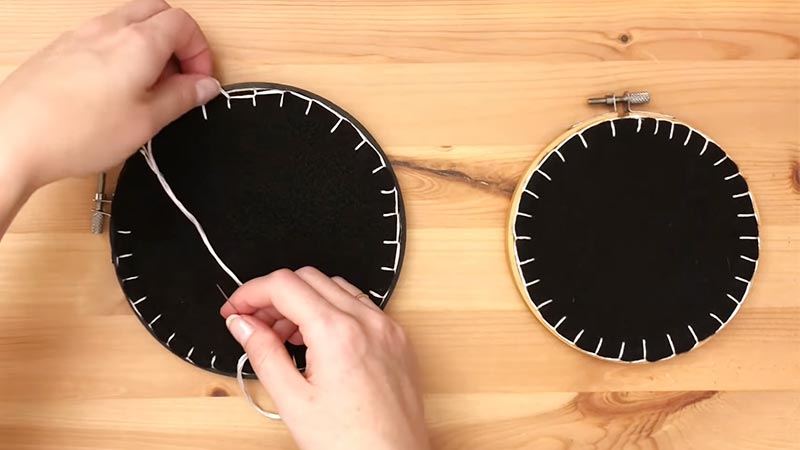
To achieve a polished look from both sides, consider covering the back of your hoop. Cut a circle of felt fabric that’s just slightly smaller than the diameter of the hoop. Align this felt circle with the inner ring on the back of your hoop.
Apply a thin, even layer of craft glue along the edge of the inner ring, then press the felt down to secure it. Allow the glue to dry completely.
Add a Hanger
Select a ribbon or string that complements the design when you want to hang your finished piece. Thread it through the screw at the top of the hoop, and tie a secure knot.
Ensure the knot is tight and trim any excess ribbon. This step provides a convenient way to display your cross stitch.
Sign or Label
For a personal touch, contemplate using a fabric marker to add your name, a date, or a special message on the fabric before attaching it to the hoop. This small addition can be a lovely way to commemorate your creative endeavor.
Finishing Touches
Perform a thorough examination of your project for any remaining loose threads, knots, or imperfections. Use sharp scissors to trim any stray threads carefully.
Ensure that the fabric is smooth and evenly stretched within the hoop. Make any necessary adjustments to guarantee a clean, professional finish.
Display Your Finished Cross Stitch
Choose the perfect spot to showcase your completed cross stitch. When selecting a location, consider factors like natural light, room decor, and visibility.
A well-displayed cross stitch can be a captivating addition to your home decor. Revel in the beauty of your handcrafted creation!
Benefits of Using a Hoop for Cross-Stitch Finishing

Using a hoop for cross-stitch finishing offers a range of advantages that enhance the overall presentation and longevity of your handcrafted masterpiece.
Preserving Precision and Tension
Securing the fabric in a hoop maintains consistent tension throughout the stitching process. This ensures that your stitches are even and neat, preserving the integrity of the design.
Preventing Fabric Distortion
A hoop prevents the fabric from bunching or warping, especially in areas with dense stitching. This is vital for intricate patterns and fine details, resulting in a polished and professional appearance.
Easier Handling and Stitching
The hoop provides a stable surface for more comfortable and precise stitching. It minimizes the need to adjust the fabric, enabling smoother progress constantly.
Display Versatility
Once finished, a project in a hoop is easily displayed on a wall or shelf. The hoop acts as a stylish frame, showcasing your work elegantly.
Simple Swapping of Projects
With a hoop finish, switching out projects for display or storage is effortless. This allows you to rotate your creations without hassle.
Reducing Wear and Tear
The hoop protects the edges of your fabric from fraying or getting soiled during handling, ensuring your piece remains pristine.
Quicker and Neater Back Finishing
When securing the fabric at the back, the hoop provides a firm foundation, making it easier to affix a backing material like felt. This results in a clean and polished reverse side.
Care Tips After Finishing Cross Stitch in a Hoop

After finishing your cross stitch project in a hoop, it’s essential to take proper care to ensure its longevity and preserve its beauty.
Here’s a guide on how to care for your finished crossstitch:
Handle with Clean Hands
Handle your cross stitch with clean hands, free from lotions or oils. Wash and dry your hands thoroughly before touching your piece to prevent any potential transfer of dirt or oils onto the fabric.
Avoid Direct Sunlight
Direct sunlight contains UV rays that can cause fading over time. If you want to display your cross stitch, consider using UV-protective glass or acrylic in the frame. Additionally, consider rotating the piece occasionally to ensure even exposure.
Dust Regularly
Dust particles can accumulate on the fabric’s surface, especially if it’s displayed openly.
Use a soft, clean brush or a lint-free cloth to wipe away any dust gently. Avoid using strong chemicals or abrasive materials, as they may damage the stitches.
Protect from Moisture
Moisture can lead to mold growth and fabric deterioration. Store your cross stitch in a dry place, away from humidity-prone areas.
Consider using a dehumidifier in the storage area if you live in a humid climate.
Store Properly
Roll it carefully with the stitched side facing inward to avoid creasing when you need to store your cross stitch.
Place it in a clean, dry container or wrap it in acid-free tissue paper. Avoid folding the fabric whenever possible, as this can create permanent creases.
Prevent Pests
Pests like moths and silverfish can damage your crossstitch. Use natural deterrents like cedar blocks, lavender sachets, or anti-pest sprays in your storage area. Regularly inspect the storage space for signs of pests.
Frame with UV-protective glass
When framing your cross stitch, choose a UV-protective glass or acrylic frame. This helps shield the fabric from the damaging effects of UV rays. It’s a worthwhile investment to preserve your piece for years to come.
Regularly Inspect and Repair
Set aside time to inspect your cross stitch for loose threads, snags, or any signs of wear. Promptly repair any damage to prevent it from worsening.
Use matching thread to mend any imperfections, ensuring your piece stays in top condition.
Document and Label
Keep a detailed record of your cross-stitch project, including the pattern, thread colors used, and any special techniques employed.
This documentation can be invaluable for future reference or if you ever need to repair or recreate the piece.
Rotate Displays
When you have multiple cross-stitch pieces, periodically rotate them in your displays.
This helps distribute any potential fading or wear more evenly across your collection, prolonging the life of each piece.
FAQS
Can I reuse an embroidery hoop for different projects?
Yes, embroidery hoops are designed to be reusable. Once you’ve finished one project, loosen the screw, remove the fabric, and you can use the same hoop for another project.
How do I prevent my cross-stitch fabric from puckering in the hoop?
To prevent puckering, ensure your fabric is stretched evenly and taut within the hoop. Start by securing the center of each side and work your way outwards.
What can I do if my cross-stitch fabric is smaller than my hoop?
If your fabric is smaller than the hoop, consider using a larger hoop that fits your project comfortably.
Is it safe to use an adhesive stabilizer when finishing cross stitch in a hoop?
Yes, adhesive stabilizers can be used to help secure the fabric in the hoop and prevent puckering. These are temporary and won’t damage your project.
Can I add embellishments or beads to my cross-stitch project after it’s in the hoop?
You can add embellishments like beads or sequins to your cross-stitch project after it’s in the hoop.
To Recap
Mastering the art of finishing cross stitch in a hoop opens a world of possibilities for showcasing your creative endeavors.
The meticulous process, from precise placement within the hoop to careful tensioning, ensures a polished presentation. Using a hoop not only preserves the integrity of your stitches but also allows for easy handling and versatile display options.
Its adaptability and protective qualities make it a valuable tool in the world of embroidery. With this technique, you can confidently present your handcrafted masterpieces, knowing they are framed with care and precision.
Embrace the hoop finish, and let your cross-stitch creations shine with elegance and professionalism.
Leave a Reply