Have you ever been in a rush to look your best, only to accidentally scorch your favorite shirt with a hot iron? Don’t worry; it happens to the best of us. The good news is that a burnt shirt doesn’t necessarily mean the end of its life.
With some patience and simple techniques, you can often salvage your scorched garment and make it look presentable once more.
In this guide, we’ll take you through the steps to fix a burnt shirt from iron. Whether you’ve burned the fabric slightly or left a noticeable mark, we’ll provide you with practical tips and tricks to help you restore your shirt to its former glory.
So, before you think about tossing that burnt shirt into the trash, read on and learn how to rescue it easily.
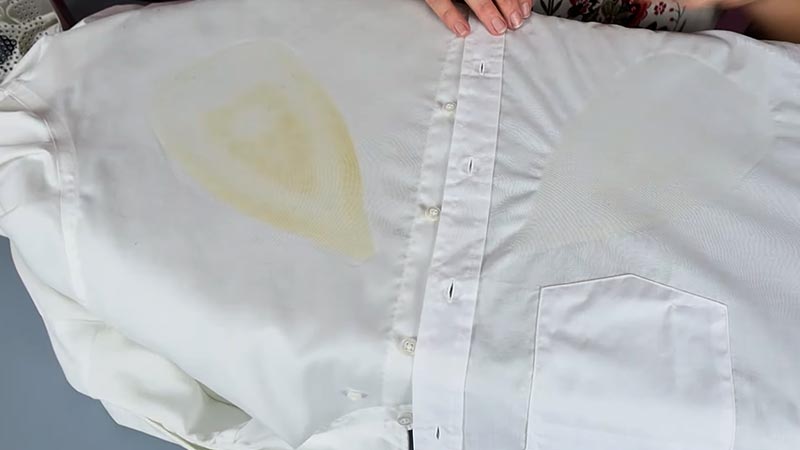
How to Fix a Burnt Shirt from Iron? 6 Steps
You can often salvage your scorched garment with a few simple techniques. Let’s discuss the process of fixing a burnt shirt from ironing, whether it’s a minor scorch or a more noticeable burn.
Step 1: Assess the Damage
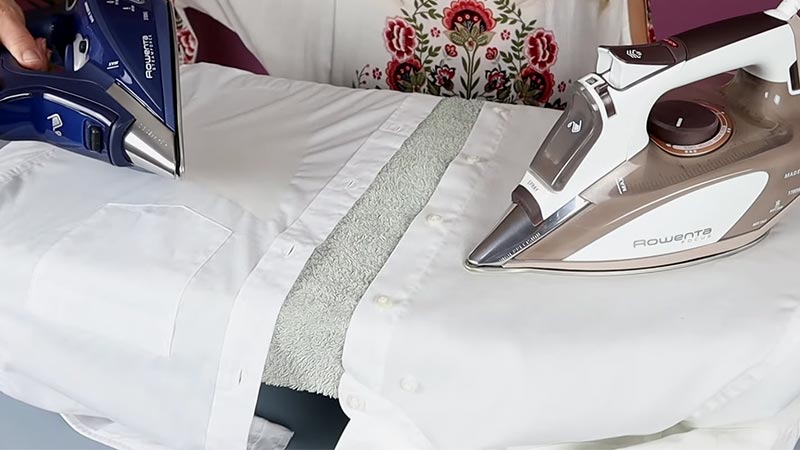
Examine the shirt to determine the extent of the damage. Is it a minor scorch, a noticeable burn mark, or somewhere in between? Understanding the severity will help you choose the appropriate method for repair.
Before applying any treatment, test it on an inconspicuous area of the shirt, such as an inside seam or hem, to ensure it doesn’t cause further damage or discoloration.
Step 2: Vinegar Method
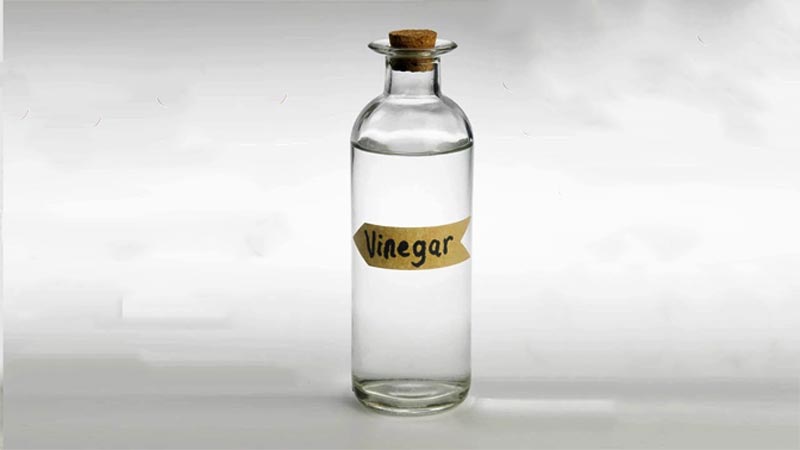
This method works well for minor scorch marks: Mix equal parts of white distilled vinegar and water in a container. Dab a clean cloth or sponge into the vinegar mixture.
Gently blot the scorched area, taking care not to rub vigorously, as it might damage the fabric. Rinse the area with cold water. Wash the shirt as usual with a mild detergent.
Step 3: Baking Soda Method
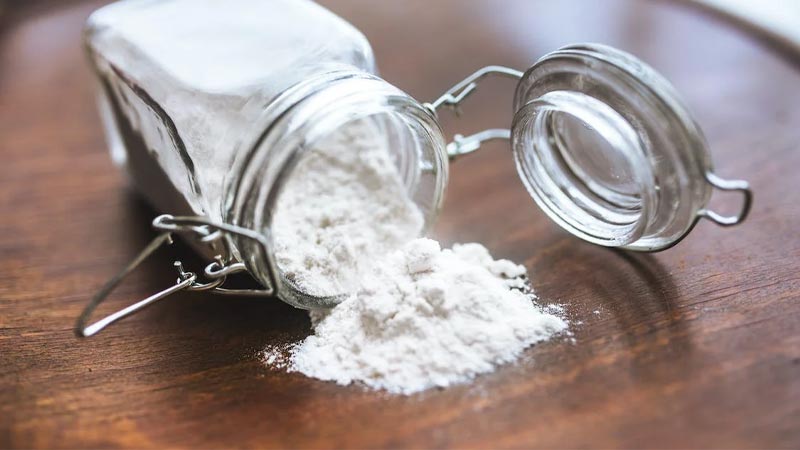
This method is effective for light burns and removing odors: Create a paste by mixing baking soda with a small amount of water.
Apply the paste to the burnt area. Gently scrub the affected area with an old toothbrush. Rinse the shirt with cold water. Launder the shirt as you normally would.
Step 4: Butter Knife or Spoon Method
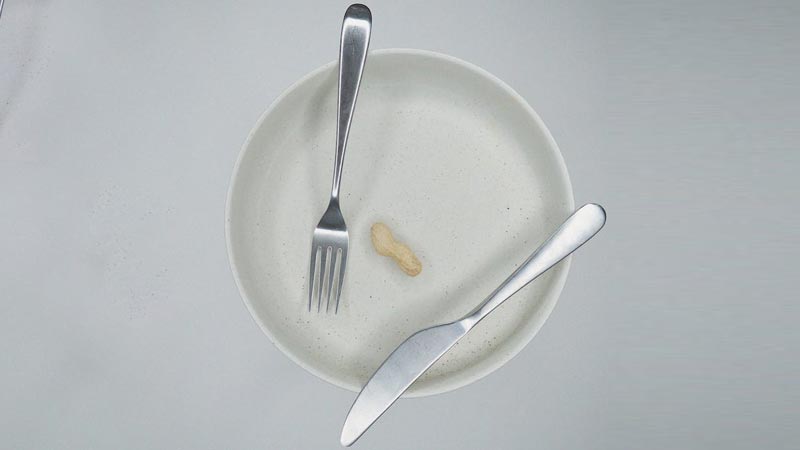
For stubborn burnt residue: Allow the burnt area to cool completely. Gently scrape off the burnt residue using the edge of a butter knife or the back of a spoon. Be careful not to damage the fabric; use a light touch.
Follow up with one of the methods mentioned earlier (vinegar or baking soda) to remove any remaining marks or odors. Wash the shirt as usual.
Step 5: Re-Ironing Method
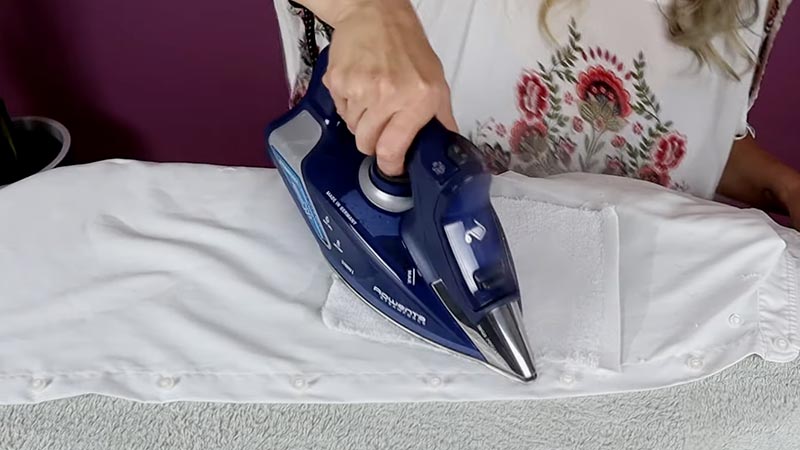
This method can help if the burn is slight, and it involves re-moisturizing the fabric: Place the burnt area of the shirt between two clean, damp cloths. Set your iron to a low heat setting. Gently press the iron on the damp cloths over the burnt area.
The steam and heat should help release the burnt fibers. Check the progress periodically. Once the burn appears to be fading, remove the shirt and let it air dry. If necessary, repeat the process.
Step 6: Professional Help
If none of the DIY methods work or if your shirt is made of delicate or sensitive fabric, consider taking it to a professional cleaner. They have specialized equipment and expertise to deal with tough stains and burns.
Remember to always check the fabric care label for ironing instructions to avoid future mishaps.
Materials You’ll Need
Here’s a table listing the materials you’ll need for fixing a burnt shirt from an iron:
| Material | Description |
| Burnt shirt | To remove any adhesive residue from the iron. |
| Iron or flat iron | The source of the damage; check if it’s functioning properly. |
| Heat-resistant ironing board or flat surface | To work on. |
| Scissors | For trimming and cutting damaged fabric. |
| Fusible interfacing or fabric patches | For repairing holes and burns. |
| Iron-on hem tape | To secure fabric patches and prevent fraying. |
| Sewing machine or needle and thread | For more extensive repairs and finishing. |
| Fabric marker or chalk | For marking any lines or stitching guidelines. |
| Parchment paper or cloth | To protect the shirt during repair. |
| Clean, damp cloth | To hold the fabric in place while repairing. |
| Optional accessories | Buttons, embroidery, or appliques to disguise the damage. |
| Safety pins or clips (optional) | To remove burnt fabric residue from the iron. |
| Iron cleaner (optional) | A clean, damp cloth |
How to Prevent Burning Fabric While Ironing?
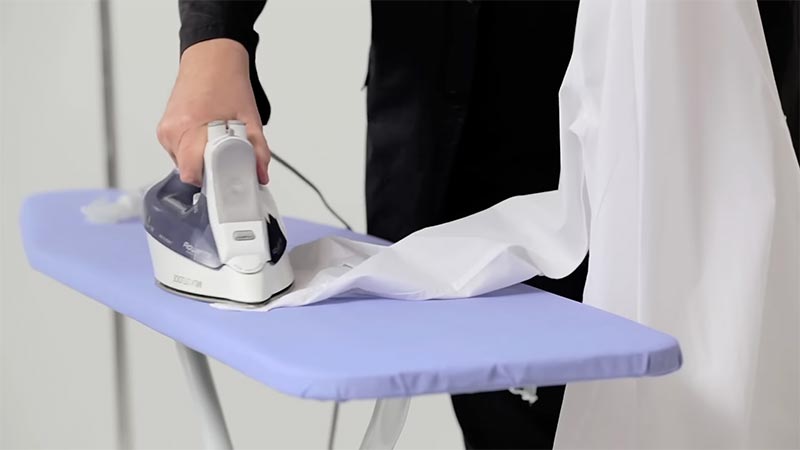
With some precautions and proper techniques, you can minimize the chances of fabric burns and keep your clothes pristine. This section will explore essential tips and techniques to help you prevent burning fabric while ironing.
Read Fabric Labels
Before you start ironing any garment, reading and understanding the fabric care label is crucial. Fabric labels provide valuable information about the fabric type and the recommended ironing temperature. Always follow these guidelines to avoid overheating the fabric and causing burns.
Sort Garments by Fabric Type
When preparing to iron a load of laundry, sort your garments by fabric type and ironing temperature requirements.
This practice will help you streamline your ironing process and reduce the risk of burning delicate fabrics that require lower heat settings.
Invest in a Quality Iron
A high-quality iron with adjustable temperature settings is a valuable investment. Look for irons that offer a range of heat settings to accommodate various fabric types. The ability to control the temperature precisely is essential for preventing burns.
Use a Clean Ironing Surface
Ensure that your ironing board and cover are clean and free of residue or debris. Stains or particles on the ironing board cover can transfer to your clothing, leading to unwanted marks or burns.
Keep the Iron Clean
A dirty iron soleplate can cause fabric burns and stains. Periodically clean your iron’s soleplate by following the manufacturer’s instructions. Common cleaning methods include using a mixture of vinegar and water or specialized iron soleplate cleaners.
Use a Pressing Cloth
A pressing cloth, a damp or muslin cloth, is a thin piece of fabric placed between the iron and the garment.
It acts as a protective barrier, preventing direct contact between the hot iron and the fabric. This is particularly useful when ironing delicate or sensitive fabrics.
Test a Small Area First
Before ironing a visible area of a garment, it’s a good practice to test a small, inconspicuous area to ensure the iron’s temperature is suitable. This step can help you identify any potential issues before they become more significant problems.
Iron Inside-Out
For many garments, ironing them inside out can provide an extra layer of protection. The inside layer is often less sensitive to heat, reducing the risk of visible burns on the garment’s exterior.
Adjust the Iron Temperature
Adjust the iron’s temperature accordingly as you move from one garment to another. Start with the lowest temperature setting required for your fabrics and gradually increase it as needed. Avoid using high heat settings unless specified on the fabric label.
Be Mindful of Zippers and Buttons
Pay attention to zippers, buttons, and other embellishments on your garments. These can trap extra heat, leading to burns or melting. Iron around them carefully, or use a pressing cloth to protect them.
Use Steam Carefully
Steam can be a valuable tool for removing wrinkles but can also cause burns if used improperly. Hold the iron slightly above the fabric and use the steam function sparingly.
Be cautious when steaming delicate fabrics, as excessive moisture can weaken them.
Store the Iron Safely
When you’re not using your iron, ensure it is stored safely, unplugged, and out of reach of children or pets. Left unattended, a hot iron can pose a significant safety risk.
Practice Ironing Techniques
Improving your ironing technique can go a long way in preventing fabric burns. Here are some tips: Use smooth, steady strokes while ironing, and avoid pressing too hard.
Start with the areas that require the lowest heat and work your way up. Keep the iron moving to prevent prolonged contact with one spot.
Avoid ironing over seams, as they can trap excess heat and cause burns. Use a pressing motion instead of sliding the iron for pleats and creases.
Stay Focused
Distractions can lead to accidents. When you’re ironing, focus on the task at hand and avoid multitasking. It only takes a moment of inattention for a fabric burn to occur.
By following these essential tips and techniques, you can enjoy wrinkle-free clothing without worrying about unsightly burns. Ironing will become a more efficient and satisfying task, leaving your clothes in excellent condition and ready to wear.
FAQs
What should I do if I accidentally burn my clothes while ironing?
If you accidentally burn your clothes while ironing, you can often salvage them. The steps to follow depend on the extent of the burn. You can try the vinegar or baking soda methods mentioned earlier in this guide for minor scorch marks.
Can I use a hair straightener as an alternative to an iron for delicate fabrics?
Using a hair straightener as an alternative to an iron can be effective for small, delicate areas like shirt collars or cuffs. Make sure to clean the straightener’s plates thoroughly to avoid transferring residue onto your clothes.
Is there a way to remove melted fabric from the iron soleplate?
Yes, you can remove melted fabric from the iron soleplate. One common method is to heat the iron (unplugged) to a low setting, then gently scrape off the melted fabric with a wooden or plastic utensil.
How can I prevent shiny marks on dark-colored clothes while ironing?
Shiny marks on dark-colored clothes often occur when the iron is too hot or when excessive pressure is applied. To prevent this, follow these tips: Lower the iron temperature for dark fabrics.
Can I use an ironing spray to prevent fabric burns?
Yes, ironing sprays can help prevent fabric burns. They provide moisture to the fabric, making it more resistant to heat. Follow the product’s instructions for usage, and ensure that it’s suitable for the type of fabric you’re ironing.
Conclusion
With the knowledge and techniques shared in this guide, you now have the tools to rescue your burnt shirts from the brink of despair. Remember, accidents happen, but they don’t have to leave a permanent mark on your favorite clothing items.
You can often erase the evidence of that unfortunate ironing mishap by acting quickly, being gentle with your approach, and utilizing household remedies like vinegar, baking soda, or even a simple re-ironing method.
The key is to remain patient and persistent, as different fabrics may require varying care methods. So, the next time you’re faced with a burnt shirt, don’t despair – take a deep breath and follow the steps outlined in this guide.
Your clothing will not only look better, but you’ll also feel a sense of accomplishment in mastering this essential skill. Happy ironing, and may your shirts stay free from burns in the future!
Leave a Reply