Framing canvas art is not just about adding a finishing touch to your cherished artwork; it’s an art form in itself. The right frame not only enhances the visual appeal of your canvas but also preserves its longevity and protects it from environmental factors.
Whether you’re an artist seeking to showcase your creations or an art enthusiast looking to display a prized piece, this guide will walk you through the essential steps to frame canvas art with professionalism and finesse.
From selecting the perfect frame to securing your masterpiece, each step is crucial in creating a visually stunning and enduring presentation for your canvas art.
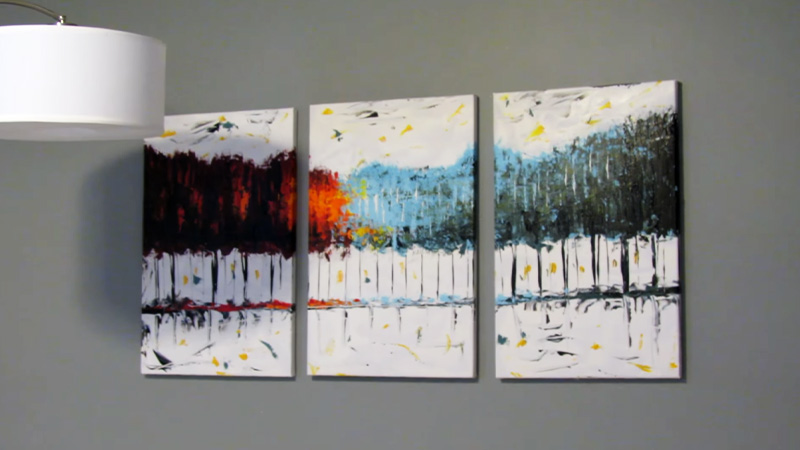
9 Effective Steps to Frame Canvas Art
Framing canvas art is a crucial step in preserving and presenting your artwork effectively. Knowing how to frame a canvas not only enhances the overall aesthetic appeal but also protects the canvas from dust, moisture, and physical damage.
Whether you’re a professional artist or simply looking to frame a cherished piece of art, here’s a step-by-step guide on how to frame a canvas painting art:
Materials You’ll Need:
- Canvas artwork
- Frame
- Mat (optional)
- Glass or acrylic (optional)
- Mounting hardware
- Hanging hardware
- Dust cloth or microfiber cloth
- Acid-free tape
- Screwdriver or drill (for hanging hardware)
- Measuring tape
- Pencil
Step 1: Choose the Right Frame
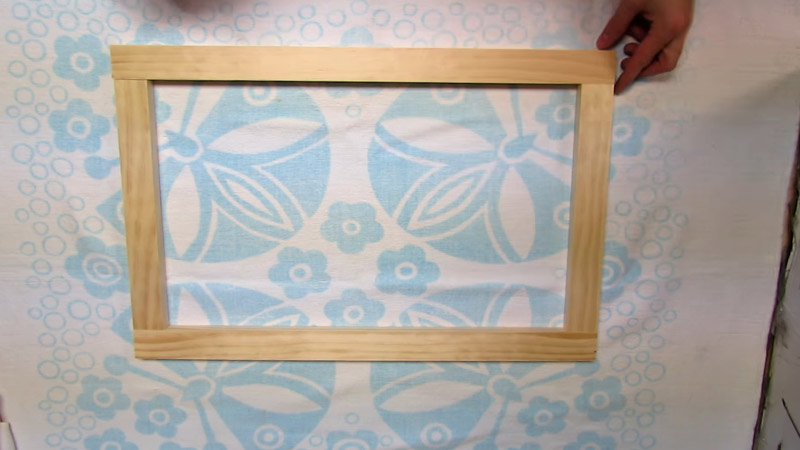
Select a frame that complements your canvas art and fits the overall aesthetic you desire. Frames come in various materials such as wood, metal, and plastic, as well as different styles like traditional, modern, and rustic. Consider the color, width, and depth of the frame.
Step 2: Measure Your Artwork
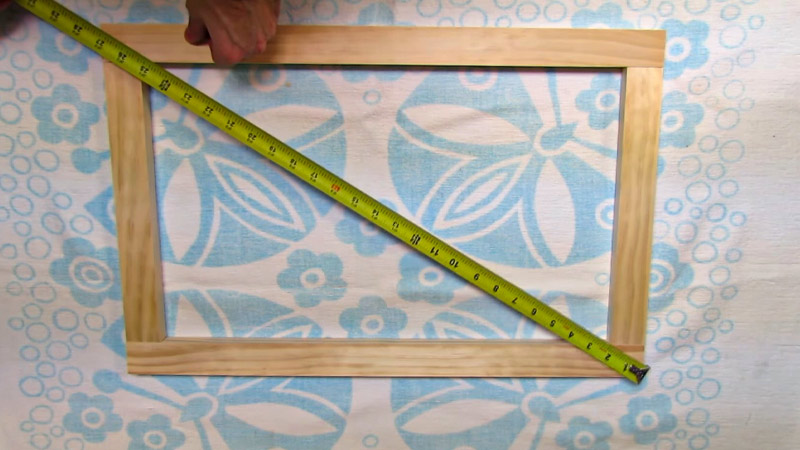
Measure the dimensions of your canvas artwork precisely. You’ll need these measurements to ensure that your frame and mat (if you choose to use one) are the right size.
Make note of the width of the canvas edges, as this will determine how much of the canvas will be visible within the frame.
Step 3: Assemble Materials
Lay out all the materials you’ll need, including the frame, mat (if using one), glass or acrylic (if desired), and any mounting or hanging hardware.
Step 4: Attach the Canvas to the Frame
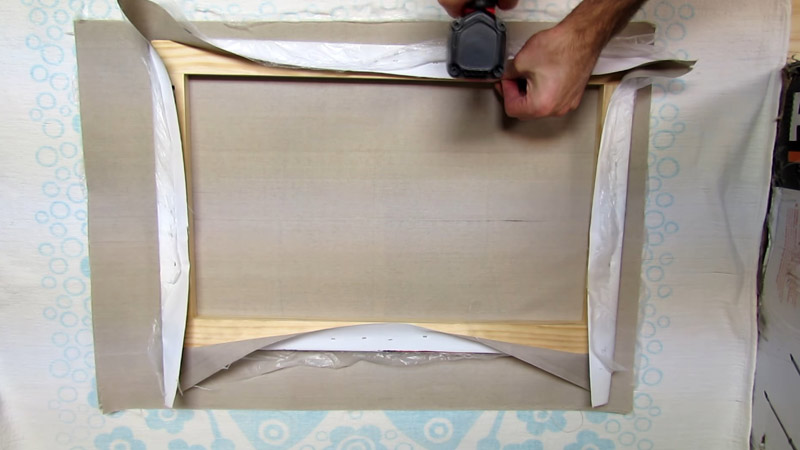
If your canvas artwork is stretched over a wooden frame (typically called a stretcher frame), you can secure it to the frame using staples or adhesive.
Ensure the canvas is centered on the frame, and use a staple gun or adhesive to secure it in place. Be careful not to damage the canvas in the process.
Step 5: Insert Mat and Glass/Acrylic
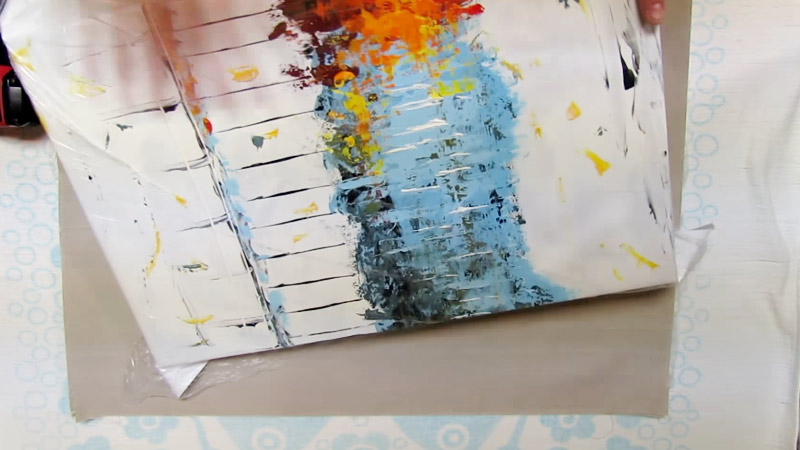
If you choose to use a mat and glass/acrylic, insert them into the frame. The mat provides a border around your artwork, creating a visual separation between the art and the frame.
Make sure the mat is clean and free of dust or fingerprints before placing it over the artwork. Then, gently insert the glass or acrylic on top, securing it in place.
Step 6: Secure the Frame
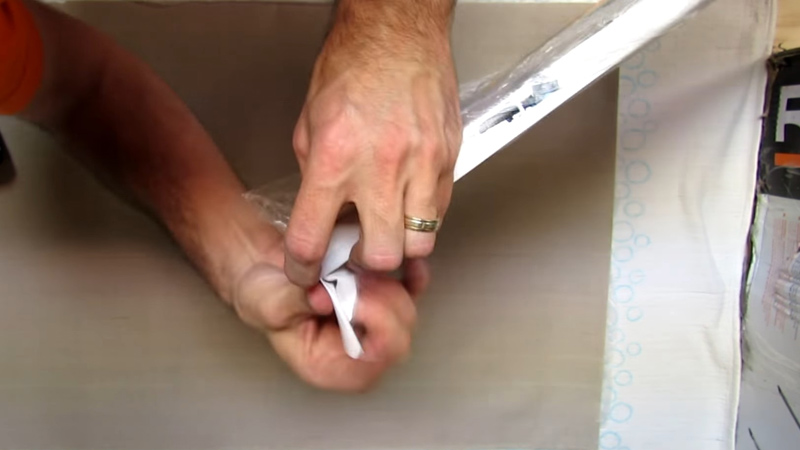
Carefully place the frame over your canvas artwork, ensuring that it fits snugly and aligns properly. Use the included hardware (canvas to frame clips) to secure the artwork within the frame.
Make sure it is held securely but not too tightly, as excessive pressure can damage the canvas.
Step 7: Clean the Glass or Acrylic
If you’ve used glass or acrylic, clean it with a dust cloth or microfiber cloth to remove any smudges or fingerprints.
Step 8: Attach Mounting Hardware
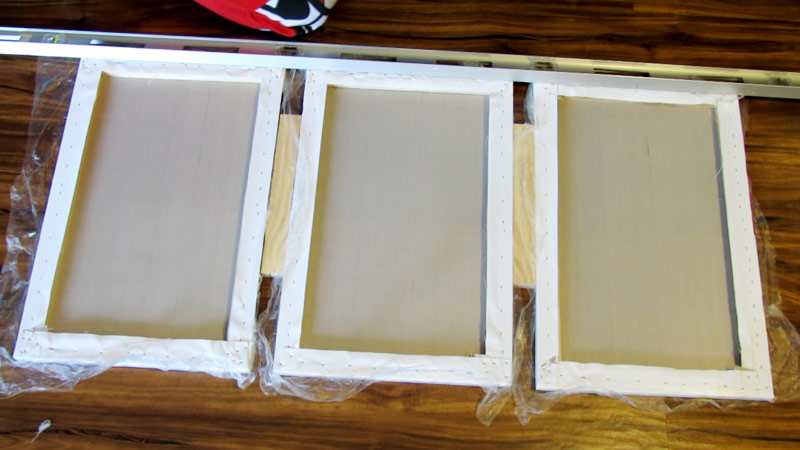
If you plan to hang your framed canvas art, attach the appropriate mounting hardware to the back of the frame. Follow the manufacturer’s instructions for the type of hanging hardware you’re using, whether it’s D-rings, wire, or sawtooth hangers.
Step 9: Hang Your Artwork

Using a measuring tape and a pencil, mark the desired location on the wall where you want to hang your artwork. Use a level to ensure it’s perfectly straight. Then, install wall anchors or screws and hang your framed canvas art securely.
How to Frame an Open-Backed Canvas Frame?
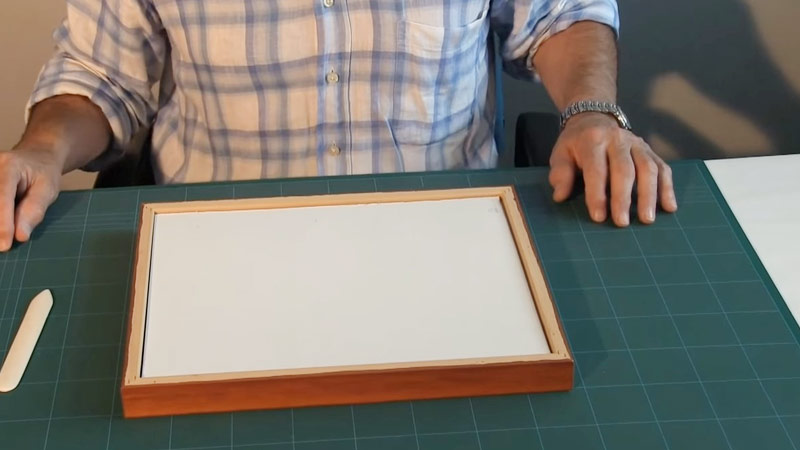
Framing an open-backed canvas is a unique approach that allows you to showcase the artwork from both the front and back, adding an extra dimension to its presentation.
Here’s a step-by-step guide on how to frame an open-backed canvas frame:
Materials You’ll Need:
- Open-backed frame
- Open-back canvas artwork
- Mounting hardware
- Hanging hardware
- Screwdriver or drill (for hanging hardware)
- Measuring tape
- Pencil
- Acid-free tape (optional)
Step 1: Measure Your Artwork
Measure the dimensions of your open-back canvas artwork accurately. This will help you choose the right size for the frame.
Step 2: Choose the Right Frame
Select an open-backed frame that complements your artwork and fits its dimensions. Ensure that the frame depth accommodates the thickness of your canvas.
Step 3: Prepare the Artwork
If your open-backed canvas art is not already stretched, stretch it onto a wooden frame, ensuring it’s centered and taut. You can secure the canvas to the frame using staples or adhesive.
Step 4: Assemble Materials
Lay out all the materials you’ll need, including the frame, open-back canvas artwork, and any mounting or hanging hardware.
Step 5: Insert the Artwork into the Frame
Carefully place the open-backed canvas into the open frame, ensuring it fits snugly. Make any necessary adjustments to ensure the artwork is centered and properly aligned within the frame.
Step 6: Secure the Canvas
Depending on the design of your open-backed frame, you may need to use mounting hardware to secure the canvas in place. This could include brackets, clips, or other fasteners that hold the canvas securely within the frame.
Step 7: Add Hanging Hardware
Attach the appropriate hanging hardware to the back of the frame. Depending on the frame design and the weight of your artwork, this might involve D-rings, wire, or sawtooth hangers. Follow the manufacturer’s instructions for installation.
Step 8: Hang Your Artwork
Measure and mark the desired location on the wall where you want to hang your open-backed canvas frame. Use a level to ensure it’s perfectly straight. Then, install wall anchors or screws and hang your artwork securely.
Optional Step 9: Seal the Back
If you want to protect the back of the canvas from dust and dirt, you can use acid-free tape or a backing board to cover the open back. Ensure that this step does not interfere with the open-backed aesthetic you wish to achieve.
Measurement for Framing a Canvas Art
Measuring a canvas art piece for framing is a critical step to ensure that you choose the right frame and mat (if desired) and that the finished presentation looks balanced and professional.
Here are the key measurements to consider:
Canvas Dimensions
Measure the actual dimensions of the canvas itself, including its width and height. Measure from the inner edges of the canvas, not the outer edges of the stretcher bars, if present. Write down these measurements.
Canvas Depth
Measure the depth or thickness of the canvas if it’s not already stretched within a frame. This measurement helps you choose a frame that accommodates the canvas’s thickness.
Desired Mat Border
If you plan to use a mat, determine the width of the mat border you want. The mat border is the visible area between the edge of the artwork and the inner edge of the frame.
Common mat border widths are 1.5 inches, 2 inches, or more, depending on your preference. Keep in mind that the mat should not cover any essential details of your artwork.
Desired Frame Width
Decide on the width of the frame you’d like to use. Frame widths can vary significantly, from slim profiles to broader, more ornate styles. Your choice should complement the artwork’s style and your aesthetic preferences.
Overall Frame Dimensions
Calculate the overall dimensions of the framed artwork. To do this, add the dimensions of the canvas (width and height), the width of the mat border (if using a mat), and twice the width of the frame (since the frame surrounds the artwork on all sides).
The formula would look like this:
- For framed artwork with a mat: Width = Canvas width + (2 x Mat border width) + (2 x Frame width)
- For framed artwork without a mat: Width = Canvas width + (2 x Frame width)
- For framed artwork with a mat: Height = Canvas height + (2 x Mat border width) + (2 x Frame width)
- For framed artwork without a mat: Height = Canvas height + (2 x Frame width)
Ensure Proper Alignment
When measuring, make sure the canvas is centered within the frame or mat border to maintain a balanced appearance.
Consider Aspect Ratio
Ensure that the aspect ratio (the proportional relationship between width and height) of your canvas art matches the aspect ratio of the frame. If they don’t match, you may need to crop or mat the artwork differently to fit the frame properly.
Check Frame Depth
Confirm that the frame’s depth (the thickness of the frame) is suitable for the canvas’s thickness, including any additional layers such as mats and glass or acrylic if you choose to use them.
FAQS
Can I frame canvas art without using glass or acrylic?
Yes, you can frame canvas art without glass or acrylic if you prefer a more open and tactile presentation. This approach allows viewers to appreciate the texture of the canvas but may expose the artwork to more dust and environmental elements.
What’s the best way to clean acrylic glass in a framed canvas art piece?
To clean acrylic glass, use a solution of mild dish soap and warm water with a soft, lint-free cloth.
Can I frame canvas art with irregular shapes or sizes?
Yes, framing irregularly shaped or sized canvas art is possible.
Should I frame canvas art with a floater frame or a traditional frame?
The choice between a floater frame and a traditional frame depends on your artistic preference and the style of your artwork. Floater frames give the illusion that the canvas is floating within the frame, creating a contemporary look, while traditional frames provide a classic, enclosed appearance.
How can I protect canvas art from UV damage without using glass?
To protect canvas art from UV damage without using glass, you can apply a UV-protective varnish directly to the canvas.
To Recap
Framing canvas art is a process that combines both craftsmanship and creativity. It elevates your artwork from a simple canvas to a captivating masterpiece, adding value, protection, and a touch of personal style.
By carefully choosing the right frame, mat, and optional glass or acrylic, you can enhance the visual impact of your art while preserving its longevity.
The process, though intricate, is immensely rewarding, as it transforms your canvas into a piece of art that can be proudly displayed for years to come.
Whether you’re a professional artist or an art enthusiast, mastering the art of framing canvas art not only adds a professional touch but also ensures that your artwork remains a focal point of admiration in any space.
Leave a Reply