Scorch marks on your favorite fabrics can be disheartening, especially when they seem irreparable. Whether it’s from an ironing mishap or a cooking accident, the sight of those unsightly marks can leave you wondering if your beloved clothing or linens are destined for the trash.
However, fear not – scorch marks are not always a lost cause. This comprehensive guide will discuss how to get scorch marks out of fabric, helping you restore your items to their former glory.
From everyday household remedies to more specialized treatments, we’ll walk you through step-by-step solutions that cater to various fabric types.
So, before you give up on your scorched fabrics, read on and discover the secrets to reviving them. With the right knowledge and a little effort, you can bid farewell to those stubborn scorch marks for good.
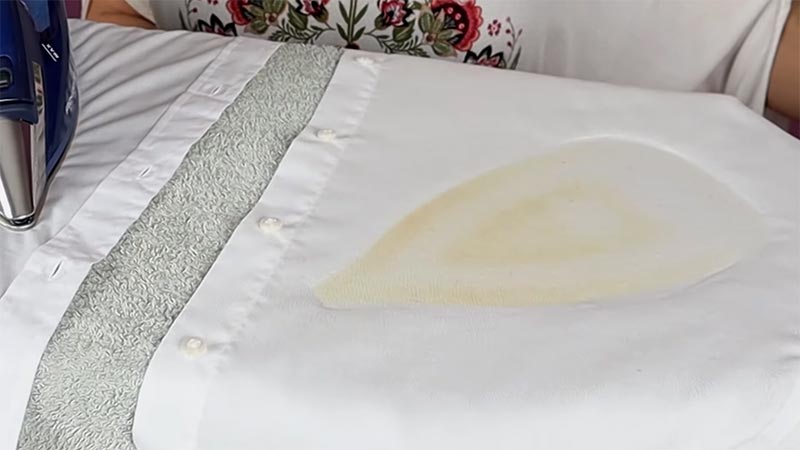
How to Get Scorch Marks Out of Fabric? 9 Steps
Scorch marks on fabric can be distressing, whether resulting from a kitchen mishap, a wayward iron, or any other accidental encounter with high heat.
The good news is that scorch marks aren’t necessarily permanent, and there are several methods you can try to salvage your scorched fabric. Here are the steps-
Step 1: Assess the Damage
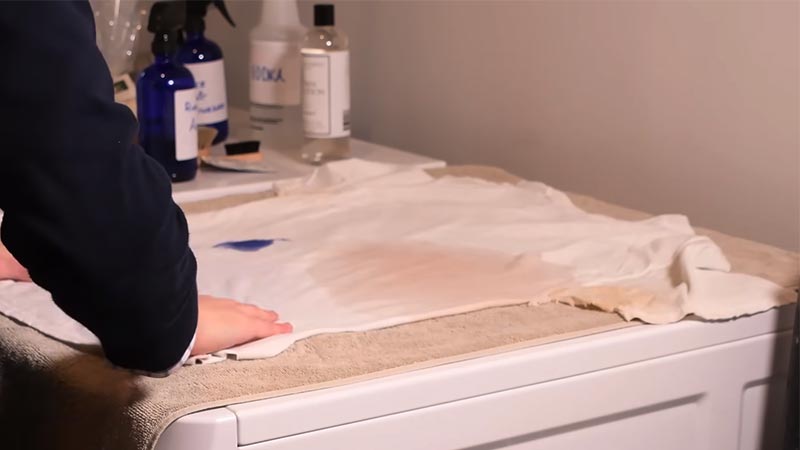
Examine the scorched fabric to determine the extent of the damage. Scorch marks can range from light discolorations to more severe burns. Understanding the severity will help you choose the appropriate method.
Step 2: Test an Inconspicuous Area
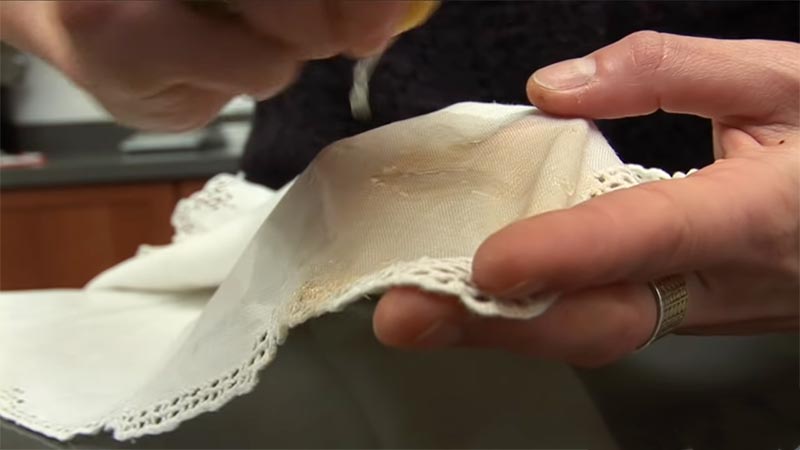
Before attempting any treatment, test it on an inconspicuous area of the fabric, such as an inside seam or hem. This precaution ensures that the treatment won’t cause further damage or discoloration. If the fabric is damaged, avoid using the method and try a different one.
Step 3: Vinegar Method
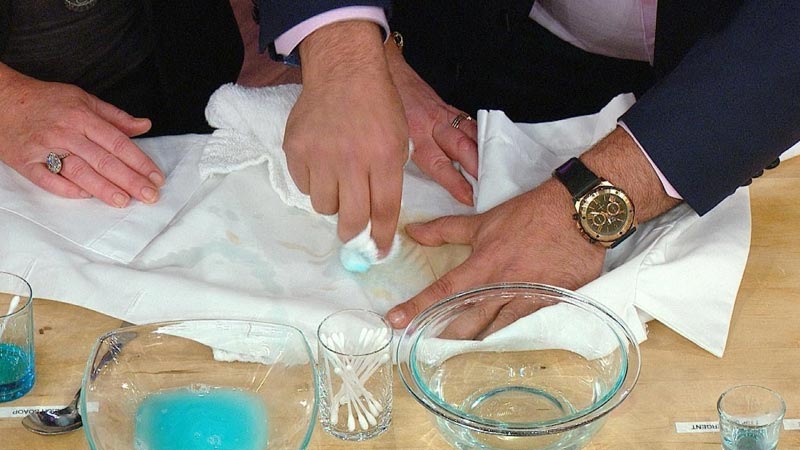
This method works well for many fabrics and scorch marks: Mix equal parts of white distilled vinegar and water in a container. Dab a clean cloth or sponge into the vinegar solution.
Gently blot the scorched area, taking care not to rub vigorously. Rinse the area with cold water. Launder the fabric as usual with a mild detergent.
Step 4: Baking Soda Method
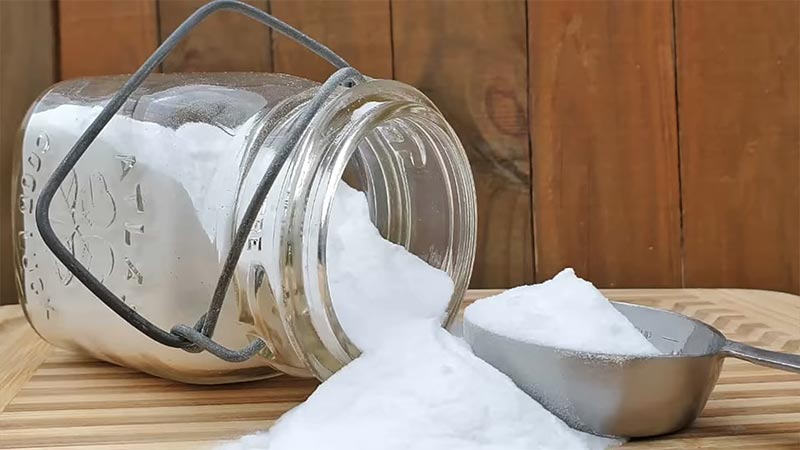
This method suits light scorch marks and odors: Create a paste by mixing baking soda with a small amount of water. Apply the paste to the scorched area. Gently scrub the area with an old toothbrush. Rinse the fabric with cold water. Wash it with a mild detergent.
Step 5: Hydrogen Peroxide Method
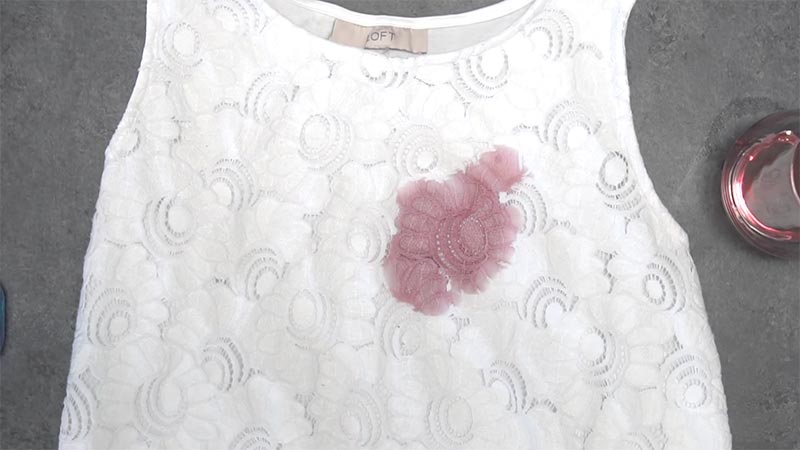
Use hydrogen peroxide for stubborn scorch stains: Mix one part hydrogen peroxide with one part water. Dab a clean cloth or sponge into the mixture. Blot the scorched area, then rinse with cold water. Launder the fabric with a mild detergent.
Step 6: Lemon Juice Method

Lemon juice is an alternative to vinegar for lighter fabrics: Squeeze fresh lemon juice onto the scorched area. Place the fabric in direct sunlight for a few hours. Rinse the fabric with cold water. Wash it as usual with a mild detergent.
Depending on the severity of the scorch marks, you may need to repeat the chosen method several times to achieve the desired results.
Step 7: Re-Ironing Method (Optional)
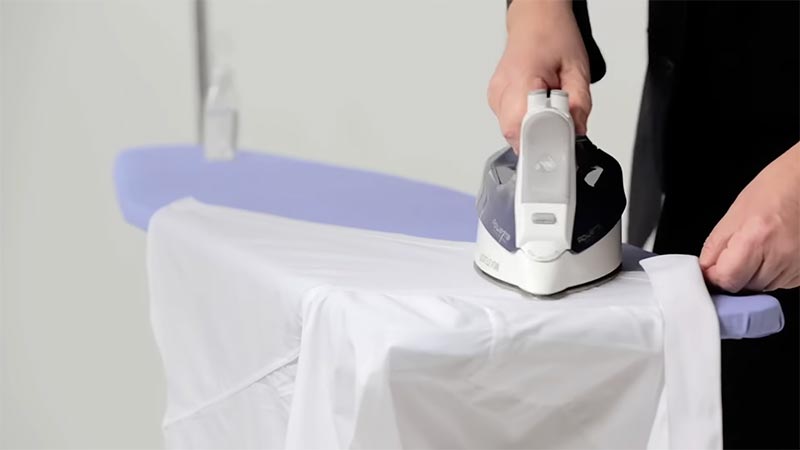
This method can help if the scorched area is slight: Place the scorched fabric between two damp, clean cloths. Set your iron to a low heat setting.
Gently press the iron on the damp cloths over the scorched area. The heat and steam should help release the burnt fibers. Check the progress periodically.
Once the scorch mark appears to be fading, remove the fabric and let it air dry. If necessary, repeat the process.
Step 8: Professional Help (As a Last Resort)
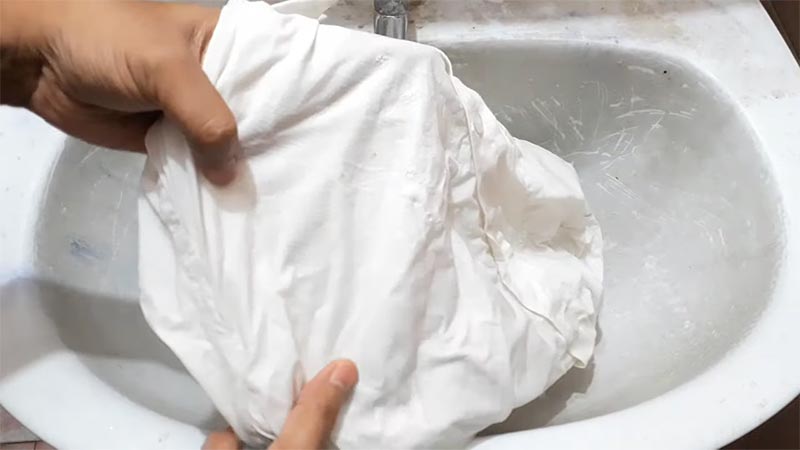
If DIY methods don’t work or your fabric is particularly delicate or valuable, consider consulting a professional cleaner. They have the expertise and specialized equipment to handle tough stains and burns.
Step 9: Prevention
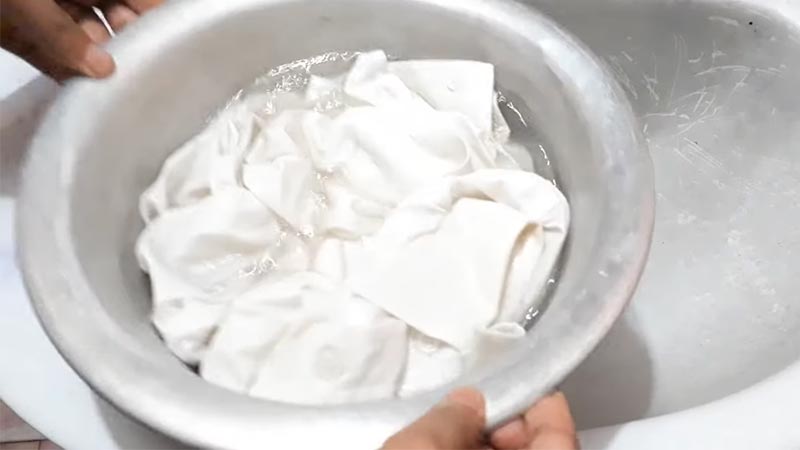
To avoid future scorch marks, read and follow fabric care labels. Adjust your iron’s temperature according to the fabric type.
Use a pressing cloth or a damp cloth to protect delicate fabrics. Iron inside-out for added protection. Be attentive while ironing and avoid distractions.
Materials You’ll Need
Here’s a table listing the materials you’ll need for getting scorch marks out of fabric:
| Material | Description |
| Scorched fabric | The fabric with scorch marks you want to clean. |
| White vinegar | A natural stain remover and deodorizer. |
| Hydrogen peroxide | An alternative stain remover for some fabrics. |
| Baking soda | For scrubbing and absorbing scorch stains. |
| Lemon juice (optional) | An acidic option for stain removal. |
| Soft cloth or sponge | For applying the cleaning solution gently. |
| Towels or paper towels | For blotting and cleaning. |
| Old toothbrush | Useful for scrubbing small or intricate areas. |
| Mild liquid dish soap | For pretreatment and stain removal. |
| Cold water | To mix with dish soap and for rinsing. |
| Laundry detergent | For washing the fabric after stain removal. |
| Stain remover (optional) | For stubborn or old scorch marks. |
| Safety pins or clips (optional) | To secure the fabric during cleaning. |
What’s the Best Way of Removing Burn Marks on Carpet?
Burn marks on your carpet can be unsightly, but you can often effectively remove them with the right technique. Using a steam iron is a helpful method, especially for more severe burn marks.
In this step-by-step guide, we’ll walk you through the process of removing burn marks from your carpet using a steam iron.
Materials You’ll Need
Before you begin, gather the following materials: Steam iron and ensure it has a steam function. A white cotton cloth works best for the removal. Distilled water is preferable to avoid mineral deposits.
Vacuum cleaner to clean the carpet before and after treatment. Carpet cleaning solution (optional) for added cleaning power if necessary. Now, let’s get started.
Step 1: Preparation
Before you begin the steam iron method, prepare the area as follows: Start by vacuuming the carpet around the burn mark to remove any loose dirt or debris. Fill the steam iron’s reservoir with distilled water, ensuring it’s clean and free from residue.
Step 2: Test an Inconspicuous Area
To ensure the steam iron won’t cause color fading or damage to your carpet, test it on an inconspicuous area. Choose a spot that’s hidden from view, such as a corner or underneath furniture. If it doesn’t do any damage, proceed with the steam iron.
Step 3: Heat the Steam Iron
Plug in the steam iron and set it to the lowest steam setting. Allow it to heat up fully. This typically takes a few minutes.
Fold the clean white cloth in half to create a protective barrier between the steam iron and the carpet. The cloth should be large enough to cover the entire burn mark.
Step 4: Apply Steam to the Burn Mark
Now, you’re ready to treat the burn mark: Place the folded cloth directly over the burn mark on the carpet. Carefully run the steam iron over the cloth-covered burn mark.
Be gentle, and do not press too hard. The steam and heat will help release the damaged fibers from the carpet. Lift the cloth periodically to check the progress.
Step 5: Check and Repeat
As you lift the cloth and check the progress, you should see the burn mark gradually fade. Continue using the steam iron and cloth until you are satisfied with the results. This may take several passes, especially for more severe burn marks.
Step 6: Blot the Area
Once the burn mark is significantly reduced or removed, blot the treated area with a clean, dry cloth. This helps absorb any moisture and residual fibers.
After blotting, allow the treated area to air dry completely. This usually takes a few hours. Avoid stepping on or placing any objects on the damp carpet during this time.
Step 7: Vacuum the Carpet Again
Once the carpet is dry, vacuum the treated area again to fluff up the carpet fibers and remove any remaining debris.
If the burn mark persists or if there’s still some discoloration, you can try using a carpet cleaning solution designed for your specific carpet type. Follow the manufacturer’s instructions for application and use.
Step 8: Prevention
To prevent future burn marks on your carpet, Be cautious with heat sources and hot objects near the carpet. Use heat-resistant mats or pads under hot appliances and tools. Keep candles and open flames away from carpeted areas.
Establish designated smoking areas away from carpets. Following this step-by-step guide, you can restore your carpet’s appearance and bid farewell to those unsightly burn marks.
Remember to exercise caution, test the iron in an inconspicuous area, and be patient during the process. With a bit of effort and the right technique, your carpet can regain its original beauty, leaving your living space looking fresh and inviting once again.
FAQs
Can I use these methods on any carpet?
The methods mentioned in this guide are generally safe for most carpet types, but it’s essential to test any treatment in an inconspicuous area first to ensure it won’t cause color fading or further damage.
What if the burn mark is extensive and the DIY methods don’t work?
If the burn mark is extensive or the DIY methods are ineffective, it’s advisable to contact a professional carpet cleaning service.
They have the experience and equipment to tackle tough stains and burns and can often restore your carpet’s appearance.
Will these methods work on older, set-in burn marks?
While these methods are more effective on fresh burn marks, they can still help with older set-in marks. However, it may require repeated treatments and additional patience to achieve noticeable results.
Can I use these methods to remove other types of stains from my carpet?
The methods mentioned here are primarily intended for removing burn marks. You may need to use different cleaning techniques or commercial carpet stain removers for other types of stains, such as food, beverage, or pet stains.
How can I prevent burn marks on my carpet in the first place?
Preventing burn marks on your carpet involves being cautious around heat sources and hot objects. Use heat-resistant mats or pads under appliances and tools, keep candles and open flames away from carpeted areas, and establish designated smoking areas away from carpets.
Conclusion
Scorch marks on fabric may seem like a daunting problem, but armed with the techniques and tips provided in this guide, you now have the power to rescue your cherished textiles.
From using common household items like vinegar and baking soda to more specialized methods, you’ve learned how to approach scorch marks on different fabric types.
Remember, patience and care are your allies in this endeavor. Act swiftly, choose the appropriate method, and test it in an inconspicuous area first. Doing so can often make those unsightly scorch marks a thing of the past.
With the knowledge you’ve gained, you’ll be better equipped to tackle future fabric mishaps confidently. So, don’t give up on your scorched textiles just yet. Roll up your sleeves, apply what you’ve learned, and watch as your fabrics regain their original beauty.
Leave a Reply