Polymer clay is a type of modeling clay made from polymers, which are long chains of molecules. It is a popular material for creating a wide variety of craft and art projects, as it is easy to work with and can be molded into a variety of shapes and forms.
One of the key steps in working with polymer clay is hardening it, which involves curing the clay to make it firm and durable.
There are several methods for hardening polymer clay, including baking it in an oven, applying heat with a heat gun, hardening it with UV light, hardening it in cold water, and hardening it with a solvent.
Each method has its own pros and cons, and the best method for hardening polymer clay will depend on the specific needs and circumstances of the project.
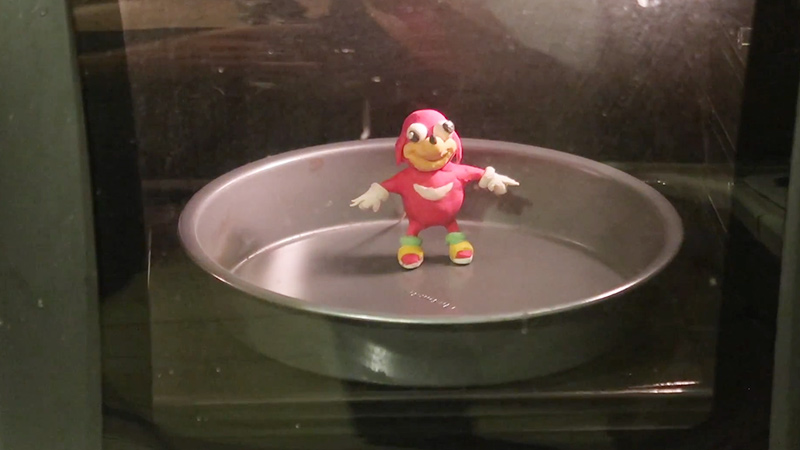
5 Methods to Harden Polymer Clay
You must be thinking about whether does polymer clay harden or not. Luckily, there are many different methods on how to harden modeling clay.
1. Baking in an Oven
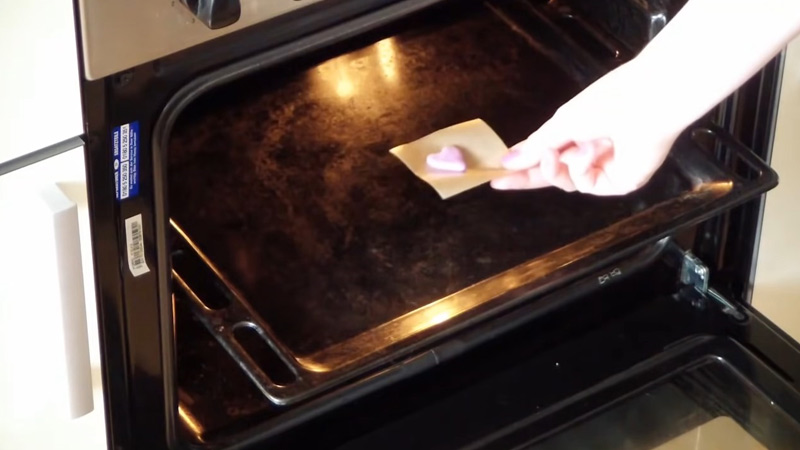
Baking polymer clay in an oven is a common method for hardening and curing clay. It is a simple process that requires only a few tools and materials. Here is a step-by-step guide for baking polymer clay in an oven:
- Preheat your oven to the recommended temperature for the type of polymer clay you are using. Different brands and types of polymer clay may have different recommended baking temperatures, so be sure to check the instructions on the package.
- Prepare your work surface by covering it with a non-stick mat or parchment paper. This will make it easier to remove the baked clay from the surface and prevent it from sticking.
- Shape your polymer clay into the desired form. You can use tools such as clay sculpting tools or a rolling pin to shape the clay as needed.
- Place the shaped clay onto the prepared work surface and smooth out any rough edges or imperfections.
- Determine the thickness of the clay and set a timer for the recommended baking time. As a general rule, polymer clay should be baked for 30 minutes per quarter inch of thickness. For example, if your clay is 1 inch thick, you will need to bake it for 2 hours (30 minutes x 4 quarter inches = 2 hours).
- Carefully transfer the clay to an oven-safe tray or baking sheet.
- Place the tray or baking sheet into the preheated oven and bake the clay for the recommended amount of time.
- Once the baking time is complete, carefully remove the tray or baking sheet from the oven and allow the clay to cool completely before handling it.
Tools needed:
- Oven
- Non-stick mat or parchment paper
- Clay sculpting tools (optional)
- Rolling pin (optional)
- Oven-safe tray or baking sheet
- Oven mitts or hot pads for handling the tray or baking sheet.
2. Applying Heat With a Heat Gun
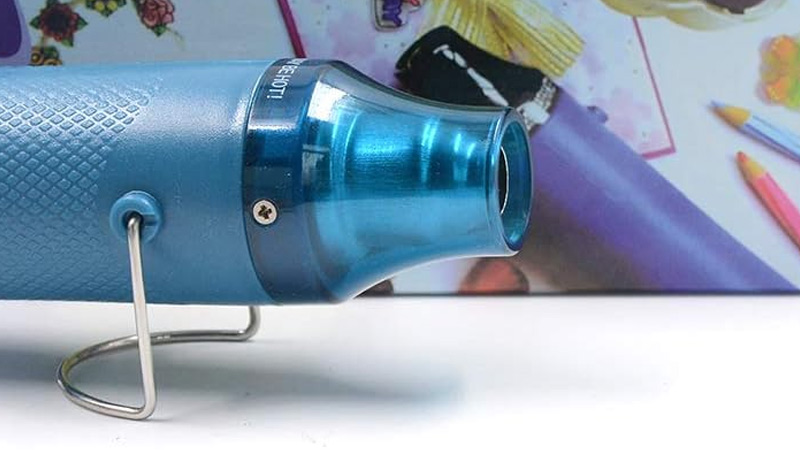
Applying heat with a heat gun is another method that can be used to harden polymer clay. A heat gun is a tool that produces a stream of hot air and can be used to cure and harden the clay by applying direct heat to the surface. Here is a step-by-step guide for using a heat gun to harden polymer clay:
- Gather your materials and prepare your work surface. You will need a heat gun, a non-stick mat or parchment paper to work on, and your polymer clay.
- Shape your polymer clay into the desired form. You can use tools such as clay sculpting tools or a rolling pin to shape the clay as needed.
- Place the shaped clay onto the prepared work surface and smooth out any rough edges or imperfections.
- Turn on the heat gun and allow it to warm up for a few minutes.
- Hold the heat gun about 6 inches away from the surface of the clay and slowly move it back and forth over the surface of the clay. Be sure to keep the heat gun in constant motion to avoid overheating and potentially damaging the clay.
- Continue applying heat to the clay until it is hardened to your desired level of firmness. The amount of time this takes will depend on the thickness of the clay and the temperature of the heat gun.
- Once the clay is hardened, turn off the heat gun and allow the clay to cool completely before handling it.
Tools needed:
- Heat gun
- Non-stick mat or parchment paper
- Clay sculpting tools (optional)
- Rolling pin (optional)
- Heat-resistant gloves (optional, but recommended for handling the heat gun)
3. Hardening With UV Light
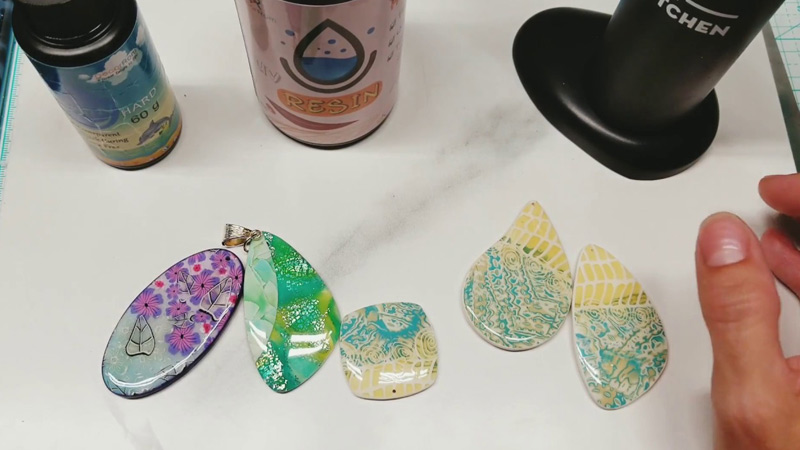
Hardening polymer clay with UV light is a method that can be used to cure and harden certain types of polymer clay, such as Kato Polyclay. This method involves exposing the clay to UV light, which causes a chemical reaction that hardens the clay. Here is a step-by-step guide for hardening polymer clay with UV light:
- Gather your materials and prepare your work surface. You will need a UV light source, such as a UV lamp or natural sunlight, a non-stick mat or parchment paper to work on, and your polymer clay.
- Shape your polymer clay into the desired form. You can use tools such as clay sculpting tools or a rolling pin to shape the clay as needed.
- Place the shaped clay onto the prepared work surface and smooth out any rough edges or imperfections.
- If using a UV lamp, turn it on and allow it to warm up for a few minutes. If using natural sunlight, find a location with strong, direct sunlight.
- Place the clay in the UV light source and expose it to the light for the recommended amount of time. The exact amount of time will depend on the type of polymer clay you are using and the intensity of the UV light.
- Once the recommended exposure time has passed, remove the clay from the UV light source and allow it to cool and harden completely.
Tools needed:
- UV light source (such as a UV lamp or natural sunlight)
- Non-stick mat or parchment paper
- Clay sculpting tools (optional)
- Rolling pin (optional)
4. Hardening in Cold Water
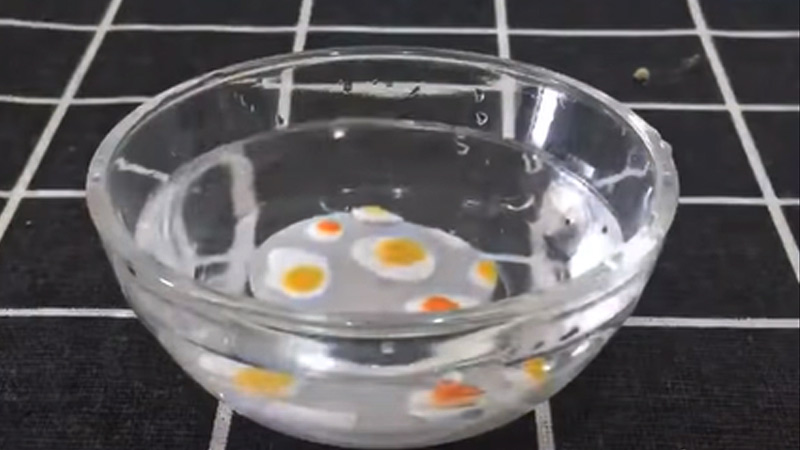
Hardening polymer clay in cold water is a method that can be used to rapidly cool and harden the clay. This method works well for small items but may cause larger pieces to crack. Here is a step-by-step guide for hardening polymer clay in cold water:
- Gather your materials and prepare your work surface. You will need a bowl or container of cold water, a non-stick mat or parchment paper to work on, and your polymer clay.
- Shape your polymer clay into the desired form. You can use tools such as clay sculpting tools or a rolling pin to shape the clay as needed.
- Place the shaped clay onto the prepared work surface and smooth out any rough edges or imperfections.
- Carefully place the clay into the bowl or container of cold water.
- Allow the clay to sit in the cold water for a few minutes until it has hardened to your desired level of firmness. The exact amount of time will depend on the size and thickness of the clay.
- Once the clay has hardened, carefully remove it from the water and allow it to dry completely before handling it.
Tools needed:
- Bowl or container of cold water
- Non-stick mat or parchment paper
- Clay sculpting tools (optional)
- Rolling pin (optional)
5. Polymer Clay Hardening With a Solvent
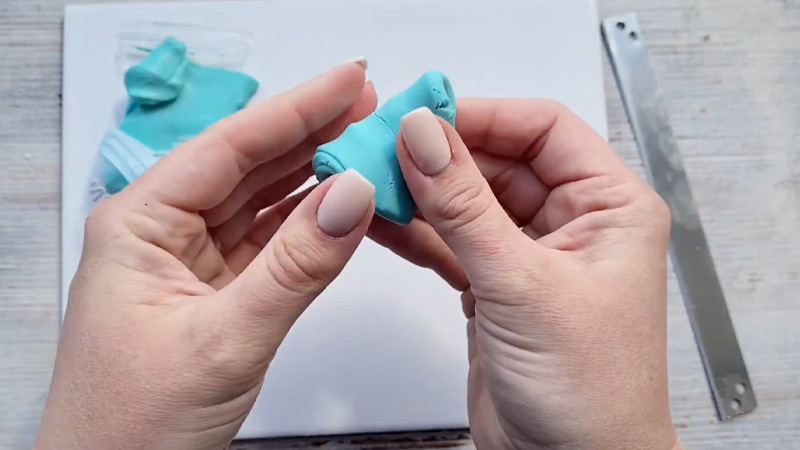
Hardening polymer clay with a solvent is a method that can be used to dissolve the surface of the clay, causing it to harden. This method is not suitable for all types of polymer clay, and care should be taken when using solvents as they can be dangerous. Here is a step-by-step guide for hardening polymer clay with a solvent:
- Gather your materials and prepare your work surface. You will need a solvent, such as acetone, a small container or bowl, a non-stick mat or parchment paper to work on, and your polymer clay.
- Shape your polymer clay into the desired form. You can use tools such as clay sculpting tools or a rolling pin to shape the clay as needed.
- Place the shaped clay onto the prepared work surface and smooth out any rough edges or imperfections.
- Pour a small amount of solvent into the container or bowl.
- Dip a paintbrush or cotton swab into the solvent and apply a thin layer to the surface of the clay. Be sure to use caution when handling the solvent and avoid getting it on your skin or inhaling the fumes.
- Allow the solvent to sit on the surface of the clay for a few minutes until the clay has hardened to your desired level of firmness. The exact amount of time will depend on the type of polymer clay you are using and the strength of the solvent.
- Once the clay has hardened, carefully remove it from the solvent and allow it to dry completely before handling it.
Tools needed:
- Solvent (such as acetone)
- Small container or bowl
- Non-stick mat or parchment paper
- Clay sculpting tools (optional)
- Rolling pin (optional)
- Paintbrush or cotton swab
Comparison Between Each Method
Comparing the different methods for hardening polymer clay:
Baking in an Oven
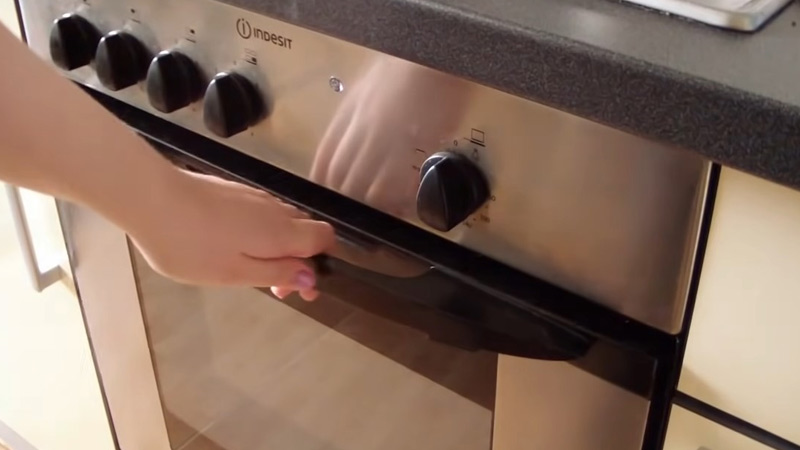
- Cost: relatively inexpensive, as most households already have an oven.
- Pros: can be used for all types of polymer clay, and allows for precise control of baking time and temperature.
- Cons: requires an oven and baking tray, can be time-consuming for larger items.
Applying Heat With a Heat Gun
- Cost: moderate to expensive, depending on the quality and features of the heat gun.
- Pros: can be used for all types of polymer clay, and allows for precise control of heat application.
- Cons: requires a heat gun, can be time-consuming for larger items, may produce fumes.
Hardening With UV Light
- Cost: moderate to expensive, depending on the quality and features of the UV light source.
- Pros: can be used for certain types of polymer clay, and allows for precise control of UV exposure time.
- Cons: may not work with all types of polymer clay, and requires a UV light source.
Hardening in Cold Water
- Cost: inexpensive, as most households already have access to cold water.
- Pros: quick and easy, suitable for small items.
- Cons: may cause larger items to crack, and may not work with all types of polymer clay.
Hardening With a Solvent
- Cost: moderate to expensive, depending on the type of solvent used.
- Pros: quick and easy, allows for precise control of the solvent application.
- Cons: may not work with all types of polymer clay, and requires the use of potentially dangerous solvents.
In terms of cost, baking in an oven and hardening in cold water are the most inexpensive options. Applying heat with a heat gun and hardening with UV light are moderate to expensive while hardening with a solvent is the most expensive option.
In terms of effectiveness, baking in an oven is generally considered the best method for hardening polymer clay, as it allows for precise control of baking time and temperature and can be used with all types of polymer clay. However, the other methods can also be effective, depending on the specific needs and circumstances.
For example, hardening with UV light may be a good option for certain types of polymer clay, while hardening in cold water may be suitable for small items. It is important to choose the method that best suits your needs and the specific type of polymer clay you are working with.
Comparison Table Between the Methods
| Method | Cost | Pros | Cons |
|---|---|---|---|
| Baking in an oven | Cheap | Can be used for all types of polymer clay<br> Allows for precise control of baking time and temperature | Requires an oven and baking tray<br> Can be time-consuming for larger items |
| Applying heat with a heat gun | Moderate to expensive | Can be used for all types of polymer clay<br> Allows for precise control of heat application | Requires a heat gun<br> Can be time-consuming for larger items<br> May produce fumes |
| Hardening with UV light | Moderate to expensive | Can be used for certain types of polymer clay<br> Allows for precise control of UV exposure time | May not work with all types of polymer clay<br> Requires a UV light source |
| Hardening in cold water | Cheap | Quick and easy<br> Suitable for small items | May cause larger items to crack<br> May not work with all types of polymer clay |
| Hardening with a solvent | Moderate to expensive | Quick and easy<br> Allows for precise control of solvent application | May not work with all types of polymer clay<br> Requires the use of potentially dangerous solvents |
Tips about Baking Polymer Clay
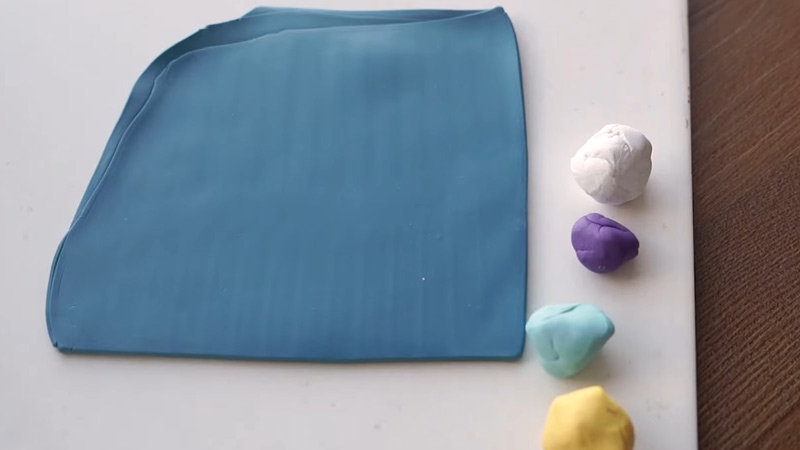
Baking polymer clay can be a rewarding and creative process. Here are five essential tips to ensure successful results:
Temperature Accuracy
Use an oven thermometer to verify the accuracy of your oven’s temperature. Polymer clay requires precise baking at the recommended temperature, typically around 275°F (135°C).
Even slight variations can affect the outcome.
Baking Surface
Place your polymer clay creations on a clean and smooth oven-safe surface, such as a ceramic tile or a dedicated baking sheet covered with parchment paper.
Avoid using surfaces that could release harmful fumes when heated.
Baking Time
Follow the manufacturer’s instructions for baking time. Most polymer clays require baking for 15-30 minutes per 1/4 inch (6 mm) thickness.
Overbaking can lead to discoloration or brittleness, so avoid prolonged exposure to heat.
Ventilation
Ensure proper ventilation while baking polymer clay. Use your oven’s exhaust fan or open a window to disperse any fumes that may be released during baking.
Polymer clay should not produce strong odors if baked at the correct temperature and duration.
Monitor the Process
Keep a close eye on your creations as they bake. Polymer clay won’t change shape during baking, so you can observe any potential issues like cracks or distortions and address them promptly.
If you notice any problems, you can remove the clay from the oven and make necessary adjustments before continuing to bake.
By following these tips, you can achieve the best results when baking polymer clay and create beautiful, durable polymer clay projects.
How Long to Bake Polymer Clay?
The baking time for polymer clay depends on the thickness of your clay creation. A general guideline is to bake polymer clay at approximately 275°F (135°C) for 15-30 minutes per 1/4 inch (6 mm) of thickness.
Here’s a breakdown:
Thickness
Measure the thickest part of your polymer clay creation. This will determine the baking time.
Calculate
- For every 1/4 inch (6 mm) of thickness, bake for 15-30 minutes. For example:
- If your creation is 1/4 inch thick, bake for 15-30 minutes.
- If it’s 1/2 inch thick, bake for 30-60 minutes.
- If it’s 3/4 inch thick, bake for 45-90 minutes.
And so on.
Monitor
While baking, keep an eye on your creation. If you notice any changes, such as browning or distortions, it’s essential to check and, if necessary, adjust the baking time.
Overbaking can lead to discoloration and brittleness, so aim for the lower end of the time range if you’re unsure.
Cooling
After baking, let your polymer clay creation cool completely before handling it. It will continue to harden as it cools.
Always refer to the specific manufacturer’s instructions for the brand of polymer clay you are using, as baking times and temperatures can vary slightly between different brands.
Following these guidelines will help ensure that your polymer clay projects cure properly and maintain their shape and color.
Polymer Clay Baking Instructions by Brand
You must expect some general guidelines for baking polymer clay by brand, but it’s essential to refer to the specific manufacturer’s instructions for the most accurate information.
Each brand of polymer clay may have slight variations in recommended baking times and temperatures.
Here are some common brands and their general baking instructions:
Sculpey (Sculpey III, Premo!, Super Sculpey, etc.)
- Baking Temperature: Approximately 275°F (135°C).
- Baking Time: Bake for 15 minutes per 1/4 inch (6 mm) of thickness.
- Always preheat your oven before placing your polymer clay creation inside.
FIMO
- Baking Temperature: Typically around 230°F (110°C) to 265°F (130°C), depending on the product line.
- Baking Time: Bake for 30 minutes per 1/4 inch (6 mm) of thickness.
- Refer to the specific FIMO product’s instructions for precise details.
Cernit
- Baking Temperature: Around 230°F (110°C) to 265°F (130°C), depending on the product.
- Baking Time: Typically 30 minutes per 1/4 inch (6 mm) of thickness.
- Cernit may have variations in baking instructions for different product lines.
Kato Polyclay
- Baking Temperature: Approximately 300°F (150°C).
- Baking Time: Bake for 10-15 minutes per 1/4 inch (6 mm) of thickness.
- Kato Polyclay requires a slightly higher baking temperature.
Primo (Primo Sculpey)
- Baking Temperature: Generally around 275°F (135°C).
- Baking Time: Bake for 15-30 minutes per 1/4 inch (6 mm) of thickness.
- Primo has a range of colors and varieties with similar baking instructions.
Cernit, Pardo, and other specialty clays
Baking instructions may vary considerably for specialty clays, such as translucent, glow-in-the-dark, or metallic clays.
Always follow the manufacturer’s recommendations provided with the specific product.
Remember to use an oven thermometer to verify the accuracy of your oven’s temperature and to monitor your creations while they bake.
Polymer clay should not produce strong fumes when baked at the correct temperature and duration, but it’s still a good idea to have proper ventilation.
Always refer to the packaging or official website of the specific polymer clay brand you are using for the most accurate and up-to-date baking instructions.
FAQs
It is generally not recommended to harden polymer clay in the microwave, as the microwave’s high heat and uneven distribution of heat can cause the clay to become overheated and potentially burn or melt.
It is possible to harden polymer clay with a hair dryer, but it is not the most effective method. Hair dryers do not produce enough heat to fully cure and harden the clay, and the uneven distribution of heat may cause the clay to cure unevenly or not cure fully.
Uncured polymer clay should be stored in an airtight container or bag to prevent it from drying out. It can also be stored in the refrigerator or freezer to extend its shelf life.
Yes, you can use a sealant on cured polymer clay to protect it and give it a glossy finish. There are several types of sealants available, such as gloss or matte spray sealants or brush-on sealants. Be sure to read the instructions and follow any precautions listed on the sealant packaging.
Yes, you can paint cured polymer clay using acrylic paints or other types of paints specifically formulated for use on polymer clay. Be sure to let the clay fully cool and dry before painting it, and follow any instructions or precautions listed on the paint packaging.
Conclusion
There are several methods available for hardening polymer clay, including baking it in an oven, applying heat with a heat gun, hardening it with UV light, hardening it in cold water, and hardening it with a solvent.
Each method has its own advantages and disadvantages, and the best method for hardening polymer clay will depend on the specific needs and circumstances of the project.
It is important to choose the method that is most suitable for the type of polymer clay you are using and the specific requirements of your project.
Regardless of which method you choose, be sure to follow the instructions and precautions carefully to ensure that your polymer clay hardens properly and is safe to use.
Leave a Reply