Heat pressing is a versatile and effective method for customizing t-shirts with various designs, graphics, and logos.
Whether you’re a DIY enthusiast, a small business owner, or simply looking to create personalized apparel, heat pressing offers a cost-effective way to achieve professional-quality results.
In this comprehensive guide, we’ll delve into how to heat press t-shirts, equipping you with the knowledge and techniques to make your clothing stand out. From understanding the equipment and materials needed to master the heat press process, we’ll cover it all.
We’ll explore the different types of heat transfer methods, offer tips on designing and preparing your artwork, and walk you through the step-by-step process of applying heat transfers to t-shirts.
Whether you’re a novice or have some experience, our guide will help you achieve impressive, long-lasting results in your heat-pressing endeavors. Get ready to turn ordinary t-shirts into wearable works of art with the power of heat press technology.
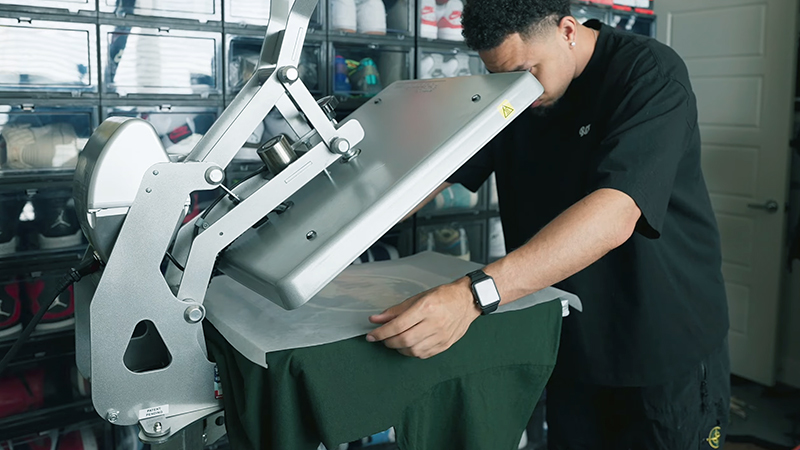
How to Heat Press T-Shirts? 9 Steps
Let’s take you through the process of heat-pressing t-shirts. Before you dive into heat pressing, it’s essential to gather the necessary materials and equipment. Let’s dive into the step-by-step process.
Step 1: Design Your Artwork

Begin by creating or editing your design using graphic design software. Ensure it’s the right size and resolution for your t-shirt. If you’re new to design, there are plenty of pre-made templates and design tools available online.
Once your design is ready, mirror it horizontally (flip it) before printing, especially if it includes text.
Step 2: Print Your Design
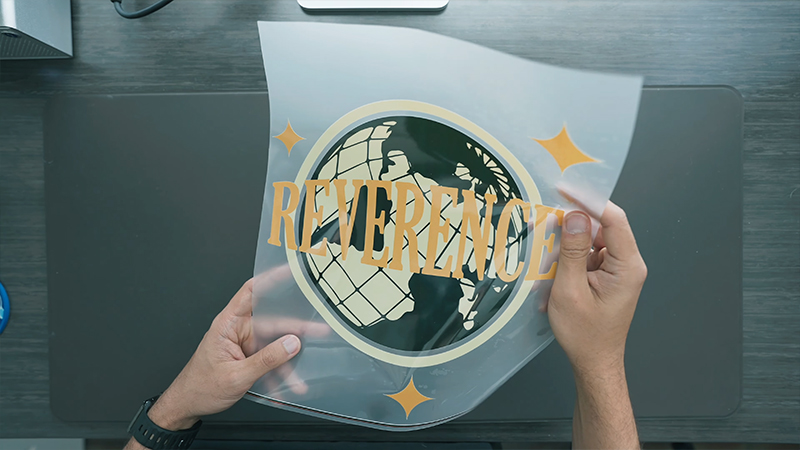
Load your heat transfer paper into your inkjet or laser printer and print your mirrored design. Follow the paper manufacturer’s instructions for the best results. Make sure the design is centered on the transfer paper and free of any smudges or errors.
Step 3: Preheat the Heat Press
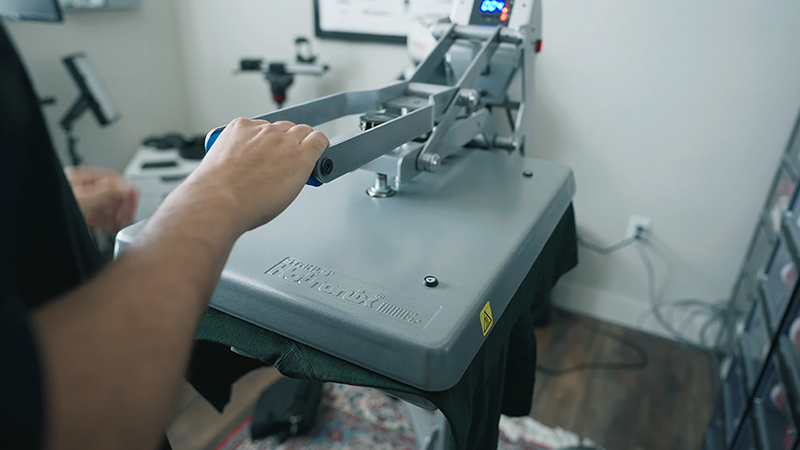
Power on your heat press machine and set it to the recommended temperature for the transfer paper you’re using. Allow it to reach the desired temperature. A preheated press ensures even heat distribution.
Step 4: Prepare Your T-Shirt
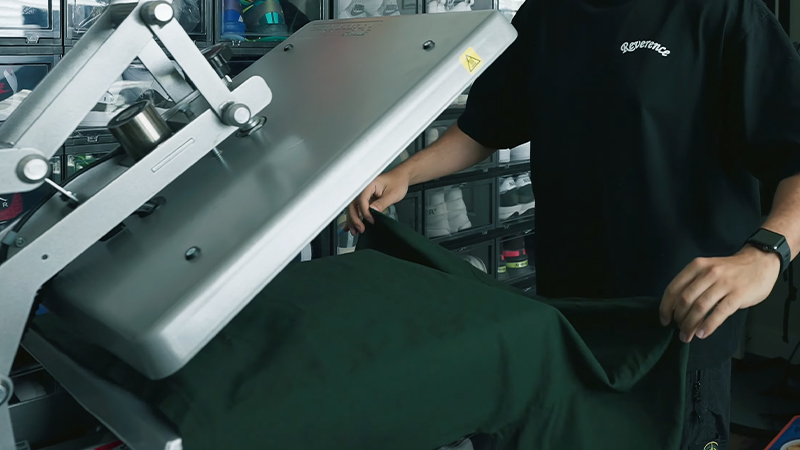
Lay your t-shirt flat on the heat press’s lower platen, ensuring it’s free of wrinkles and placed correctly. Use a lint roller to remove any lint or debris that could affect the transfer.
Step 5: Position the Design
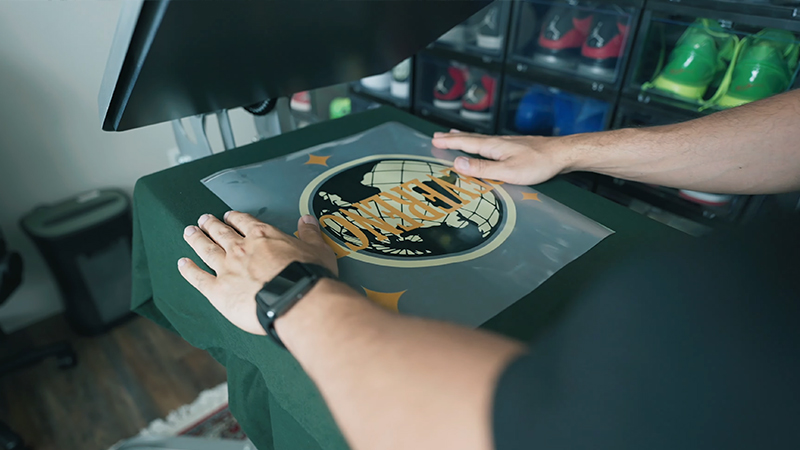
Place your printed heat transfer paper with the design facing down onto the t-shirt. Make sure the design is centered and aligned as desired. Use heat-resistant tape to secure the paper in place, preventing any shifting during pressing.
Step 6: Heat Press the T-Shirt
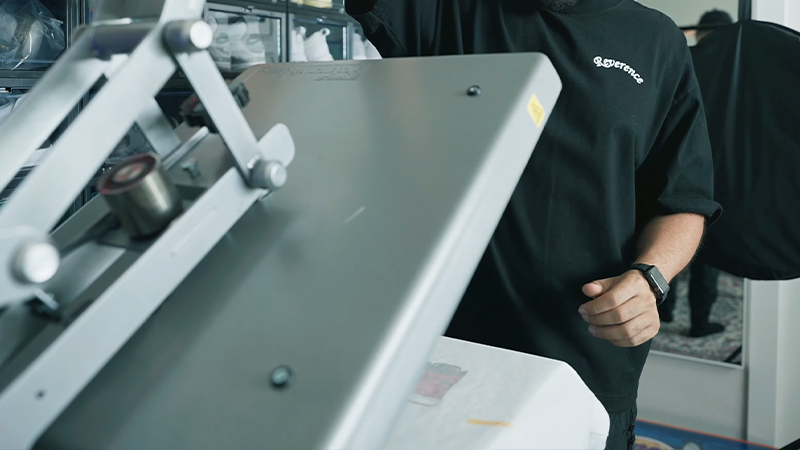
Once your design is securely positioned, close the heat press machine over the t-shirt. Apply even pressure, ensuring the design is fully covered.
The heat press will automatically maintain the set temperature and time. Press according to the transfer paper manufacturer’s instructions, typically around 375°F (190°C) for 20-30 seconds.
Step 7: Peel the Transfer Paper
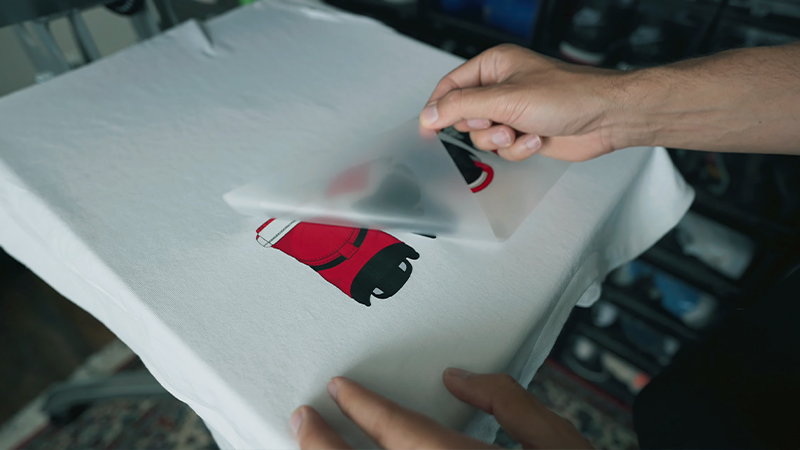
After the pressing time is complete, carefully lift the heat press machine and remove the transfer paper while it’s still hot. Peel it away gently but swiftly. This step is crucial for a crisp, clear design.
If the paper sticks to the fabric, it may require further pressing.
Step 8: Cool and Inspect
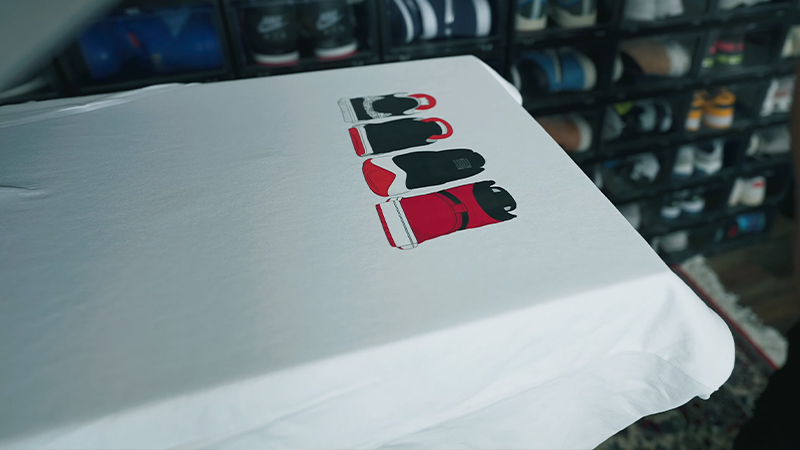
Allow the t-shirt to cool down for a few minutes. Once it’s cooled, inspect the design to ensure it adhered correctly and without any issues.
If there are any problems, such as incomplete transfer or fading, you may need to repress the design, ensuring better heat and pressure application.
Step 9: Finalize Your T-Shirt
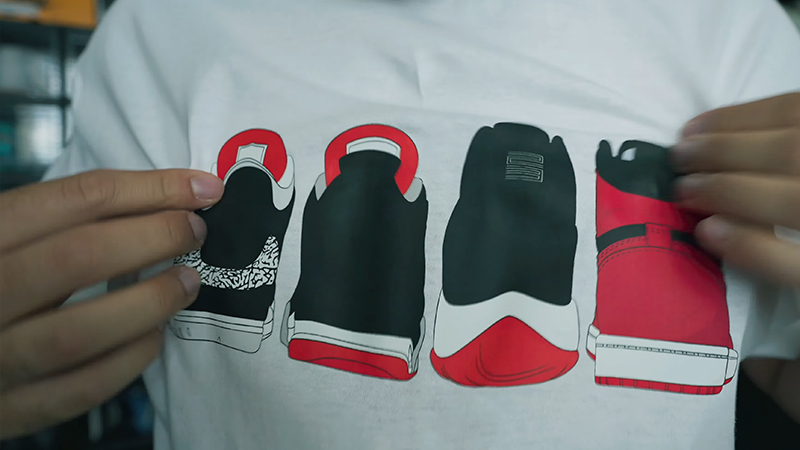
Your heat-pressed t-shirt is now complete! Wear it with pride, or let it cool fully before folding or packaging it for sale or gifting.
How Long Does It Take to Heat Press a T-Shirt?
The time it takes to heat press a t-shirt can vary depending on several factors, including the type of heat press machine, the material of the t-shirt, and the design you’re applying.
On average, it takes about 10 to 15 seconds for a heat press to complete a transfer, but let’s dive into the details to understand the process better.
Preparing the Heat Press
Before you even start the timer, there are some essential preparatory steps. These include setting up your heat press machine, ensuring it’s at the correct temperature, and placing the t-shirt on the lower plate.
Temperature and Pressure
The time required for heat pressing is closely linked to the temperature and pressure settings. Different materials and heat transfer materials require specific temperature and pressure levels for successful transfers.
Generally, t-shirt heat transfers are done at temperatures ranging from 350°F (177°C) to 375°F (191°C).
Heat Transfer Material
The type of heat transfer material you’re using plays a significant role in determining the time needed for heat pressing. There are various options, including:
Heat Transfer Vinyl (HTV) h4
For HTV, the typical time ranges from 10 to 15 seconds. It’s essential to use a heat-resistant tape or cover sheet to protect the vinyl during pressing.
Dye-Sublimation
Sublimation transfers involve pressing for an average of 30 to 60 seconds. This method uses heat to transfer ink directly into the fabric, resulting in vibrant and long-lasting prints.
Screen Printing Transfers
The time can vary based on the specific screen printing transfer paper used. In general, it’s around 7 to 15 seconds.
For inkjet or laser printer transfers using heat transfer paper, the time required can be around 20 to 30 seconds.
Material of the T-Shirt
The type of t-shirt material you’re working with can also impact the pressing time. Typically, natural fibers like 100% cotton may require less time compared to synthetic or blended materials.
It’s crucial to check the care label on the t-shirt to understand the fabric composition and adjust your heat pressing settings accordingly.
Multi-Step Transfers
If you’re using multi-step transfers or layering different colors or materials, each layer may require its own pressing time. This means you’ll need to press one layer, peel the carrier sheet, and then press the next layer. These additional steps can extend the total time needed.
The Heat Press Machine
Different heat press machines have varying heat distribution and pressure capabilities. High-quality, commercial-grade machines can offer more consistent heat and pressure, often leading to shorter pressing times.
Lower-end or hobbyist machines may require a bit more time to achieve the desired results.
Manufacturer Recommendations
Always refer to the manufacturer’s instructions for the specific heat transfer material you’re using. Manufacturers typically provide recommended settings, including time, temperature, and pressure. Following these guidelines ensures the best results.
Testing and Experience
Over time, you’ll develop a sense of how long it takes for different materials and designs. Testing a small piece of the material on a scrap fabric or t-shirt is a good practice to ensure you have the right settings before working on your final project.
Benefits of Heat Pressing T-Shirts
Heat-pressing t-shirts are a popular method for creating custom apparel, and it offers several benefits that make it a preferred choice for both small businesses and individuals. Here are some of the advantages of heat-pressing t-shirts:
Customization
Heat pressing allows for high levels of customization. You can easily create unique designs, logos, or graphics, making it perfect for personalized gifts, promotional items, and one-of-a-kind clothing.
Compared to other methods like screen printing or embroidery, heat pressing is a more cost-effective option for small-scale production. You don’t need to invest in expensive equipment or order large quantities to make it financially viable.
Quick Turnaround
Heat pressing is a fast process. Once you have your design ready, applying it to a t-shirt takes just a few minutes. This quick turnaround time is ideal for meeting tight deadlines or producing small batches of shirts.
Heat pressing can be used on various fabrics, including cotton, polyester, and blends. This versatility allows you to work with different types of t-shirts and garments.
Durability
When done correctly, heat transfer designs can be highly durable. They resist fading and cracking, ensuring that your designs stay vibrant and intact even after multiple washes.
Heat pressing supports full-color designs and intricate details. You can reproduce photographs, complex graphics, and gradients with ease, providing a wide range of creative possibilities.
No Minimum Order Requirement
Unlike traditional screen printing, which often requires a minimum order quantity, heat pressing allows you to create single, one-off items without any restrictions.
Heat pressing generates minimal waste and uses eco-friendly inks and transfer materials, making it a more sustainable choice in comparison to some other printing methods.
Low Learning Curve
Operating a heat press machine is relatively straightforward and doesn’t require extensive training. Many businesses and individuals can quickly learn to use it effectively.
Heat pressing is a great choice for start-ups and small businesses, enabling them to offer custom clothing without a significant upfront investment.
On-Demand Printing
With heat pressing, you can fulfill orders as they come in, eliminating the need to maintain a large inventory of pre-printed shirts. This reduces storage costs and waste.
Heat pressing is not limited to business applications. It’s an excellent option for personal DIY projects, allowing you to create custom shirts for events, hobbies, or special occasions.
FAQs
How do I know the correct heat press time for my specific materials?
The correct heat press time varies depending on the materials you’re using. Always refer to the manufacturer’s instructions provided with the heat transfer materials. They typically offer detailed guidance on time, temperature, and pressure settings.
Can I use the same pressing time for different t-shirt sizes and styles?
The pressing time remains relatively consistent regardless of t-shirt size or style. However, for larger or thicker garments, you might need to adjust the pressure settings on your heat press to ensure even heat distribution.
Why is it important to use a cover sheet or heat-resistant tape during heat pressing?
A cover sheet or heat-resistant tape is used to protect the heat transfer material or t-shirt from direct contact with the heating element. It prevents scorching, melting, or sticking, ensuring your design transfers cleanly and without damage.
Can I repress a design if it doesn’t adhere correctly the first time?
Repressing can be possible, but it depends on the type of heat transfer material you’re using. Check the manufacturer’s instructions; some materials may not adhere well to repressing.
What happens if I overheat or under heat a t-shirt during pressing?
Overheating can lead to scorching or damaging the material, while underheating may result in incomplete adhesion of the transfer. It’s essential to follow the recommended time and temperature settings to achieve the best results.
Conclusion
Heat-pressing t-shirts are a versatile and accessible way to bring your creative visions to life. With the right equipment, materials, and techniques, you can transform plain t-shirts into personalized, eye-catching garments that make a statement.
Whether you’re starting a small business, designing custom apparel, or exploring a fun DIY project, mastering the art of heat pressing offers endless possibilities.
This guide has provided a comprehensive overview of the heat press process, from understanding the tools you need to the step-by-step application of heat transfers.
It has also emphasized the importance of design preparation, heat transfer types, and proper care to ensure your creations last.
By following the insights and tips shared here, you can confidently embark on your heat-pressing journey and create custom t-shirts that are both durable and aesthetically pleasing.
So, unleash your creativity, experiment with designs, and turn blank t-shirts into wearable canvases of self-expression through the art of heat pressing.
Leave a Reply