Hemming a scalloped edge requires finesse and attention to detail, elevating the art of sewing to new levels of precision.
Scalloped edges, often found on delicate fabrics or decorative items, pose a unique challenge in preserving their intricate design while achieving a polished finish.
In this guide, we will explore a step-by-step process to master the art of hemming scalloped edges. From preparing your fabric and determining the hem length to carefully pinning, pressing, and sewing, each step contributes to a seamless result.
Navigate the curves with patience and skill as we delve into the intricacies of hemming to create a professional and beautifully finished scalloped edge.
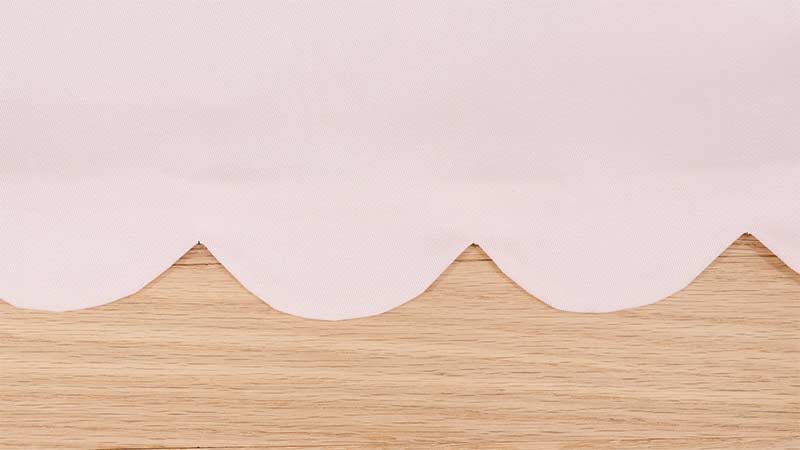
How to Hem a Scalloped Edge on Fabric? 8 Steps
Hemming a scalloped edge can be a bit challenging compared to hemming a straight edge, but with some patience and careful attention, you can achieve a polished and professional finish.
Scalloped edges are often found on delicate fabrics or decorative items, and the key is to maintain the integrity of the scallops while creating a neat hem.
Here’s a step-by-step guide on how to hem a scalloped edge:
Materials Needed:
- Fabric with a scalloped edge
- Pins
- Iron
- Hemming tape (optional)
- Sewing machine or needle and thread
- Scissors
Step-by-step instructions:
Step 1: Prepare Your Fabric
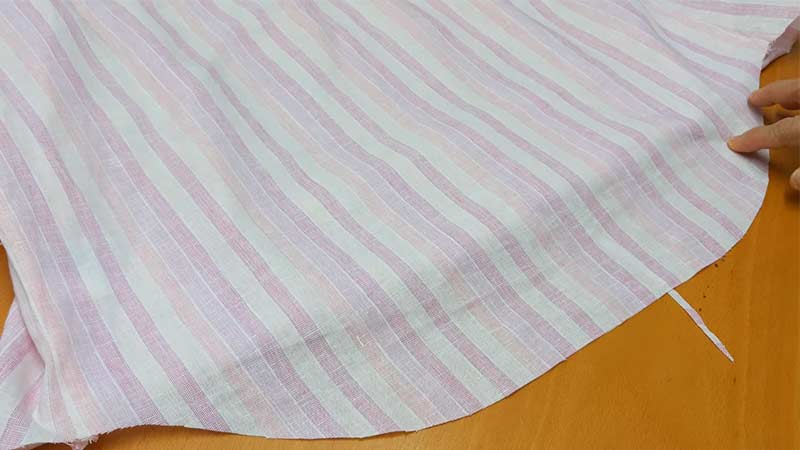
Before diving into hemming, ensure that your fabric is in optimal condition. Start by cleaning it to remove any dirt or stains.
Once clean, press the fabric to eliminate wrinkles and creases. This step is crucial as it provides a smooth surface for the hemming process.
If your fabric tends to fray, consider finishing the raw edges with a serger or a zigzag stitch. This extra precaution helps prevent unraveling during and after hemming.
Step 2: Determine Hem Length
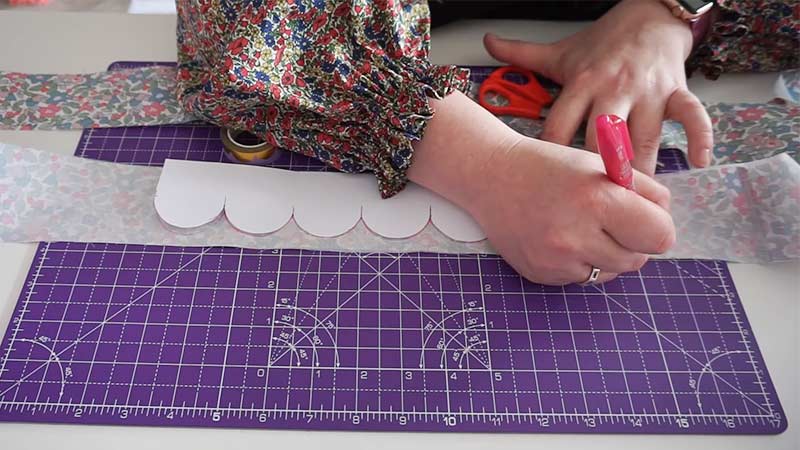
Take the time to decide on the appropriate length for your hem. Measure and mark this length evenly around the scalloped edge, maintaining consistency to preserve the symmetry of the scallops. You can use fabric chalk or washable markers for clear and temporary markings.
Step 3: Pin the Hem
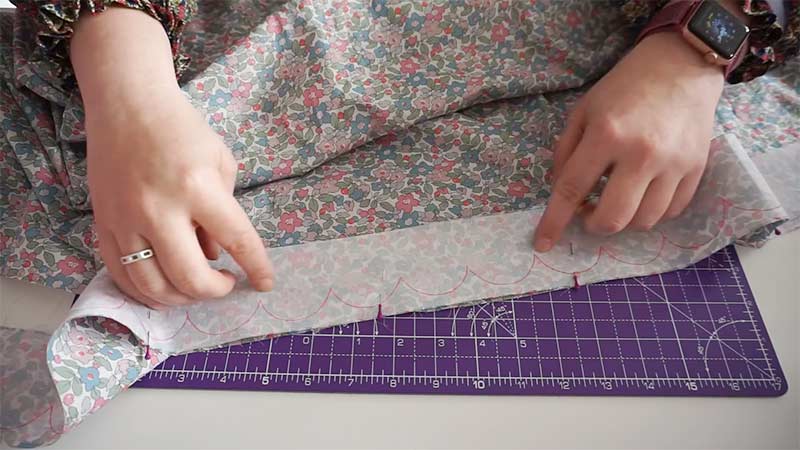
Handle the fabric with care as you fold it along the marked hemline. Pay special attention to maintaining the distinctive shape of the scalloped edge.
Use pins to secure the fold in place, ensuring they are placed perpendicular to the edge. This technique helps prevent distortion of the scallops, maintaining their integrity during the hemming process.
Step 4: Press the Hem
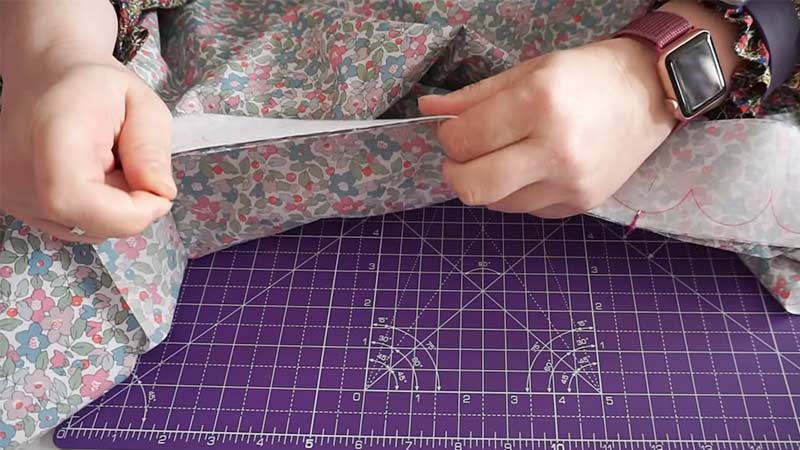
With the fabric neatly pinned, it’s time to press the folded hem. Use an iron with a low to medium heat setting suitable for your fabric type.
Be gentle to avoid pressing too hard, as excessive heat may damage delicate fabrics. Pressing sets the fold in place and contributes to a clean and polished appearance for your scalloped hem.
Step 5: Secure the Hem
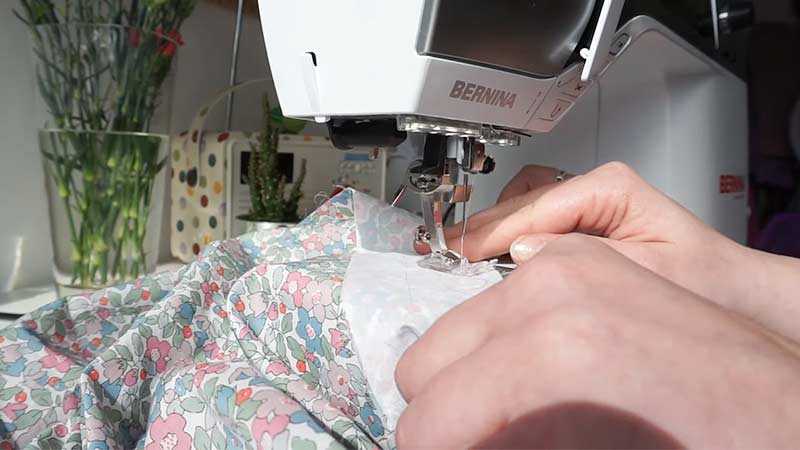
Now that your hem is neatly pressed, secure it in place by sewing. If you’re using a sewing machine, choose a straight stitch or a narrow zigzag stitch, depending on your fabric.
Stitch close to the folded edge, being mindful not to distort the scalloped pattern. If hand-sewing, opt for a slip stitch or a blind hem stitch for a discreet finish.
Step 6: Trim Excess Fabric
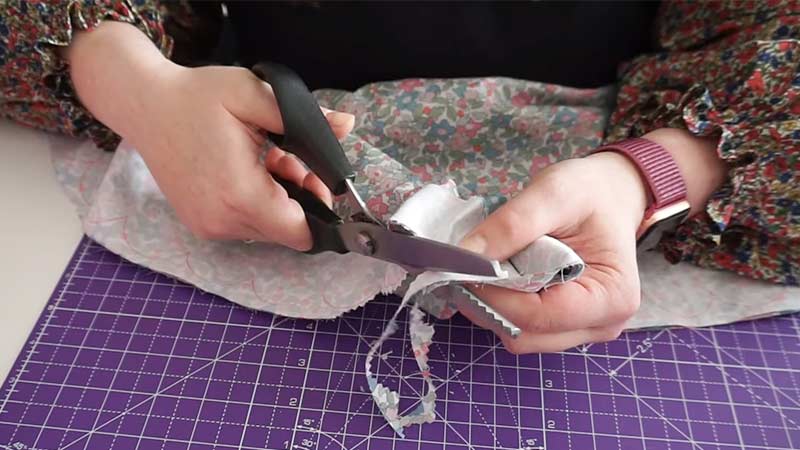
After securing the hem, assess if there’s excess fabric inside the scallops. If so, carefully trim it away to reduce bulk. Be cautious not to cut too close to the stitching to maintain the integrity of your scalloped edge.
Step 7: Finish Raw Edges
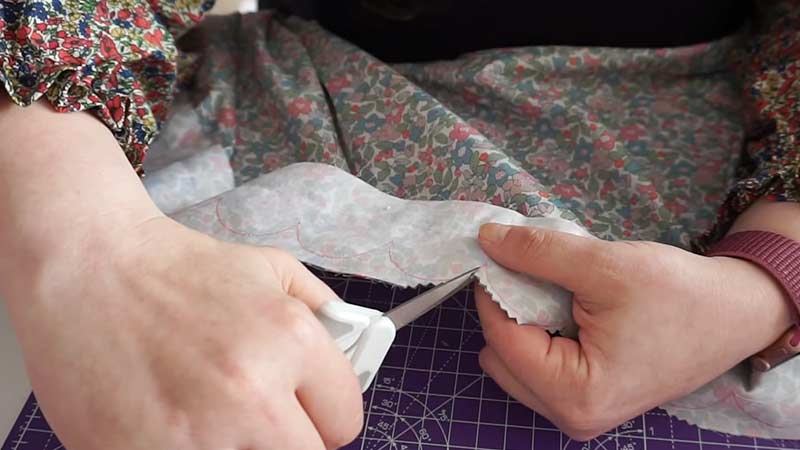
Consider finishing the raw edges of your fabric if you haven’t already. Hemming tape or a similar method can be used to prevent fraying, adding an extra layer of durability to your scalloped hem.
Step 8: Final Pressing
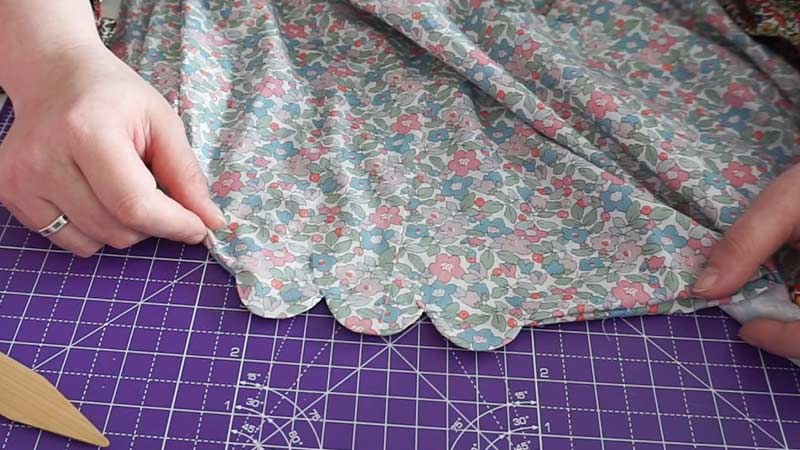
Give your finished scalloped hem a final press. This last step ensures that any residual wrinkles or distortions are smoothed out, leaving you with a beautifully hemmed and well-pressed scalloped edge. Use a pressing cloth if necessary, especially for delicate fabrics.
How to Avoid Damaging Fabric When Taking in Pants Crotch?
Taking in the crotch of pants is a common alteration to achieve a better fit, but it requires precision to avoid damaging the fabric.
Here are essential steps to ensure a successful alteration without harming the garment:
Assess the Fabric
Before initiating any alterations, it’s imperative to scrutinize the fabric type. Delicate fabrics, such as silk or wool, demand meticulous handling due to their susceptibility to damage.
In contrast, sturdier materials like denim tolerate more robust techniques. Consider the fabric’s stretch and stability, as these characteristics influence the approach you’ll adopt during the alteration process.
Understanding the fabric’s nature guides your decisions in choosing appropriate tools, methods, and sewing techniques.
Seam Ripper Technique
Using a seam ripper is a crucial step in the alteration process. Carefully navigate the crotch area, methodically removing the existing stitching. Taking your time here is essential to prevent accidental snags or tears in the fabric.
If the pants have a lining, separate it from the main fabric before proceeding with the seam ripper. This step ensures a clean slate for the alteration and allows for more precise adjustments.
Pin and Try On
Pinning is a pivotal step in achieving the desired fit. Pin the excess fabric on both sides of the crotch, ensuring symmetry and a balanced adjustment.
Having the wearer try on the pants is essential for real-time feedback on comfort and fit. Be cautious not to overpin, as this can distort the fit.
Adjust the pinning as needed, making subtle alterations until the fit is both comfortable and natural.
Mark the New Seam Line
With the fit perfected through pinning, mark the new seam line using fabric chalk or washable markers.
This step is crucial for maintaining accuracy during the sewing process. Clear markings guide the stitching, reducing the likelihood of mistakes that could potentially damage the fabric.
Take the time to confirm the alignment of the marked line before proceeding to the sewing machine.
Test Stitch on Scrap Fabric
Uncertainty about how the fabric will react to alterations can be mitigated by conducting a test stitch on a scrap piece of fabric.
Adjust the sewing machine settings, including tension and stitch length, to ensure a clean and secure seam.
This preliminary test allows you to fine-tune the settings and identify potential issues such as puckering or thread tension problems.
It’s a proactive measure to guarantee the success of the alteration without compromising the fabric.
Use the Right Needle and Thread
Choosing the correct needle and thread is pivotal for a successful alteration. Match the needle to the fabric type; opt for a finer needle for lightweight fabrics and a thicker one for heavier materials. Similarly, select a thread that mirrors the original color and weight.
This attention to detail ensures a seamless integration of the alterations, maintaining the overall aesthetic of the garment.
Sew with Care
Sewing the new seam demands precision and patience. Move slowly, particularly when navigating through multiple layers of fabric.
Backstitch at the beginning and end of the seam to secure the stitching and prevent unraveling. Maintain a consistent seam allowance to ensure uniform results, avoiding uneven or puckered seams.
Pressing
Pressing the newly sewn seam is a crucial step for a professional finish. Whether pressing the seam open or to the side depends on the garment’s design.
Use a pressing cloth, especially on delicate fabrics, to protect them from direct heat. Pressing not only sets the stitches but also imparts a polished appearance to the altered crotch area, enhancing the overall quality of the work.
Finish the Raw Edges
To prevent fraying over time, particularly in fabrics prone to unraveling, finish the raw edges using a serger, a zigzag stitch, or another suitable method.
This additional step contributes to the longevity of the alteration, ensuring that the garment retains its integrity and finish after repeated wear and washing.
Reattach Lining
If the pants feature a lining, carefully reattach it using the same principles applied during pinning, marking, and sewing.
Maintain symmetry and alignment, ensuring that the lining integrates seamlessly with the newly altered crotch area.
This step is crucial for preserving the original construction and ensuring the overall comfort and appearance of the garment are maintained.
FAQs
Can I hem a scalloped edge by hand, or is a sewing machine necessary?
Yes, you can hem a scalloped edge by hand. While a sewing machine provides efficiency, hand stitching allows for greater control, especially with delicate fabrics and intricate designs.
Can I use hemming tape to hem a scalloped edge?
Yes, the hemming tape can be used for a no-sew option. However, it’s essential to follow the tape’s instructions and consider the fabric type for optimal results.
To Recap
Mastering the art of hemming a scalloped edge requires a delicate balance of skill and precision.
As you navigate the intricacies of folding, pinning, and sewing, the symphony of these steps creates a harmonious finish that preserves the unique beauty of scalloped designs.
The careful consideration of fabric type, meticulous pinning to maintain symmetry, and the gentle press of the iron all contribute to a polished result.
Whether using a sewing machine or hand-stitching, the key is to approach each scallop with patience and attention to detail. In the end, a well-executed scalloped edge hem adds a touch of sophistication and craftsmanship to your creations.
Leave a Reply