Knit fabrics are a beloved choice for clothing due to their comfortable stretch and versatility. However, sewing and hemming knit fabric can be a bit tricky for beginners, leading to stretched-out, uneven, or puckered hems.
But fear not! With the right techniques and a few expert tips, you can achieve beautifully finished hems that elevate your knit creations. In this comprehensive guide, we will discuss how to hem knit fabric.
Whether you’re a seasoned seamstress or a novice with a passion for DIY fashion, you’ll find valuable insights here. We’ll explore the essential tools you need, different hemming methods, and tricks to maintain the fabric’s stretch and shape.
By the end of this tutorial, you’ll have the confidence and skill to hem knit fabric like a pro, ensuring your garments not only look fantastic but also feel comfortable to wear. Let’s dive in and unravel the secrets of perfect knit fabric hems!

How to Hem Knit Fabric?
Hemming knit fabric requires a specific set of techniques to ensure a clean, professional finish while maintaining the fabric’s stretch and drape. Here’s a detailed step-by-step guide to help you hem knit fabric like a pro:
Materials You’ll Need
Choose a suitable knit fabric for your project. Knits can vary in weight and stretch, so consider the garment’s purpose when selecting your fabric.
Use a ballpoint or stretch needle in your sewing machine. These needles have rounded tips that glide between the fabric’s fibers without damaging them.
Select a high-quality polyester thread that matches your fabric color. Polyester threads have some stretch, making them ideal for knits.
Sharp cutting tools are essential for clean edges. Use ballpoint pins or sewing clips to secure the fabric without causing snags.
Prepare Your Fabric
Wash and dry your knit fabric before sewing to prevent future shrinkage. Iron your fabric on the appropriate heat setting, being cautious not to stretch it while ironing.
Mark Your Hem
Ensure your sewing machine is in good working order with the appropriate settings for knit fabrics. Use fabric chalk or washable fabric markers to mark the desired hemline on your fabric.
Cut the Hem
Trim the excess fabric, leaving an allowance of about 1 inch (2.5 cm) for the hem. A rotary cutter can be especially helpful for clean, even cuts.
Fold the fabric along the marked hemline, wrong sides together. Use pins or clips to secure the fold in place. Ensure the fabric lays flat without stretching or puckering.
Select a Stretch Stitch
Set your sewing machine to a stretch stitch option. The most commonly used stretch stitch is a zigzag stitch with a narrow width and a medium length.
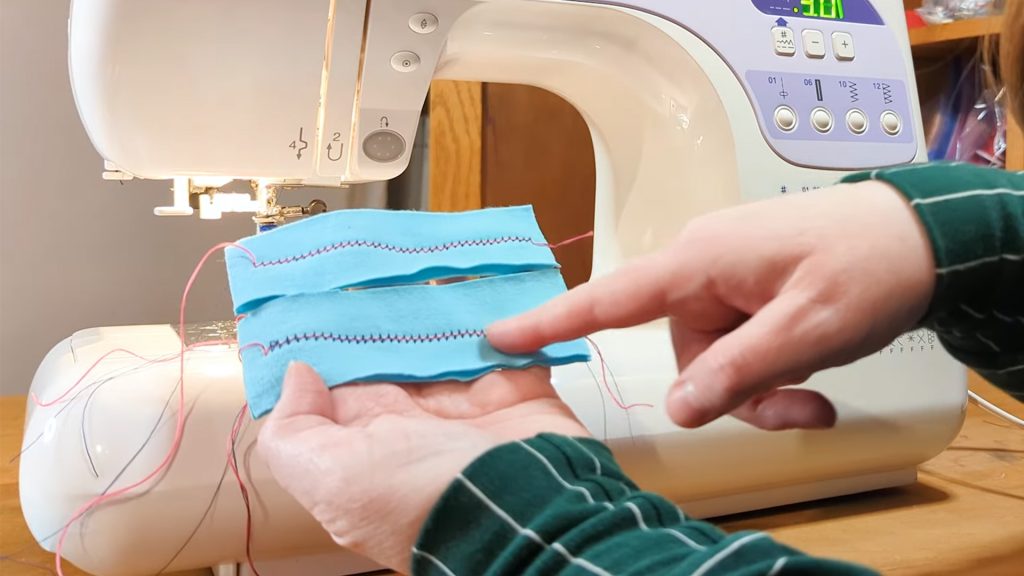
Before sewing the actual hem, it’s wise to test the selected stretch stitch on a scrap piece of your knit fabric to ensure it stretches adequately without breaking.
Start Sewing
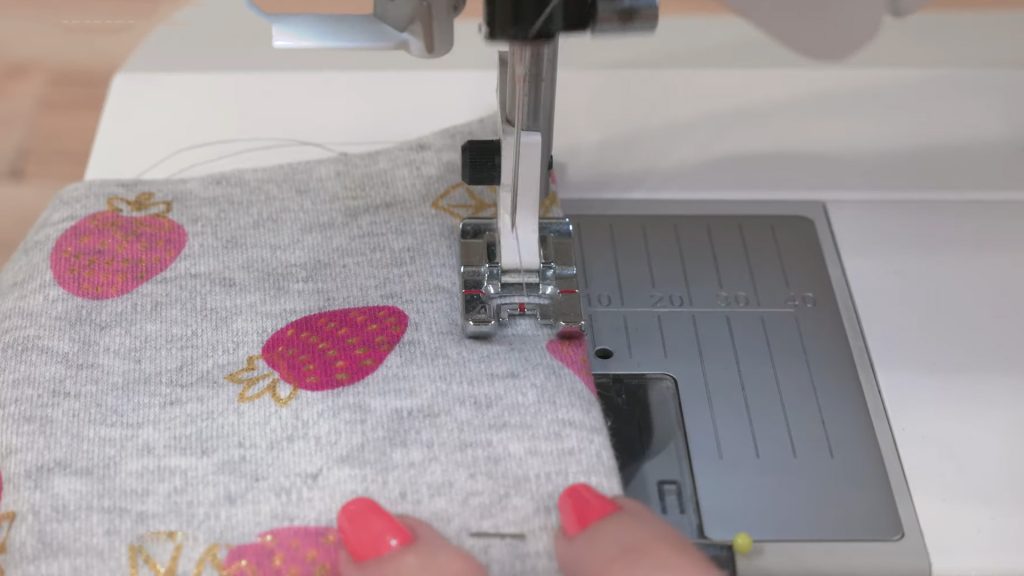
Place your fabric under the presser foot with the folded edge against the feed dogs. Begin stitching, backstitching a couple of stitches at the starting point to secure the thread.
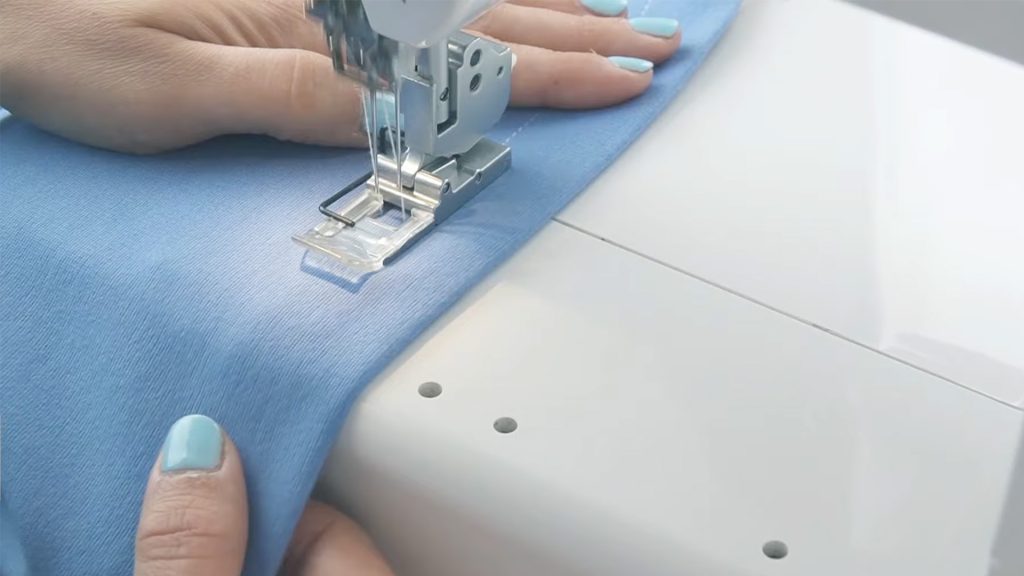
Sew along the folded edge, maintaining a consistent seam allowance (typically ⅜ inch or 1 cm). As you sew, gently stretch the fabric to match the original length, ensuring the stitches don’t restrict the fabric’s stretch.
Finish the Hem
When you reach the end of the hem, backstitch to secure the stitches. Trim any loose threads close to the fabric to keep the hem tidy.
Lightly press the hem with a warm iron, using a pressing cloth to avoid direct contact with the fabric. This helps set the stitches and gives your hem a professional appearance.
Optional: Twin Needle Hem
For a more polished look, you can use a twin needle to create parallel rows of stitching on the right side of the fabric. This mimics the appearance of ready-to-wear knit hems.
Examine your hem to ensure it’s even, stretches properly, and lies flat. Make any necessary adjustments or corrections. Remember that patience and attention to detail are key when working with knits.
With practice, you’ll become more confident in hemming knit fabrics and achieve beautifully finished garments that are both comfortable and stylish.
What Stitches Are Best for Knit Hem?

When hemming knit fabric, it’s important to use stitches that allow the fabric to maintain its stretch while creating a secure, professional finish. Here are some of the best stitches for hemming knit fabric:
Zigzag Stitch
The zigzag stitch is a versatile choice for hemming knits. Set your sewing machine to a narrow width and a medium-length zigzag stitch. This stitch provides both flexibility and stability, allowing the fabric to stretch without breaking the stitches.
Lightning Stitch (Narrow Zigzag)
Some sewing machines have a lightning or lightning bolt stitch, which is essentially a narrow zigzag stitch. This stitch is designed specifically for knit fabrics and provides excellent stretch.
Stretch Stitch
Many modern sewing machines have a designated stretch stitch that looks like a lightning bolt or a series of connected S-shapes. This stitch is ideal for knit hems, as it accommodates the fabric’s stretch.
Twin Needle Stitch
A twin needle creates two parallel rows of stitches on the right side of the fabric and a zigzag stitch on the wrong side. It’s commonly used for knit hems to give a polished, professional appearance. Ensure your machine has the capability to accommodate a twin needle.
Coverstitch
If you have access to a cover stitch machine, it’s the ultimate choice for hemming knit fabrics. A cover stitch creates a double line of stitching on the right side of the fabric and a looper stitch on the wrong side. It’s specifically designed for stretch fabrics and provides a smooth finish.
Twin Needle Zigzag (Mock Coverstitch)
If you don’t have a cover stitch machine but have a sewing machine that can accommodate a twin needle, you can use it to create a mock cover stitch effect.
Set your machine to a zigzag stitch and use a twin needle. This will produce two parallel rows of stitches on the right side and a zigzag on the wrong side.
Overlock or Serger
If you have a serger (overlock machine), you can use it to finish the raw edge of the fabric and then turn up and stitch the hem. Sergers create a clean, stretchy edge that works well for knits.
Remember to test your chosen stitch on a scrap piece of the same knit fabric before hemming your actual project. This allows you to adjust the stitch settings as needed to achieve the desired stretch and appearance.
Ultimately, the best stitch for your knit hem depends on your sewing machine’s capabilities and the look you want to achieve.
How to Hem Knit Fabric with Serger?

Hemming knit fabric with a serger (overlock machine) is a fantastic way to create clean, stretchy, and professional-looking hems. Here’s a step-by-step guide on how to do it:
Materials You’ll Need
Choose the knit fabric for your project, and wash and dry it before sewing to prevent future shrinkage. Ensure your serger is in good working order. You’ll typically use three or four threads for hemming, depending on your serger’s capabilities.
Select high-quality polyester serger thread that matches your fabric color. Make sure the thread is appropriate for stretch fabrics. You’ll need sharp cutting tools for clean edges. Use ballpoint pins or sewing clips to secure the fabric without causing snags.
Prepare Your Fabric
Wash, dry, and iron your knit fabric, being careful not to stretch it while ironing. Use fabric chalk or washable fabric markers to mark the desired hemline on your fabric. Trim the excess fabric, leaving an allowance of about 1 inch (2.5 cm) for the hem.
Prepare the Serger
A rotary cutter can be especially helpful for clean, even cuts. Thread your serger with the appropriate number of threads (usually three or four) according to your machine’s instructions.
Adjust the serger settings for a narrow and balanced stitch suitable for knits. Consult your serger’s manual for specific settings.
Hemming
Fold the fabric along the marked hemline, wrong sides together. Place the folded edge under the serger foot, aligning it with the cutting blade and the needles. Start serging slowly, ensuring the knife trims the excess fabric evenly as you go.
As you serge, gently stretch the fabric to match the original length, allowing the serger to create a clean, stretchy edge. Continue serging along the folded edge until you reach the end of the hem.
Secure the End
When you reach the end of the hem, continue serging a few inches beyond the fabric, then lift the presser foot and gently pull the fabric out. This creates a thread chain that you can secure by tying it off or tucking it into the serged stitches.
Trim Excess Threads
Trim any loose threads close to the fabric to keep the hem tidy. Lightly press the hem with a warm iron, using a pressing cloth to avoid direct contact with the fabric. This helps set the stitches and gives your hem a polished appearance.
Final Inspection
Examine your hem to ensure it’s even, stretches properly, and lies flat. Make any necessary adjustments or corrections. Hemming knit fabric with a serger is efficient and produces a clean, professional finish.
With practice, you’ll become skilled at achieving perfect hems on your knit garments, enhancing both their appearance and comfort.
FAQs
Can I use a regular sewing machine for hemming knit fabric, or do I need a serger?
You can use a regular sewing machine to hem knit fabric, but a serger (overlock machine) is not required. Many sewing machines offer stretch stitches like zigzag or lightning stitch that work well for knits. A serger provides a professional finish but is not essential.
What type of thread should I use for hemming knit fabric?
Opt for a high-quality polyester thread when hemming knit fabric. Polyester threads are strong and have some stretch, making them ideal for maintaining the fabric’s flexibility.
Should I prewash my knit fabric before hemming it?
Yes, it’s advisable to prewash your knit fabric before sewing. Prewashing helps remove any shrinkage that may occur after your project is complete, ensuring that your finished garment retains its shape and size.
Can I hem knit fabric with a straight stitch?
Using a straight stitch for hemming knit fabric is not recommended because it lacks the necessary stretch. Knit fabrics require stitches that can accommodate their stretch, such as zigzag, lightning, or stretch stitches, to prevent popped seams.
How do I prevent my knit fabric from stretching or puckering while hemming?
To prevent stretching or puckering, use ballpoint pins or sewing clips to secure the fabric evenly along the hemline. When sewing, gently stretch the fabric as needed to match its original length, but avoid excessive pulling, which can distort the fabric.
Conclusion
Hemming knit fabric may have seemed like a daunting task at the beginning, but we hope this guide has demystified the process for you.
Now, you possess the knowledge and techniques to create flawless hems that enhance the beauty and comfort of your knit garments.
Remember that practice makes perfect. Don’t be discouraged if your first attempts aren’t flawless; even seasoned seamstresses encounter challenges with knit fabrics. The key is patience and a willingness to learn from your mistakes.
As you continue to hone your skills, experiment with different types of knit fabrics, and explore creative hemming styles to add unique touches to your clothing. The world of knit fabric sewing is vast and exciting
So, go ahead, grab your knit fabric, thread your sewing machine, and embark on your hemming journey with newfound confidence. With the tips and techniques you’ve acquired, your knit garments will fit perfectly.
Leave a Reply