Fabric lamination, a technique of bonding two or more layers of fabric together, is a versatile skill that can enhance the durability, water resistance, and overall quality of your sewing projects.
Whether you’re creating outdoor gear, or stylish bags, or simply want to protect your fabrics from wear and tear, mastering fabric lamination is a valuable addition to your sewing repertoire.
In this comprehensive guide, we’ll take you on a journey through the art of fabric lamination, demystifying the process and equipping you with the knowledge and techniques to succeed.
From choosing the right lamination materials to step-by-step instructions for both heat and adhesive lamination methods, we’ll cover it all.
With our guidance, you’ll discover how to laminate fabric to make it durable, waterproof, and visually appealing.
Laminated fabric opens up new horizons for your sewing projects. So, gather your materials, and let’s dive into the world of fabric lamination.
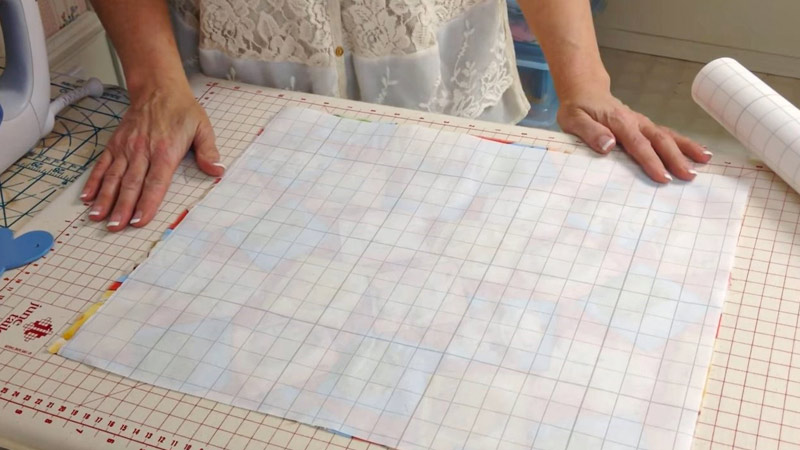
How to Laminate Fabric?
Laminating fabric is a process of bonding two or more layers of fabric together to enhance their properties, such as water resistance or durability.
Here’s a step-by-step guide on how to laminate fabric:
Materials You’ll Need
- Fabric for lamination (top fabric)
- Fabric for the backing (bottom fabric)
- Lamination material (either heat-activated adhesive or waterproof laminate)
- An iron for heat lamination or a sewing machine for adhesive lamination
- Parchment paper or a Teflon pressing sheet
- Fabric scissors or rotary cutter
- Measuring tape
- Pins or clips
1. Heat Lamination Method
Step 1: Prepare Your Fabrics

Cut your top fabric and backing fabric to the desired size, ensuring they are both clean and free of wrinkles. Cut your lamination material to match the size of your fabrics.
Step 2: Assemble the Layers
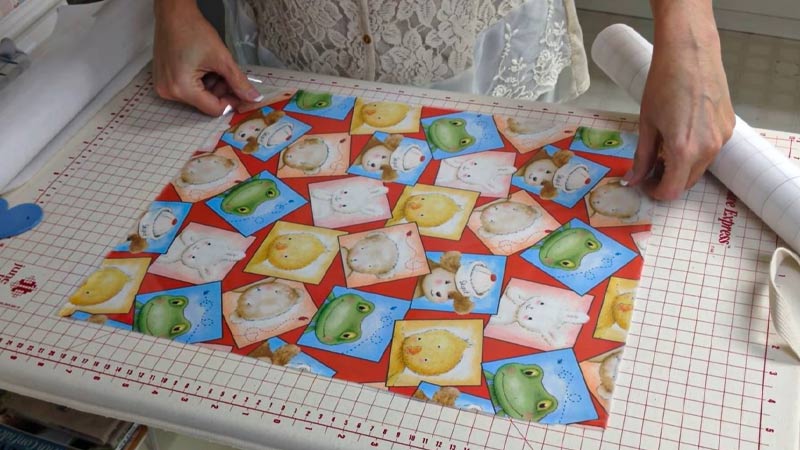
Lay your backing fabric with the wrong side facing up. Place the lamination material on top of the backing fabric with the adhesive side down.
Position your top fabric (the fabric you want to laminate) on top of the lamination material, with the right side facing up.
Step 3: Ironing
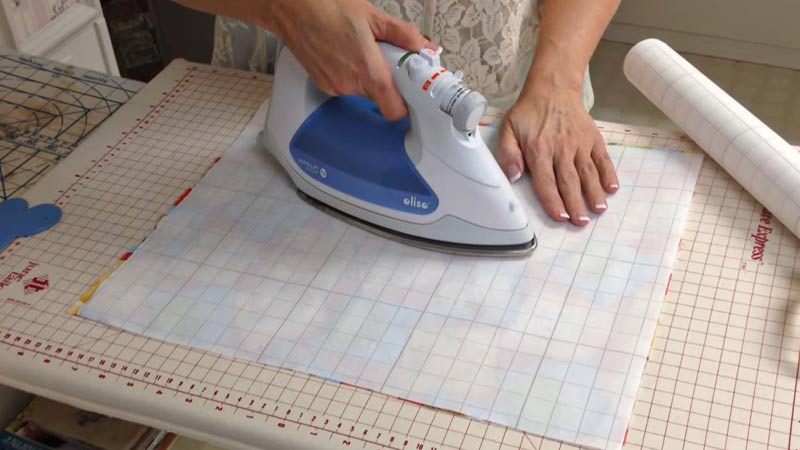
Cover the fabric stack with parchment paper or a Teflon pressing sheet to protect your iron. Set your iron to the appropriate temperature according to the lamination material instructions.
Gently press the iron over the parchment paper, starting from one end and moving to the other. Apply even pressure and hold for the recommended time (usually a few seconds to a minute).
Step 4: Cooling and Checking
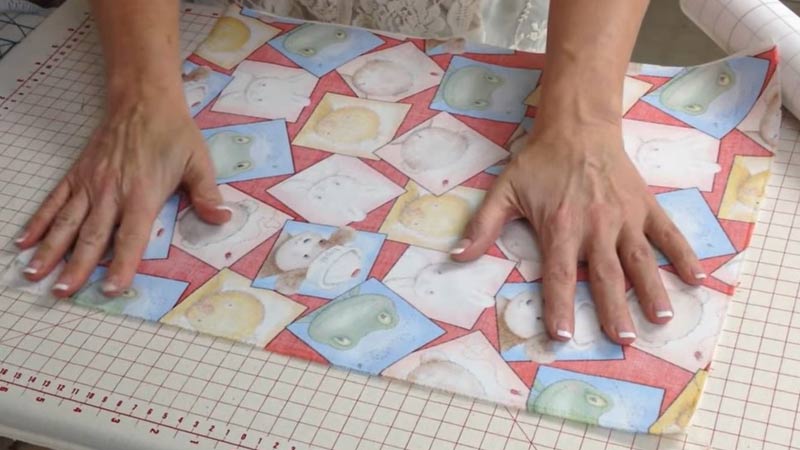
Allow the laminated fabric to cool for a few minutes. Check the lamination bond to ensure it’s secure and even. If needed, re-iron any areas that haven’t adhered properly.
2. Adhesive Lamination Method
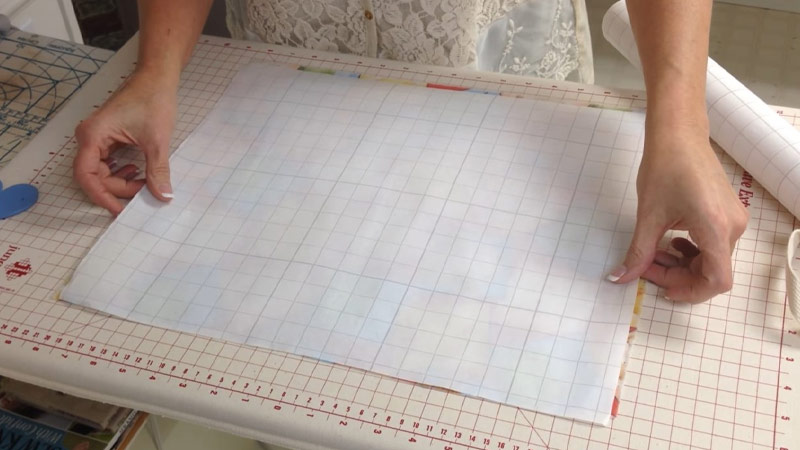
Step 1: Prepare Your Fabrics
Cut your top fabric and backing fabric to the desired size. Cut your lamination material into strips or sheets, following the manufacturer’s instructions.
Step 2: Apply the Adhesive
Lay your top fabric with the wrong side facing up. Apply the adhesive (either a double-sided adhesive sheet or adhesive spray) to the wrong side of your top fabric according to the manufacturer’s instructions. Position your top fabric on the backing fabric, aligning them carefully.
Step 3: Trim and Finish
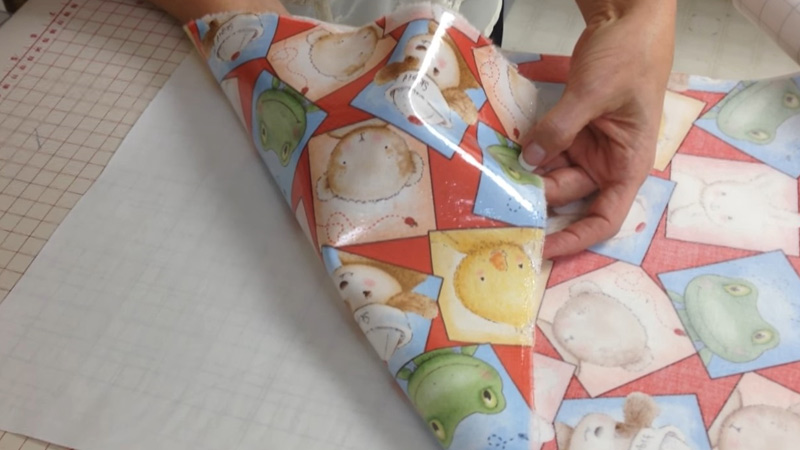
Stitch around the edges of your laminated fabric using a sewing machine. This will secure the layers together. Trim any excess fabric or adhesive. Your fabric is now laminated and ready for use.
Whether you choose heat or adhesive lamination, this technique opens up a world of possibilities for creating waterproof, durable, and stylish fabrics for various sewing projects. Practice and experimentation will help you master the art of fabric lamination.
How Is Laminated Fabric Used?
Laminated fabric is a versatile material that finds a wide range of applications in various industries and DIY projects due to its enhanced properties, such as water resistance, durability, and easy cleaning. Here are some common uses for laminated fabric:
Rainwear and Outdoor Gear
Laminated fabric is often used in the production of raincoats, jackets, and outdoor gear like tents, backpacks, and hiking gear. Its waterproof or water-resistant qualities make it ideal for protecting against the elements.
Baby Products
Laminated fabric is a popular choice for baby products like bibs, changing pads, and diaper bags. Its easy-to-clean surface makes it perfect for items that come into contact with messes and spills.
Tablecloths and Placemats
Laminated fabric can be used to create stylish and functional tablecloths and placemats that are easy to wipe clean after meals.
Bags and Accessories
Laminated fabric is commonly used for making bags, wallets, cosmetic pouches, and other accessories. It adds both style and water resistance to these items.
Aprons and Kitchen Items
In the kitchen, laminated fabric can be used to make aprons, oven mitts, pot holders, and other items that need to withstand spills and splatters.
Home Decor
Laminated fabric can be used for making shower curtains, window treatments, and even cushions or upholstery for outdoor furniture. Its water resistance makes it suitable for humid or outdoor environments.
Medical and Hospital Products
In the medical field, laminated fabric is used for items like hospital gowns, bed linens, and covers because of its ease of cleaning and infection control.
Pet Accessories
Pet products such as pet beds, food mats, and pet carriers can benefit from laminated fabric for its resistance to stains and moisture.
Craft and DIY Projects
Crafters and DIY enthusiasts use laminated fabric for projects like tote bags, book covers, and even fabric-covered notebooks. Its durability and ease of cleaning make it a popular choice.
Fashion
Some fashion designers incorporate laminated fabric into their collections for unique and weather-resistant garments, such as raincoats, capes, and vests.
Laminated fabric offers the advantage of combining aesthetics with functionality, making it a valuable material for a wide array of creative and practical applications.
Its use continues to expand as designers and crafters explore new ways to incorporate laminated fabrics into their projects.
How Do You Sew Laminated Fabric?
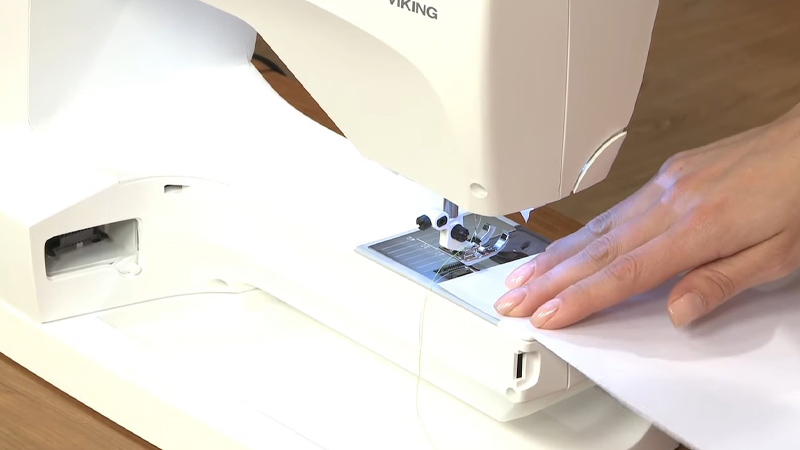
Sewing laminated fabric can be a bit different from sewing regular fabric due to its water-resistant properties and the potential for sticking.
Here’s a step-by-step guide on how to sew laminated fabric:
Materials You’ll Need
- Laminated fabric
- Matching thread (polyester or nylon)
- Sharp fabric scissors or rotary cutter
- Sewing machine with a walking foot (if available)
- Teflon or roller presser foot (optional)
- Pins or clips
- Parchment paper or tissue paper
- Seam sealant (optional)
Step 1: Prepare Your Fabric
Cut your laminated fabric pieces to the desired size, ensuring they are clean and free of wrinkles. Consider using parchment paper or tissue paper to minimize contact between the laminated side and your presser foot to prevent sticking.
Step 2: Choose the Right Needle
Use a universal or ballpoint needle, suitable for lightweight to medium-weight laminated fabrics. A size 80/12 or 90/14 needle typically works well.
Step 3: Adjust Machine Settings
Set your sewing machine to a longer stitch length, such as 3mm to 4mm, to reduce the risk of perforating the laminated layer. You may also reduce the tension slightly to accommodate the thickness of the laminated fabric.
Step 4: Pin or Clip
Use pins or clips to hold the laminated fabric pieces together. Be mindful of placing pins within the seam allowance to avoid leaving visible holes.
Step 5: Sewing
Start sewing slowly and carefully along the seam lines, using a 1/4-inch to 1/2-inch seam allowance, depending on your project.
Use a walking foot if available, as it helps feed the laminated fabric evenly and prevents sticking.
Alternatively, you can use a Teflon or roller presser foot to reduce friction and sticking.
Step 6: Handling Corners and Curves
For corners, consider using rounded corners to reduce bulk and make turning easier. When sewing curves, go slowly, and gently guide the laminated fabric to avoid puckering.
Step 7: Finishing Seams (Optional)
To prevent fraying, you can apply a seam sealant to the seam allowances, especially if your laminated fabric does not have a fabric backing.
Step 8: Pressing (Optional)
Be cautious when pressing laminated fabric. Use a low heat setting and a pressing cloth to prevent the laminate from melting or sticking to the iron.
Sewing laminated fabric requires patience and care, but with the right techniques and tools, you can create durable and water-resistant projects.
Practice on scrap pieces to get comfortable with the process, and your sewing skills with laminated fabric will improve over time.
FAQs
You can use pins on laminated fabric, but it’s a good practice to place them within the seam allowance to avoid leaving visible holes in the laminated surface.
Alternatively, consider using clips or binder clips to hold laminated fabric pieces together.
Laminated fabric is relatively easy to clean; you can wipe it with a damp cloth or sponge.
Avoid machine washing and drying laminated fabric projects, as it may damage the lamination. Always follow the care instructions specific to your laminated fabric.
Yes, you can sew laminated fabric by hand using a hand-sewing needle and strong thread. Be patient and use a thimble to push the needle through the fabric, as laminated fabric can be tougher to pierce than regular fabric.
Store laminated fabric in a cool, dry place, away from direct sunlight. Avoid folding or creasing it for extended periods, as this can cause wrinkles.
If you must fold it, use tissue paper or a soft cloth between folds to prevent sticking.
Yes, you can remove stitches from laminated fabric using a seam ripper. Be gentle and patient, as the lamination can make stitches more stubborn to remove compared to regular fabric. Take care not to damage the fabric or lamination in the process.
Conclusion
Fabric lamination is a transformative technique that elevates your sewing projects to new heights of durability, functionality, and style.
Throughout this comprehensive guide, we’ve explored the essential principles and methods of fabric lamination, empowering you with the knowledge and skills to embark on this creative journey.
From choosing the right laminating materials to mastering both heat and adhesive lamination processes, you’ve learned how to transform ordinary fabric into extraordinary, water-resistant, and resilient textiles.
As you continue to hone your fabric lamination skills, you’ll discover countless opportunities to apply this technique across a wide range of projects, from raincoats and outdoor gear to customized bags and beyond.
Now, armed with the expertise gained from this guide, you’re ready to embrace the world of fabric lamination with confidence and enthusiasm.
So, venture forth into your sewing adventures, and may your laminated fabrics shine as testaments to your craftsmanship and innovation. Happy laminating!
Leave a Reply