Lengthening a sewing pattern is a valuable skill for anyone who wants to customize their garments to achieve the perfect fit or desired style.
Whether you’re aiming to elongate a dress, pants, sleeves, or any other clothing item, this process allows you to tailor patterns to your unique measurements and preferences.
In this guide, we will take you through the essential steps to effectively lengthen a pattern. From selecting the right size and determining the required length to marking and blending lines seamlessly, our step-by-step instructions will help you achieve professional-looking results.
With practice and attention to detail, you can confidently extend patterns and create clothing that not only fits but also reflects your personal fashion vision.
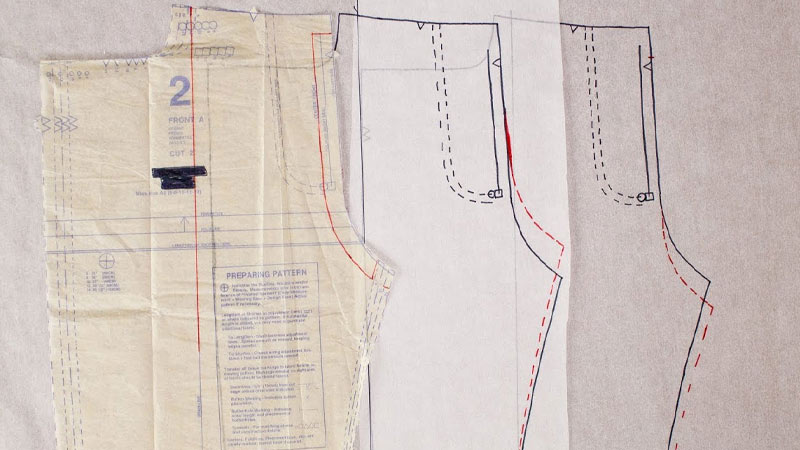
10 Practical Steps to Lengthen a Pattern
Lengthening a pattern is a common sewing technique used to adjust the proportions of a sewing pattern to better fit your body or achieve a desired style.
Whether you’re trying to make a dress longer, extend a pair of pants, or add extra length to any other garment,
Here’s a step-by-step guide on how to lengthen a pattern:
Materials You’ll Need:
- Sewing Pattern
- Pattern Paper
- Pencil
- Eraser
- Ruler
- Scissors
- Tape
Step 1: Preparation

Before you begin lengthening your pattern, ensure you’ve chosen the correct size based on your body measurements. To do this, measure your bust, waist, hips, and other relevant areas according to the pattern’s measurement guidelines.
Compare your measurements to the pattern’s size chart to select the appropriate size. Always work on a clean, flat surface with ample lighting.
It’s crucial to create an organized and comfortable workspace where you can easily spread out your materials.
Step 2: Determine How Much to Lengthen
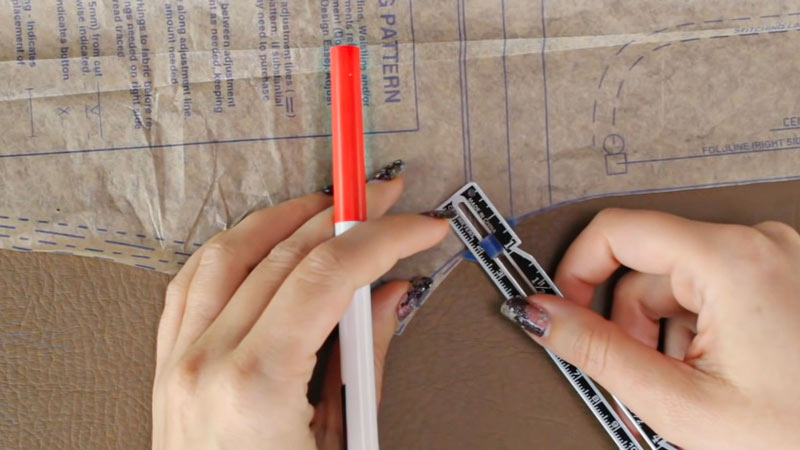
Decide how much length you want to add to your pattern. Measure the current length of the pattern piece you want to alter using a measuring tape or a ruler.
Take this measurement from a reference point, such as the shoulder or waistline, depending on the specific piece.
Compare this measurement to your desired length, which may be influenced by style preferences or your body’s proportions. This comparison will determine how much you need to extend the pattern.
Step 3: Identify Lengthening Lines
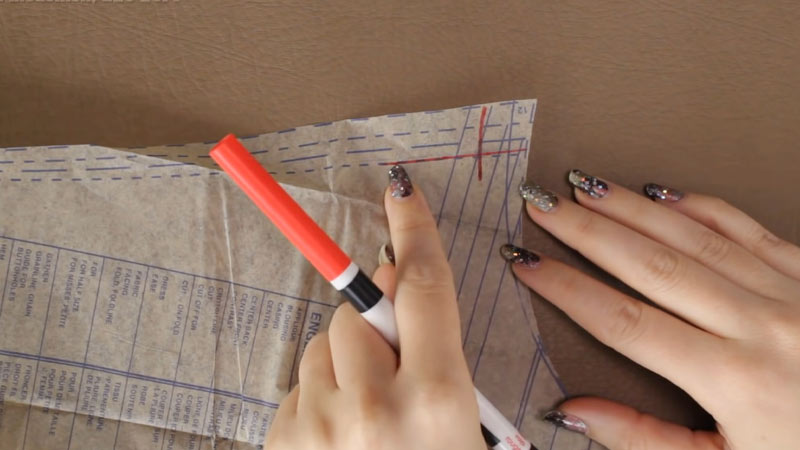
Examine your pattern piece for lengthening lines. These lines are typically marked on the pattern and indicate where you can safely add extra length without distorting the design. These lines are often labeled “lengthen or shorten here.”
If your pattern lacks these lines, you can create your own by using a ruler to draw parallel lines across the pattern piece where you intend to add length. Make sure these lines are straight and evenly spaced to maintain the integrity of the garment’s design.
Step 4: Cut Along the Lengthening Line
With the lengthening lines identified or created, it’s time to make precise cuts. Use sharp scissors and cut along the lengthening line you’ve marked. Be careful to follow the line as accurately as possible.
If you’re adding a significant amount of length, consider cutting the pattern piece in two places to distribute the added length more evenly. This step allows you to separate the pattern piece and create space for the extension.
Step 5: Add Extra Length
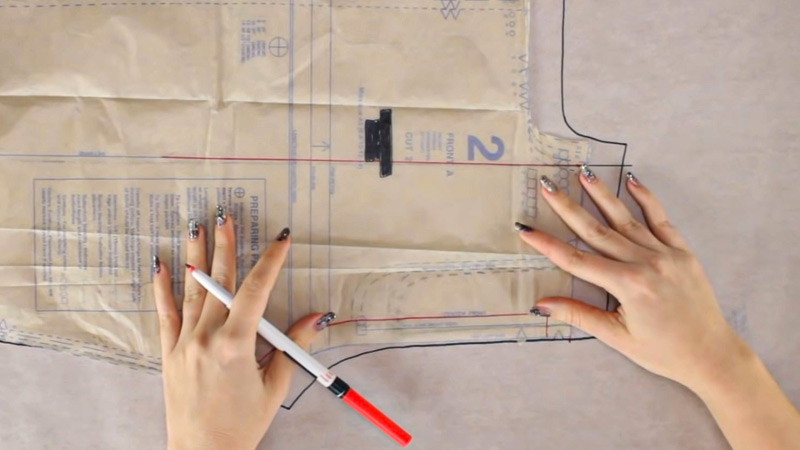
Now, it’s time to add the desired extra length to your pattern. Place your pattern paper or any large sheets of paper under the cut pattern piece.
Align the edges of the cut piece with the edges of the pattern paper, ensuring that they are straight and parallel.
By placing the pattern piece on the paper, you’ll have a clean slate to extend the length while maintaining the pattern’s original shape.
Step 6: Secure and Blend
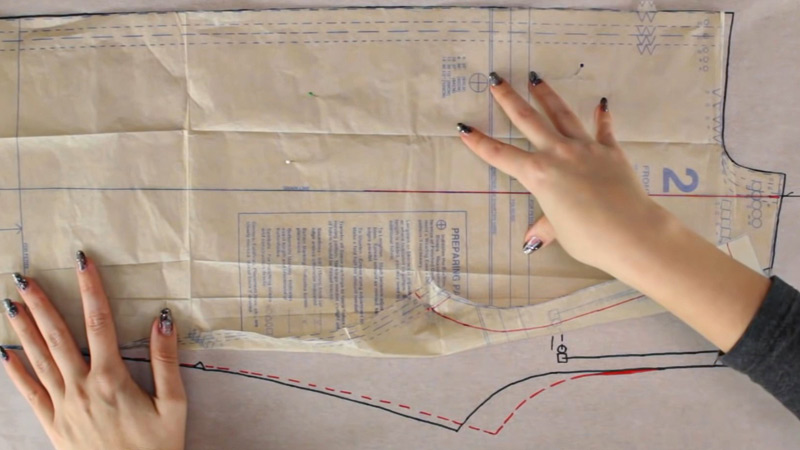
Use transparent tape to secure the cut pattern piece onto the pattern paper. Make sure it lies flat and doesn’t shift during the next steps.
If you’ve cut the pattern piece in two places to distribute the added length more evenly, spread the pieces apart by the desired amount and tape them to the pattern paper separately.
This step ensures that your added length remains in the correct position and doesn’t shift while you work on blending and redrawing lines.
Step 7: Blend and Redraw Lines
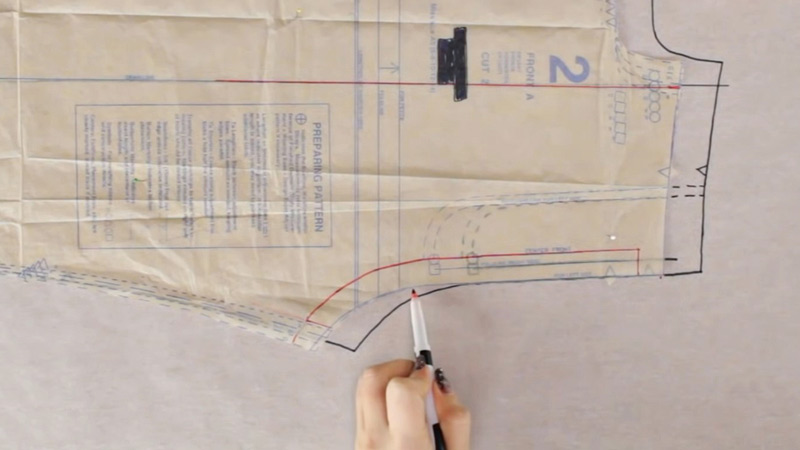
Using your ruler and a pencil, carefully blend and redraw any lines that may have been disrupted by the addition of length.
Pay close attention to elements like grainlines, darts, seam lines, and any other design elements.
Make sure these lines are extended smoothly and maintain their original proportions, so your adjusted pattern piece retains the intended fit and style.
Step 8: Cut Out the Adjusted Pattern Piece
Once you’re satisfied with the added length and all lines are correctly drawn, cut out the adjusted pattern piece along the new lines you’ve created. Be precise while cutting to ensure that your extended pattern piece matches your desired measurements and style.
Step 9: Repeat as Necessary
Repeat this process for any other pattern pieces that require lengthening, such as sleeves, skirts, or bodice sections. Ensure that all parts of your pattern are adjusted to maintain consistency in fit and style across the entire garment.
Step 10: Test Fit and Make Final Adjustments
Before cutting your fabric, it’s highly advisable to create a test garment, often called a “muslin” or “toile,” using your adjusted pattern pieces. This allows you to check the fit and length on your body.
Make any final adjustments as needed, such as taking in or letting out seams or further lengthening if required. These adjustments ensure that your final garment will fit perfectly and meet your style preferences.
Step-by-Step Guide to Shorten a Pattern
Shortening a sewing pattern is a crucial skill for tailoring garments to your specific measurements or achieving a desired style.
Whether you need to make a dress shorter, reduce the length of a pair of pants, or adjust any other clothing item,
Here’s a step-by-step guide on how to shorten a pattern:
Step 1: Preparation
Before you begin shortening your pattern, confirm that you’ve chosen the correct size based on your body measurements.
If you’re unsure, take your measurements and compare them to the pattern’s size chart. Work on a clean, flat surface with adequate lighting for accuracy.
Step 2: Determine How Much to Shorten
Decide how much length you want to remove from your pattern. Measure the current length of the pattern piece you intend to alter and compare it to your desired length. This determines how much you need to shorten the pattern.
Step 3: Identify Shortening Lines
Examine your pattern for shortening lines. These lines are typically marked on the pattern and indicate where you can safely remove extra length without compromising the design.
If there are no predefined shortening lines, you can create your own by drawing parallel lines across the pattern piece where you intend to shorten it.
Step 4: Cut Along the Shortening Line
Use sharp scissors to cut along the shortening line. Be precise and follow the line as accurately as possible. If you’re shortening significantly, consider cutting the pattern piece in two places to evenly distribute the reduction.
Step 5: Overlap and Secure
Overlap the cut edges of the pattern piece by the amount you want to shorten it. Ensure they align perfectly and tape them securely together. This overlapping ensures that the shortened pattern retains the original design proportions.
Step 6: Blend and Redraw Lines
With the pattern piece securely taped and the length adjusted, use your ruler and pencil to blend and redraw any lines that may have been disrupted during shortening.
This includes grainlines, darts, seam lines, and other design elements. Maintain the integrity of the garment’s original shape.
Step 7: Cut Out the Adjusted Pattern Piece
Once you’re satisfied with the shortened pattern piece and all lines are correctly redrawn, cut out the adjusted pattern piece along the new lines you’ve created.
Step 8: Repeat as Necessary
Repeat this process for any other pattern pieces that require shortening, such as sleeves, skirts, or bodice sections.
Step 9: Test Fit and Make Final Adjustments
Before cutting your fabric, create a test garment (muslin) using your adjusted pattern pieces to ensure the fit and length are correct. Make any final adjustments as needed, such as further shortening or modifying seams.
FAQS
Can I lengthen a pattern for a different body shape than the original design?
Yes, you can lengthen a pattern for a different body shape.
Is it possible to lengthen a pattern that’s too short for the available fabric?
It can be challenging to lengthen a pattern significantly if you don’t have enough fabric.
Can I use the same method to lengthen all types of patterns, like knit and woven fabrics?
While the general principles of lengthening a pattern apply to both knit and woven fabrics, the specifics may vary.
Should I adjust the pattern’s width when I lengthen it?
Generally, lengthening a pattern doesn’t require altering the width unless you’re also adjusting for changes in body size.
What if my pattern doesn’t have lengthening lines?
If your pattern lacks lengthening lines, you can create your own by evenly spreading out the pattern and redrawing the lines, ensuring they align with the design elements.
To Recap
Mastering the art of lengthening a pattern empowers you to create clothing that fits your body perfectly and aligns with your unique style.
The steps outlined in this guide, from precise measurements to careful blending of lines, are your roadmap to achieving tailored garments that showcase your individuality.
Remember that practice is key; as you become more proficient in pattern adjustments, you’ll gain confidence in your sewing abilities and the freedom to transform any pattern to suit your preferences.
With patience and attention to detail, you’ll be able to confidently tackle future sewing projects, knowing that you have the skills to adapt patterns and create garments that are not only well-fitted but also a true reflection of your personal fashion taste.
Leave a Reply