Creating a baby quilt is a heartwarming endeavor, blending craftsmanship with sentiment. This cherished piece of handiwork not only provides warmth but also holds a story woven into every stitch.
From choosing the perfect fabrics to mastering the art of quilting, each step is a labor of love. The design, a fusion of colors and patterns, mirrors the unique personality of the little one it’s destined for.
As we embark on this journey, we embark on more than just a creative project; we embark on a legacy of comfort, affection, and memories.
This guide will walk you through the tender steps of making a baby quilt, ensuring a cherished keepsake for years.
How to Make a Baby Quilt?
Making a baby quilt is a special and heartfelt way to welcome a new little one into the world.
A handmade quilt is not only a practical gift to keep the baby warm and cozy, but it also carries a personal touch that makes it a cherished keepsake for years to come.
Here’s a step-by-step guide on how to make a baby quilt:
Materials You’ll Need:
- Fabric.
- Batting.
- Thread.
- Sewing Machine.
- Cutting Tools.
- Ruler and Measuring Tape.
- Pins or Clips.
- Iron and Ironing Board.
Step-by-Step Guide:
Design and Plan

Consider the color palette and theme that will resonate with the baby and their family. Reflect on the nursery’s décor, the family’s style, or even a unique motif that holds sentimental value.
Sketch the design on paper, experimenting with block arrangements and color combinations. Opting for simpler shapes and patterns can make the project more manageable and enjoyable for beginners.
Cutting Fabric
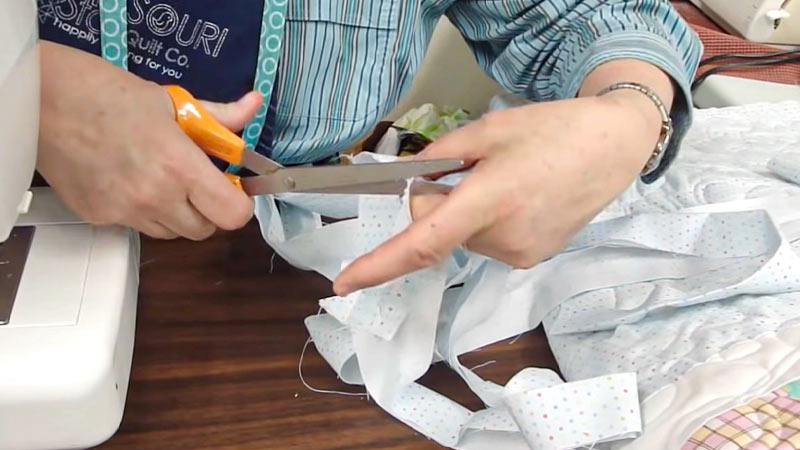
Take your time with this crucial step. Lay the fabric pieces on your cutting surface, ensuring they’re free from wrinkles or folds.
Use a rotary cutter and ruler to make precise cuts, paying attention to pattern orientation and grain direction. This meticulous approach ensures that your quilt pieces fit together seamlessly, producing a polished final product.
Piecing
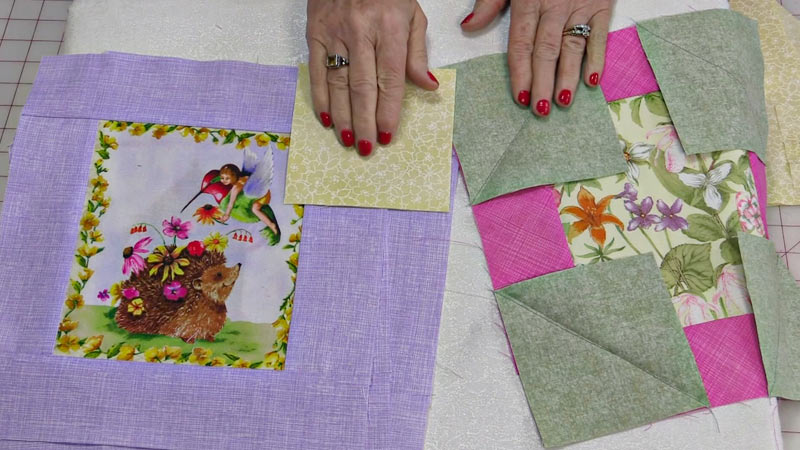
Align the cut fabric pieces according to your design, keeping an eye on color placement and pattern flow. Use a quarter-inch seam allowance for consistent stitching. Take care to match seams for a tidy finish.
As you sew, press each seam with a hot iron, setting them neatly to one side or open, depending on your preference. This attention to detail lays the foundation for a professionally finished quilt top.
Adding Batting and Backing
Prepare a clean, flat surface for layering. Gently lay the batting down, ensuring it’s smooth and evenly distributed. Place the quilt top over the batting, carefully aligning all edges.
Use safety pins or basting spray to secure the layers together. Trim any excess batting or backing fabric to match the dimensions of the quilt top. This step ensures that all layers are firmly held in place and ready for the quilting process.
Quilting
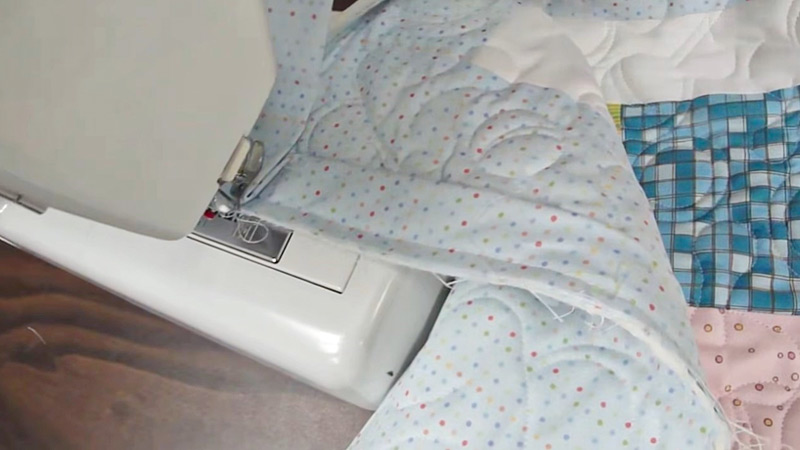
Quilting is where the magic happens. Whether you choose to quilt by hand or use a sewing machine, focus on maintaining even stitching lines. Consider using quilting guides or marking tools to ensure consistent spacing between rows.
If using a sewing machine, experiment with different stitch patterns and techniques to add texture and visual interest. This step brings depth and character to your quilt, enhancing its visual and tactile appeal.
Binding
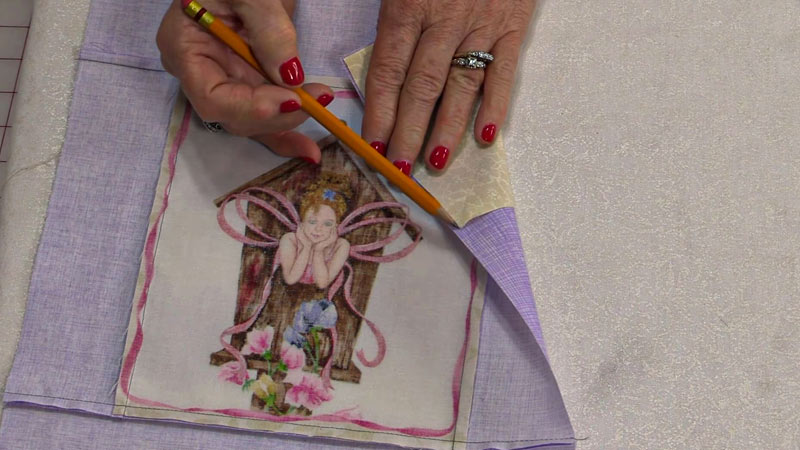
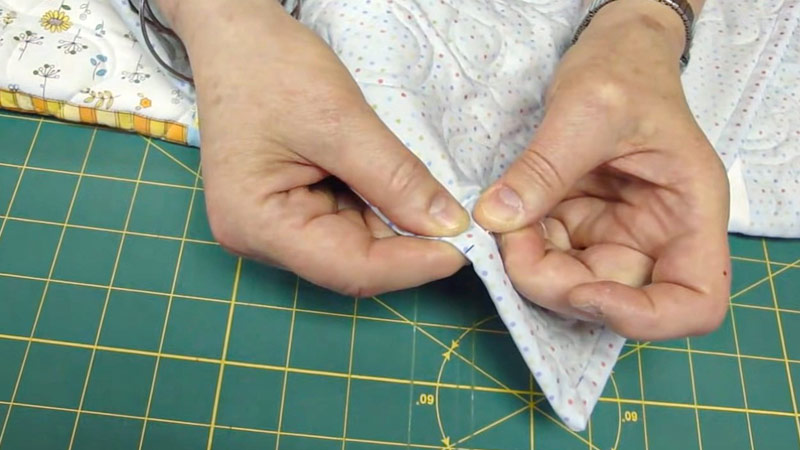
Binding serves a functional and decorative purpose, framing the quilt’s edges. Fold and press the binding strips in half lengthwise, creating a clean edge. Attach the binding along one edge, leaving a small tail for a seamless finish.
As you work around the quilt’s perimeter, miter the corners for a professional, polished look. Finish by securely joining the binding ends. This step adds a refined touch to your quilt, ensuring it stands the test of time.
Finishing Touches
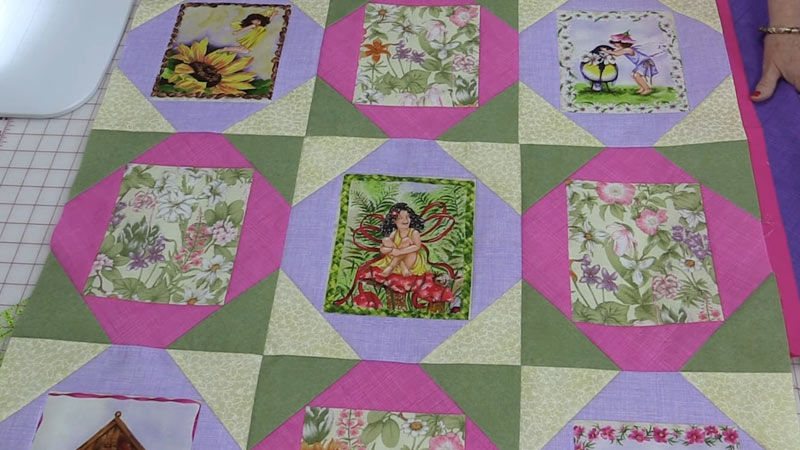
Carefully inspect your quilt, trimming any loose threads and ensuring all seams lie flat. Press the entire quilt one final time to ensure it’s immaculate and ready for presentation.
This last attention to detail ensures your quilt is visually appealing, durable, and prepared for years of love and use.
Optional Embellishments
If you’ve chosen to add personal touches, such as appliqué, embroidery, or fabric paint, do so with a steady hand and a creative eye.
Incorporate meaningful symbols, the baby’s name, or special messages to enhance the quilt’s sentimental value. Take your time with this step, allowing your creativity to shine through.
Labeling
A small label provides a personal touch and documents the quilt’s significance. Include the baby’s name, birthdate, or a heartfelt message.
Attach the label securely, ensuring it endures washings and wear over time. This step completes your quilt, adding an extra layer of sentimental value and storytelling.
Final Inspection
Before gifting or using the quilt, conduct a thorough inspection. Check for loose threads, secure bindings, and any final touches. Run your hands over the quilt’s surface to ensure all layers are secure and even.
This last step ensures your quilt is a true labor of love, ready to be cherished for future generations.
What Is the Right Fabric for the Baby Quilt?
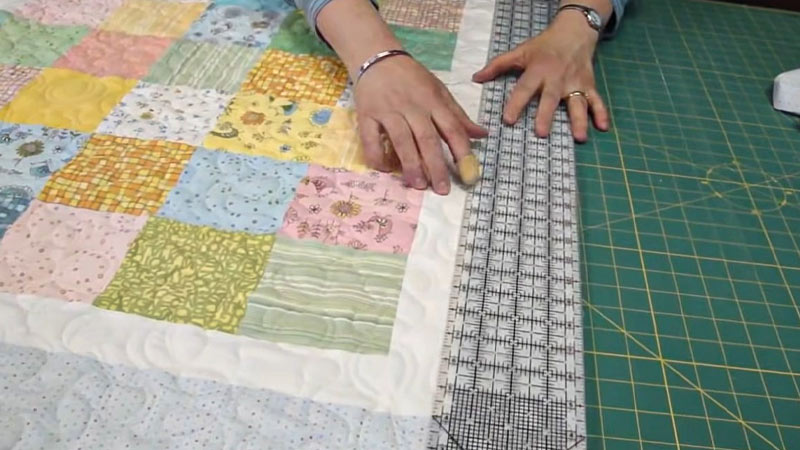
The right fabric for a baby quilt should be soft, durable, and safe for a baby’s delicate skin.
Here are some popular and recommended fabrics for baby quilts:
Cotton Flannel
Cotton flannel is popular for baby quilts due to its softness and warmth. It’s made from brushed cotton fibers, giving it a cozy texture that feels gentle against a baby’s skin.
Flannel is highly breathable, which helps regulate a baby’s body temperature, making it ideal for various climates.
It’s also widely available in many colors and prints, allowing you to select patterns that suit the nursery’s theme or the baby’s personality.
Cotton
Lightweight cotton fabrics are a classic and versatile option for baby quilts. They are breathable, hypoallergenic, and naturally absorbent. Cotton is known for being soft and gentle against a baby’s sensitive skin.
High-quality quilting cotton, specifically designed for projects like quilts, is readily available and comes in an extensive array of prints and colors. It’s easy to work with and stands up well to frequent washing, making it a practical choice.
Minky or Minkee
Minky is a plush, ultra-soft fabric that provides a luxurious feel. It’s often chosen for backing baby quilts, adding an extra layer of snuggly comfort.
However, due to its slippery texture, some quilters prefer to use it with cotton for the quilt top to make it easier to work with.
Minky comes in various textures, including dot, embossed, and swirl patterns, allowing for customization in both texture and color.
Flannelette
Flannelette is another wonderful choice for baby quilts like flannel but with slightly different textures. It shares many qualities with cotton flannel, offering softness, warmth, and breathability.
Its slightly napped surface gives it a cozy, comforting feel that babies will love.
Muslin
Muslin is a lightweight, plain-weave cotton fabric often used in baby products. It’s known for its breathability, which helps keep a baby comfortable in various temperatures.
Muslin is soft and becomes even softer with each wash, making it a cozy option for a baby quilt.
Washing and Caring for the Quilt
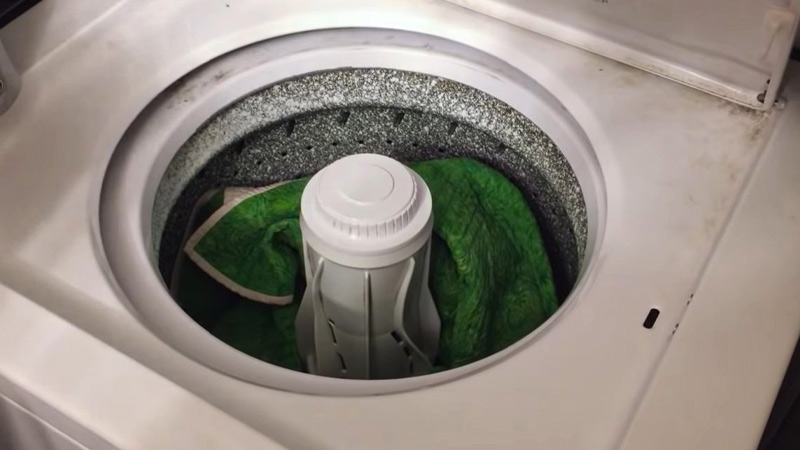
Proper washing and care ensure a baby quilt remains soft, clean, and safe for the little one. Here’s a guide on how to wash and care for a baby quilt:
Pre-Washing
Before gifting or using the quilt, it’s crucial to pre-wash it. This helps remove any sizing, dust, or dirt that may have accumulated during construction.
Use a gentle detergent and wash in cold water. Consider adding a color catcher sheet to the wash for fabrics prone to color bleeding.
Washing
Machine washing is generally safe for most baby quilts when it’s time for regular cleaning. Use a mild, baby-friendly detergent and wash in cold water on a gentle cycle.
Avoid using bleach or harsh chemicals, which can damage the fabric and irritate a baby’s skin.
Drying
To maintain the quilt’s shape and prevent shrinkage, it’s recommended to air dry it. Lay the quilt flat on a clean surface or drape it over a drying rack.
Avoid wringing or twisting the quilt, as this can distort its shape. If using a dryer, select a low heat setting and remove the quilt promptly once it’s dry.
Avoid Over-Washing
While keeping the quilt clean is important, avoid over-washing, as this can cause unnecessary wear and tear. Wash the quilt only when it’s visibly soiled or after prolonged use.
Stain Removal
Attend to stains promptly to prevent them from setting. Gently blot the stained area with a clean cloth or paper towel. Apply a mild stain remover or a mixture of water and mild detergent.
Test a small, inconspicuous area first to ensure it doesn’t damage the fabric. Rinse thoroughly and launder as usual.
Storage
Store the quilt in a clean, dry place away from direct sunlight when not in use. Avoid folding it tightly for extended periods, as this can cause creases. Instead, loosely roll the quilt or lay it flat.
Place acid-free tissue paper between the folds to prevent any potential color transfer.
Patch Repairs
In case of minor damage or loose seams, attend to repairs promptly. Use a needle and thread to secure loose threads or mend small tears. Consider seeking assistance from a professional quilter or fabric repair expert for more significant repairs.
Rotate and Use Gently
If possible, rotate the quilt periodically to ensure even wear. Encourage gentle use, especially with older babies who may be more active and prone to tugging or pulling on the quilt.
Troubleshooting and Tips for Baby Quilts
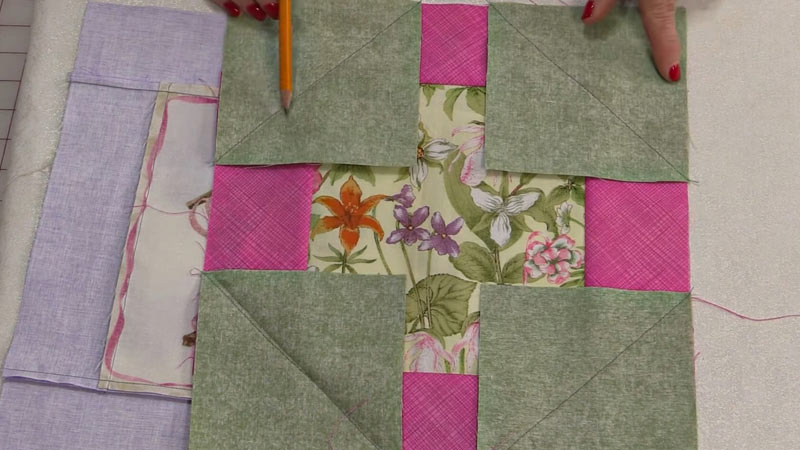
Creating a baby quilt is a labor of love, but sometimes, challenges may arise.
Here are some troubleshooting tips to help you navigate common issues and ensure a smooth quilting experience:
Uneven Seams
When the seams don’t align perfectly, don’t fret. Pressing them open or to one side can help distribute the bulk and create a flatter surface.
Consider using a quarter-inch foot for your sewing machine or marking seam allowances with removable tape to improve accuracy.
Fabric Stretching
Some fabrics, like knits or bias-cut pieces, can stretch during sewing. Use a walking foot or engage the fabric gently to prevent distortion. Consider searching for or stabilizing stretchy fabrics before cutting and piecing to maintain their shape.
Wrinkles in the Quilt Sandwich
Gently run your hands over the quilt’s surface, feeling for any irregularities. If wrinkles or bubbles emerge, take a moment to smooth out the fabric layers delicately. Reposition and re-pin as needed to ensure an even and taut quilt sandwich.
Tension Issues with Machine Quilting
Uneven stitches or thread tension problems can occur. Experiment with different thread weights and needle sizes, and ensure your machine is properly threaded. Practice on a scrap quilt sandwich to fine-tune your machine’s settings before quilting the final project.
Wavy Borders
Wavy borders may indicate that the border was cut too long or improperly eased in. Measure the quilt top in multiple places before cutting and attaching borders.
Pin the border to the quilt top at the center, ends, and midpoints to distribute any excess fabric evenly.
Fabric Bleeding
To prevent color bleeding, consider using color catchers in the wash, especially if you’re using fabrics with strong dyes.
Minimize fading by avoiding direct sunlight exposure. Store the quilt in a cool, dark place when not in use.
Quilting Stitches Too Dense
Achieving the right quilting density can be a matter of practice and personal preference. Experiment with different quilting patterns and adjust your stitch length accordingly.
Consider using a quilting guide or marking tools to help maintain consistent spacing between rows of stitches.
Choosing the Right Thread
Selecting the appropriate thread weight and type for your project is crucial. Use a high-quality thread that complements your fabric choices. Test different threads on a quilt sandwich to see how they behave.
Adding Personal Touches
If you add embellishments like appliqué or embroidery, practice on scraps first to get comfortable with the technique. Use stabilizers when needed to ensure clean, professional results
FAQs
What size should I make a baby quilt?
A common size for a baby quilt is around 36 inches by 45 inches. However, you can adjust it based on your preference and the intended use.
How do I choose fabric for a baby quilt?
Opt for soft, baby-friendly fabrics like cotton flannel, minky, or lightweight cotton. Consider colors and patterns that complement the nursery or the family’s style.
What is the best way to quilt a baby quilt?
You can quilt by hand or use a sewing machine. Common quilting patterns include straight lines, free-motion quilting, or simple shapes. Experiment to find a pattern that suits your design.
How do I attach the binding to a baby quilt?
Start by folding and pressing the binding strips in half lengthwise. Attach the binding along one edge, folding it around the raw edges. Miter the corners for a professional finish.
Can I add personal touches to a baby quilt?
You can personalize a baby quilt with embellishments like appliqué, embroidery, or fabric paint. Ensure any added elements are securely attached and safe for a baby to use.
Wrap Up
Every stitch carries a piece of love and care in crafting a baby quilt. This process is a testament to dedication, from selecting the softest fabrics to mastering precise seams. Each quilt is a unique creation, reflecting the warmth and personality of its maker.
The choice of colors and patterns, the artful quilting, and the meticulous binding culminate in a cherished keepsake. Beyond its practicality, a baby quilt is a token of affection destined to envelop a little one in comfort and memories.
Through this endeavor, we fashion a quilt and weave a tapestry of love, ready to embrace new beginnings.
Leave a Reply