Elevate your wardrobe with a personalized touch by creating your own Color Block Hoodie. This DIY project not only allows you to showcase your creativity but also lets you tailor a hoodie that perfectly reflects your unique style.
In this comprehensive guide, we’ll walk you through each stage of the process of how to make a color block hoodie, from selecting the ideal color palette to mastering the art of color blocking.
Whether you’re a seasoned crafter or a novice, our easy-to-follow instructions and practical tips will ensure a successful and satisfying crafting experience.
Get ready to blend hues, experiment with patterns, and transform a simple hoodie into a fashion statement that speaks volumes about your individuality.
Unleash your inner designer and embark on this exciting journey to craft a one-of-a-kind Color Block Hoodie that effortlessly combines comfort and style.
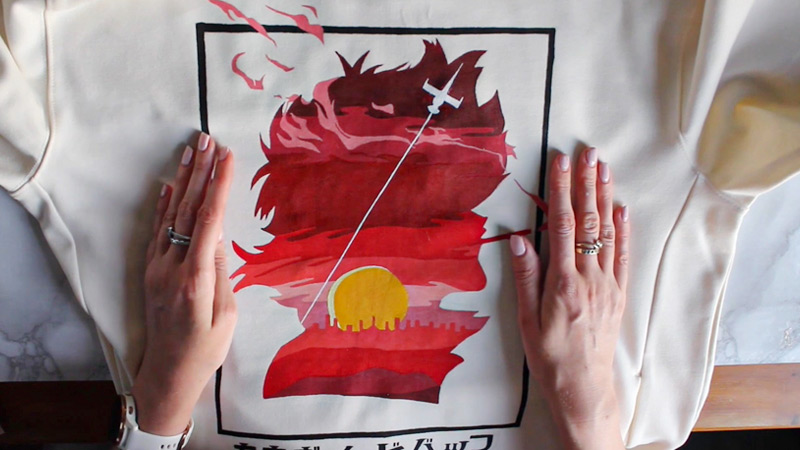
How to Make a Color Block Hoodie?
Crafting a Color Block Hoodie is a rewarding endeavor that allows you to personalize your wardrobe. Follow this comprehensive guide to create a unique and stylish piece that reflects your individuality. Here’s how to make a hoodie:
Step 1: Design Your Color Blocks
Begin the creative journey of making a hoodie by sketching your envisioned color block design directly onto the hoodie’s fabric.
Utilize fabric markers or pencils to outline the distinct areas, considering not only the individual color placement but also the overall visual balance and symmetry. This initial step sets the foundation for your personalized and eye-catching color block pattern.
Step 2: Prepare the Hoodie
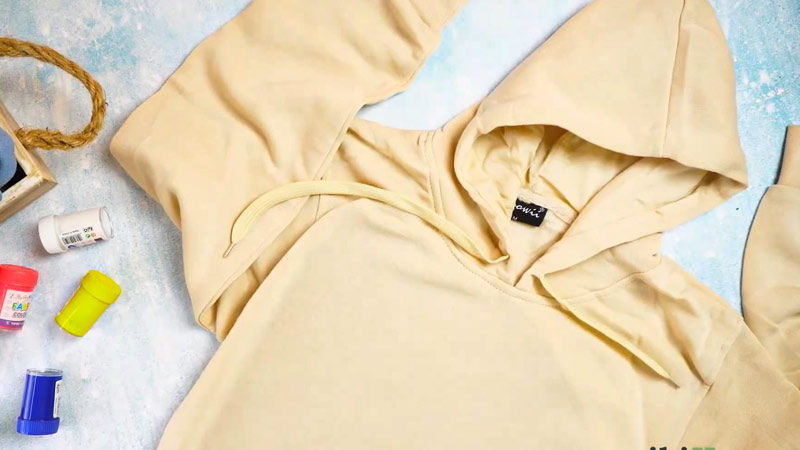
Ensure a stable canvas for your artistic venture by placing cardboard or plastic sheets within the hoodie. This strategic placement prevents any potential paint or dye from seeping through to the opposite side, maintaining the integrity of the fabric and allowing for a clean and professional result.
Step 3: Apply Painter’s Tape
Delve into precision as you use painter’s tape to meticulously outline the designated areas for each color block. This step is crucial in achieving sharp, well-defined lines.
Ensure that the tape adheres securely to the fabric, serving as a barrier that minimizes the risk of color bleeding and maintains the crispness of your envisioned design.
Step 4: Start Painting
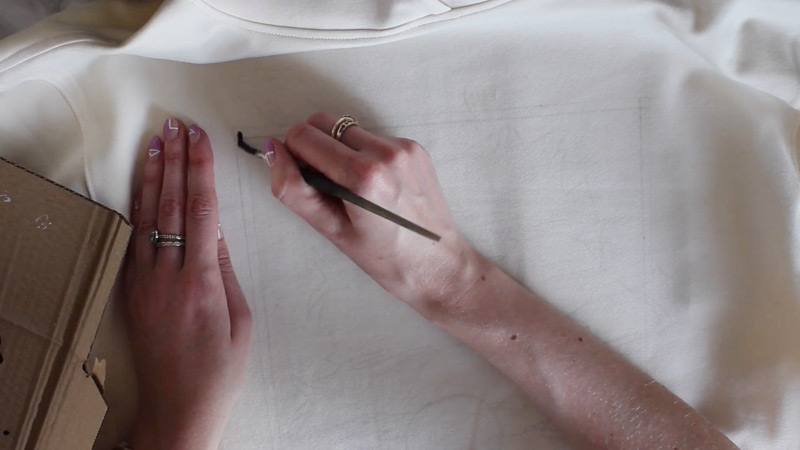
With your design sketched, canvas prepared, and tape in place, it’s time to infuse your hoodie with vibrant colors.
Employ brushes for intricate details and sponges for broader strokes, embracing the opportunity to experiment with creative color combinations.
This step marks the transformation of your initial concept into a tangible, wearable work of art.
Step 5: Blend Colors (Optional)

For those seeking an added layer of sophistication, explore the art of blending colors. Use a palette or mixing trays to concoct intermediate shades, strategically applying them between the main color blocks.
This optional step introduces depth and dimension, elevating your color-block hoodie from a basic design to a visually captivating masterpiece.
Step 6: Allow to Dry
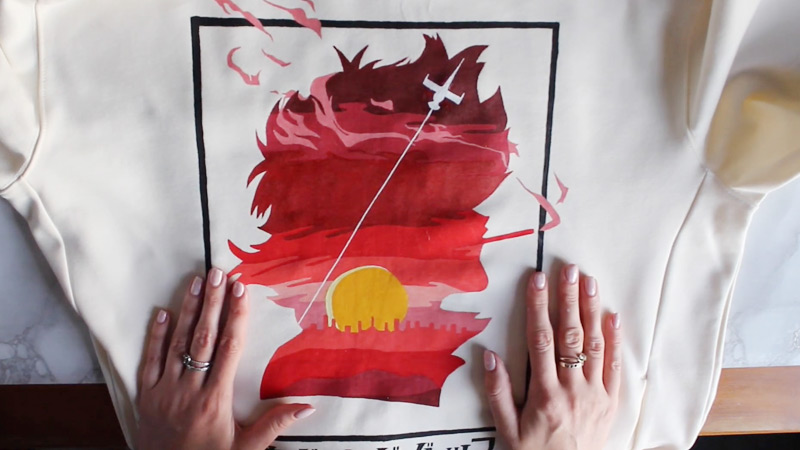
Exercise patience as you let the applied paint or dye thoroughly dry. This critical phase ensures the colors set and adhere to the fabric, guaranteeing a long-lasting and professional finish.
Choose a well-ventilated space for optimal drying conditions, resisting the urge to rush through this essential part of the creative process.
Step 7: Remove Painter’s Tape
Once the colors have dried completely, embark on the unveiling process by gently peeling off the painter’s tape. Take your time during this reveal, savoring the moment as clean and sharp lines emerge, defining each color block distinctly.
This step signifies the culmination of the painting phase and the emergence of your meticulously planned design.
Step 8: Touch-Ups
Conduct a thorough inspection of your color block hoodie for any imperfections or areas where the paint may have bled.
Employ additional paint or a fine brush to perform meticulous touch-ups, ensuring your creation achieves the polished and flawless finish you envisioned.
Attention to detail at this stage contributes to the overall quality and impact of your wearable masterpiece.
Step 9: Set the Colors
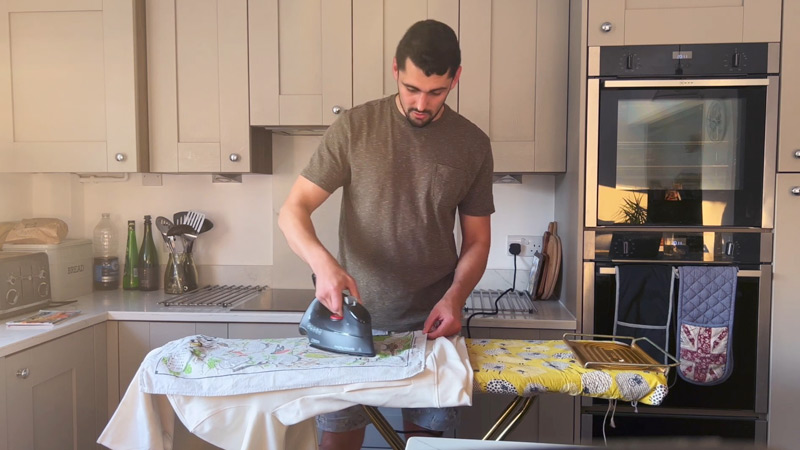
Once content with the design and touch-ups, follow the instructions provided with your fabric paint or dye to set the colors. This often involves ironing the painted areas and locking in the vibrancy and longevity of your carefully crafted color block pattern.
Step 10: Final Touches
Celebrate the completion of your Color Block Hoodie by adding any desired extra embellishments or details. This final step allows you to personalize your creation further, ensuring it aligns seamlessly with your unique style.
With colors set and details perfected, your custom-designed hoodie is now ready to be proudly worn as a testament to your artistic prowess.
How to Cut Hood-Off Hoodie?
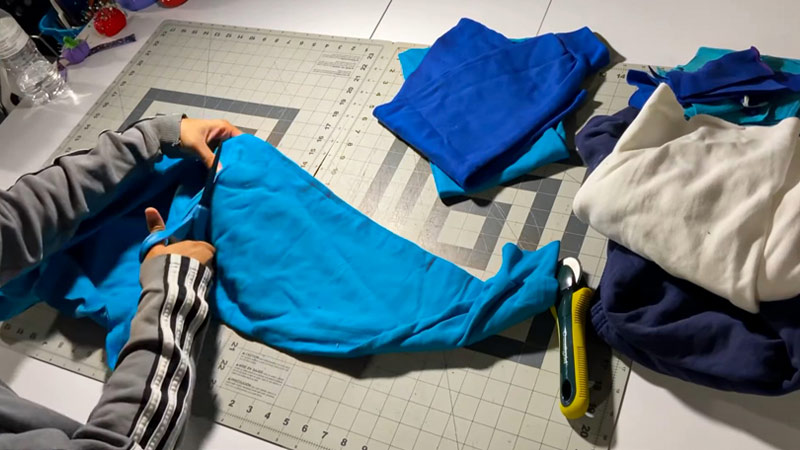
Whether you’re looking to transform an old hoodie into a trendy sleeveless garment or simply seeking a new DIY project, cutting off the hood is a straightforward process. Follow these steps to cut the hood off the hoodie.
Step 1: Gather Your Materials
Before you begin, ensure you have all the necessary items such as scissors fabric chalk, and a measuring tape (optional). Select a hoodie you no longer mind-altering. Ensure it’s clean and free of wrinkles, as this will help you achieve precise cuts.
Step 2: Plan the Cut
Decide how much of the hoodie you want to remove. If you’re uncertain, wear the hoodie and use fabric chalk or a washable marker to mark the desired cutting line along the hood seam. You can opt for a straight cut or a more stylized, curved design.
Step 3: Measure (Optional) and Initial Cut
If precision is crucial, use a measuring tape to ensure both sides are even. This step is particularly useful if you’re aiming for symmetry in your cut.
With your plan in place, take the sharp scissors and make an initial small cut along the marked line. This will serve as the starting point for your more extensive cut.
Step 4: Cut Carefully
Following your marked line cut along the hood seam. Take your time to maintain a smooth and even cut. If you’re going for a curved design, adjust the cutting angle gradually.
After cutting, double-check the hoodie for symmetry. Ensure both sides match in length and style. Make any necessary adjustments to achieve a balanced look.
Step 5: Trim Excess Fabric (Optional)
If you desire a neater finish, trim any excess fabric along the cut edge. This step is optional but can contribute to a cleaner and more polished appearance.
Inspect the cut edges for any unevenness or jagged sections. If needed, refine the cut by trimming small areas to achieve a seamless finish.
Step 6: Consider Hemming (Optional)
To give the cut edge a finished look, you can consider hemming. Fold the cut edge inward and sew or use fabric glue to secure it. This step is entirely optional and depends on your preference.
Get creative! Consider adding your unique touch to the sleeveless hoodie. You can distress the edges, add patches, or incorporate other design elements to make it truly yours.
Step 7: Clean Up
Dispose of any fabric scraps and tidy up your workspace. If you used fabric chalk or a washable marker, follow the garment care instructions to remove the markings.
Your sleeveless hoodie is now ready to be styled and worn. Pair it with your favorite jeans or leggings for a casual and laid-back look. Experiment with different accessories to elevate your new garment.
How to Make a Hoodie Smaller?
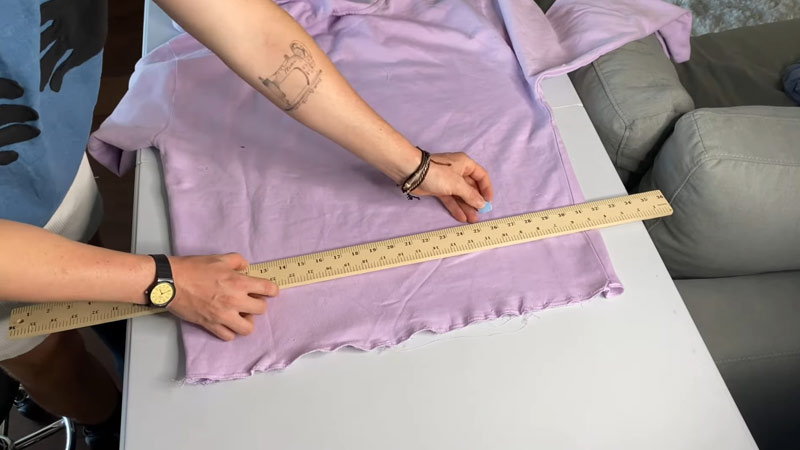
If you find yourself with a hoodie that’s a bit too large, fear not – resizing it is a manageable DIY project. Follow these steps to discover how to make a hoodie smaller at the bottom and achieve a better fit.
Step 1: Gather Your Materials
Before you start, gather the materials like a sewing machine or needle and thread. You’ll also need fabric chalk and scissors.
Put on the hoodie and identify the areas where it’s too loose. Common areas include the sides, sleeves, and the bottom hem. Mark these areas with fabric chalk or a washable marker.
Step 2: Turn the Hoodie Inside Out
The second step to explore how to make hoodie smaller is preparation. For easier access to seams and hems, turn the hoodie inside out. Lay it flat on a surface, ensuring it’s smooth and free of wrinkles.
Starting with the side seams, pin along the marked lines. Ensure the pins are perpendicular to the seam and do not pucker the fabric. Gradually taper the pins toward the cuff or bottom hem if needed.
Step 3: Sew Along the Pin Line
Using a sewing machine or hand-sewing, follow the pinned line, sewing a new seam to make the hoodie smaller. If you’re uncertain about the fit, sew with a straight stitch first and try on the hoodie to check. You can always make further adjustments.
Step 4: Try On and Assess Fit
After sewing, try on the hoodie to assess the fit. Make any necessary adjustments before proceeding to the next steps.
If the sleeves are too long, mark the desired length with fabric chalk or a marker. Remove the cuffs, trim the excess fabric, and reattach the cuffs by sewing them back in place. Ensure the cuff size matches the adjusted sleeve length.
Step 5: Adjust the Bottom Hem
If the bottom hem needs resizing, mark the new length with fabric chalk or a marker. Cut along the marked line, leaving a seam allowance. Fold the raw edge inward and sew the new hem.
If the hood is too large, consider adjusting its size. Mark the new size with fabric chalk, cut along the marked line, and sew the new seam. Ensure the hood retains its shape and symmetry.
Step 6: Finish and Clean Up
Remove any fabric markings, secure loose threads, and tidy up your workspace. Ensure all adjustments are neat and secure.
Get creative with your resized hoodie! Consider adding embellishments, patches, or other personalized touches to make it uniquely yours.
Step 7: Launder with Care
After making adjustments, launder the hoodie following the care instructions. This helps set the new seams and ensures the garment retains its shape.
Congratulations! You’ve successfully learned how to make your hoodie smaller and resize your hoodie for a better fit. This DIY project allows you to salvage oversized hoodies, giving them a new lease on life. Enjoy your customized and perfectly fitting hoodie.
FAQs
How do I make a hoodie smaller without sewing?
If you prefer a no-sew option, consider using fabric glue or iron-on adhesive tape. Pinch the excess fabric along the seams, apply the glue or tape, and press the fabric together. Ensure the adhesive used is suitable for the hoodie material and follow the product instructions carefully.
Can I shrink my hoodie in the washing machine?
Yes, you can attempt to shrink a hoodie by washing it in hot water and then drying it on high heat. Keep in mind that this method may not work for all fabrics, and excessive heat can cause damage.
How can I adjust the size of a hoodie if it’s too large around the waist?
To resize the waist area, consider taking in the side seams. Pin along the desired new seam line, ensuring it tapers gradually for a natural fit. Sew along the pinned line, and try on the hoodie to assess the fit. Adjust further if needed.
How do I make the sleeves of my hoodie shorter?
To shorten hoodie sleeves, mark the desired length with fabric chalk, remove the cuffs, trim the excess fabric, and reattach the cuffs. Ensure the cuffs match the adjusted sleeve length. This alteration helps maintain the overall proportion of the sleeves.
How to make the hood of a hoodie smaller?
To make the hood smaller, mark the desired size with fabric chalk, cut along the marked line, and sew a new seam.
Ensure the shape and symmetry of the hood are maintained. This adjustment is especially useful if the hood is too large and needs a more custom fit.
Conclusion
Creating your own Color Block Hoodie is not just about fashion; it’s a form of self-expression. By following this guide, you’ve embarked on a creative adventure, turning a basic garment into a personalized masterpiece.
Your finished hoodie is not merely a piece of clothing; it’s a reflection of your unique taste and style. Embrace the satisfaction of wearing something you crafted with your own hands, and let your Color Block Hoodie be a conversation starter.
Remember, the beauty lies not just in the final product, but in the journey of crafting itself. Share your creation proudly, and perhaps inspire others to embark on their creative ventures.
Now, enjoy the warmth and style of your handcrafted hoodie, and revel in the fact that you’ve added a touch of individuality to your wardrobe.
Leave a Reply