The art of crafting simple objects out of paper is both accessible and endlessly creative. One of the fundamental shapes that can be easily fashioned from paper is the cone.
Whether you’re using it as a party hat, a seedling pot, or a math project, learning how to make a paper cone is a skill worth mastering.
The beauty of creating a paper cone lies in its simplicity. With just a square or circular piece of paper, a few folds, and a bit of adhesive, you can transform this humble material into a versatile three-dimensional form.
The process is not only practical but also a delightful way to engage your creativity.
In this guide, we will walk you through How to Make a Cone Out of Paper, exploring different variations and uses for this basic shape.
Whether you’re a beginner or a seasoned paper crafter, you’ll discover that making a paper cone is a craft that bridges the gap between artistry and utility.

How to Make a Cone Out of Paper?
Here are the steps and the paragraph descriptions:
Make A Paper Disc
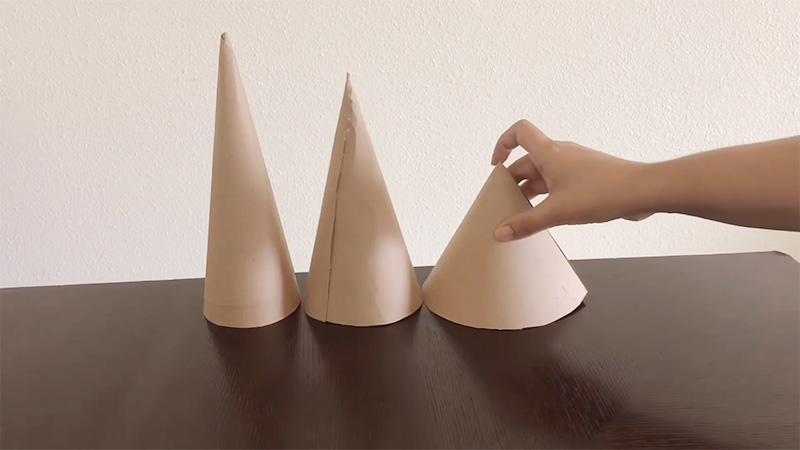
The height of your cone will be determined by the radius of your circle. The larger the radius, the taller the cone.
If you choose to make your own disc, do your best to make the shape as round as possible. Improper measurements will have a big effect on your cone’s result.
Draw A Triangle Wedge
Use the template to cut out two sides from the circle to make your wedge. To draw your own wedge, make a mark in the centre of the disc.
Draw out two straight lines from the centre point to make a wedge with your ruler. If the lines are closer together, it will make a smaller wedge, which will result in a cone with a broad bottom.
Cut The Triangle Wedge Out Of The Circle
To make a cone with a small bottom, cut out a larger triangle wedge. Use scissors or a precision knife to cut out your wedge as straight as possible. If you run into any cutting mishaps, you will probably need to start over again.
Bring The Cut Sides Of Your Disc Together
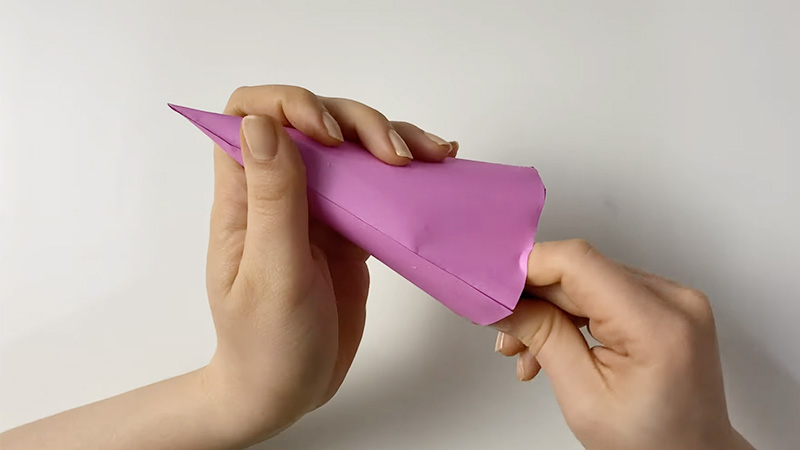
For your cone shape, bring one cut end of your disc over to the other in a cone shape.
Hold it together and make sure the lower ridge of both sides overlaps evenly. With this, your disc should have the desired cone shape you’re looking for.
Tape The Inside Of The Cone Closed
Once you tape the two sides side by side, the paper makes a cone; tape the inside of the cone by bridging the two sides so that they slightly overlap and bridging the overlap with tape. With that done, your cone should be ready to go.
Decorate Your Cone As You Wish
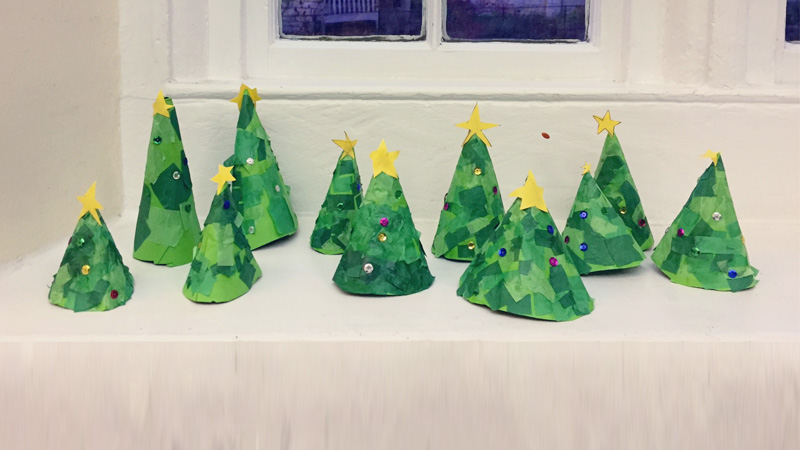
You can use paint, stickers, glitter, or any other materials to make your cone more colourful and attractive.
You can also add some details, such as eyes, nose, mouth, ears, or horns if you want to make your cone look like an animal or a character.
Use your cone for various purposes. You can use your cone as a hat, a horn, a nose, a party favour, or anything else you can think of.
You can also make multiple cones and arrange them in different ways, such as stacking them, hanging them, or attaching them to other objects.
Store your cone properly when not in use. To preserve your cone for longer, you should keep it away from moisture, dust, sunlight, and heat sources. You can also wrap it in plastic or paper to protect it from damage.
What Are Some Other Shapes I Can Make Out Of Paper?

Paper crafting offers a wide range of possibilities for creating various shapes.
Here are the shapes you can make out of paper, along with brief descriptions of each:
Origami Box
Craft a versatile origami box that can be used for gifting, storing small items, or as a decorative piece. These boxes come in various sizes and styles, allowing you to customize them for different purposes.
Paper Flowers
Create a vibrant bouquet of paper flowers. There are numerous flower designs to choose from, such as roses, lilies, and daisies. These paper blooms make charming decorations for events or home décor.
Paper Stars
Fold and assemble paper stars using strips of paper. They are often used in crafting mobiles, garlands, or as standalone ornaments. Paper stars can add a touch of whimsy and charm to any space.
Paper Hearts
Craft paper hearts, either flat or 3D, which are perfect for Valentine’s Day cards, romantic decorations, or heartfelt gifts. These iconic symbols of love are simple and fun to make.
Paper Animals
Origami isn’t limited to cranes; you can fold paper into various animals like frogs, butterflies, and elephants.
Each animal has its unique folding pattern, making it a delightful and educational crafting experience.
Paper Snowflakes
Design intricate paper snowflakes by folding and cutting paper. These delicate creations are often used for winter-themed decorations or as ornaments during the holiday season.
Paper Airplanes
Fold the paper into sleek and aerodynamic paper aeroplanes. Experiment with different designs to see which one can glide the farthest or perform acrobatic tricks. It’s a fun activity for both kids and adults.
Paper Lanterns
Craft decorative paper lanterns in various shapes and sizes. They can be illuminated with candles or LED lights, creating a warm and inviting ambience for special occasions or outdoor gatherings.
Paper Geometric Shapes
Explore the world of geometric paper shapes by making cubes, pyramids, and other 3D figures. These can be used for educational purposes, as desk decorations, or as part of larger geometric art projects.
Paper crafting offers a diverse range of creative possibilities, allowing you to transform simple sheets of paper into a variety of shapes, both practical and decorative.
Whether you’re a novice or an experienced paper crafter, these shapes provide a canvas for your imagination to flourish.
What Not To Do While Making A Cone Out Of Paper?

Creating a paper cone can be a straightforward task, but there are common mistakes to avoid.
Here are the things not to do when making a paper cone, along with explanations for each:
Using Inadequate Paper
Avoid using paper that is too flimsy or too thick. Inadequate paper can result in a cone that doesn’t hold its shape well or is challenging to fold properly.
Ignoring Precision in Measurements
Failing to measure and cut accurately can lead to uneven edges or a cone that doesn’t close properly. Always measure carefully before cutting your paper.
Neglecting a Properly Aligned Seam
When forming the cone, make sure the seam aligns neatly from top to bottom. A misaligned seam can cause an unstable and crooked cone.
Using Insufficient Adhesive
If you’re using adhesive to secure the cone, ensure you use enough to create a strong bond. A poorly glued seam can result in the cone coming apart.
Overlapping Excess Paper
Avoid overlapping the paper excessively when closing the cone. Too much overlap can make it challenging to secure the seam and may result in a bulky and unattractive cone.
Neglecting to Secure the Base
If the base of the cone isn’t properly secured, it can easily unravel. Always reinforce the base with glue or tape to ensure stability.
Creating an Uneven Top
When trimming the top of the cone to make it level, take care not to cut unevenly. An uneven top can make the cone appear lopsided.
Ignoring Proper Sizing
If you’re making a cone to hold specific items, ensure it’s appropriately sized. Neglecting this can result in items not fitting inside or falling out.
Rushing the Process
Rushing through the steps can lead to careless mistakes. Take your time when folding and assembling the cone to ensure a clean and polished result.
By being mindful of these common mistakes, you can create a well-crafted paper cone that serves its purpose effectively, whether it’s for holding snacks, party favours, or other items.
FAQ
Select sturdy paper, such as construction paper or cardstock, for durability. The paper’s thickness and colour depend on your intended use. Standard printer paper works well for practice cones.
Yes, you can. Simply fold the paper so that the loose flap tucks under the layers, holding the cone together without adhesive. However, using glue or tape ensures a more secure and stable cone.
The size depends on your project’s requirements. Measure the paper’s dimensions based on the desired height and circumference of the cone.
You can use a ruler or a circular object to trace a circle and then cut it out for a round base.
Absolutely! Once you’ve created the cone, it’s a blank canvas for your creativity. Decorate it with markers, stickers, paint, or even wrapping paper to match your theme or occasion.
Paper cones have numerous applications. They can be used for holding snacks, seedling pots for gardening, math projects, decorative centrepieces, and even as a unique way to present small gifts or party favours. Their versatility makes them a valuable crafting tool.
Conclusion
Creating a paper cone is a testament to the charm and versatility of paper as a creative medium.
As you’ve learned in this guide, it takes only a few simple steps to transform a flat sheet into a functional and visually appealing cone.
Whether you’re crafting it for practical purposes like holding snacks or using it as a decorative element, a well-made paper cone can elevate any occasion.
The beauty of mastering the art of making paper cones lies in its adaptability. With a myriad of possible sizes and applications, this humble shape is a canvas for your imagination.
So whether you’re engaging in a crafting session with children, preparing for a party, or exploring mathematical concepts, the paper cone is a classic, uncomplicated tool that has stood the test of time.
Leave a Reply