In an era marked by the importance of personal health and community well-being, the craft of making a fabric face mask has emerged as a simple yet impactful skill.
Fabric face masks have become an essential accessory for protection against airborne pathogens and as a means of personal expression and solidarity.
This guide will walk you through the art of creating a fabric face mask step by step.
From selecting the right materials to sewing techniques and customization options, you’ll gain the knowledge and confidence to craft a functional and stylish face mask that promotes safety and reflects your unique style.
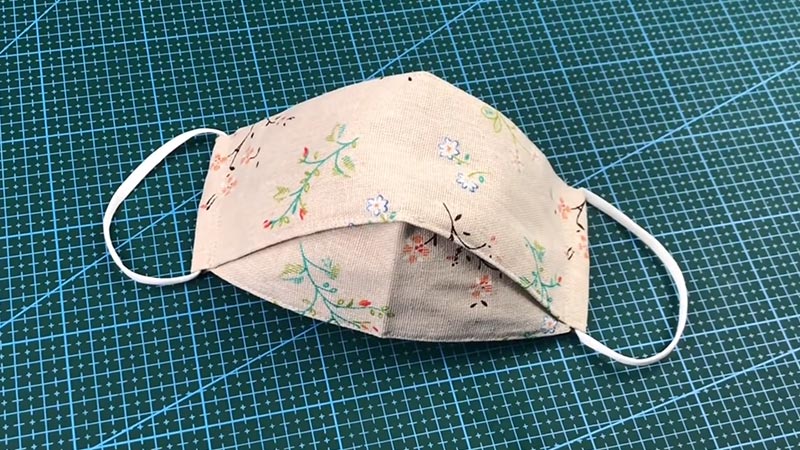
How to Make a Face Mask With Fabric?
In light of recent events, wearing face masks has become a crucial part of our daily lives. Making your own fabric face mask is a sustainable choice and allows for customization to suit your style.
Here’s a step-by-step guide to creating a simple yet effective fabric face mask.
Materials Needed:
- Cotton fabric (two pieces, 10×6 inches each)
- Elastic bands (two pieces, 7 inches each)
- Sewing machine or needle and thread
- Scissors
- Pins
- Fabric marker or chalk
Step 1: Prepare Your Workspace
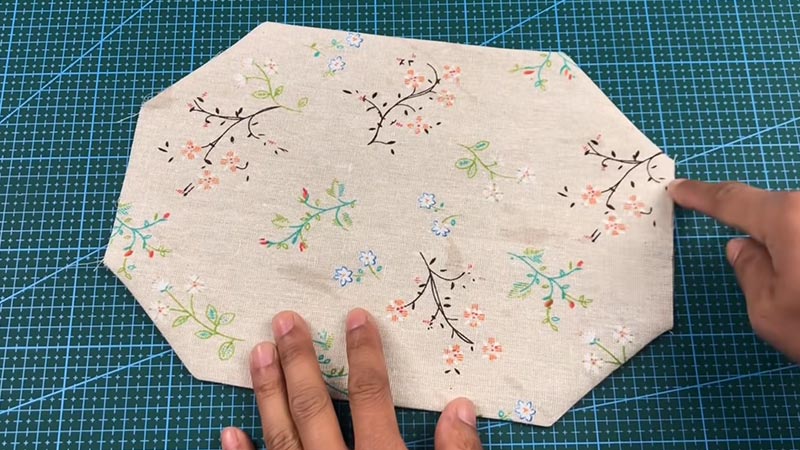
Set up a clean, clutter-free workspace with good lighting. Make sure you have all your materials and tools ready to go.
When you’re using a sewing machine, ensure it’s clean and in good working order. Having a tidy workspace will help you work efficiently.
Step 2: Cut Fabric Pieces
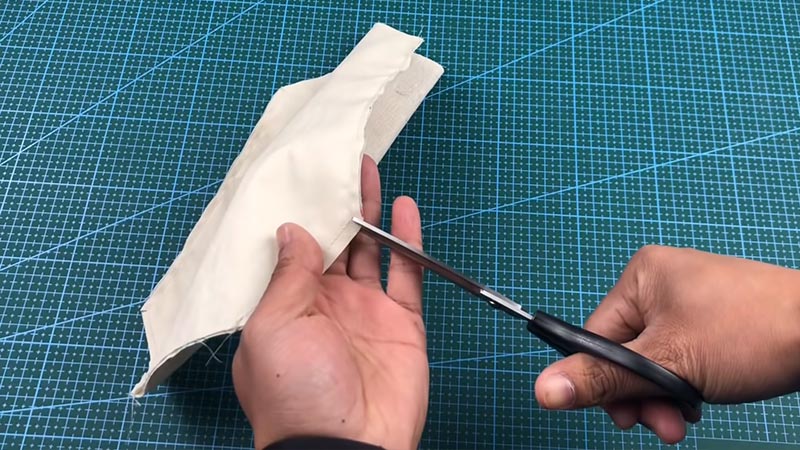
Lay your chosen cotton fabric flat on your work surface. Using a ruler or a cutting mat, measure and mark two 10×6 inches rectangles on the fabric.
Use sharp fabric scissors to cut along the marked lines. It’s important to cut accurately for a well-fitting mask.
Step 3: Fold and Pin
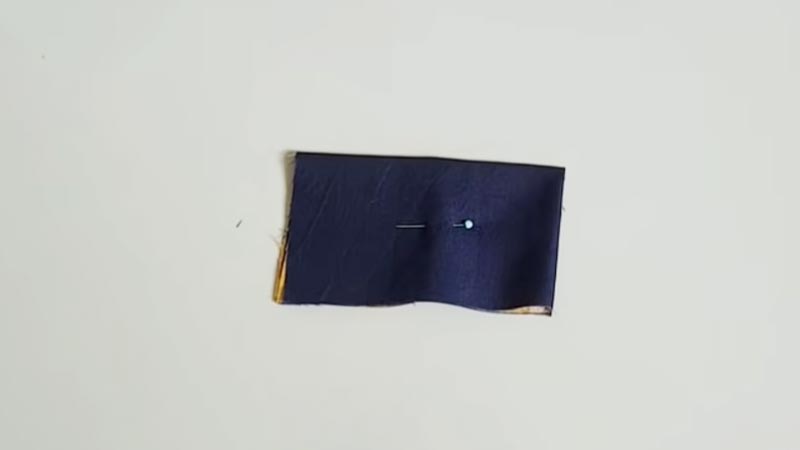
Take one of the fabric rectangles and fold it in half lengthwise, with the right sides (the printed or colorful side) facing each other.
Align the shorter edges perfectly and use straight pins to secure the layers together along the open edges. This will help prevent the fabric from shifting during sewing.
Step 4: Mark Seam Allowance
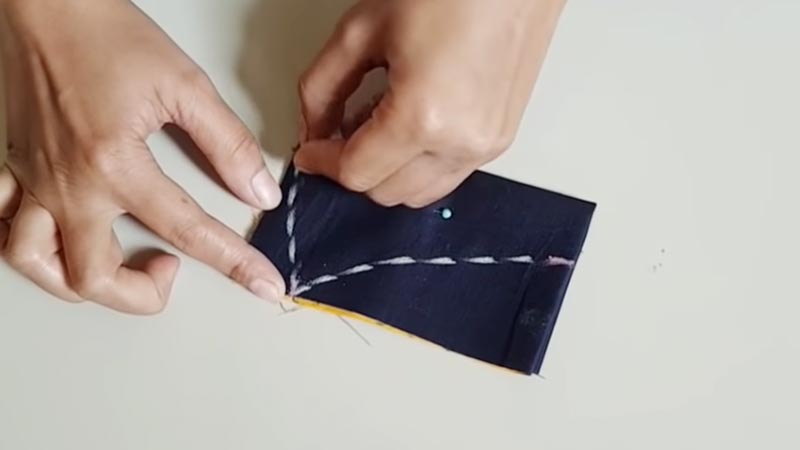
Mark an ¼ inch seam allowance along the pinned edges using a fabric marker or chalk. This seam allowance is essential for creating a sturdy mask with secure seams. It serves as a stitching guide.
Step 5: Stitch the Sides
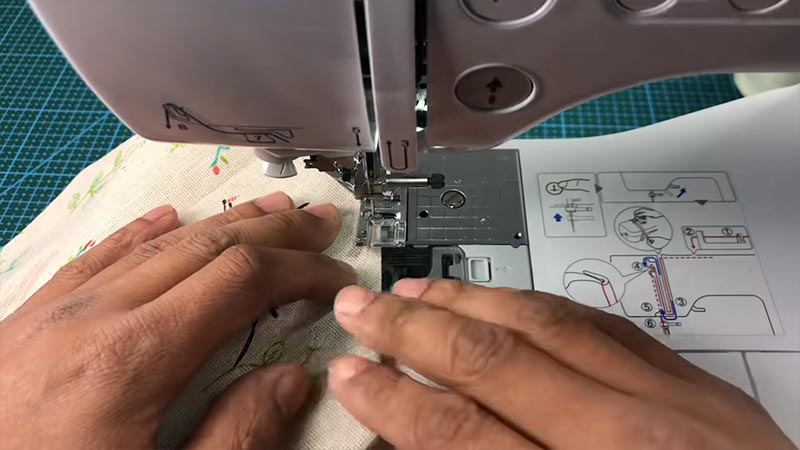
Now, it’s time to sew the sides of the fabric together. If you’re using a sewing machine, use a straight stitch and sew along the marked edge, removing the pins as you go.
If sewing by hand, use a running stitch or backstitch to secure the edges. Be sure to backstitch at the beginning and end of your seams for added durability.
Step 6: Turn Right Side Out
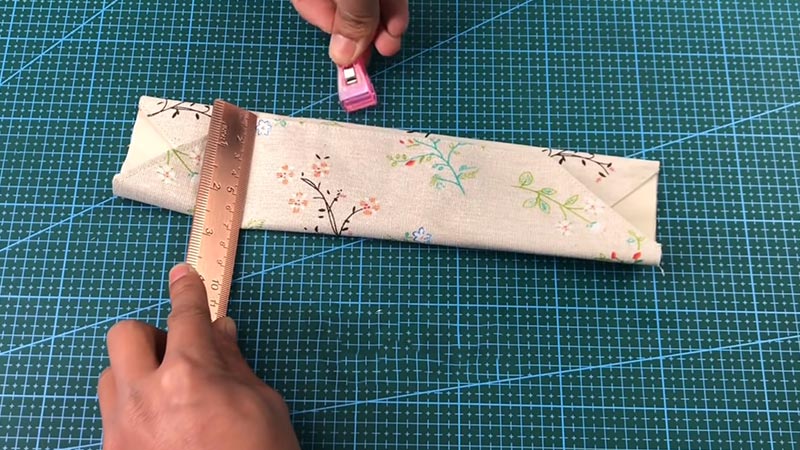
After sewing both sides, turn the fabric rectangle right side out through the open top edge.
Use your fingers or a blunt tool to gently push out the corners to ensure they are sharp and well-defined. This will give your mask a neater appearance.
Step 7: Create Pleats
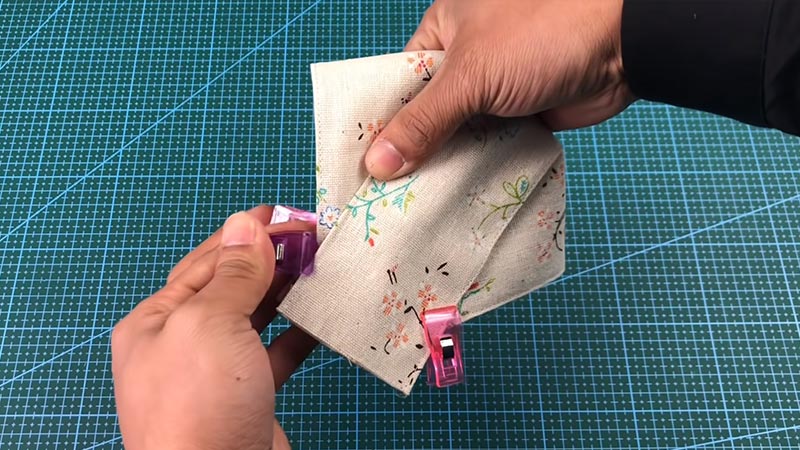
When you prefer a contoured fit for your mask, create three equally spaced pleats along the width of the mask. To do this, fold the fabric like an accordion, with each pleat about ½ inch deep.
Pin the pleats in place, making sure they face downward toward the bottom edge of the mask. This will provide better coverage and a snug fit over your nose and chin.
Step 8: Attach Elastic Bands
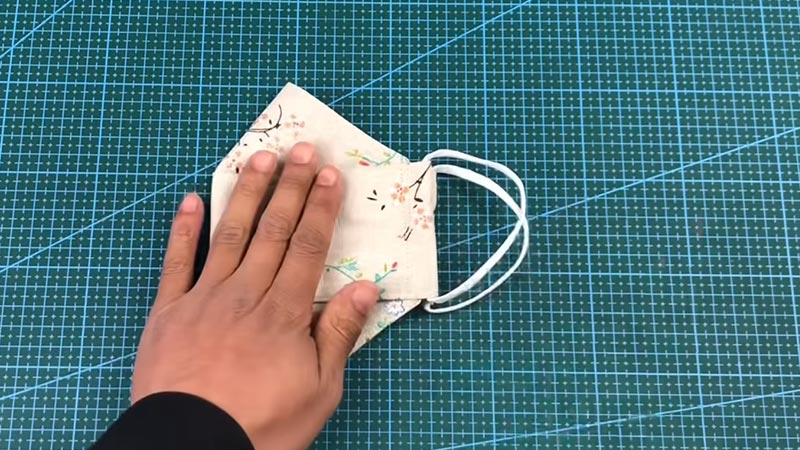
Take one elastic band and fold it in half. Insert the folded end of the elastic band into the top corner of the mask, sandwiching it between the two fabric layers.
Secure the elastic with a few stitches, ensuring it’s firmly attached to prevent it from coming loose during use.
Step 9: Secure the Bottom Edge
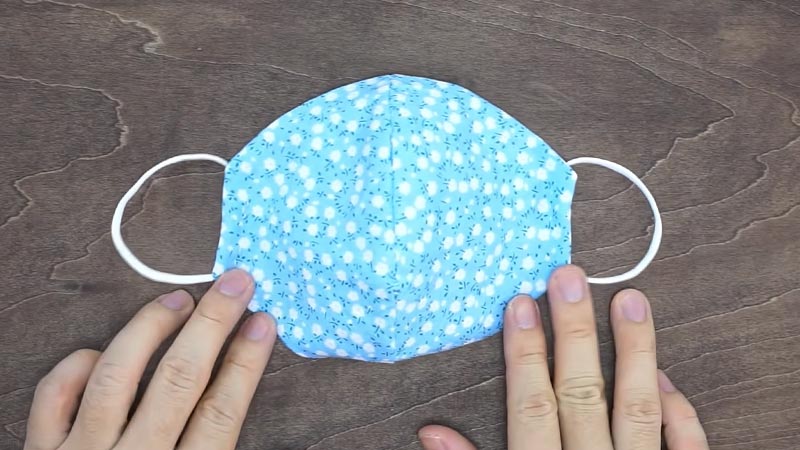
For additional protection, you can fold up the bottom edge of the mask by ¼ inch and stitch it in place.
This creates an extra layer along the bottom, which can enhance filtration and add durability to your mask.
Step 10: Final Stitching
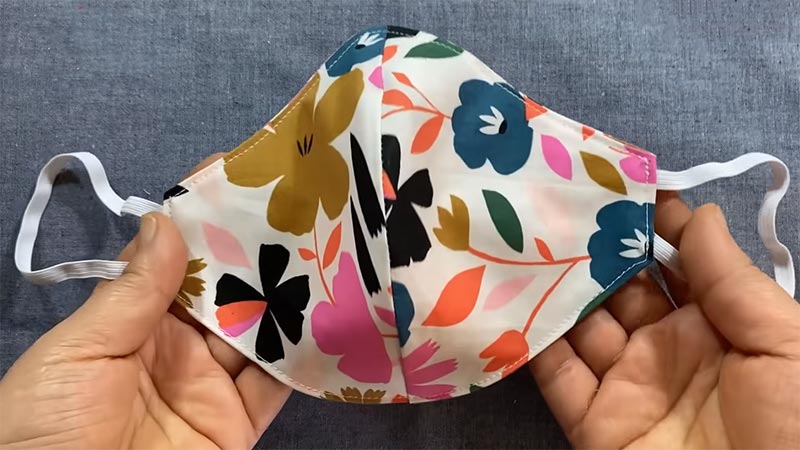
Now, stitch along the top edge of the mask, ensuring that you secure any pleats and elastic bands in place.
Make multiple passes over the elastic attachments to reinforce them, as they will be most stressed when you put on and remove the mask.
Step 11: Finishing Touches
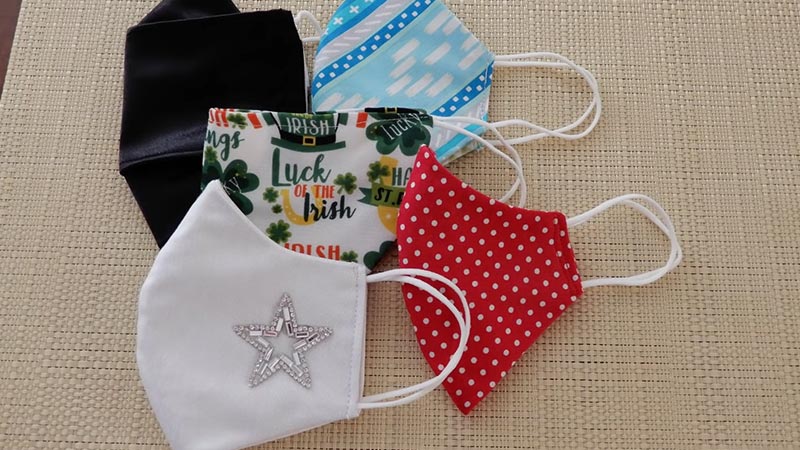
Trim any loose threads from your mask using scissors or snippers. Press it with a warm iron to give your mask a polished appearance.
This helps flatten seams and pleats, making the mask more comfortable to wear and ensuring it looks tidy and well-made.
Why Should You Make and Wear a Face Mask?
In today’s rapidly changing world, the simple act of donning a face mask has taken on profound importance. This small yet powerful accessory has become a critical tool in our collective effort to safeguard public health.
Making and wearing a face mask is important for several compelling reasons:
Community Protection
Face masks are critical in preventing the spread of infectious diseases, especially respiratory illnesses like COVID-19.
Wearing a mask helps protect those around you, particularly vulnerable populations who may be more susceptible to severe complications.
Source Control
Masks are a barrier to contain respiratory droplets that may be emitted when a person talks, coughs, or sneezes. This is particularly crucial because some individuals may be virus carriers without showing symptoms.
Self-Protection
A well-fitted mask offers a degree of protection to the wearer by reducing the inhalation of respiratory droplets that may contain viruses or other harmful particles.
Reduced Transmission Rates
Studies have shown that mask-wearing can significantly decrease the transmission of respiratory viruses, including COVID-19. This helps to “flatten the curve” and lessen the burden on healthcare systems.
Responsible Social Behavior
Wearing a mask demonstrates a sense of responsibility and consideration for the health and well-being of others. It’s a tangible way to show solidarity in the collective effort to combat a public health crisis.
Protection in High-Risk Settings
Masks are especially important when maintaining physical distancing may be challenging, such as in crowded public spaces, public transportation, or healthcare settings.
Economic Benefits
By reducing the spread of diseases, face masks contribute to a quicker recovery of economies by allowing businesses to operate with greater safety measures in place.
Preventing Asymptomatic Spread
You may still carry a virus even if you feel healthy and show no symptoms. Wearing a mask helps protect others from potential exposure.
Sustainable and Cost-Effective Solution
Making your own fabric face mask is a cost-effective and sustainable alternative to disposable masks. It allows for multiple uses and reduces the environmental impact of single-use items.
Legal Requirements and Workplace Policies
In many regions, wearing face masks is legally required in specific settings. It’s important to stay informed about local guidelines and adhere to workplace policies.
What Kind of Fabric Should You Use for a Face Mask?
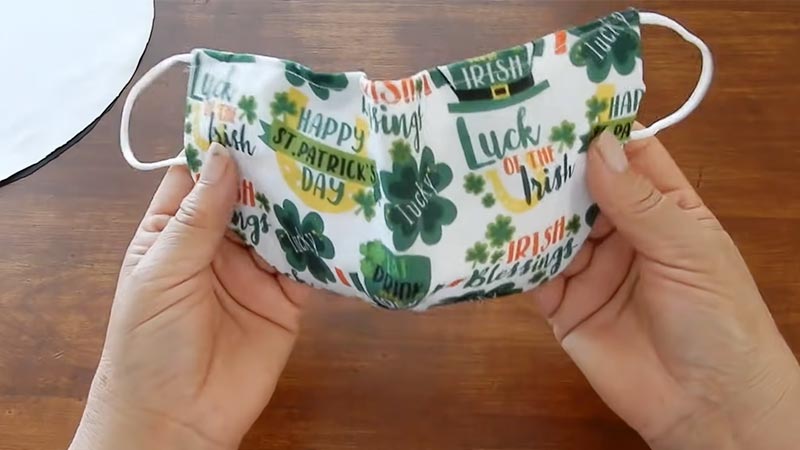
Choosing the right fabric for a face mask is essential to ensure both comfort and effectiveness.
When making a fabric face mask, consider the following characteristics and types of fabrics:
Multiple Layers
A good face mask typically consists of multiple layers of fabric. The more layers you have, the better the filtration and protection. You can use a combination of different fabrics to achieve this.
Tightly Woven Fabrics
Opt for tightly woven fabrics, as they provide better filtration and protection.
Fabrics with a high thread count, such as cotton, are a good choice. Pillowcases, sheets, and quilting fabric often meet this criterion.
Breathability
While it’s essential to have tightly woven fabric, it should still allow for easy breathing.
Some tightly woven fabrics can be less breathable, so you may need to balance protection and comfort.
Natural Fibers
Natural fibers like cotton are generally preferred over synthetic ones because they are comfortable, breathable, and less likely to cause skin irritation. However, some synthetic fabrics can also work well when combined with natural fibers.
Avoid Stretchy Fabrics
Elastic materials like spandex or stretchy T-shirt fabric are not ideal for making masks as they may not provide a snug fit and can lose shape.
Filter Pocket
Consider including a pocket for adding an additional filter layer. This allows you to insert disposable filters or layers of non-woven fabric (like vacuum cleaner bags or coffee filters) to enhance filtration.
Easy to Wash
Choose fabrics that are easy to wash and maintain. You’ll want to wash your mask after every use, so durability and colorfastness are important.
Avoid Fabrics with Harmful Chemicals
Some fabrics may contain chemicals or dyes that can irritate the skin or may not be safe for prolonged contact with the face. Choose fabrics labeled as safe for skin contact.
Customization
If you want to personalize your mask, look for fabrics with patterns or colors you like. Just make sure they meet the other criteria for a good mask fabric.
Care For Your Fabric Face Mask
Caring for your fabric face mask is essential to maintain its effectiveness and keep it safe for continued use. Here are some important steps to follow:
Washing Frequency
Fabric face masks should be washed after every use, especially if they have been worn in public spaces. This helps remove any accumulated dirt, germs, or particles.
Hand Washing or Machine Washing
- Hand Washing: Fill a basin or sink with warm water and a mild detergent. Gently agitate the mask in the soapy water, paying special attention to the areas around the nose and mouth. Rinse thoroughly with clean water.
- Machine Washing: Place the mask in a laundry bag or pillowcase to prevent straps from getting tangled. Use a gentle cycle with warm water and a mild detergent.
Drying
- Air Dry: Lay the mask flat on a clean surface or hang it to air dry. Ensure it is completely dry before using it again.
- Avoid High Heat: Avoid using high heat settings in dryers, as it may cause the elastic bands to deteriorate.
Avoid Harsh Chemicals
Do not use bleach or harsh chemicals to clean your fabric mask, as they can weaken the fabric and compromise its effectiveness.
Avoid Touching the Front
Always handle your mask by the ear loops or ties. Avoid touching the front of the mask, as this is where most contaminants are collected.
Storage:
Store your clean face mask in a clean, dry place. Avoid placing it on surfaces that may have come into contact with contaminants.
Consider using a breathable bag or container to protect your mask when not in use.
FAQs
What materials do I need to make a fabric face mask?
To make a fabric face mask, you’ll need cotton fabric (10×6 inches each), elastic bands (two pieces, 7 inches each), a sewing machine or needle and thread, scissors, pins, and a fabric marker or chalk.
Can I use different types of fabric for the mask?
Yes, you can use various types of tightly woven fabrics like cotton, linen, or poly-cotton blends. It’s important to ensure breathability and effectiveness.
Do I need a sewing machine to make a face mask?
While a sewing machine makes the process faster, you can also sew a face mask by hand using a needle and thread. It may take a bit longer, but it’s entirely possible.
How do I care for and clean my fabric face mask?
Fabric face masks should be washed after every use. They can be hand-washed or machine-washed with a mild detergent.
Can I take any additional steps to enhance the mask’s protection?
You can add a pocket for inserting disposable filters or layers of non-woven fabric.
Wrap Up
In mastering the art of crafting a fabric face mask, you’ve acquired a practical skill and contributed to a collective effort for a healthier, safer community.
By handcrafting your own mask, you’ve tailored a protective barrier to your unique style and comfort. Remember, the meticulous steps you follow ensure both functionality and fashion, emphasizing that safety doesn’t compromise personal expression.
Each stitch reflects a commitment to the well-being of yourself and others. As you don your handmade creation, take pride in knowing that you’ve taken an active role in safeguarding public health a small act with a monumental impact.
Leave a Reply