Embarking on the journey to replicate gold’s rich and luminous essence with colored pencils requires a nuanced approach.
Crafting a convincing gold color involves a meticulous interplay of shades, layering techniques, and a keen understanding of light and shadow.
Choosing the right hues, from a vibrant yellow base to warm oranges and subtle browns, lays the foundation for capturing the metallic brilliance.
The judicious use of white for highlights further enhances the reflective quality. Precision and practice become paramount as artists navigate the process of blending and detailing.
This guide explores the artistry behind creating a dazzling gold effect with colored pencils, unlocking the secrets to infusing brilliance into your artwork.
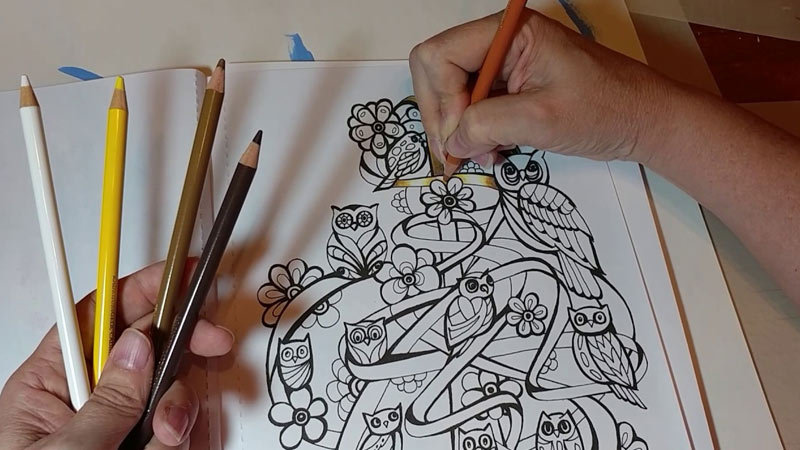
How to Make Gold Color With Colored Pencils? 8 Steps
Creating a convincing gold color with colored pencils involves blending and layering different shades to capture the metallic sheen and richness associated with gold.
Follow these steps to achieve a realistic gold effect:
Materials Needed:
- Colored pencils (yellow, orange, brown, and white)
- Quality paper with a smooth surface
- Pencil sharpener
- Eraser
Step-by-Step Guide:
1. Choose Your Colors
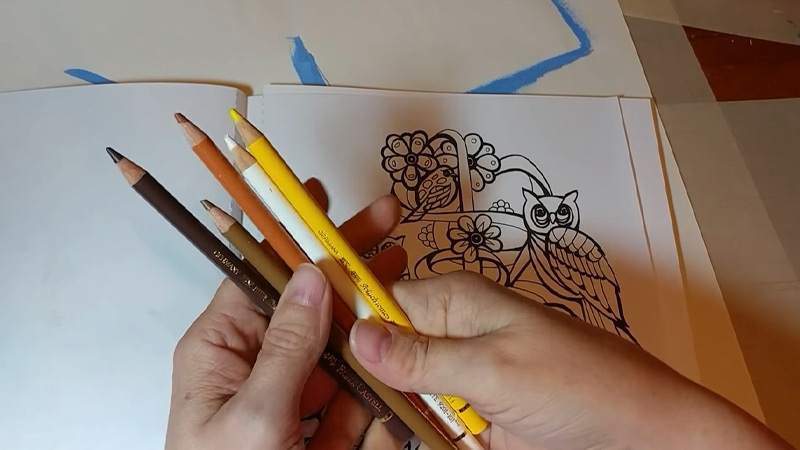
Selecting the right shade of yellow is essential for creating a convincing gold color. Aim for a vibrant, medium-toned yellow that forms a solid foundation.
Consider the undertones of the yellow; a slightly warm or golden hue can enhance the richness of the gold. This initial color choice will set the overall tone for your artwork.
2. Layer with Orange
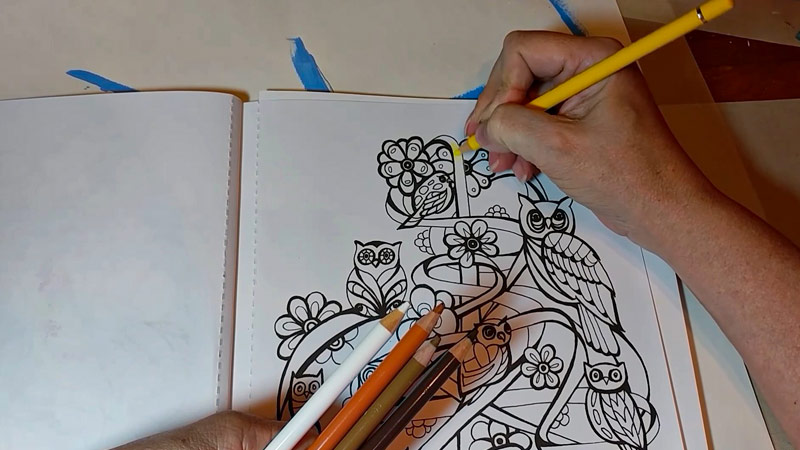
As you begin layering with orange, focus on the art of subtlety. Use short and controlled strokes to gradually build up the intensity of the color.
Concentrate the orange in areas where the light hits the most, such as on raised surfaces or edges.
This layering technique not only adds vibrancy but also creates a nuanced transition from yellow to the warmer tones of gold.
3. Add Brown Undertones

Introducing a light brown adds depth and warmth to your gold color. Apply this color sparingly, strategically placing it in areas where shadows naturally occur.
Think about the contours of your subject and use the brown undertones to emphasize these shadows, adding a sense of realism and three-dimensionality to your gold illustration.
4. Build Layers
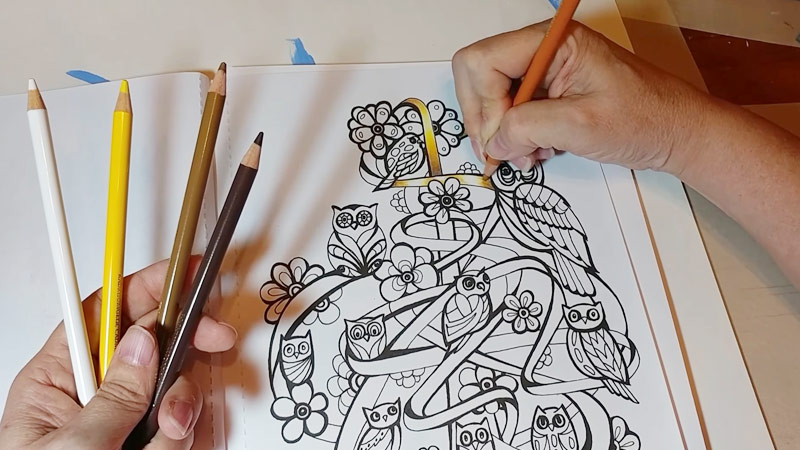
Building layers is where the magic happens. Alternating between yellow, orange, and light brown creates a dynamic interplay of colors.
Experiment with the pressure on your pencils to achieve different tones and intensities. This layering technique mimics the reflective quality of gold, capturing the way it interacts with light and shadow.
5. Highlight with Yellow and White
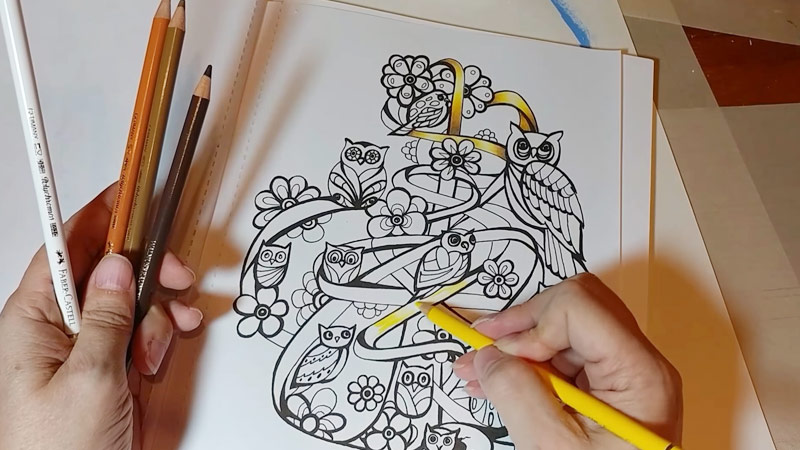
Emphasizing highlights with a brighter yellow and a touch of white is like adding the finishing touches to your gold masterpiece.
Apply these colors strategically on areas that catch the most light, such as edges and surfaces facing the light source.
White, when used sparingly, not only brightens the highlights but also enhances the overall reflective quality of the gold.
6. Blend with a Light Hand
The blending stage is crucial for achieving a seamless and polished look. Whether you use a blending tool or your fingertip, do it with a light hand.
The goal is to smooth out visible pencil strokes while preserving some texture, contributing to the metallic effect. Avoid over-blending to maintain the character of your gold illustration.
7. Refine and Detail
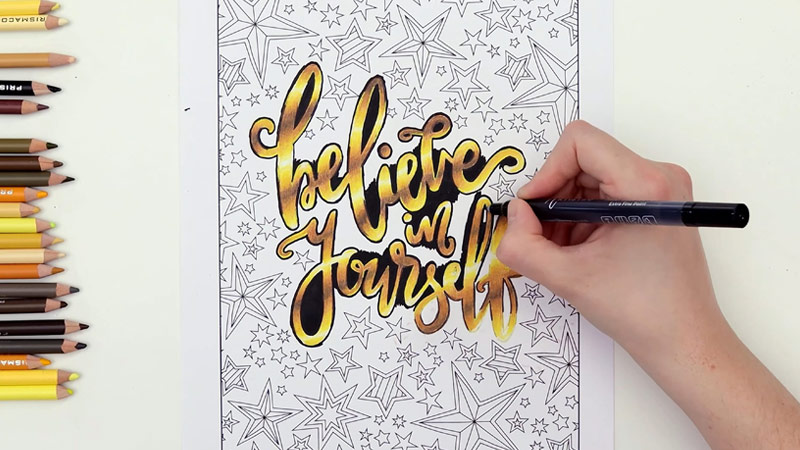
Sharpen your pencils regularly during this step to ensure precision in adding fine details. Use a sharp pencil to enhance intricate shading, especially in areas where light and shadow meet.
Pay attention to refining edges and surfaces, erasing any unintended marks or excess color. This refining process elevates the level of realism in your gold rendering.
8. Experiment and Practice
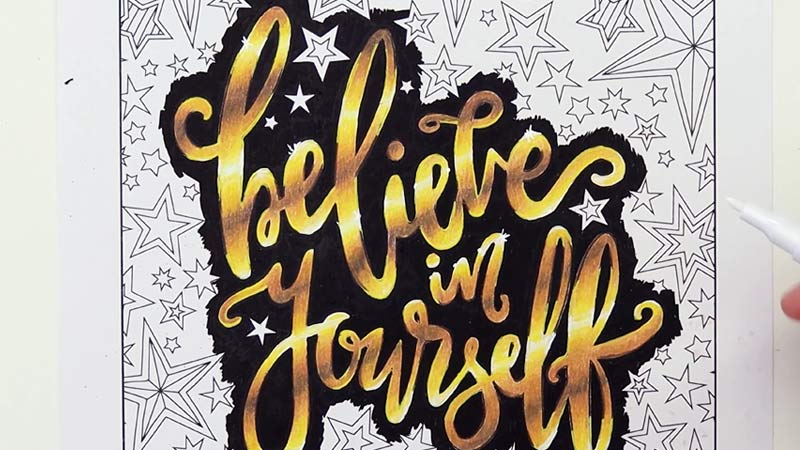
Allow yourself the freedom to experiment with different color combinations and techniques. Use a separate sheet of paper for practice to understand the behavior of your colored pencils and refine your skills.
This experimentation phase is an opportunity to fine-tune your approach, ensuring that you achieve the perfect gold shade that complements your artistic vision.
Tips for Coloring Gold With Colored Pencils
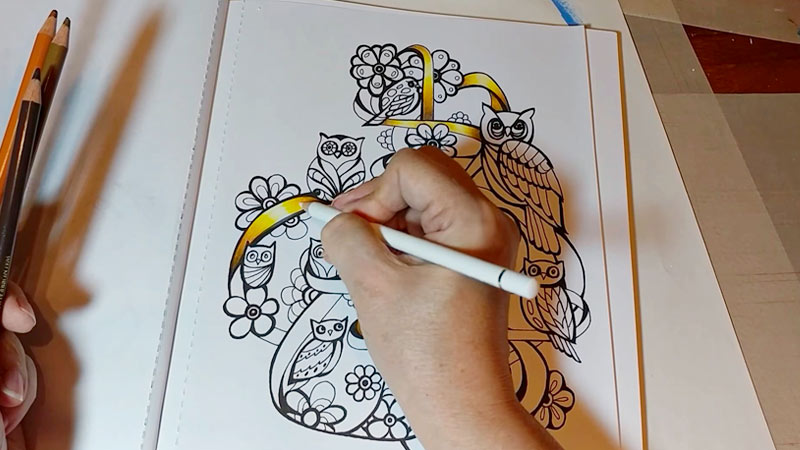
Creating a realistic gold color with colored pencils requires a thoughtful approach and a few key techniques.
Here are some tips to help you achieve a convincing gold effect:
Select the Right Colors
- Begin with a medium-toned, vibrant yellow as your base color.
- Choose an orange with warm undertones to layer over the yellow for added richness.
- Introduce a light brown for depth and to mimic the shadows in gold.
Layering Technique
- Use short, controlled strokes to gradually layer the colors.
- Concentrate the orange on areas that would catch highlights, such as edges and raised surfaces.
- Start with a light touch and build up the intensity slowly.
Experiment with Pressure
- Vary the pressure on your colored pencils to achieve different tones and depths.
- Light pressure can create subtle highlights, while heavier pressure adds depth and richness.
- Experimenting with pressure allows you to capture the reflective quality of gold.
Use White Sparingly
- Employ a brighter yellow and a touch of white to emphasize highlights.
- Apply white sparingly to areas that catch the most light, enhancing the metallic appearance.
- White can also be used to blend and smooth transitions between colors.
Incorporate Texture
- Avoid over-blending to maintain some texture, contributing to the metallic effect.
- Use the texture of the paper to your advantage, allowing it to shine through in certain areas.
- Experiment with different strokes to create texture, especially in areas with intricate details.
Pay Attention to Shadows
- Introduce the light brown strategically to create shadows where they naturally occur, such as corners and crevices.
- Consider the light source in your composition and apply shadows accordingly for a realistic look.
Regularly Sharpen Pencils
- Keep your pencils sharp for precision in detailing and fine work.
- Sharp pencils allow you to add intricate details, enhancing the overall realism of your gold illustration.
Blend with Care
- Use a blending tool or your fingertip with a light touch to blend colors together.
- Blend carefully to smooth out pencil strokes while maintaining some texture.
- Avoid over-blending, as it can diminish the vibrancy and depth of your gold color.
Practice on Scrap Paper
- Before working on your final piece, practice on scrap paper to refine your technique.
- Experiment with different color combinations and find the right balance for your specific artwork.
Step Back and Assess
- Periodically step back from your work to assess the overall effect.
- Check for areas that may need more layering, blending, or detailing to achieve the desired gold appearance.
FAQs
Should I use white to enhance the gold color?
Yes, sparingly. Use a brighter yellow and a touch of white for highlights without overpowering.
How can I avoid over-blending when creating gold with colored pencils?
Blend lightly with a tool or fingertip to maintain texture, preserving vibrancy and depth.
What role does pressure play in achieving a realistic gold effect?
Vary pressure for subtle highlights (light pressure) and depth (heavier pressure).
Why is considering shadows important when coloring gold?
Introduce light brown strategically for shadows, enhancing the realism of your gold illustration.
To Recap
Mastering the art of creating a gold color with colored pencils involves a delicate balance of color selection, layering, and blending techniques.
By starting with a vibrant yellow base and gradually incorporating warm oranges and light browns, artists can achieve the richness and depth associated with gold.
The judicious use of white for highlights, along with careful blending and consideration of shadows, adds a reflective quality that mimics the metallic nature of gold.
Regularly sharpening pencils and practicing on scrap paper contribute to refining the skill. Through experimentation and attention to detail, artists can unlock the secrets to producing stunning and realistic gold hues in their colored pencil artwork.
Leave a Reply