Embarking on the journey of crafting your own handkerchief is a venture into the realm of personalized accessories.
This simple yet fulfilling endeavor allows you to fashion a functional piece that complements your style and serves a practical purpose in daily life.
Choosing the right fabric lays the foundation for comfort, while precise measurements ensure a well-fitted final product.
The finishing touches, such as preventing fraying and adding personal embellishments, add a distinctive touch to your creation.
Whether you’re an experienced crafter or a novice, this guide will walk you through the steps, empowering you to craft a handkerchief that meets your needs and showcases your unique flair.
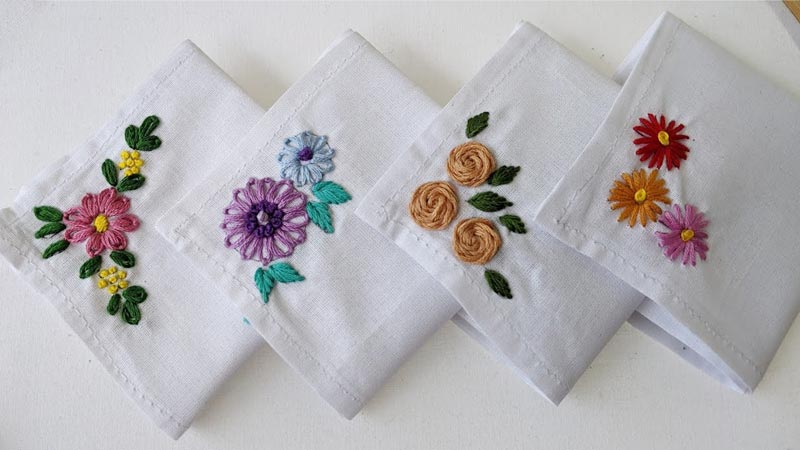
How to Make a Handkerchief?
Making a handkerchief is a wonderful way to add a personal touch to your daily essentials. Whether you’re a crafting enthusiast or just looking for a simple project, creating your own handkerchief can be satisfying.
Here’s a step-by-step guide on how to make a handkerchief:
Materials Needed:
- Fabric.
- Measuring Tools.
- Fabric Scissors.
- Sewing Machine.
- Thread.
Steps:
Select and Prepare the Fabric
Begin by choosing a suitable fabric for your handkerchief. Opt for lightweight, breathable materials like cotton, linen, or muslin, which are gentle on the skin.
It’s essential to wash and iron the fabric to ensure it’s clean and smooth since the handkerchief will come in close contact with your face. Determine your preferred size, typically around 12×12 inches, but feel free to adjust according to your liking.
Cut the Fabric
Use a measuring tape or ruler to mark the desired dimensions on your fabric. Carefully cut along the marked lines with fabric scissors.
Precision is crucial here to ensure your handkerchief has straight, clean edges. Take your time to make sure the corners are square and that the fabric remains flat and even.
Finish the Edges
Prevent fraying by finishing the edges. There are various methods to achieve this. Hemming is a classic option: fold the edges over twice and sew them in place.
Alternatively, if you have a serger, use it to seal the edges quickly. Pinking shears create a zigzag edge that minimizes fraying. Hand-sew or machine-sew the edges for a secure finish.
Embellishments
This step allows for personalization. Consider embroidery, lace trim, or fabric paint if you’d like to add a unique touch. You can embroider your initials or a decorative pattern.
Adding lace along the edge can impart a delicate, vintage feel. Fabric paint or fabric markers offer endless possibilities for creative designs that reflect your personality.
Press and Fold
Before using or storing your handkerchief, give it a final touch. Iron it once more to ensure it’s smooth and free of wrinkles.
This enhances the appearance and makes it more comfortable to use. Neatly fold the handkerchief and place it with your other accessories, ready to be used whenever needed.
Quality Check
Take a moment to inspect your handkerchief. Ensure all edges are neatly finished and there are no loose threads or uneven seams.
Check for any stains or marks on the fabric. If you find any imperfections, address them promptly before moving on to the next step.
Wash and Iron
Consider giving your handkerchief a final wash and press when you haven’t already. This step ensures it’s fresh and clean before use.
Use a mild detergent, and avoid harsh chemicals that may irritate the skin. Ironing will provide a crisp, polished look, preparing your handkerchief for use or gifting.
Store or Gift
Decide whether you’d like to keep your handkerchief for personal use or give it as a thoughtful gift. If gifting, consider packaging it in a small, decorative box or wrapping it with a ribbon.
Store it in a clean, dry place when not in use. Having a handcrafted handkerchief on hand adds a personal touch to your daily essentials.
What Kind of Fabric Is Best for a Handkerchief?
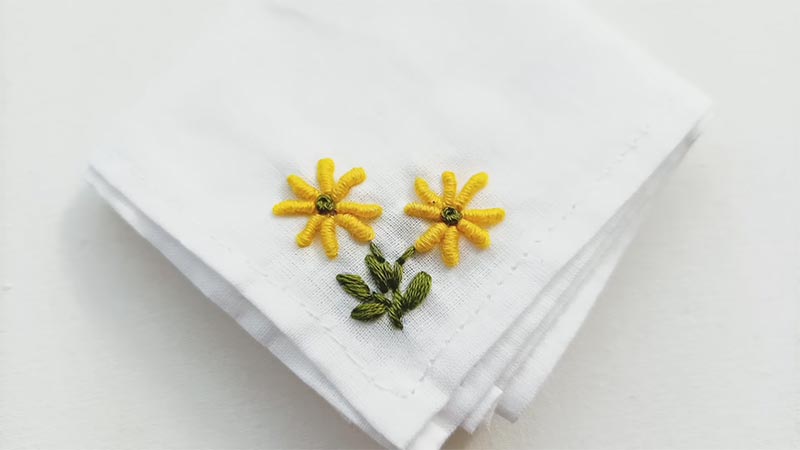
The best fabric for a handkerchief is one that is soft, breathable, and easy to work with.
Here are some popular choices:
Cotton
Cotton is one of the most common fabrics used for making handkerchiefs. It’s soft against the skin, highly absorbent, and easy to maintain. Cotton handkerchiefs are comfortable to use and come in various patterns and colors.
Linen
Linen is another excellent choice for handkerchiefs. It’s known for its breathability and moisture-wicking properties. Linen handkerchiefs are especially suitable for warm weather as they help keep you cool and dry.
Muslin
Muslin is a lightweight, plain-weave cotton fabric that’s soft and versatile. It’s a budget-friendly option for making handkerchiefs and is often used for its simplicity.
Silk
Silk handkerchiefs are luxurious and soft to the touch. They can be a bit more delicate and less absorbent compared to cotton or linen, but they make elegant accessories for special occasions.
Flannel
Flannel handkerchiefs are a warm and cozy choice, often used during the colder months. They are soft and comfortable, making them ideal for wiping your nose in chilly weather.
Bamboo or Bamboo Blend
Bamboo fabrics, either pure or blended with cotton, are environmentally friendly and known for their softness.
They are naturally antibacterial and moisture-wicking, making them a great choice for those with sensitive skin.
Which Is the Appropriate Size for a Handkerchief?
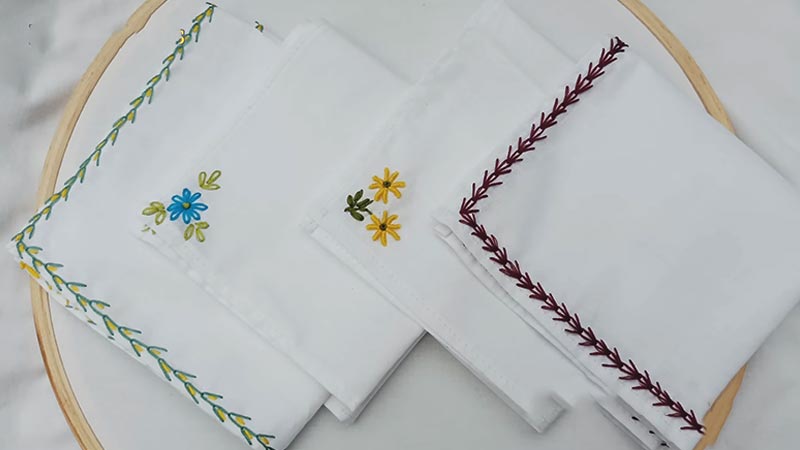
The appropriate size for a handkerchief can vary based on personal preference and its intended use. However, a standard size that is widely accepted is around 12×12 inches (30×30 cm).
Here are some key to consider when deciding on the size of a handkerchief:
Standard Size (12×12 inches)
This widely accepted size provides a practical balance between functionality and portability. It’s large enough to cover the nose and mouth comfortably, making it effective for its intended use.
This size is compact and easy to carry, making it convenient for everyday use. It’s a versatile option that suits a variety of situations.
Pocket-Friendly
The 12×12 inch size is designed to slip easily into pockets without adding bulk or discomfort.
This makes it a handy accessory to have on hand for unexpected needs, such as wiping hands, cleaning glasses, or offering to others in need.
Versatility
A 12×12-inch handkerchief is versatile enough to serve multiple purposes. Beyond its traditional role as a personal hygiene item, it can also be used as a fashion accessory, a pocket square, or even as a small cloth for minor cleaning tasks.
Alternative Sizes (9×9 to 16×16 inches)
Handkerchiefs can be found in various sizes to cater to different preferences and specific uses. For formal occasions or as pocket squares, smaller handkerchiefs around 9×9 inches may be preferred.
On the other hand, larger sizes, up to 16×16 inches, can provide more extensive coverage and are suitable for those who prefer a bit more fabric.
Personal Preference
The ideal handkerchief size ultimately depends on individual preferences and the intended purpose. Some may prioritize compactness, while others may prioritize coverage.
Consider your specific needs and comfort when choosing the right size for you.
Customization
When you’re making your own handkerchief, you have the creative freedom to choose any size that suits your needs and preferences.
This allows for a truly personalized accessory that caters to your specific requirements.
How Do You Prevent the Edges of the Handkerchief From Fraying?
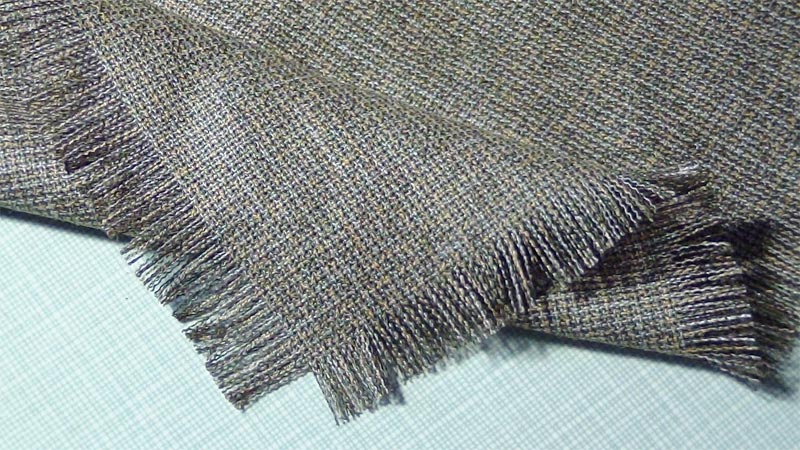
Preventing the edges of a handkerchief from fraying is crucial to ensure its longevity and neat appearance.
Here are several methods to achieve this:
Hemming
Hemming is a classic and widely used technique. It prevents fraying and provides a neat, professional finish to the edges.
Carefully fold the fabric over evenly, ensuring the stitches are secure. This method is versatile and suitable for a wide range of fabrics.
Serging
When you have access to a serger, this is a quick and effective way to finish the edges.
The serger trims excess fabric while simultaneously overcasting the edge, creating a clean and fray-resistant finish. It’s particularly handy for those who work with fabrics prone to fraying.
Pinking Shears
Pinking shears are a convenient tool for preventing fraying. The zigzag edge they create reduces the length of exposed threads, minimizing the likelihood of fraying.
This method is simple yet effective, making it a popular choice for those without access to a sewing machine.
Fray Check or Fabric Glue
Fray check or fabric glue provides a quick and easy solution. Apply a thin layer along the edge and allow it to dry.
This creates a seal that prevents fraying. It’s important to use a minimal amount to avoid stiffness.
Overlocking Stitch
The overlocking or zigzag stitch setting on a sewing machine is versatile for preventing fraying.
It creates a series of loops that lock the fabric threads, inhibiting fraying. This method works well on various fabrics and is relatively easy to execute.
Binding
Binding adds both a decorative element and prevents fraying. It involves attaching a strip of fabric, bias tape, or ribbon along the edge.
This method is popular for quilting projects and can be a creative way to finish the edges of a handkerchief.
French Seam
The French seam is a more intricate technique that encases the raw edge within the seam.
While it requires more skill, it provides a clean, finished look and effectively prevents fraying. This method is often used for delicate fabrics.
Iron-On Fusible Interfacing
Fusible interfacing, when applied along the edge, creates a barrier against fraying. This method is particularly useful for fabrics that are more prone to fraying. It’s important to follow the manufacturer’s instructions for proper application.
Tips for Making a Handkerchief
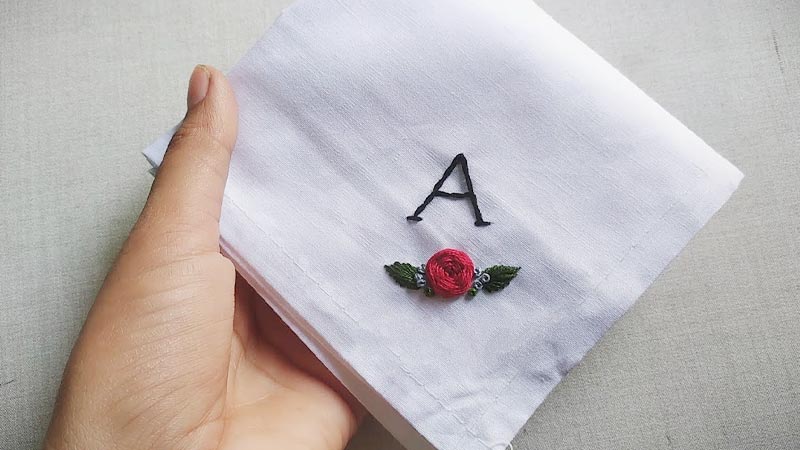
Creating a handkerchief can be a delightful and personalized endeavor. Whether you’re a seasoned crafter or a beginner, here are some valuable tips to ensure your handkerchief turns out beautifully:
Fabric Selection
Choosing the right fabric is crucial. Opt for natural, breathable materials like cotton, linen, or muslin. These fabrics are gentle on the skin and provide comfort during use.
Consider the color and pattern that resonate with your personal style. A fabric with a pleasing texture or print can add a unique touch to your handkerchief.
Measure Twice, Cut Once
Take your time when measuring and cutting the fabric. Double-check the dimensions to ensure accuracy. Using a ruler or measuring tape, mark the fabric before cutting.
This step is crucial for achieving straight edges and consistent sizing, which are key to a well-crafted handkerchief.
Sewing Machine vs. Hand Sewing
Decide whether you’ll use a sewing machine or hand-sew your handkerchief. A sewing machine can provide faster and more uniform stitches, making it an excellent choice for those with experience.
On the other hand, hand-sewing allows for more intricate detailing and is a great option for beginners or those looking to add a personal touch.
Finishing Edges
Properly finishing the edges is essential to prevent fraying and ensure a polished look. Hemming involves folding the edges over twice and sewing them in place.
Serging provides a quick and clean finish if you have the equipment. Pinking shears create a zigzag edge, which also helps minimize fraying. Choose the method that best suits your skills and the tools available.
Personalize Your Creation
Infuse your personality into your handkerchief by adding unique embellishments. Embroidery, lace, or fabric paint can all be used to create a distinctive design.
Monograms, special patterns, or even a meaningful quote can make your handkerchief unique. This step allows you to express your creativity and make your handkerchief reflect your style.
Quality Assurance
Regularly inspect your work as you progress. Check for any loose threads, uneven seams, or imperfections in the fabric.
Addressing these issues promptly ensures a high-quality finished product that you’ll be proud to use or give as a gift.
Washing and Ironing
Consider giving your handkerchief a final wash and press. Use a mild detergent to clean it gently, and avoid harsh chemicals that may irritate the skin.
Ironing provides a crisp finish, enhancing your handkerchief’s appearance and comfort.
Storage and Gifting
Store your handkerchief in a clean, dry place to keep it in optimal condition when not in use. If you’re giving it as a gift, consider thoughtful packaging.
A small box, ribbon, or decorative wrap can elevate the presentation and make the handkerchief feel extra special to the recipient.
FAQs
What are the basic materials needed to make a handkerchief?
You’ll need fabric (preferably cotton, linen, or muslin), measuring tools, fabric scissors, thread, and a sewing machine or hand-sewing supplies.
Can I personalize my handkerchief with embroidery or other embellishments?
You can add a personal touch with embroidery, fabric paint, lace, or other decorative elements to make your handkerchief unique.
How do I prevent the edges of the handkerchief from fraying?
You can finish the edges using methods like hemming (folding and sewing), a serger, or pinking shears to create a zigzag edge.
What is the standard size for a handkerchief?
A common size is approximately 12×12 inches (30×30 cm), but you can adjust it according to your preference for a smaller pocket-sized handkerchief or a larger one.
Do I need a sewing machine to make a handkerchief, or can I hand-sew it?
While a sewing machine can expedite the process, hand sewing is also viable.
Wrap Up
Crafting a handkerchief is a satisfying and practical endeavor. With the right fabric selection, careful measurements, and thoughtful finishing touches, you can create a personalized accessory that adds a touch of style to your daily life.
Whether you choose to sew it by hand or with a machine, the key is to ensure the edges are properly finished to prevent fraying. Don’t hesitate to add your unique flair with embroidery, lace, or fabric paint for a truly one-of-a-kind creation.
A well-crafted handkerchief serves functional purposes and reflects your creativity and attention to detail, making it a cherished accessory for years to come.
Leave a Reply