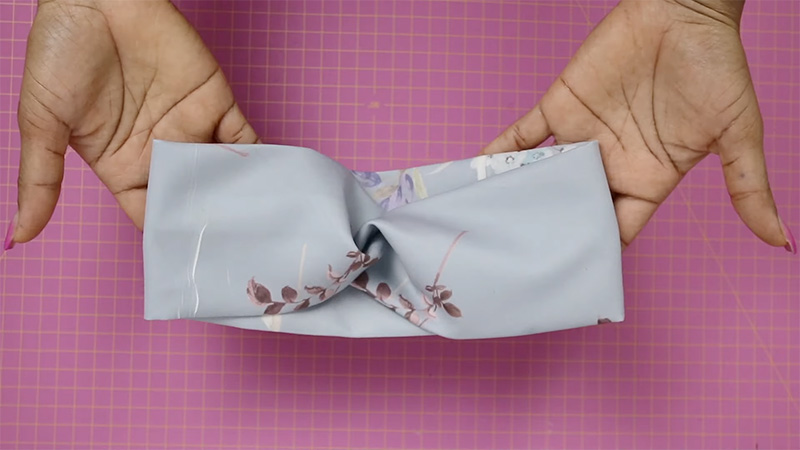
Creating your own headband is a delightful and customizable DIY project that allows you to craft a fashionable accessory tailored to your style.
Whether you’re looking to complement your outfit with a unique headpiece or need a practical solution to keep your hair in check, making a headband is a simple yet rewarding endeavor.
In this step-by-step guide, we will walk you through the process of crafting a headband from fabric and elastic. With a few materials and some creativity, you’ll soon have a headband that perfectly matches your preferences and adds a touch of individuality to your wardrobe.
So, let’s dive into the world of headband crafting and unleash your creativity.

How to Make a Headband?
Making a headband is a delightful and straightforward DIY project that allows you to create a stylish accessory in just a few easy steps.
Whether you want a fashion-forward headband to complement your outfit or a practical one to keep your hair in check, here’s how to make a headband:
Gather Your Materials
Before diving into your headband-making project, it’s crucial to gather all the necessary materials. You’ll need fabric of your choice, elastic, scissors, matching thread, and access to either a sewing machine or the option to hand-sew if you prefer.
The choice of fabric and the size of elastic is pivotal, so ensure they align with your headband vision before you proceed.
Measure and Cut the Fabric
With your materials in place, it’s time to measure and cut the fabric. The dimensions can vary depending on your preference, but a standard size for a headband is typically around 20-22 inches in length and 3-4 inches in width.
Make sure the fabric is clean and free of wrinkles before you begin cutting to ensure a neat and polished final product.
Fold and Sew the Fabric
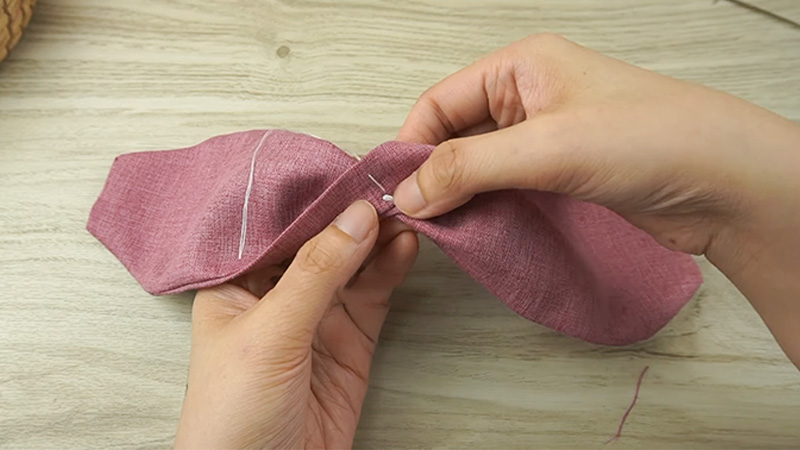
Now, fold the fabric in half lengthwise, ensuring that the right sides are facing each other (inside out). Using your sewing machine or hand-sewing skills, sew along the long edge of the fabric, leaving both ends open.
Maintain a small seam allowance, usually about ¼ inch, to ensure a tidy finish for your headband.
Turn the Fabric Right Side Out

With the sewing completed, gently turn the fabric right side out. Take your time during this step to ensure that the seam is entirely concealed inside the fabric.
You can use a tool like a pencil or chopstick to assist in pushing out the corners and achieving a smooth result.
Iron and Press the Fabric
To achieve a flat and wrinkle-free headband, utilize an iron to press the fabric. This step is essential for eliminating any wrinkles and ensuring the seam remains centered and untwisted, resulting in a professional and polished appearance.
Cut and Prepare the Elastic
Now, measure and cut a piece of elastic to the appropriate length for a comfortable headband fit. Generally, 6-8 inches of elastic should suffice, but feel free to customize it according to your head size.
To make threading the elastic through the fabric tube easier, attach a safety pin to one end.
Insert and Sew the First Elastic End
Insert the elastic into one end of the fabric tube, taking care to avoid twisting it as you guide it through. Secure the elastic with a few strong stitches while stretching it to match the fabric’s width.
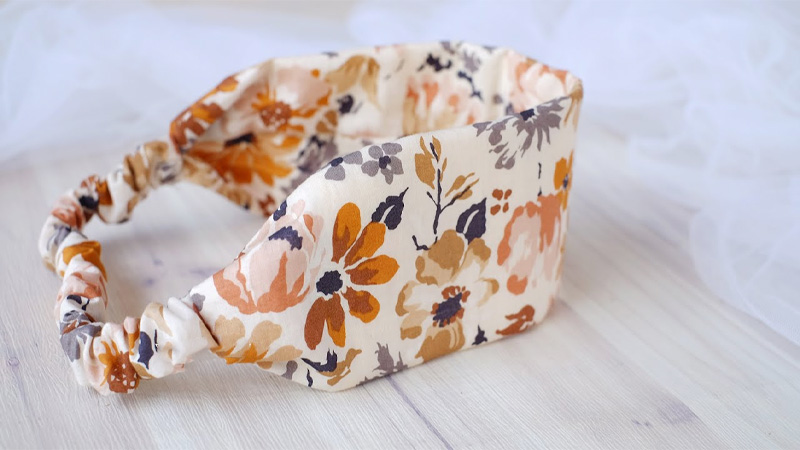
This will create the characteristic gathered appearance of a headband.
Thread Elastic Through the Other End
Attach a safety pin to the other end of the elastic and thread it through the opposite end of the fabric tube. This step ensures that both ends of the headband are securely held by the elastic.
Sew the Second Elastic End
Sew the second end of the elastic to the fabric, making sure it’s snug but not overly tight for a comfortable fit. As you sew, continue stretching the elastic to maintain the gathered effect that defines a headband.
Trim Excess Fabric and Elastic
Finally, trim any excess fabric or elastic from both ends to create a clean and polished finish for your headband. Removing any unnecessary material ensures your headband looks professional and ready to wear.
How Do I Adjust the Size of My Headband?

Adjusting the size of your headband is a useful skill to ensure it fits comfortably and securely. Whether you have a headband that’s too tight or too loose, follow these steps to customize it to your head size:
Identify the Issue
Start by wearing the headband and determining whether it’s too tight or too loose. Understanding the problem will guide you in making the necessary adjustments for a comfortable fit.
Making the Headband Smaller
If your headband is too large and needs to be made smaller:.
- Cut the Headband: Use scissors to cut the headband at the desired location where you want to make it smaller. Ensure the cut is straight and even to maintain a neat appearance.
- Sew the Ends Together: Fold the cut ends slightly inward (about 1/4 inch) and overlap them. Use a needle and thread or a sewing machine to create a secure straight stitch across the overlapped section. Ensure your stitches are strong to prevent the headband from coming apart.
- Trim Excess Fabric and Threads: After sewing, trim any excess fabric or thread to achieve a tidy and polished finish. This step ensures your adjusted headband looks well-finished.
- Test the Fit: Try on the headband to ensure it now fits comfortably. It should feel snug but not too tight. Make any additional adjustments if needed to achieve the perfect fit.
Making the Headband Larger (Adding Elastic)
If your headband is too tight and needs to be made larger:.
- Cut a Piece of Elastic: Cut a piece of elastic to the required length. Ideally, the elastic should be the same width as the original headband elastic for a consistent appearance.
- Sew the Elastic to the Ends: Overlap one end of the elastic with the end of the headband that needs enlarging. Use a sewing machine or hand-sew the elastic securely to the headband. Ensure your stitches are strong and tight.
- Trim Excess Elastic and Threads: Trim any excess elastic or threads to create a clean and polished finish. This step ensures that the added elastic blends seamlessly with the headband.
- Test the Fit: Wear the headband to ensure it now fits comfortably with the added elastic. It should provide a secure and comfortable fit.
What Are the Different Types of Headbands?

Headbands are versatile accessories that come in a wide array of styles, materials, and designs, catering to various fashion preferences and functional needs.
These hair accessories are not only practical for keeping hair in place but also serve as fashion statements, adding a touch of flair and personality to any outfit.
Here are some of the different types of headbands:
Fabric Headbands
Fabric headbands are a popular choice for their comfort and versatility. They are typically crafted from various fabrics, such as cotton, silk, or satin.
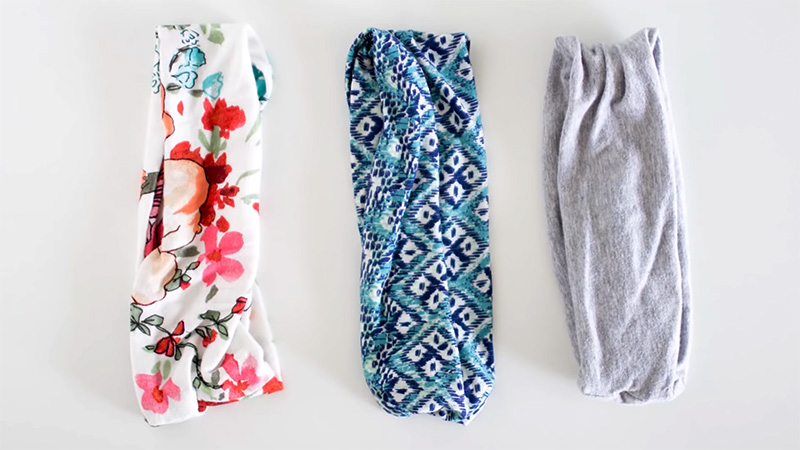
These headbands can come in a wide range of styles, including knotted, twisted, and braided designs. They are suitable for both casual and formal occasions, offering endless options for patterns, colors, and textures.
Elastic Headbands
Elastic headbands are designed for a secure fit and ease of use. Made from stretchy materials like elastic bands or spandex, they can comfortably accommodate different head sizes.
These headbands are available in an array of colors and patterns, making them a practical choice for workouts, sports, or everyday wear.
Wire Headbands
Wire headbands offer a unique and adjustable design. They feature a flexible metal core covered with fabric, allowing you to bend and shape them to your desired fit.
This flexibility makes them suitable for various hairstyles and head shapes, ensuring a comfortable and customized experience.
Hard Shell Headbands
Hard shell headbands are known for their durability and structured appearance. Crafted from sturdy materials like plastic or metal, they maintain their shape and are often embellished with decorative elements, such as gems or studs.
These headbands add a touch of glamour and elegance to both casual and formal outfits.
Turban Headbands
Inspired by traditional turbans, these headbands are made from fabric and wrap around the head. They create a stylish and bohemian look, with a variety of colors and patterns to choose from.
Turban headbands are versatile, suitable for everyday wear, as well as special occasions.
Braided Headbands
Braided headbands are characterized by their intertwined strands of fabric, leather, or ribbon. This braided design adds texture and visual interest to the accessory, making it a popular choice for those seeking a rustic or boho-chic look.
These headbands come in various colors and styles to complement different outfits.
Sports Headbands
Designed with athletes in mind, sports headbands are made from moisture-wicking materials that help keep sweat away from the eyes during physical activities.
They often feature a simple and functional design, making them essential for sports enthusiasts and active individuals.
FAQs
How long does it take to make a headband?
Making a headband typically takes about 30 minutes to an hour, depending on your sewing skills and the complexity of the design.
Is sewing experience necessary to make a headband?
No, you can start making headbands even if you’re a beginner. Basic sewing skills are helpful but not mandatory. Simple hand-sewing techniques can be used instead of a sewing machine.
What type of fabric should I choose for my headband?
The fabric choice depends on your style and comfort. Cotton, silk, satin, or stretchy jersey fabric are popular options. Select one that matches your preference and outfit.
Can I customize the size of the headband?
Absolutely! You can adjust the dimensions to make a headband that fits your head comfortably. Measure your head’s circumference for a perfect fit.
Can I add embellishments to my headband?
Yes, you can personalize your headband by adding bows, buttons, beads, or other embellishments. Let your creativity shine!
To Recap
Crafting your own headband is not only a creative endeavor but also a way to infuse your personal style into your accessories. By following the steps outlined in this guide, you’ve learned how to select the right materials, sew, and create a headband that suits your taste and needs.
The sense of accomplishment that comes with wearing an accessory you’ve made with your own hands is truly satisfying. As you continue to explore the world of DIY fashion, you may find yourself making headbands for different occasions, matching various outfits, or even gifting them to friends and family.
So, embrace your creativity, and let your headbands become a unique expression of your individuality, making every day a little more stylish and special.
Leave a Reply