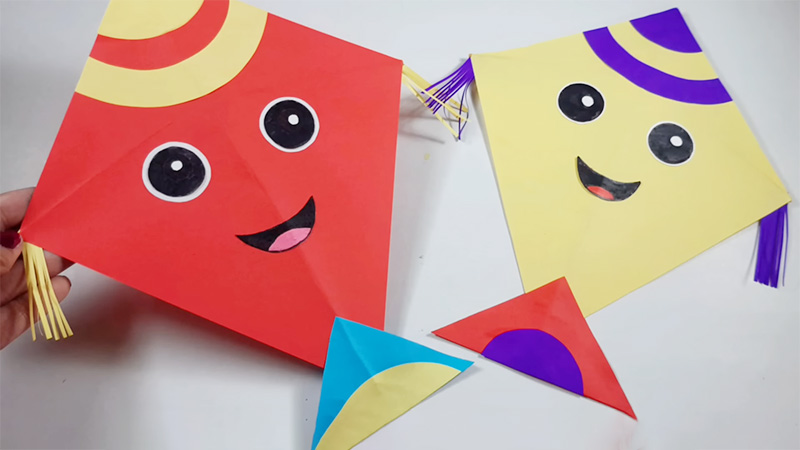
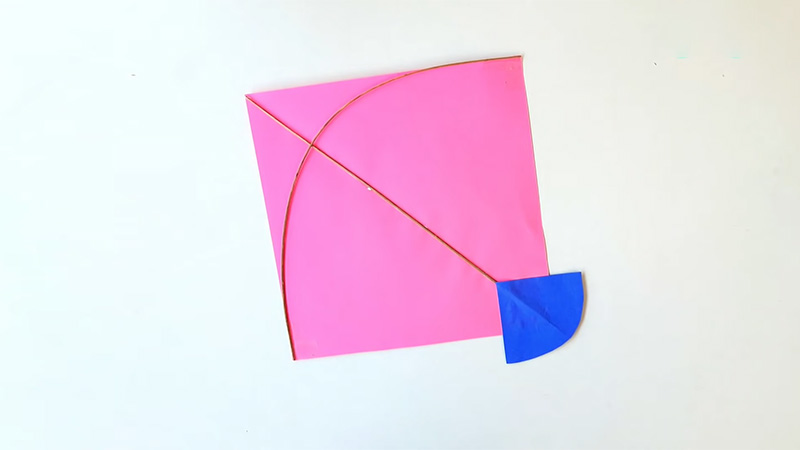
There’s something enchanting about watching a colorful kite dance and glide gracefully against the backdrop of a clear blue sky. The art of kite-making has been cherished for centuries, and with a few sheets of paper and a bit of creativity, you can craft your very own high-flying masterpiece.
In this guide, we’ll take you on a journey into the world of paper kites and discuss how to make a kite out of paper. Whether you’re a novice seeking a fun project or an experienced enthusiast, making a paper kite is a captivating and rewarding endeavor.
With just a handful of easily accessible materials, you can breathe life into your design and send it soaring into the heavens.
From choosing the right paper and constructing a sturdy frame to adding your personal artistic touch, you’ll soon be capturing the winds of adventure.

How to Make a Kite Out of Paper?
Creating a paper kite is a delightful DIY project that can be enjoyed by people of all ages. Here’s a step-by-step guide on how to make a basic diamond-shaped paper kite:
Materials Needed
- 1 sheet of lightweight paper (standard letter size works well)
- Wooden dowels or bamboo sticks (two long sticks for the frame)
- String
- Tape or glue
- Scissors
- Markers, colored pencils, or paints (optional for decoration)
Prepare the Frame
Lay out the two wooden dowels or bamboo sticks in a cross shape. The longer stick will be the vertical spar, and the shorter one will be the horizontal spar. Use tape or glue to secure the two sticks together at the center, forming a “T” shape.
Attach the String
Tie a piece of string to each end of the horizontal spar, forming a crossbar with string tails. These strings will be used to attach the sail to the frame.
Design Your Sail
Lay your sheet of paper on a flat surface. This will be the kite’s sail. Decorate it with colorful designs, patterns, or any artwork you desire. Let your creativity shine!
Create the Sail Shape
Place the decorated paper face down on a flat surface. Fold the paper in half vertically, ensuring that your artwork is on the inside. Unfold the paper and make a small mark at the center of the folded edge.
Cut the Sail Shape
Starting from the center mark, cut along the folded edge of the paper to create a diamond shape. Leave the top and bottom edges open.
Attach the Sail to the Frame
Lay the frame on top of the open sail, positioning it so that the top and bottom edges of the sail align with the horizontal spar of the frame.
Secure the sail to the frame by tying the string tails from the horizontal spar to the top and bottom corners of the sail. Ensure that the sail is taut but not overly stretched.
Create the Bridle
Cut a piece of string and tie it to the vertical spar, about one-third of the way down from the top. This string, called the bridle, will help keep your kite stable in the wind.
If desired, you can attach a tail to the bottom of your kite for stability. Simply tape or tie strips of lightweight paper or fabric to the bottom edge of the kite.
Test Your Kite
Find an open area with a gentle breeze to test your paper kite. Hold the bridle string and let the wind lift your creation into the sky.
Remember that flying a kite may require some practice. Adjust the bridle and tail as needed to achieve stable flight. With a bit of patience and experimentation, you’ll have a beautiful and functional paper kite ready to soar in the sky. Enjoy your high-flying adventure!
What to Do If Your Paper Kite Doesn’t Fly?

If your paper kite isn’t flying as expected, don’t worry; there are several steps you can take to troubleshoot and improve its flight performance:
Check the Wind Conditions
Ensure you’re flying your kite in an area with a suitable amount of wind. Kites typically fly best in gentle, steady breezes. Avoid areas with strong gusty winds or turbulent air.
Adjust the Bridle
The bridle is the string that attaches to the vertical spar. If the kite is not flying steadily, try adjusting the length of the bridle. Shortening it will make the kite more stable in light winds, while lengthening it may help in stronger winds.
Check the Tail
If your kite is unstable or spinning, try adding or adjusting the tail. A tail adds stability by creating drag. Experiment with different tail lengths and materials until you find the right balance for your kite.
Balance the Kite
Ensure that the kite is balanced. It should hang level when you hold it up by the bridle string. If it’s tilting to one side, adjust the tail or the position of the bridle attachment until it hangs straight.
Check Frame Stability
Ensure that the frame is secure and that the paper sail is firmly attached to the frame. If the sail is loose or damaged, it may affect the kite’s flight.
Trim the Sail
If your kite is consistently diving or veering to one side, you can trim the sail. Gently cut a small amount of paper from one side of the sail to balance it.
Choose a Better Location
If you’re flying in an area with obstacles like buildings or trees, try relocating to a more open space where the wind flows more consistently.
Experiment
Don’t be afraid to experiment with different adjustments. It may take some trial and error to find the ideal settings for your kite, especially if you’re dealing with varying wind conditions.
Practice
Flying a kite can be a skill that improves with practice. Learn how to maneuver your kite by gently pulling on the string. With practice, you’ll become more skilled at controlling it.
Seek Expert Advice
If you’re still having trouble getting your kite to fly, consider reaching out to experienced kite flyers or joining local kite flying clubs. They can offer guidance and tips based on their expertise.
Remember that flying a kite can be a rewarding experience, but it may require some patience and adjustments to get it just right. Keep experimenting and enjoy the process of mastering the art of kite flying.
What Paper to Use for a Kite?

Choosing the right paper for your kite is essential for its performance and durability. Here are some paper options commonly used for making kites:
Kite-Making Paper
Specialized kite-making paper is available in various colors and designs. It’s lightweight, strong, and designed specifically for kite construction. Kite-making paper can be found at craft stores or online and is an excellent choice for kite building.
Tissue Paper
Tissue paper is lightweight and commonly used for kite sails. It’s available in a wide range of colors and is easy to decorate. While tissue paper is not as durable as some other options, it’s suitable for small kites or decorative kites.
Rice Paper
Rice paper, also known as washi paper, is a traditional choice for making kites, especially in Asian cultures. It’s strong, lightweight, and translucent. Rice paper is often used for intricate and decorative kites.
Tyvek
Tyvek is a synthetic material known for its durability and resistance to tearing. It’s a popular choice for making durable, long-lasting kites. Tyvek can be found in various thicknesses and is available at hardware stores or online.
Wax Paper
Wax paper can be used for small kites or as an inner layer for added strength and stability. It’s easy to find in most grocery stores and can be an economical choice.
Newsprint
Newsprint paper is lightweight and readily available. While it’s not as strong as some other options, it can be used for simple, lightweight kites, especially for young kite enthusiasts.
Construction Paper
Construction paper is thicker and heavier than tissue paper but lighter than some other options. It’s suitable for small to medium-sized kites and can be found in various colors.
When selecting paper for your kite, consider the size of the kite, the wind conditions in your area, and your desired level of decoration.
Some kites benefit from the lightweight and colorful nature of tissue paper, while others, especially those intended for more serious flying, may require sturdier options like kite-making paper or Tyvek.
Experimentation and practice can help you find the perfect paper for your kite-building projects.
FAQs
Tissue paper or construction paper is ideal for making simple kites with children. They are lightweight, colorful, and easy for kids to work with.
While regular printer paper is convenient, it’s generally not the best choice for kite-making as it may tear easily in the wind. It’s better to use specialized kite-making paper or other lightweight options for better durability.
Absolutely! Decorating the paper before constructing the kite is a wonderful way to personalize your kite. You can use markers, colored pencils, paints, or stickers to add designs and colors to the sail.
Single-line kites, often flown for leisure, can use a variety of lightweight papers. Stunt kites, on the other hand, require more durable materials like ripstop nylon or Mylar to withstand the stresses of aerobatic maneuvers.
Yes, you can use recycled materials for making an eco-friendly kite. Consider repurposing materials like old newspapers, cardboard, or even plastic shopping bags for a sustainable kite-building project. Just ensure they are lightweight and suitable for kite construction.
Conclusion
Crafting your own paper kite is a joyful blend of creativity, engineering, and the thrill of flight. Throughout this guide, we’ve embarked on a journey to create a high-flying masterpiece from simple sheets of paper.
Kite-making offers not only the opportunity to explore the science of flight but also the chance to infuse your creation with your unique artistic flair.
Whether you’re crafting a traditional diamond-shaped kite or experimenting with innovative designs, each kite you create becomes a canvas for self-expression and adventure.
As you launch your paper kite into the sky, you’ll feel the exhilaration of watching it catch the breeze and rise into the air.
This age-old activity has a timeless charm that continues to captivate people of all ages, providing both relaxation and excitement. So, gather your materials, embrace the art of kite-making, and let your imagination take flight.
Leave a Reply