Unleash your inner ninja and embark on a creative journey into the world of origami with our step-by-step guide on crafting a paper ninja star, also known as a shuriken.
With just a few folds and a dash of precision, you’ll transform a simple sheet of paper into a symbol of stealth and precision. Origami, the art of paper folding, has captivated people of all ages for centuries, and the ninja star is one of its most iconic creations.
Whether you’re a curious beginner or an experienced paper-folding ninja, this project promises hours of entertainment and satisfaction. Wondering how to make a paper ninja star?
In this tutorial, we’ll break down the process into clear, easy-to-follow steps, ensuring that you can fold your way to becoming a ninja star-making expert.
So, gather your materials, prepare your paper, and let’s embark on this adventure into the ancient art of origami as we create our very own paper ninja star.
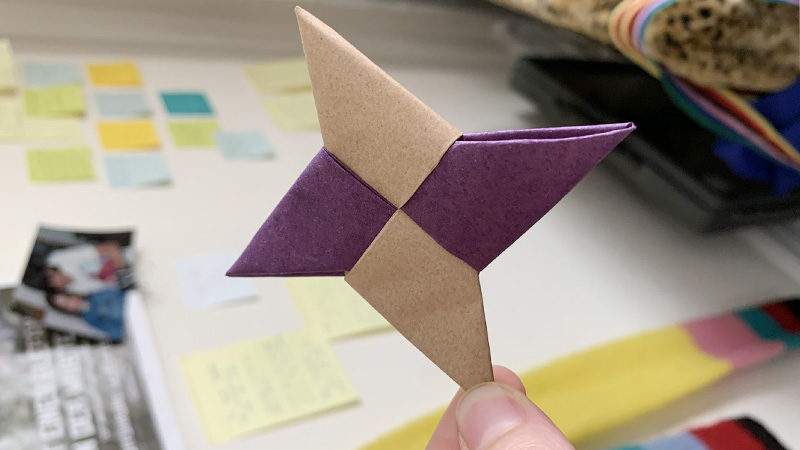
How To Make A Paper Ninja Star?
Creating a paper ninja star, also known as a shuriken, is a fun and simple origami project. Here are step-by-step instructions to make one:
Materials You’ll Need
- Two sheets of square paper (e.g., origami paper or cut regular paper into squares)
- A flat surface for folding
Prepare Your Paper
Start with two square sheets of paper. If your paper is not already square, fold it diagonally from one corner to the opposite corner, creating a triangle. Trim off the excess paper along the folded edge to make it square.
Begin Folding
Take one square and fold it in half diagonally, creating a triangle. Unfold it and repeat the same fold in the other direction, forming an “X” crease. Fold the square in half horizontally and vertically to create creases that intersect at the center point.
Shape the First Module
Position the paper like a diamond (with the creases forming an “X” pattern). Fold the left corner up and to the center point, forming a small triangle on the left side.
Shape the Second Module
Repeat the previous step for the right corner, creating another small triangle on the right side. Fold the entire diamond shape in half horizontally, bringing the top point down to meet the bottom point.
Create the First Blade
Fold the left side of the folded diamond up along the centerline to form the first blade of your ninja star.
Shape the Second Blade
Flip the paper over and fold the other side along the centerline to create the second blade. To lock the two modules together, tuck the top flap of the first blade into the pocket of the second blade.
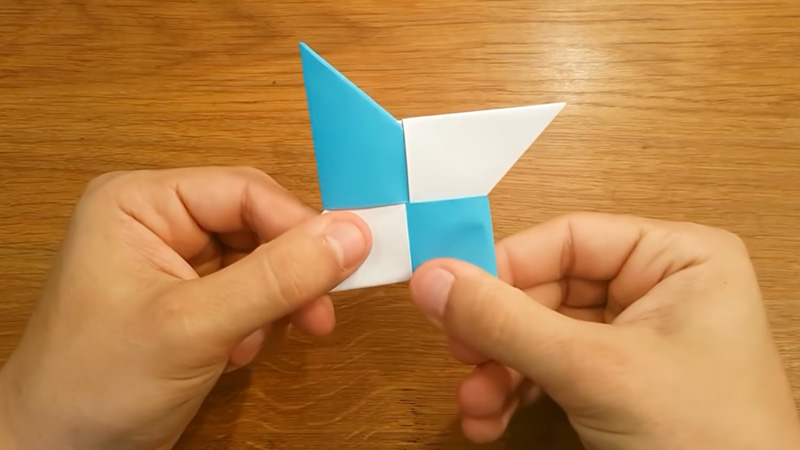
Repeat the Process
Make a second ninja star using the second square sheet of paper following the same steps. Congratulations! You now have two paper ninja stars. You can use them for fun and imaginative play, but be careful, as the points can be sharp.
Creating paper ninja stars is not only a creative activity but also a chance to hone your origami skills. Enjoy crafting and practicing your ninja star-throwing skills responsibly!
How to Make a Paper Ninja Boomerang?
Creating a paper ninja boomerang is a fascinating origami project that mimics the shape and flight of a boomerang. Here are step-by-step instructions to make one:
Materials You’ll Need
- A square sheet of paper (origami paper or cut regular paper into a square)
- A flat surface for folding
Prepare Your Paper
Start with a square sheet of paper. If it’s not square, fold one corner over to the opposite edge, creating a triangle. Trim off the excess paper along the folded edge to make it square. Position the paper so that it looks like a diamond, with one corner pointing up.
Fold in Half
Fold the paper in half diagonally, creating a triangle. Unfold it and repeat the fold in the opposite direction, forming an “X” crease.
Fold in Half Again
Fold the paper in half horizontally and vertically, creating creases that intersect at the center point.
Shape the Boomerang
Hold the paper with the open corners pointing left and right. Bring the left corner down, aligning it with the center point.
Shape the Wing
Next, fold the right corner down to align with the center point as well. Fold both wings back along the existing diagonal creases. These will be the wings of your boomerang.
Fold Down the Top Triangle
Fold down the top triangle (the part that sticks out above the wings) to secure the wings in place. Flip the paper over and repeat the folding process on the other side to create a symmetrical boomerang shape.
Shape the Boomerang
Gently curve the wings of your boomerang upward to give it an aerodynamic shape. Your paper ninja boomerang is now complete.
Flight Instructions
To throw the ninja boomerang, hold it at the center point and angle it slightly downward. Give it a gentle, level throw and watch it return back to you, just like a real boomerang.
Practice your throwing technique to achieve the desired flight path. Remember that it may take a few tries to get the hang of it, but once you do, you’ll have your very own paper ninja boomerang for hours of fun.
How Do You Make a Triple Ninja Star?
Creating a triple ninja star, also known as a three-pointed shuriken, is a bit more complex than the standard single-point ninja star. Here’s a step-by-step guide to making a triple ninja star out of paper:
Materials You’ll Need
- Two sheets of square paper (origami paper or cut regular paper into squares)
- A flat surface for folding
Prepare Your Paper
Start with two square sheets of paper. If your paper is not square, fold it diagonally from one corner to the opposite corner and trim off the excess paper to make it square.
Begin Folding the First Star
Take one square sheet of paper and fold it in half diagonally to form a triangle. Unfold it and repeat the fold in the opposite direction, creating an “X” crease. Unfold it again.
Create the Basic Shuriken Shape
Position the paper so it looks like a diamond, with one corner pointing up. Fold the top corner down to the center point, forming a smaller diamond shape. Fold the bottom corner up to the center point, creating a larger diamond.
Shape the Star Points
Fold the left and right corners of the larger diamond down to meet the bottom corner. This creates two triangular points on each side.
Fold Back the Extra Flaps
Lift the top flap of the smaller diamond and fold it back over the shuriken. This flap should cover the triangular points you just created. Repeat this on the other side.
Complete the First Star
Your first ninja star (Shuriken) is complete. Take the second square sheet of paper and fold it into another shuriken, following the same steps as above.
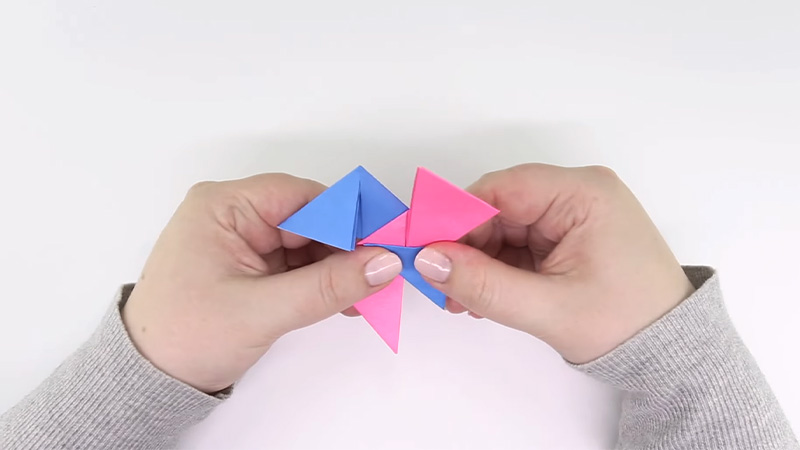
Assemble the Triple Ninja Star
Carefully slide the points of the second shuriken into the openings of the first shuriken. Ensure they interlock securely.
Adjust and Balance
Gently adjust the points and flaps of the triple ninja star until it’s balanced and stable. Your triple ninja star is now complete!
Creating a triple ninja star requires precision and patience, but the result is a unique and challenging paper shuriken. You can use it for decoration or even as part of a ninja-themed cosplay or display. Enjoy crafting your triple ninja star!
FAQs
Standard origami paper, which is typically 6×6 inches (15×15 cm), works well for making ninja stars. However, you can experiment with different sizes for variations in your final ninja star’s size.
Make sure your folds are precise and your creases are sharp. When interlocking the two halves, ensure they fit snugly, and the points align correctly.
While origami paper is preferable due to its square shape and appropriate thickness, you can use regular printer paper, but it may be a bit more challenging to work with.
Yes, there are various origami ninja star designs and folding methods. The classic one involves two separate ninja stars interlocking. You can explore different tutorials and designs for variety.
Absolutely! You can use colored origami paper to add patterns and designs to your ninja star. Just ensure that any decorations don’t interfere with the folding and interlocking.
Conclusion
Congratulations, you’ve successfully learned how to craft a paper ninja star, mastering an art form that combines tradition with a touch of intrigue.
Your paper ninja star isn’t just a folded piece of paper; it’s a symbol of patience, precision, and the endless possibilities of creativity.
As you practice and perfect this origami technique, you’ll not only gain a new skill but also a tangible representation of your dedication to the craft.
Whether you use it for imaginative play, decoration, or even as a unique gift, your paper ninja star will always carry with it the spirit of the ancient ninja warriors.
Keep honing your origami skills, explore other paper-folding designs, and share this knowledge with friends and family.
May your ninja star always remind you that with patience and practice, you can master any art form. Enjoy your journey in the world of origami!
Leave a Reply