In a world increasingly valuing creativity and sustainability, crafting a patchwork scrunchie from scrap fabric embodies both of these ideals.
This delightful DIY project transforms unused fabric remnants into a fashionable accessory, breathing new life into forgotten textiles.
The beauty of this endeavor lies in its versatility; it allows us to mix and match colors, textures, and patterns, resulting in a uniquely personalized scrunchie.
As we embark on this creative journey, we craft a functional hair accessory and embark on a small but significant step towards a more eco-conscious approach to fashion.

What Is a Patchwork Scrunchie?
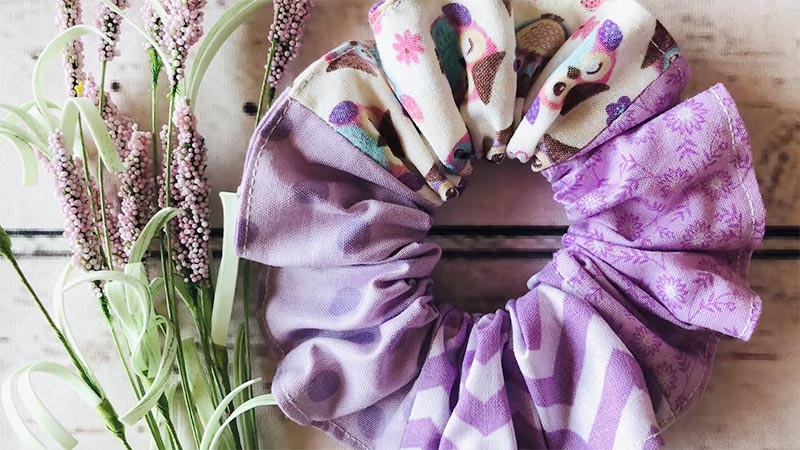
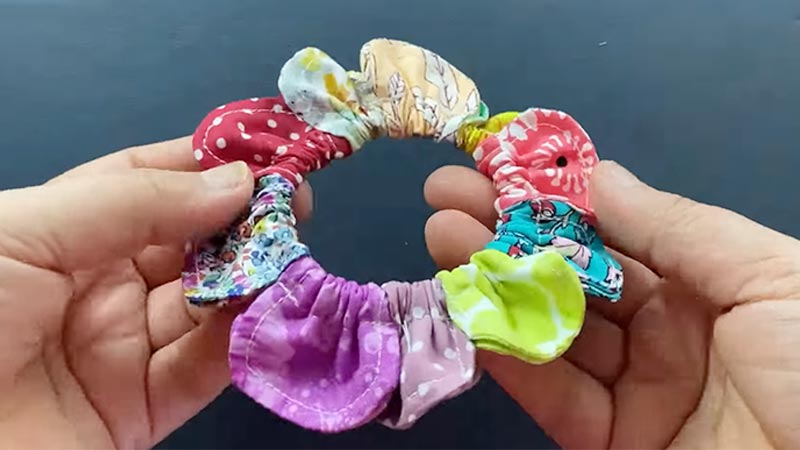
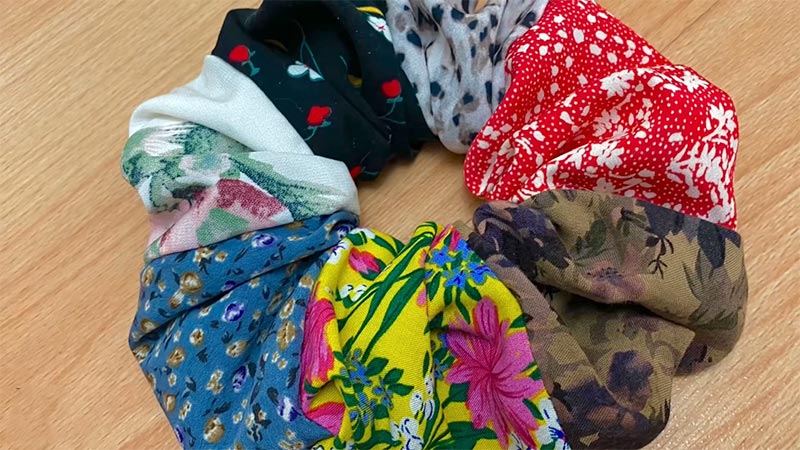
A patchwork scrunchie is a hair accessory made by sewing together various pieces of fabric, often in different colors, patterns, or textures.
These fabric scraps are arranged in a visually pleasing manner to create a unique and eye-catching design.
The term “patchwork” refers to the technique of sewing small pieces of fabric together to form a larger, cohesive whole. The result is a scrunchie that combines the practicality of a hair tie with the artistic flair of a patchwork design.
Patchwork scrunchies offer a great way to use leftover fabric scraps from other sewing projects, making them eco-friendly and stylish accessories.
How to Make a Patchwork Scrunchie Out of Scrap Fabric?

Scrunchies have made a comeback as a trendy and practical accessory, and making your own unique scrunchies from scrap fabric is eco-friendly and a fun and creative way to customize your hair accessories.
This guide will walk you through the steps to create a charming patchwork scrunchie using leftover fabric scraps.
Materials You Will Need:
- Assorted fabric scraps
- Elastic (approximately 8-10 inches)
- Sewing machine or needle and thread
- Scissors
- Measuring tape or ruler
- Pins
- Iron and ironing board
Gather Your Fabric Scraps
Before you start, take some time to curate a selection of fabric scraps. Look for various colors, patterns, and textures that complement each other.
When you’re feeling adventurous, you can mix different fabric types like cotton, silk, or linen for a diverse and interesting patchwork effect. Ensure your scraps are clean and free from wrinkles by giving them a quick iron if needed.
Prepare Your Fabric Strips
Carefully cut your fabric scraps into strips using a ruler or measuring tape. Aim for strips that are approximately 2 inches in width and 6-8 inches in length.
These dimensions work well for a standard-sized scrunchie. However, feel free to adjust the measurements to suit your preferences. Remember, the more strips you use, the fuller and more intricate your scrunchie will be.
Sew the Strips Together
Arrange your fabric strips in a layout that pleases your eye. This is your chance to get creative with patterns and colors. Once you’re satisfied, pin the strips together along their long edges, ensuring the fabric’s right sides face each other.
This ensures that the seam will be on the inside when you turn it right side out. Stitch a straight line along the pinned edges using a sewing machine or a needle and thread, maintaining a 1/4-inch seam allowance.
Iron the Seams
After sewing, it’s time to give your patchwork a professional finish. Heat up your iron and press open the seams. Take care to ensure that the fabric lays flat and the seams are well-defined.
This step enhances the visual appeal and facilitates the subsequent steps in the process.
Create the Scrunchie Tube
Fold the sewn patchwork strip in half lengthwise, aligning the long edges with the right sides facing each other. Secure the edges with pins.
This folding creates a long tube of patchwork fabric, which will form the body of your scrunchie. The alignment of the right sides ensures that the final seam will be on the inside.
Sew the Tube
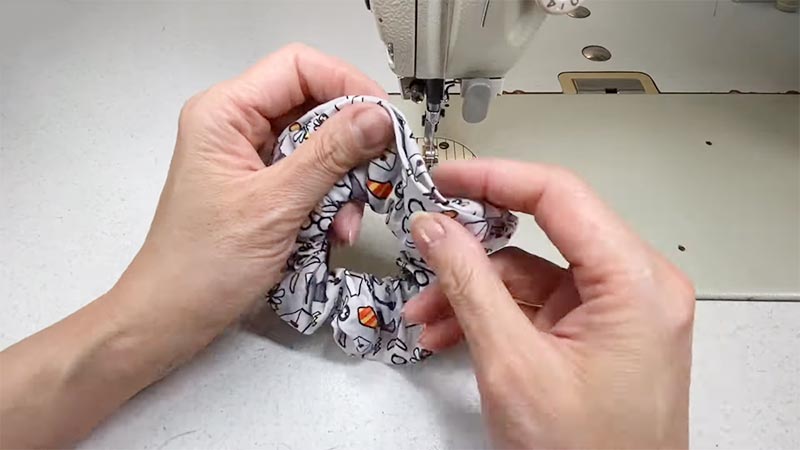
Using your chosen sewing tool – whether a sewing machine or a needle and thread – stitch along the long edge of the tube. Maintain a 1/4-inch seam allowance for consistency.
Remember to leave a small opening of about 1 inch unsewn. This gap is crucial as it’s where you’ll later insert the elastic.
Insert the Elastic
Attach a safety pin to one end of the elastic. This pin will serve as your guide for threading the elastic through the scrunchie tube. Begin feeding the elastic through the small opening, ensuring it doesn’t twist inside the tube.
As you do this, gently scrunch the fabric along the elastic to maintain the scrunchie’s signature gathered look. Continue until the elastic is fully threaded through the entire tube length.
Secure the Elastic
Overlap the ends of the elastic by about 1/2 inch and secure them together. You can do this by sewing them with a sturdy stitch or using a fabric-friendly adhesive.
Give the scrunchie a gentle pull to distribute the fabric evenly around the elastic. Test its fit on your wrist to ensure it’s snug but not uncomfortably tight. This step ensures your scrunchie will comfortably hold your hair.
Close the Opening
Return to the small opening in the scrunchie tube with the elastic securely in place. Using your sewing machine or needle and thread, carefully close the gap.
Make sure to use a strong backstitch to reinforce the seam, ensuring it can withstand regular wear and use.
Finish the Scrunchie
Turn the scrunchie right side out, gently pulling and adjusting the fabric to distribute it around the elastic evenly.
Take a moment to admire your handiwork! Finish by giving your scrunchie a final press with the iron to smooth out any lingering wrinkles and ensure a professional appearance.
Why Do People Make a Patchwork Scrunchie Out of Scrap Fabric?

Crafting a patchwork scrunchie out of scrap fabric has become a popular DIY project for several compelling reasons.
In this exploration, we’ll explore why people are drawn to creating these charming accessories from leftover fabric scraps.
Sustainability
The rise of eco-consciousness has led many individuals to seek sustainable alternatives to fast fashion and disposable accessories.
Crafting a patchwork scrunchie from scrap fabric is a sustainable choice that repurposes materials that might otherwise go to waste. It’s a small yet impactful step toward reducing textile waste and promoting a more eco-friendly lifestyle.
Personalization
One of the primary motivations for making a patchwork scrunchie is the ability to personalize this everyday accessory.
Crafters can tailor their scrunchies to match specific outfits, moods, or occasions by selecting fabric scraps in different colors, patterns, and textures. This level of customization allows for creating truly unique and one-of-a-kind hair accessories.
Creativity and Self-Expression
Crafting a patchwork scrunchie is a creative outlet for many people. It provides an opportunity to experiment with design, color combinations, and sewing techniques.
The process of selecting, arranging, and sewing together fabric scraps can be a deeply satisfying form of self-expression, allowing crafters to showcase their artistic skills.
Cost-Effective
Making scrunchies from scrap fabric is a budget-friendly alternative to purchasing them from stores. It’s a low-cost way to add variety to your hair accessory collection without breaking the bank.
Plus, it’s a great project for individuals who enjoy sewing and want to use up leftover materials from other sewing projects.
Gift-Giving
Handmade patchwork scrunchies make thoughtful and personalized gifts for friends and loved ones.
Crafters can create scrunchies that match the recipient’s style or interests, adding a personal touch to the gift-giving experience. Homemade gifts often carry sentimental value and are appreciated for the time and effort put into making them.
Crafting Community
Engaging in the creation of patchwork scrunchies is a way to connect with a broader crafting community.
Many crafters share their creations, patterns, and ideas online, fostering a sense of camaraderie and inspiring others to embark on their own creative projects.
Social media platforms and crafting forums are filled with tutorials and discussions about making scrunchies.
Variations and Customization

Once you’ve mastered the basic steps, there are countless ways to add your own flair and creativity to your patchwork scrunchies.
Here are some variations and customization ideas to consider:
Embellishments
- Buttons: Choose buttons in various shapes, sizes, and colors to add a playful or sophisticated touch to your scrunchie. Sew them onto the fabric strips or attach them to the hair tie for an eye-catching detail.
- Fabric Flowers: Create small fabric flowers using scraps and attach them to the scrunchie for a whimsical and feminine touch. Experiment with different petal shapes and colors for variety.
Mixed Textures
- Satin and Tweed: Combine the smooth elegance of satin with the cozy, textured feel of tweed for a sophisticated and comfortable scrunchie.
- Cotton and Velvet: Blend the casual comfort of cotton with the plush luxury of velvet for a scrunchie that’s perfect for both everyday wear and special occasions.
Theme-Based Scrunchies
- Halloween: Use black, orange, and other spooky patterns to create scrunchies perfect for Halloween. Consider adding bat or pumpkin appliqués for an extra festive touch.
- Valentine’s Day: Opt for a romantic color palette of reds and pinks. Add heart-shaped embellishments or embroidery for a sweet Valentine’s Day scrunchie.
Lace or Trim Accents
Choose a delicate lace or trim and attach it along the edges of your fabric strips. This adds a touch of elegance and a feminine flair to your scrunchie.
Personalized Appliqué
Cut out shapes, initials, or small designs from contrasting fabric and appliqué them onto the scrunchie. This customization option allows you to add a personal touch or even create scrunchies with special meanings.
Reversible Scrunchies
Use two fabric strips, each with a pattern or color scheme. This way, your scrunchie can be flipped to reveal a completely different look.
Fabric Paint
Use fabric paints, stamps, or stencils to create your own custom designs on the fabric strips. This allows for complete creative freedom and the opportunity to showcase your artistic talents.
Seasonal Themes
Add warm, earthy tones like deep oranges, browns, and greens for fall. Add leaf-shaped appliqués or embroidered autumn motifs. For spring and summer, opt for bright, floral fabrics and consider adding small fabric flowers or butterfly embellishments.
FAQs
What materials do I need?
You’ll need fabric scraps, elastic, sewing tools (machine or needle and thread), scissors, pins, measuring tape, and an iron.
Can I use any fabric?
Yes, various fabrics like cotton, silk, or linen work. Mixing textures and patterns is encouraged.
How long should the elastic be?
Measure it comfortably around your wrist (8-10 inches is typical) and adjust to your preference.
Can I customize the size?
You can adjust strip width and length to customize thickness and size.
Are any specific sewing skills required?
Basic sewing skills like straight stitching and backstitching are all you need. Online tutorials can help beginners.
Wrap Up
In crafting a patchwork scrunchie from scrap fabric, we embrace both creativity and sustainability. This process transforms leftover fabric into a stylish accessory, reducing waste and giving new life to forgotten textiles.
The customizable nature of patchwork allows for a unique expression of personal style, blending colors, textures, and patterns.
As we sew together these fabric remnants, we create a functional hair accessory and a statement piece infused with individuality.
Through this endeavor, we adorn our hair with a touch of artistry and contribute to a more eco-conscious approach to fashion, one scrunchie at a time.
Leave a Reply