Embarking on the journey of creating a punch needle pillow is an exciting foray into the world of textile artistry. This craft, rooted in the age-old tradition of rug hooking, combines precision and creativity in a unique way.
Using a specialized needle tool, intricate loops of yarn or thread are meticulously formed on a tightly stretched fabric canvas. The result is a textured masterpiece that adds a touch of handmade charm to any living space.
In this guide, we’ll delve into the step-by-step process, from selecting the right materials to mastering the technique, empowering you to craft a punch needle pillow that’s not only visually stunning but also a testament to your artistic prowess.

What Is Punch Needle Embroidery?
Punch needle embroidery is a versatile and tactile crafting technique that involves creating intricate designs on fabric using a specialized needle tool. This tool, called a punch needle, features a hollow needle with an adjustable loop length.
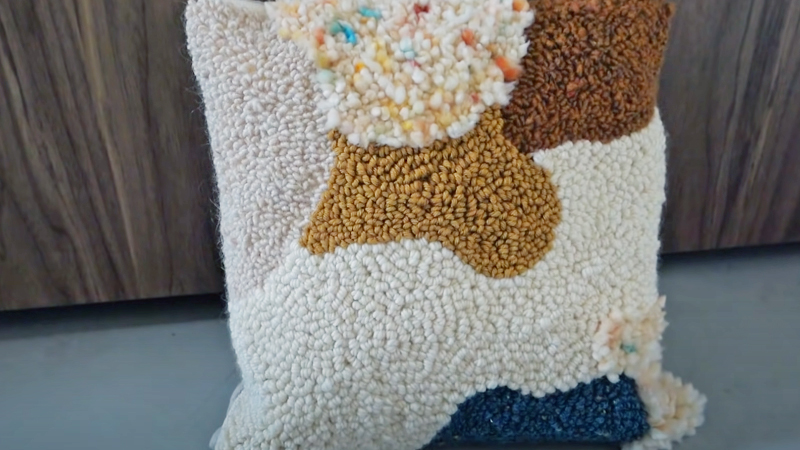
The process begins by stretching a fabric tightly in an embroidery hoop. The punch needle is then threaded with yarn, and as it penetrates the fabric, it creates loops on the surface. These loops can vary in height, resulting in a textured, rug-like effect.
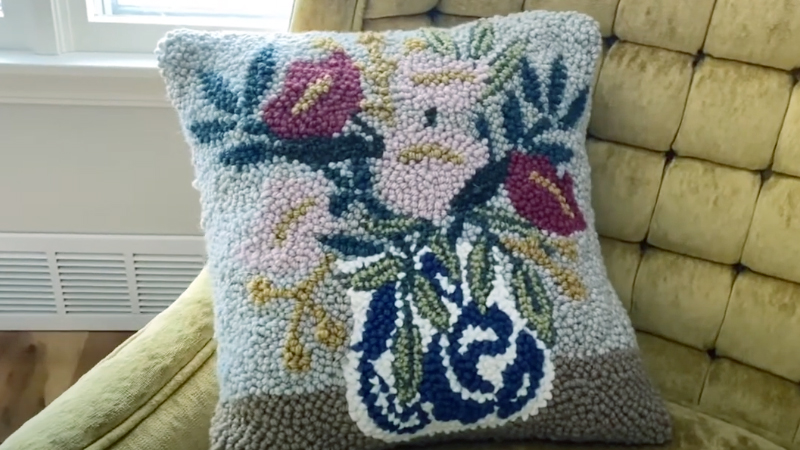
Punch needle embroidery allows for the creation of intricate patterns, textures, and even three-dimensional effects. It’s a popular craft for producing decorative items like pillows, wall hangings, and rugs, and offers a unique and enjoyable way to express creativity.
How to Make a Punch Needle Pillow?
Making a punch needle pillow is a creative and enjoyable craft project that allows you to create a beautiful and textured piece of home decor.
Punch needle embroidery, also known as needle punching or rug punching, is a technique that involves using a special needle to create loops of yarn or thread on a fabric surface.
Here’s a step-by-step guide on how to make your own punch needle pillow:
Materials You’ll Need:
- Punch Needle.
- Pillow Fabric.
- Pillow Insert.
- Embroidery Hoop.
- Transfer Paper or Pattern.
Steps to Make a Punch Needle Pillow:
Prepare Your Fabric
Start by laying out your chosen fabric on a flat surface. It’s important to work on a clean, smooth area.
Take the time to iron out any wrinkles or creases in the fabric. This ensures that your design will be evenly punched and gives a polished finish to your pillow.
Once your fabric is smooth, place it securely in an embroidery hoop. Make sure the fabric is stretched taut, but avoid over-tightening, as it can distort the weave.
Thread Your Punch Needle
Select the yarn colors you want to use for your design. Thread the punch needle with the first color, leaving a small tail hanging from the back.
Adjust the loop length on your punch needle according to your preference for pile height. Remember, shorter loops will result in a denser texture, while longer loops create a shaggier look.
Begin Punching
Start punching from the center of your fabric or at the focal point of your chosen pattern.
Gently push the punch needle down into the fabric, then pull it up slowly to create a loop. Keep the fabric taut with your non-dominant hand to prevent any puckering or bunching.
As you work, maintain a steady rhythm, focusing on creating even, parallel rows of loops. This helps ensure a consistent texture across your design.
Change Colors if Desired
When your design includes multiple colors, changing yarn is a straightforward process.
Simply unthread the punch needle, tie a small knot to secure the old color, and thread it with the new color. Continue punching with the new color, blending and transitioning as needed to achieve the desired effect.
Complete Your Design
Continue punching until you’ve filled in the entire design or background. Take your time, especially around intricate details.
The beauty of punch needlework lies in its tactile, textured quality, so enjoy the process of creating a piece that’s uniquely yours.
Finish the Pillow
Once your design is complete, carefully remove the fabric from the embroidery hoop.
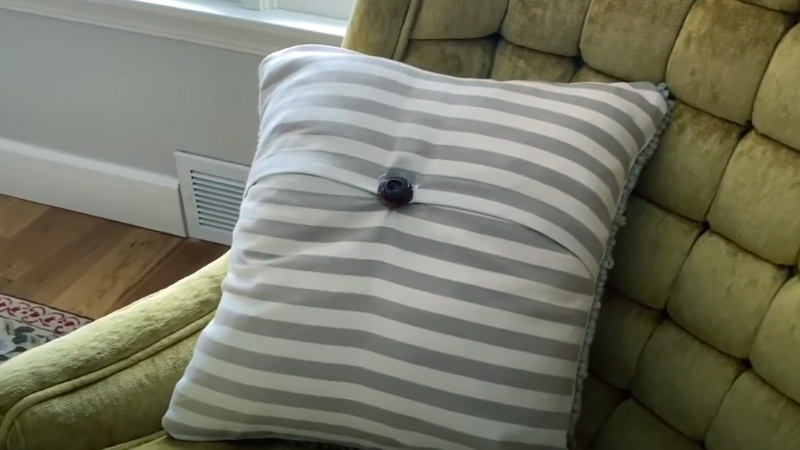
Lay it flat on your work surface. Now, take the second piece of fabric (intended for the back of the pillow) and place it right sides together with the punched fabric.
Insert Pillow Form
Gently sew around the edges, leaving an opening large enough to insert the pillow form. This is where your punch needle pillow will come to life, gaining both form and function.
Close the Opening
After inserting the pillow form, hand-stitch the opening closed using a needle and thread that matches the fabric.
Take care with your stitches, ensuring they’re neat and secure. This final step ensures your pillow maintains its shape and structure.
Enjoy Your Punch Needle Pillow
Once you’ve completed the finishing touches, fluff your pillow and find the perfect spot for it in your home.
Admire your handiwork and take pride in the unique, textured piece of art you’ve created. Your punch needle pillow is now ready to add a touch of creativity and comfort to your living space!
Storing the Pillow to Maintain Its Quality

Proper storage is crucial for maintaining the quality and longevity of your punch needle pillow.
Here are some tips on how to store it effectively:
Clean Before Storage
Before putting your punch needle pillow into storage, it’s essential to ensure it’s clean and completely dry.
When there are any spills or stains, address them before stowing them away. A thorough cleaning will prevent any lingering dirt or moisture from causing damage during storage.
Use a Storage Container
Opt for a storage container that is clean, dry, and appropriately sized for your pillow.
A container with a lid helps protect the pillow from dust, pests, and potential moisture. Make sure to clean and inspect the container before placing your pillow inside.
Avoid Plastic Bags
Plastic bags can trap moisture, leading to mold, mildew, and potential damage to the fabric.
Choose breathable fabric storage bags instead. These allow air to circulate while still providing a protective barrier against dust and pests.
Add Desiccants or Moisture Absorbers
Placing desiccant packets or moisture-absorbing crystals inside the storage container helps maintain a dry environment.
This is especially important if you live in an area with high humidity, as excess moisture can lead to mold growth and fabric degradation.
Keep Away from Direct Sunlight
Exposure to direct sunlight over time can cause colors to fade and weaken the fabric.
To preserve the vibrancy and integrity of your punch needle pillow, choose a storage location that is cool, dark, and shielded from direct sunlight.
Avoid Drastic Temperature Changes
Rapid temperature fluctuations can lead to condensation inside the storage container, potentially harming the fabric. Aim to store your pillow in an area with relatively stable temperatures to minimize this risk.
Elevate the Storage Container
Placing the storage container on a shelf or platform, rather than directly on the floor, helps protect it from potential moisture on the ground.
This extra precaution is particularly important if you’re storing your pillow in a basement or garage.
Store Flat or Gently Folded
Ideally, store your punch needle pillow flat to prevent any potential creases or misshaping.
When space limitations require folding, do so gently and avoid creating sharp creases that could become permanent over time.
Protect from Pests
When you live in an area prone to pests, take extra measures to protect your pillow.
Add natural pest repellents like lavender sachets or cedar chips to the storage container. These can help deter insects from making a home in your stored textiles.
Check Periodically
Even in storage, it’s important to periodically check on your pillow to ensure it’s still in good condition.
Look for any signs of damage, pests, or moisture accumulation. Catching issues early allows you to address them before they escalate.
Avoid Weight on Top
Resist the temptation to stack heavy objects on top of the storage container.
Excessive weight can compress the fibers of your pillow and potentially affect its shape. Opt for a storage location where it won’t be subjected to added pressure.
Precautions for Maintaining Consistent Tension and Dep

Maintaining consistent tension and depth while creating a punch needle project is crucial for achieving a professional-looking result.
Here are some precautions and tips to help you keep your tension and depth consistent:
Check Your Needle Depth Regularly
Regularly assess the depth of your punch needle. Over time, it may subtly adjust, especially during extended work sessions. Make small adjustments as needed to ensure the loops are consistently formed at your desired depth.
Monitor Yarn Tension
Be mindful of how much tension you’re applying to the yarn. Too much tension can lead to tight, compact loops, while too little can result in loose, uneven ones.
Find a balance that allows the yarn to flow smoothly through the needle without causing it to snag.
Utilize an Embroidery Hoop
Using an embroidery hoop helps maintain a stable surface for punching. Ensure the fabric is taut but not overly stretched. This prevents bunching or puckering and promotes even stitching.
Practice on a Test Piece
Before commencing your main project, spend some time practicing on a scrap piece of fabric. This allows you to familiarize yourself with the punch needle and make necessary adjustments to achieve consistent results.
Experiment with Loop Lengths
Try out different loop lengths on a small section of your project to find the texture you desire. Adjust the needle settings accordingly to maintain uniformity.
Take Breaks to Rest Your Hands
Punch needlework can be repetitive and may strain your hands and wrists. Take regular breaks to rest and stretch your hands and fingers. This promotes steadier control over the needle.
Ensure Adequate Lighting
Work in a well-lit area. Proper lighting allows you to clearly see your stitches, facilitating better control over tension and depth.
Adopt a Comfortable Grip
Hold the punch needle in a way that feels comfortable and allows for steady control. A relaxed grip can help prevent hand fatigue and enable smoother, more consistent stitching.
Inspect Your Work Frequently
Pause from time to time to examine your progress. Look for any irregularities in the loops or tension. Making minor adjustments as you go can prevent larger issues from developing.
Practice Patience and Take Your Time
Punch needlework demands patience, especially for intricate designs. Avoid rushing, as it can lead to uneven stitching and tension. Trust the process, and you’ll achieve a polished result.
FAQs
How do I choose the right fabric for my punch needle pillow?
Select a tightly woven, durable fabric like cotton or linen. Make sure it can withstand the punching process without fraying or stretching.
Can I use different types of yarn for punch needle embroidery?
Yes, you can experiment with various types of yarn, such as acrylic, wool, or even specialty yarns with unique textures.
Do I need to use an embroidery hoop for punch needle projects?
While not mandatory, an embroidery hoop helps keep the fabric taut, making the punching process smoother.
How do I secure the yarn ends on the back of the fabric?
To secure the yarn ends, weave them through nearby loops on the backside of the fabric.
Can I create three-dimensional effects with punch needle embroidery?
Yes, you can achieve a 3D effect by varying the length of your loops. Shorter loops will create a denser texture, while longer loops result in a more raised, shaggy appearance.
To Recap
In crafting a punch needle pillow, you’ve ventured into a world of creativity and craftsmanship, producing a tactile masterpiece that reflects your unique vision.
The rhythmic dance of the punch needle, the careful selection of yarn, and the precision of each loop have culminated in a textured work of art.
Your attention to detail and dedication have paid off, resulting in a pillow that’s not only visually captivating but also a testament to your artistic prowess.
As you find the perfect spot for your creation, may it serve as a reminder of the beauty that can be born from skillful hands, patience, and a touch of imagination.
Leave a Reply