Are you interested in a Quilt with no idea at all, how to make a quilt? Well, you are just at the right place! Let’s get started today.
The quilt is more than sewing! In fact, it can be your perfect pass time, with practice and patience. Even if you don’t want to go commercial, a quilt blanket will always keep you warm during the winter.
Plus, they are durable too! Not only you but it will also be available to your grandchildren! Yes, that’s a quilt for you!
What Is a Quilt?
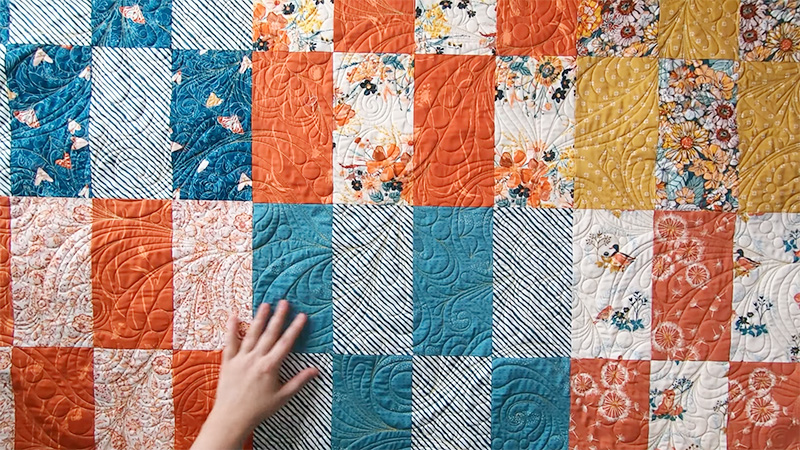
Open your drawer and bring out your blanket. Hover your fingers over it and what do you feel? It’s not made of a single layer, the stitches are thick and there’s a minimum of three layers in it.
This is what quits are made of. Let us simplify for you,
A quilt has three major apartments, (1) the quilt top, (2) the batting (also known as wadding), and (3) the backing. In quilting, you have to stitch the three layers together to create a thick and warm textile.
It’s actually not too hard to make your first quilt. You only have to follow a few simple steps with us. Let’s begin.
How to Make a Quilt?
Before we begin, make sure to collect a few supplies we mention below,
1) Fabric
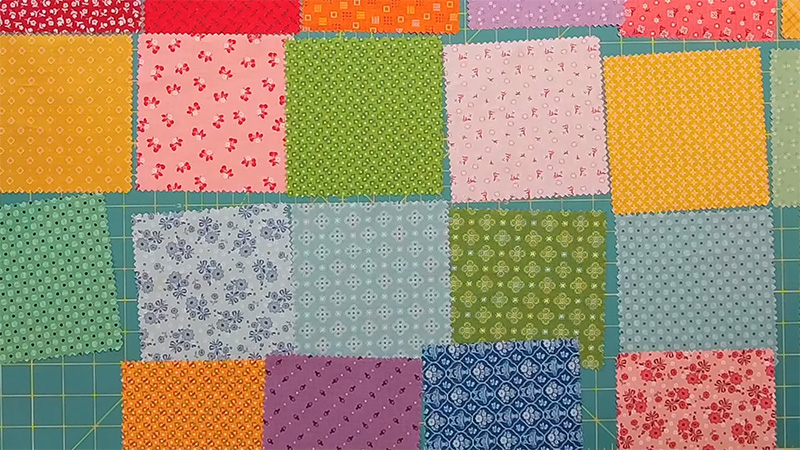
Let’s start with the fabric first! You can use a variety of fabrics to quilt, including a focus fabric, coordinating fabrics, and backing fabric.
Most of the basic quilts are made of pure cotton, sometimes with a combination of polyesters. Furthermore, you also have to be selective when choosing fabric for different layers. They are,
Quilt Top: Generally, cotton is the most popular choice for quilt tops due to its durability. It’s also easy to sew and comes in a variety of patterns and colors. However, you can also use cotton blends, flannel, and even silk.
Batting: You can use cotton, polyester, wool, and blends in between the two layers. Remember, cotton is breathable and easy to quilt by hand. Polyester is lightweight and hypoallergenic and, wool is warm and resilient.
You better understand your needs and preferences first before selecting fabric for the middle compartment.
Backing: Like the quilt top, you can select cotton, flannel, or other suitable materials. For the back. It’s often a good idea to select a fabric that complements the quilt top or delivers a nice contrast.
2) Cutting Tools
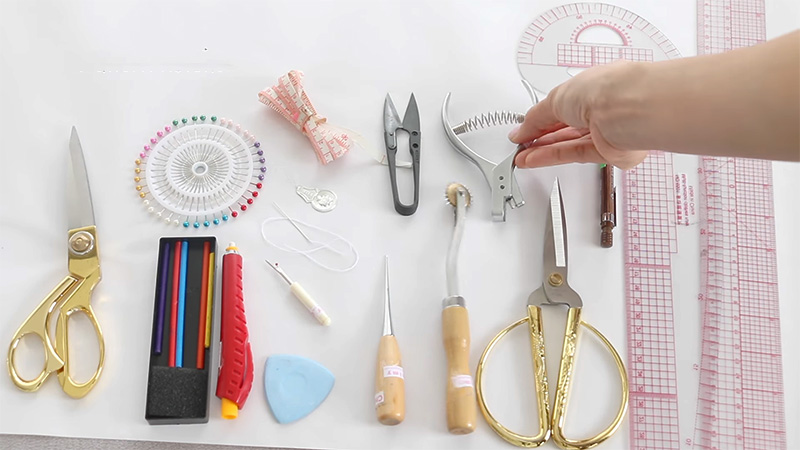
You will need to equally cut pieces for your quilt. For this, you can follow the basic half-square triangle chart and formulas.
However, whatever unit you may use, you will need to use the right cutting tools for this. You can use the genuine scissors but it’s best to go on with a rotary cutter.
You will also need a cutting mat. A regular table top is okay, but might not be enough to get the perfect straight line you need for the quilt.
Additionally, you will also need a ruler to have the perfect cuts. Go for the rulers that are 5×24 inches in size.
3) Thread
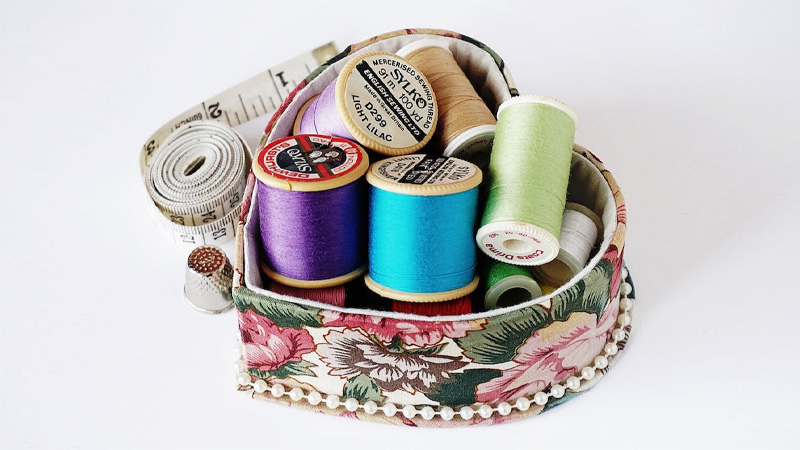
There’s usually no difference between the regular sewing threads and quilt threads. However, it’s wise not to compromise the quality. Hence, go for quality threads. It might cost you a few extra bucks but won’t come off easily.
4) Pins and Needles
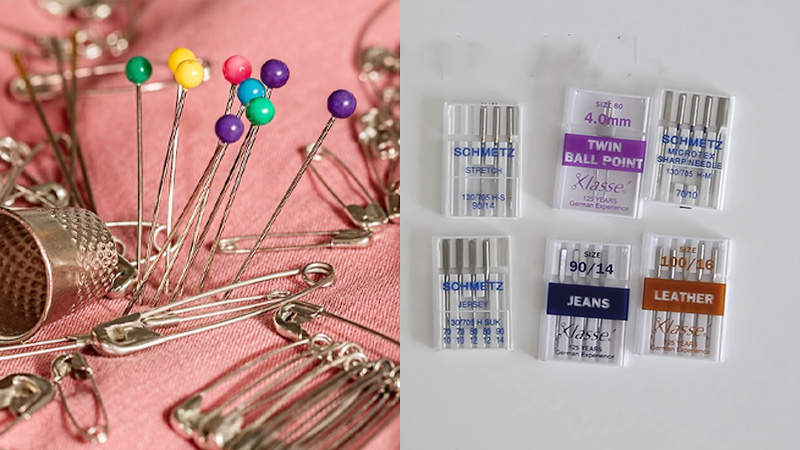
You will also need a pool of other basic sewing materials. Such as pins, safety pins, and needles. Also, gather some safety pins in particular.
Now, you have them. It’s time to finally get into sewing. Let’s begin:
Step 1: Fix Your Design
Have you decided on the size of the quilt yet? If not, you better start there. Decide the size, shape, and pattern of your quilt.
It’s better to sketch your ideas on paper. You can also use modern quilting software like Brother SAPVQ Preview or, GO! Quilt by Accuquilt to pin perfectly design your quilt.
Also, don’t forget to select the right color schemes and fabrics that complement your design.
Step 2: Prepare the Fabric
After you have finalized your quilt design, it’s time to work with the fabric. Select the right fabric that equally suits the three layers.
Next, think of prewashing the fabrics. It will also help you determine the quality of the fabrics. Poor fabrics often dye out and shrink with one wash. Better to learn it before than after.
Hence, whatever the fabric you use, it’s wise to prewash them to remove any dirt. Also, don’t forget to press the fabric, it will remove the wrinkles and help you cut clean. We recommend using the steam setting of your iron if available.
Step 3: Sew the Quilt Top
Now, you have to sew the fabric pieces together. Start by assembling the quilt top. You can use a 1/4-inch seam allowance and press the seams open to reduce bulk.
In case, you are a beginner, it would be wise to start with the large quilt blocks. It is comparatively easier to cut and faster to sew. Beginners often struggle with the smaller quilt blocks.
Pay attention to the patterns and cut them specifically to give it the desired look. You may need to trim the additional fabric as you go along.
Similarly, lay the batting out flat on a large surface, followed by the backing fabric, right side down. Smooth out any wrinkles and secure the layers with pins or basting spray.
Step 4: Start Quilting
You need to hold three layers together in a quilt. It’s easy to quilt either by a sewing machine or a hand stitching the fabrics. In case, you prefer to quilt with a sewing machine, use a walking foot attachment and follow any preferable quilting design.
And for hand-stitched quilts, a needle, and quality threads are a must. You can actually, personalize the stitches and offer more variations with hand sewing.
Step 5: Bind Your Quilt
To finish the edges of your quilt, you have to create binding strips. Cut the fabric strips on the bias (at a 45-degree angle) and sew them together. It will create a continuous strip.
Next, fold the binding strip in half lengthwise, and then sew it to the edges of the quilt. You have a clean finish with polished corners.
It’s almost done. Binding is the final stage of quilting. Look for any additional fabric and trim them if needed. Have a final press and ensure it looks all flat and polished.
Last Words
Congratulations! You have completed your first quilt. And if you haven’t tried it yet, we suggest you start reading our article from the top to quilt your one seamlessly.
Remember, practice makes it perfect, so don’t be discouraged if your first quilt isn’t perfect. Your skills will improve with time and experience.
Also, don’t forget to share our article with your friends who are struggling with their first quilt! Let them know about us and help us grow too! Happy quilting!
Leave a Reply