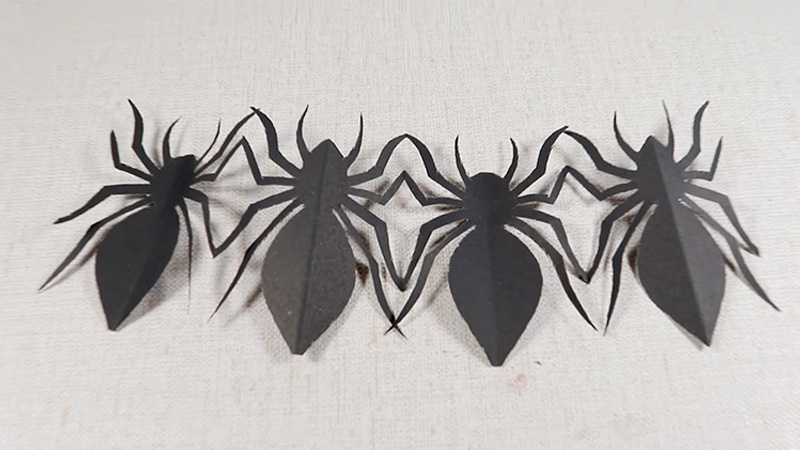
Crafting a paper spider is a delightful and imaginative endeavour that combines creativity and the spirit of the season.
Spiders often take centre stage in Halloween decorations, but they can also be charming and fascinating creatures any time of year.
Making a paper spider allows you to explore your artistic talents while embracing the beauty of these arachnids without the need for eight-legged trepidation.
Creating a paper spider is a perfect craft for all ages. It’s an opportunity to engage children in a fun and educational activity while offering adults a chance to express their artistic flair.
This guide will take you through How to Make a Spider Out of Paper. Whether you’re a seasoned paper crafter or a beginner, you’ll find joy in the process and satisfaction in the end result.

How to Make a Spider Out of Paper?
Here are the steps and the paragraph descriptions:
Make A Paper Circle
You can use any paper that is black, brown, or grey, depending on the colour of your spider.
You can also use a paper plate or a cardboard cutout for a bigger spider. To make a paper circle, you can trace a round object, such as a cup or a lid, on the paper and cut it out with scissors.
Cut Out Eight Pipe Cleaners
You can use any pipe cleaners that are black, brown, or grey, depending on the colour of your spider.
You can also use other materials, such as yarn, string, or wire, for a different texture. To cut out eight pipe cleaners, you can use scissors or a wire cutter and measure about 6 inches for each piece.
Glue Four Pipe Cleaners On Each Side Of The Paper Circle
These will be the legs of your spider. To glue them, you can use hot glue, craft glue, or tape and attach them near the edge of the paper circle. You can also poke holes in the paper circle and insert the pipe cleaners through them.
Bend The Pipe Cleaners To Shape The Legs Of Your Spider
You can make them straight, curved, or zigzagged, depending on the style of your spider. You can also twist them together or apart to make them thicker or thinner.
Cut Out Two Small Circles From White Or Red Paper
These will be the eyes of your spider. To cut them out, you can use scissors or a hole punch and make them about half an inch in diameter.
Glue The Eyes On The Front Of The Paper Circle
These will be the face of your spider. To glue them, you can use hot glue, craft glue, or tape and attach them near the centre of the paper circle. You can also draw or paint the eyes on the paper circle if you prefer.
Cut Out A Small Triangle From White Or Red Paper
This will be the fang of your spider. To cut it out, you can use scissors or a knife and make it about a quarter inch in length.
Glue The Fang Under The Eyes Of Your Spider
This will be the mouth of your spider. To glue it, you can use hot glue, craft glue, or tape and attach it near the bottom of the paper circle. You can also draw or paint the fang on the paper circle if you prefer.
Decorate your spider as you wish. You can add some more details to your spider, such as spots, stripes, hairs, or patterns. You can use paper, paint, markers, stickers, or any other materials to make your spider more colourful and attractive.
How Do You Decorate Your Paper Spider?

There are many ways to decorate your paper spider, but some of the most creative and fun methods are:
The Glittery Spider
This is a method that uses glitter glue or glitter powder to make your spider sparkle and shine. You can apply the glitter on the paper circle, the pipe cleaners, or both, depending on how much you want your spider to stand out. You can also use different colours of glitter to make your spider more colourful and festive.
The Googly-Eyed Spider
This is a method that uses googly eyes or other round objects to make your spider look more cute and funny.
You can replace the paper eyes with googly eyes or add more eyes to make your spider look more weird and wacky.
You can also use other round objects, such as buttons, beads, or pom poms, to make your spider’s eyes more varied and interesting.
The Hairy Spider
This is a method that uses yarn, string, or wool to make your spider look more realistic and scary.
You can wrap the yarn around the pipe cleaners or glue it on the paper circle to make your spider’s legs and body more hairy and fuzzy.
You can also use different colours and textures of yarn to make your spider more diverse and unique.
The Patterned Spider
This is a method that uses paper, paint, markers, or stickers to make your spider look more artistic and stylish.
You can cut out different shapes of paper, such as circles, squares, or triangles, and glue them on the paper circle to make your spider’s body more patterned and geometric.
You can also use paint, markers, or stickers to draw or stick different designs on the paper circle, such as dots, stripes, or swirls, to make your spider’s body more decorative and colourful.
The Spooky Spider
This is a method that uses glow-in-the-dark paint, stickers, or tape to make your spider look more spooky and mysterious.
You can apply the glow-in-the-dark paint on the paper circle, the pipe cleaners, or both, depending on how much you want your spider to glow in the dark.
You can also use glow-in-the-dark stickers or tape to add some details or features to your spider, such as eyes, fangs, or spots.
The Candy Spider
This is a method that uses candy wrappers, lollipops, or gumdrops to make your spider look more sweet and delicious.
You can wrap the candy wrappers around the pipe cleaners or glue them on the paper circle to make your spider’s legs and body more colourful and shiny.
You can also use lollipops or gumdrops to replace the paper eyes or fang of your spider or add them as extra features or accessories.
What Are Some Other Animals I Can Make Out Of Paper?

Paper crafting offers a world of possibilities for creating various animals. Here are some animals you can make out of paper, each with a brief description:
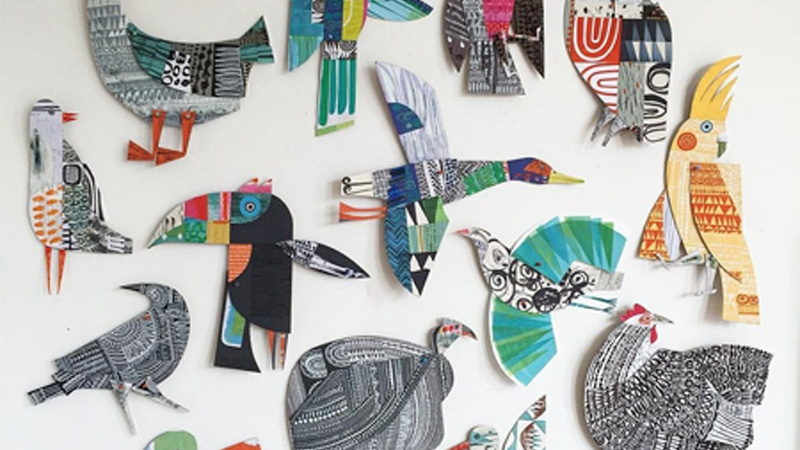
Paper Birds
Craft paper birds such as owls, parrots, or swans. These can be intricate and colourful or simple and elegant. Paper birds can be hung as decorations or used for creative storytelling.
Paper Butterflies
Create delicate and colourful paper butterflies by folding and cutting paper in various shapes. These paper butterflies make beautiful decorations for special occasions or add a touch of whimsy to your space.
Paper Fish
Craft paper fish, like koi or tropical fish, to decorate an aquarium-themed project or simply for fun. Paperfish are a creative way to explore different colours and patterns.
Paper Cats and Dogs
Make adorable paper cats and dogs, perfect for pet-themed crafts or as fun decorations for animal lovers. Customize their colours and features to mimic your favourite breeds.
Paper Elephants
Fold and sculpt paper into charming elephant figures. These can be part of a wildlife diorama or a standalone decoration for themed events or nurseries.
Paper Insects
Explore the world of insects by crafting paper versions of butterflies, bees, ants, and more.
These tiny creatures can be used for educational projects or as unique decorations.
Paper Snakes
Create paper snakes with coiled bodies and colourful patterns. These can be used for educational purposes, as part of jungle-themed displays, or as a playful craft for children.
Paper Frogs
Craft paper frogs with spring-loaded legs that allow them to “jump.” These fun and interactive paper frogs are a hit with kids and can be used for games or as decorations.
Paper Pandas
Sculpt paper into adorable panda bears, complete with their iconic black and white markings. Paper pandas make charming additions to wildlife-themed projects or as cuddly paper toys.
These paper animal creations offer a diverse range of creative possibilities, allowing you to explore the beauty and diversity of the animal kingdom while working with this versatile medium.
Whether you’re crafting for educational purposes, decorations, or simply for the joy of creating, paper animals are a delightful way to express your creativity.
FAQ
To craft a paper spider, you’ll require black and white paper (or coloured paper for a creative twist), scissors, glue, and optional googly eyes for added detail. These materials are readily available at most craft stores or can be repurposed from your existing supplies.
Yes, there are many printable templates available online to help you get started with paper spider crafting.
These templates can serve as a helpful starting point for beginners or provide inspiration for your unique spider designs.
Absolutely! Making paper spiders is an excellent craft activity for children of all ages.
It promotes creativity, fine motor skills, and imagination. With supervision, even younger kids can enjoy this craft.
While traditional paper spiders are typically black and white, you can absolutely use coloured paper to create unique and imaginative spiders. Consider using vibrant hues or patterns to add a creative twist to your designs.
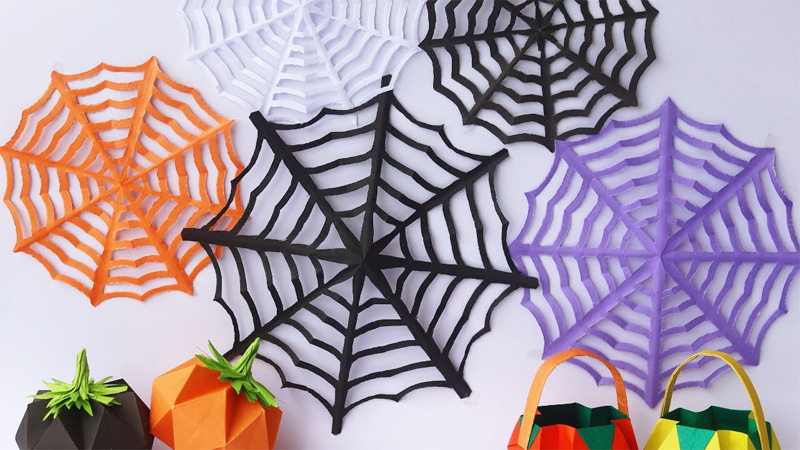
Once your paper spiders are crafted, you can use them in various ways. They make fantastic Halloween decorations, can be incorporated into shadow boxes or dioramas, and can even serve as storytelling props to enhance imaginative play. The possibilities are limited only by your creativity!
Conclusion
As you’ve discovered in this guide, making a paper spider is a creative and entertaining craft that bridges the gap between art and the natural world.
These paper arachnids are not only a charming addition to Halloween decorations but also a unique way to appreciate the beauty of these creatures year-round.
Crafting paper spiders allows you to explore various shapes, colours, and sizes, resulting in a diverse collection of arachnid artistry.
Whether you choose to hang them as decorations, use them in storytelling, or simply appreciate them for their intricate designs, paper spiders offer a unique blend of creativity and nature-inspired wonder.
So, gather your paper, scissors, and creativity, and let your imagination weave its own web of paper spider magic.
Whether you’re crafting them as Halloween decorations or embracing them as delightful creatures, your paper spiders will always capture the spirit of wonder and creativity.
Leave a Reply