The power of personalization and precision in your craft projects can be unleashed with a Cricut machine, and one impressive way to achieve this is by creating your own stencils. Stencils offer endless possibilities for customizing home decor, clothing, and various DIY endeavors.
In this guide, we’ll take you through the step-by-step process of how to make stencils with Cricut, empowering you to add intricate and unique designs to your creative arsenal.
From selecting the right materials for your stencil to mastering the design process in Cricut Design Space, you’ll discover the essential techniques to craft stencils that are not only beautiful but also highly functional.
Whether you’re a crafting enthusiast or a novice looking to embark on a creative journey, this guide will equip you with the knowledge and skills needed to create precision stencils that bring your artistic vision to life.
So, let’s dive into the world of stencils and explore the boundless opportunities they offer with your Cricut.
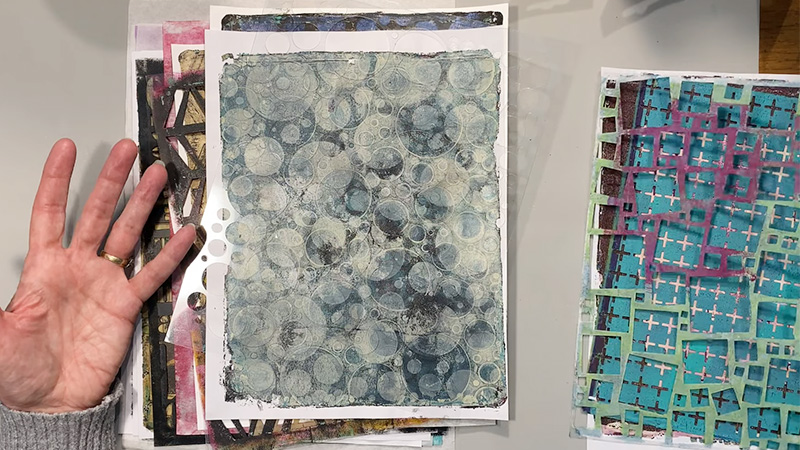
How to Make a Stencil with Cricut?
Creating stencils with your Cricut machine is a rewarding craft that can add a personal touch to your projects. With the right materials, design, and cutting techniques, you can craft intricate and customized designs that stand out on a variety of surfaces. Here’s the process:
Step 1: Design Your Stencil
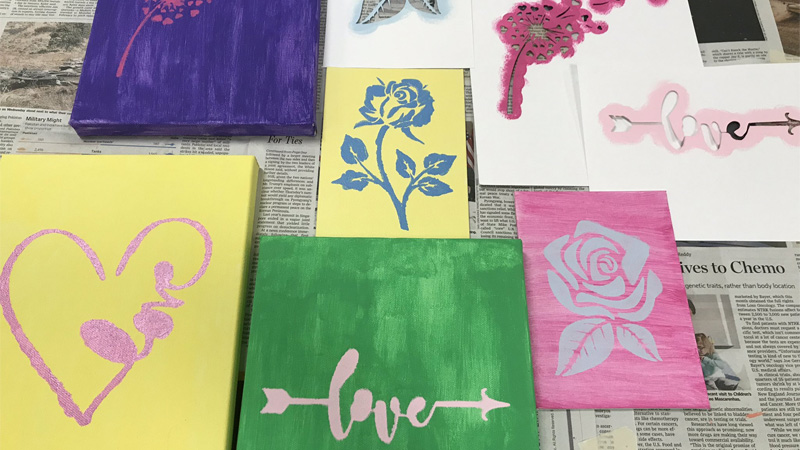
Launch the Cricut Design Space software on your computer or mobile device. Start by creating a new project in Cricut Design Space. Click on “Upload” and select or upload the design you want to turn into a stencil.
This design can be a vector graphic, text, or an image. You can also create your own design using the software.
Adjust the size and position of your design within the canvas. Make sure it fits the project you have in mind. Once your design is ready, click on “Make It” in Cricut Design Space.
The software will prepare your design for cutting by separating it into different layers if needed.
Step 2: Cutting Your Stencil
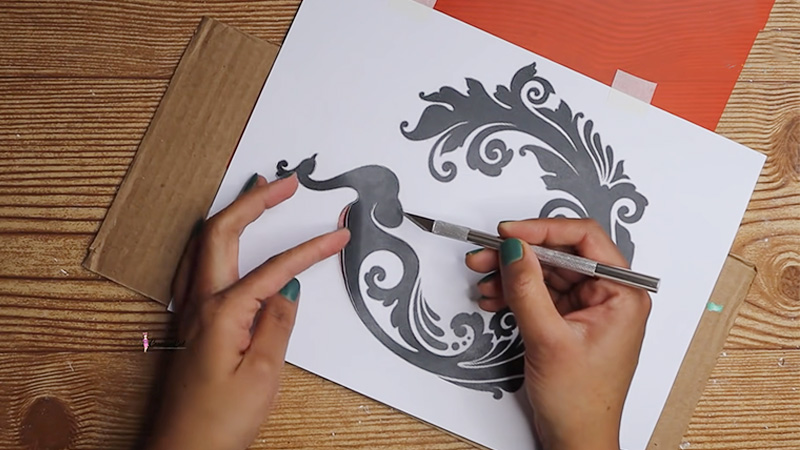
In Cricut Design Space, select the material setting that corresponds to the type of stencil material you’re using. If your material isn’t listed, you can create a custom setting by selecting “Browse All Materials.”
Place your chosen stencil material onto a standard grip-cutting mat. Ensure the material is smooth and adhered securely to the mat. Insert the cutting mat into your Cricut machine and follow the prompts on the software to feed it into the machine.
Once your machine is ready, press the “C” or “Go” button to start cutting your stencil. The machine will follow the design’s contours and cut it precisely. After cutting is complete, unload the cutting mat from the Cricut machine.
Step 3: Weeding Your Stencil
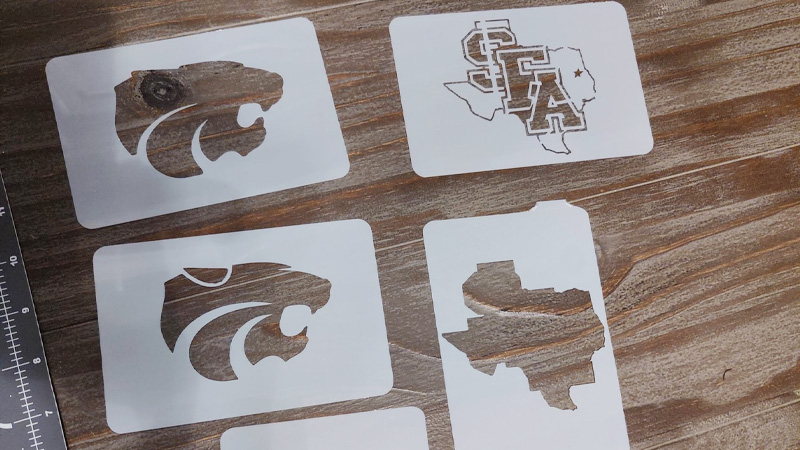
Carefully remove the stencil material from the cutting mat. Be gentle to prevent any tearing. Use weeding tools to remove the excess material (referred to as “negative space”) from your stencil. What remains should be your stencil design.
Step 4: Applying the Stencil
Ensure the surface you’ll be applying the stencil to is clean and dry. If necessary, use painter’s tape to secure the stencil in the desired position. Carefully lift the stencil from its backing and position it on your project surface.
Make sure it’s aligned correctly. Gently press down on the stencil, smoothing it out to ensure it adheres firmly to the surface.
Step 5: Applying Paint or Ink
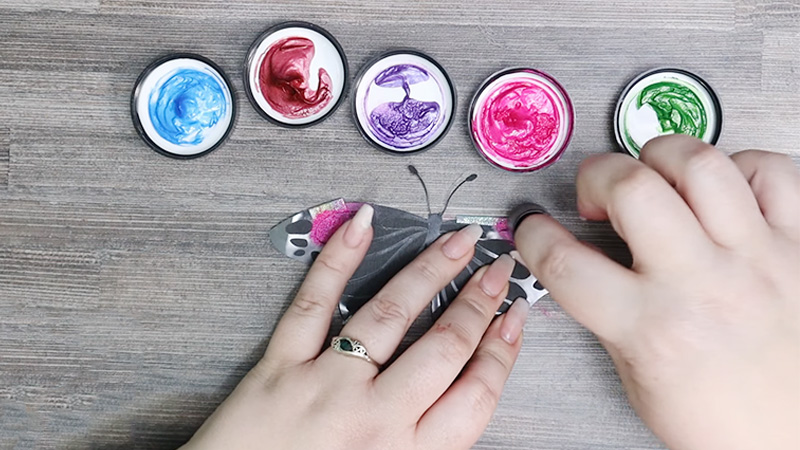
Depending on your project and personal preference, select the paint, ink, or other medium you want to apply through the stencil. Using a brush, sponge, or appropriate tool, apply the medium to your stencil.
Be careful not to use too much, as this can cause bleeding under the stencil. Allow the medium to dry completely before removing the stencil.
Step 6: Removing the Stencil
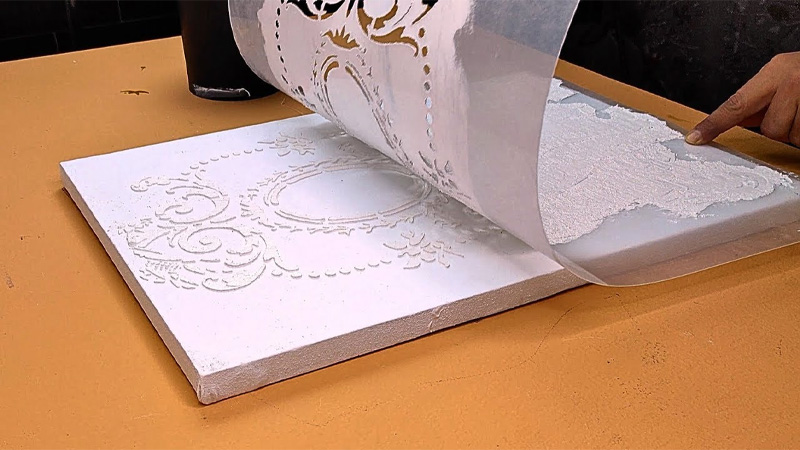
Carefully peel off the stencil from your project surface, revealing your beautifully crafted design. If you plan to reuse the stencil, clean it thoroughly using warm, soapy water and a soft brush.
Tips for Successful Stencil Making
For intricate designs or reusable stencils, consider using stencil vinyl or mylar sheets, as they are more durable than standard adhesive vinyl. To prevent paint or ink bleeding under the stencil, use a stencil adhesive spray to secure the stencil to the project surface.
Test your stencil on a scrap piece of material before applying it to your final project to ensure it aligns correctly and the medium works as expected. Take your time when weeding and applying the stencil to achieve the best results.
Experiment with different materials, mediums, and design techniques to expand your stencil-making skills and creativity.
What Is the Best Material for Stencils on Cricut?
Selecting the best material for stencils on a Cricut machine depends on the specific needs of your project. Various materials can be used for stencils, each offering different advantages.
Here, we’ll discuss some of the most commonly used stencil materials and their characteristics to help you make an informed choice:
Stencil Vinyl
Stencil vinyl, specifically designed for stenciling, is a popular choice for Cricut users. It has an adhesive backing that allows it to stick to your project surface, preventing paint or ink from bleeding underneath.
This makes it suitable for intricate designs. Best for detailed designs, projects with multiple layers, and situations where precise alignment is crucial. It’s excellent for creating reusable stencils. Stencil vinyl is more expensive compared to some other options.
Adhesive Vinyl
Regular adhesive vinyl can also be used for stenciling. It’s versatile and available in a wide range of colors. While it doesn’t have a special stencil adhesive, it can work well for many projects.
Best for simple, single-layer designs, and when you want to use the same material for other crafting projects. Paint or ink may bleed underneath if you’re not careful. Using a stencil adhesive spray can help in this case.
Mylar Sheets
Mylar sheets are a durable option for creating reusable stencils. They are translucent, allowing you to see the project surface through the stencil, which aids in precise placement.
Mylar stencils can be used multiple times without losing their shape. Best for reusable stencils, especially for larger or intricate designs. Mylar sheets are more rigid and may not adhere to curved surfaces as well as vinyl stencils.
Transfer Paper
Transfer paper is not a stencil material on its own but is often used in combination with other materials. It helps in transferring vinyl or mylar stencils to your project surface without distortion.
Applying vinyl or mylar stencils smoothly to your project surface, especially for intricate designs. You’ll still need a stencil material (vinyl or mylar) to pair with transfer paper.
Freezer Paper
Freezer paper is a cost-effective alternative for creating stencils. It has a waxy side that adheres when ironed and can be easily removed. It’s suitable for simple, one-time-use projects.
Best for basic stenciling projects like fabric stencils for t-shirts, bags, and more. Freezer paper is less durable and not recommended for detailed or intricate designs.
Cardstock or Thick Paper
Cardstock or thick paper can be used for stencils when you want to create a temporary stencil. It’s easy to cut with your Cricut machine and is readily available.
Best for quick and simple projects, particularly when you don’t need a long-lasting stencil. These materials are not suitable for projects that involve paint or ink application.
Factors to Consider When Choosing Stencil Material
When selecting stencil material, several critical factors demand attention to achieve precise and durable results. Below are the details.
Project Type and Design Complexity
Consider the type of project you’re working on. For detailed and reusable stencils, stencil vinyl or mylar sheets are ideal. For quick, one-time projects, less expensive options like adhesive vinyl or freezer paper may suffice.
The complexity of your design plays a significant role. For intricate and detailed designs, it’s best to opt for stencil vinyl or mylar sheets, as they prevent bleeding and maintain design integrity.
Project Surface and Budget
Consider the surface you’ll be stenciling on. Some materials adhere better to flat surfaces, while others can conform to curved or uneven surfaces.
Your budget may also influence your choice of stencil material. Stencil vinyl and mylar sheets tend to be more expensive, while adhesive vinyl, freezer paper, and cardstock are more budget-friendly.
Reusability and Adhesive
If you want to create stencils that can be used multiple times, mylar sheets are a durable and cost-effective choice.
Consider whether you need the stencil material to have an adhesive backing. Stencil vinyl and adhesive vinyl have adhesive, while mylar sheets and freezer paper do not.
Size of the Design and Tools
The size of your stencil design matters. Ensure the chosen material can accommodate the size of your project.
Think about the tools and accessories you have, such as a stencil adhesive spray or transfer paper. These can enhance the performance of some stencil materials.
Additional Tips for Successful Stenciling
Use a good quality Cricut blade to ensure clean and precise cuts. Apply stencil adhesive spray to adhesive vinyl or freezer paper if you’re concerned about paint or ink bleeding.
Make sure your project surface is clean and dry before applying the stencil. Practice on a scrap piece of material before applying the stencil to your final project.
Experiment with different stencil materials and techniques to gain experience and determine which works best for your specific projects.
FAQs
Can I reuse Cricut stencil paper for multiple projects?
Cricut stencil paper is typically designed for one-time or short-term use. The adhesive backing may lose its stickiness after the first application, making it less effective for reusing the stencil.
How do I prevent paint from bleeding under the stencil when using Cricut stencil paper?
To prevent bleeding, make sure your stencil adheres firmly to the project surface. Burnish the stencil well, use stencil adhesive spray for added adhesion, and apply paint or ink evenly and sparingly.
Can I create custom stencil designs with Cricut stencil paper?
Yes, you can create custom stencil designs using Cricut stencil paper with your Cricut machine. Design your stencil in Cricut Design Space or upload your own design, and then follow the cutting and application steps to create your custom stencils.
What types of projects are ideal for Cricut stencil paper?
Cricut stencil paper is suitable for a wide range of projects, including custom home decor, personalized clothing, art and crafts, and more. It’s excellent for projects that require precise and detailed designs without the risk of paint or ink bleeding.
Can I clean and reuse a Cricut stencil if I take proper care of it?
While Cricut stencil paper is not designed for extensive reusability, you can prolong its life with careful cleaning and maintenance.
After using the stencil, clean it thoroughly with warm, soapy water and a soft brush, and allow it to dry before storing it for future use.
Conclusion
The ability to create custom stencils with your Cricut machine opens up a world of creative possibilities. Stencils are versatile tools that allow you to add your unique touch to various projects, from home decor to personal accessories.
Through this guide, you’ve gained the knowledge and techniques required to craft precision stencils that reflect your creativity and style.
With the right choice of materials, design software, and cutting settings, you can produce stencils that facilitate precise and detailed designs. These stencils can be used for painting, etching, embossing, or any other crafting technique you desire. The only limit is your imagination.
Whether you’re crafting for personal enjoyment, gifting, or even starting a small business, the art of making stencils with your Cricut is a valuable skill that allows you to create beautifully customized projects.
So, embrace the world of stencils, let your creativity shine, and explore the endless opportunities that come with this versatile and precise crafting technique.
Leave a Reply