Creating a temperature blanket is a delightful fusion of art and meteorology, where crafters embark on a year-long journey to capture the ebb and flow of daily temperatures in a colorful textile masterpiece.
This unique project allows individuals to channel their creativity while documenting the changing seasons and climate over a year.
This guide will explore how to make a temperature blanket and stitch pattern to record daily temperatures and assemble the finished piece.
Temperature blankets are more than just cozy coverings; they are tangible records of time, weather, and personal commitment.
With each row or square, you weave memories of chilly winter nights, breezy spring mornings, scorching summer afternoons, and crisp autumn evenings.
As your blanket grows, it becomes a visual representation of the passage of time, making it both a functional keepsake and a work of art.
What Is A Temperature Blanket?
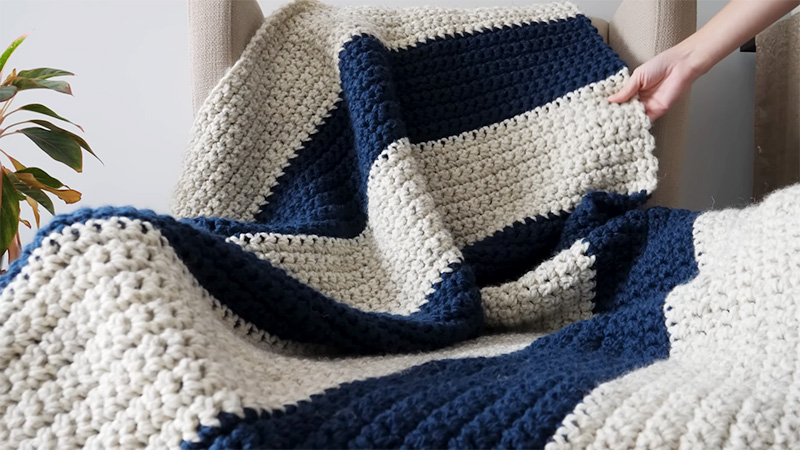
A temperature blanket is a unique and creative crochet or knitting project that combines the art of crafting with the tracking of daily temperatures over an extended period.
Typically worked in rows or squares, each day corresponds to a different color or stitch pattern based on the recorded temperature. The result is a visually stunning and personalized blanket that reflects the changing climate throughout the year.
Temperature blankets can be a meaningful way to document and remember a specific period, such as a year, and can serve as a beautiful keepsake or decorative piece.
The colors and patterns chosen often represent a range of temperatures, with cool blues and purples for colder days and warm reds and oranges for hotter days.
This craft allows individuals to engage in both a relaxing hobby and a form of weather tracking, resulting in a unique and functional work of art.
How To Make A Temperature Blanket?
Creating a temperature blanket is a fun and rewarding project that allows you to track and display daily temperatures through crochet or knitting. Here are some simple methods to make a temperature blanket:
Select Your Temperature Range and Colors
Begin by deciding the temperature range you want to represent in your blanket. For example, you might choose a range from freezing to scorching temperatures.
Assign a specific color to each temperature range, such as cool blues for colder days and warm oranges for hotter days. This will be the foundation for your design.
Choose a Stitch Pattern
Select a crochet or knitting stitch pattern you’d like to use for your blanket. Simpler stitches like single crochet or garter stitch work well for beginners, while more complex patterns can add variety and texture to your project. Make sure the chosen stitch pattern is easy to repeat over the year.
Create a Temperature Legend
Create a legend or key that pairs each temperature range with its corresponding color. This legend will be your reference throughout the year, helping you determine which color to use for each day’s temperature.
Record Daily Temperatures
Daily, check the temperature for your location and record it. You can collect this data from a weather app, thermometer, or any reliable source. Be sure to note the day’s high, low, or average temperature, depending on your preference.
Crochet/Knit Your Daily Row or Square
Based on the recorded temperature, crochet or knit a row or square using the corresponding color and stitch pattern.
If you’re doing a daily row, you’ll add one row per day; if you’re doing a daily square, make one square per day. Stick to the pattern you’ve chosen to maintain consistency.
Assemble Your Blanket
Over time, you’ll accumulate a collection of rows or squares. Assemble them chronologically so the colors flow smoothly to represent the changing temperatures throughout the year. You can connect the rows or squares using a joining method of your choice.
Finishing Touches
Once you’ve completed the last row or square for the year, finish your temperature blanket by adding any desired borders, edges, or decorative elements. Then, give your blanket a good wash and block it to ensure it lays flat and looks its best.
By following these simple methods, you can create a beautiful and meaningful temperature blanket that showcases the weather patterns of a specific year and serves as a unique work of art and a cozy keepsake.
How To Choose The Right Yarn For Your Temperature Blanket?
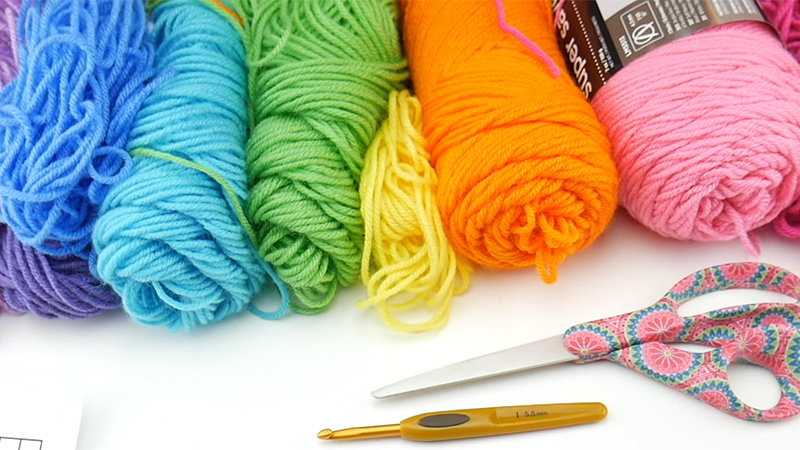
Selecting the suitable yarn for your temperature blanket is crucial to achieving your project’s desired look and feel. Here are some kinds of yarn you can consider:
Acrylic Yarn
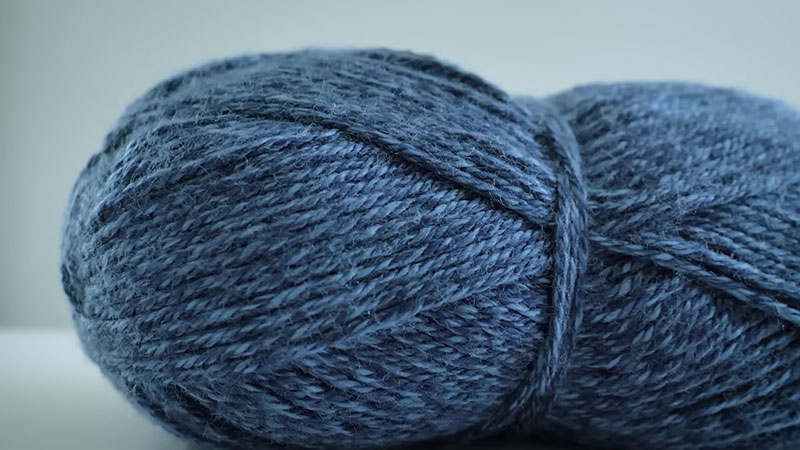
Acrylic yarn is a popular choice for temperature blankets because it comes in a wide range of colors, is affordable, and is easy to care for.
It’s also readily available in most craft stores, making it a convenient option for beginners and experienced crafters. Acrylic yarn is durable and retains its color well over time.
Cotton Yarn
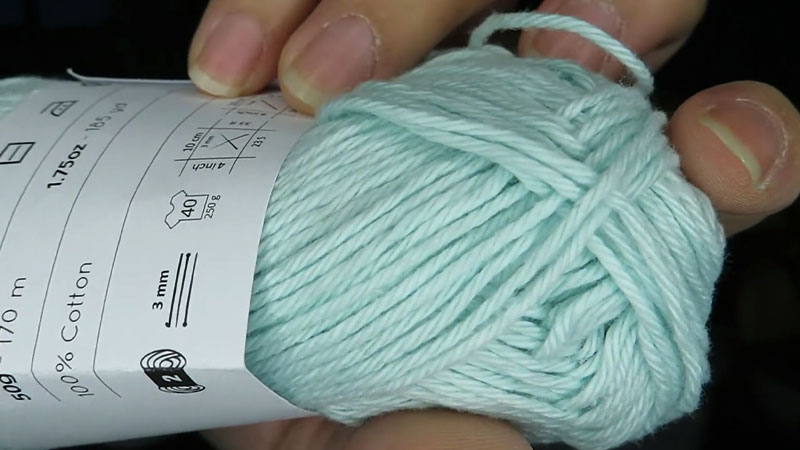
Cotton yarn is a natural fiber ideal for temperature blankets in warmer climates. It is breathable, absorbent, and soft, making it comfortable to use year-round. Cotton is also hypoallergenic, which is a consideration for those with allergies.
Wool Yarn
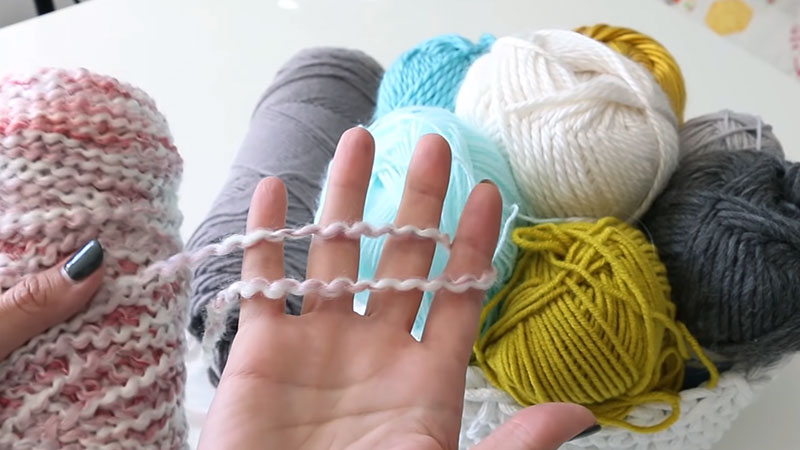
Wool is a warm and cozy option for temperature blankets, perfect for colder regions. It has excellent insulating properties, providing warmth during chilly seasons.
Wool yarns can come in various weights, from fine to bulky, allowing you to choose the appropriate thickness for your project.
Bamboo Yarn
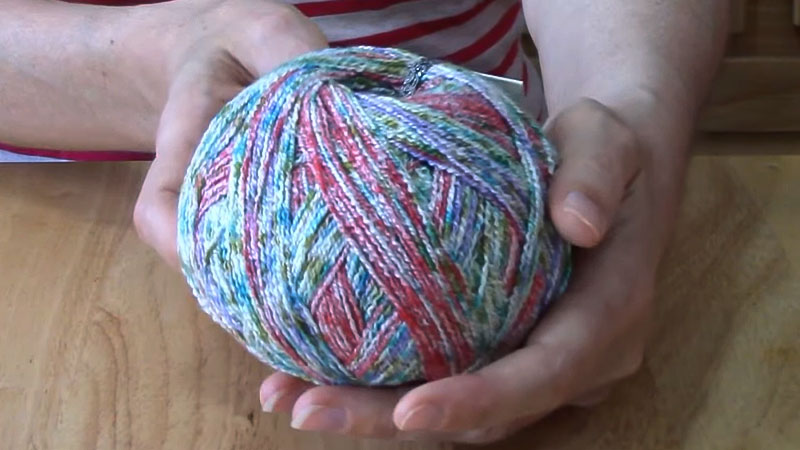
Bamboo yarn is an eco-friendly choice for those who prefer sustainable materials. It has a silky texture and is exceptionally soft, making it a comfortable blanket option.
Bamboo yarn is also naturally antibacterial and moisture-wicking, which can be beneficial for temperature regulation.
Blend Yarns
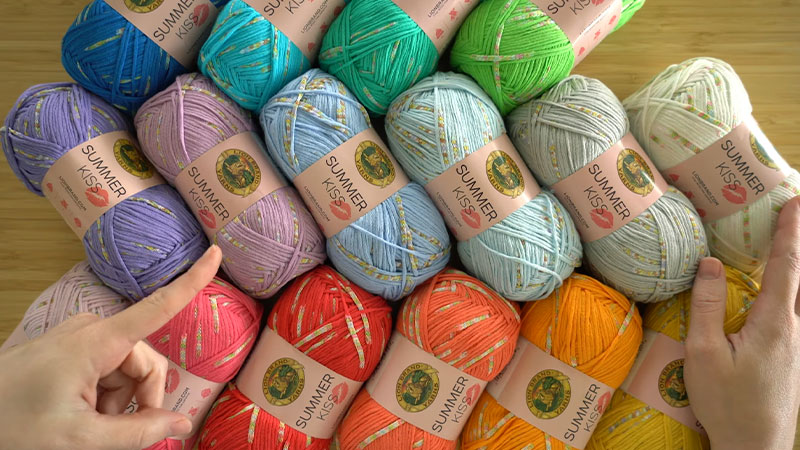
You can also consider yarn blends of different fibers, such as acrylic/wool or cotton/bamboo blends. These combinations balance the properties of each fiber, resulting in versatile and functional temperature blankets.
Variegated Yarn
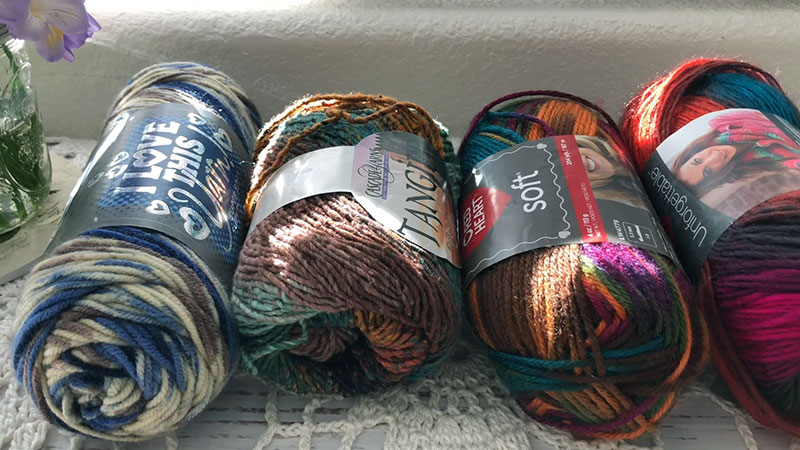
Variegated yarns feature multiple colors within a single skein, creating a gradient or striped effect. They are a convenient choice for temperature blankets because they automatically incorporate various colors, saving you the trouble of changing yarn colors for each temperature range.
Chunky/Bulky Yarn
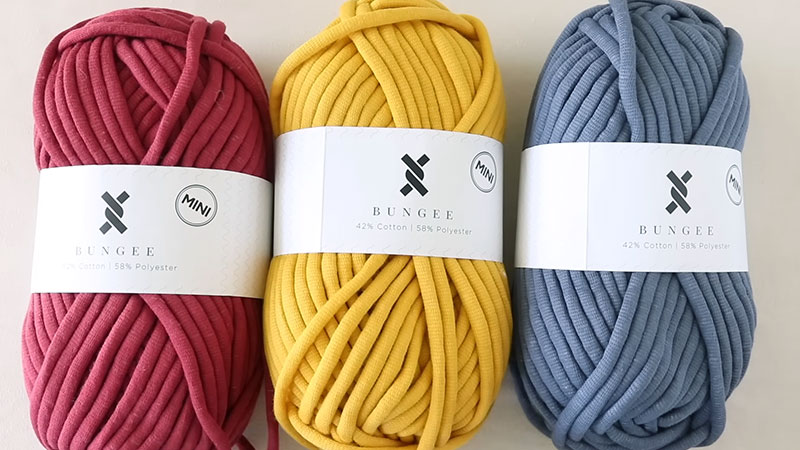
Consider using chunky or bulky yarns to complete your temperature blanket more quickly. These yarns are thicker and work up faster, making them an excellent choice for a project that spans an entire year.
When choosing the suitable yarn for your temperature blanket, consider your local climate, personal preferences, and the intended use. Additionally, consider factors like ease of care, durability, and cost to ensure your chosen yarn aligns with your project goals.
Ultimately, the yarn you select will play a significant role in your temperature blanket’s overall look and functionality.
Some Creative Temperature Blanket Patterns
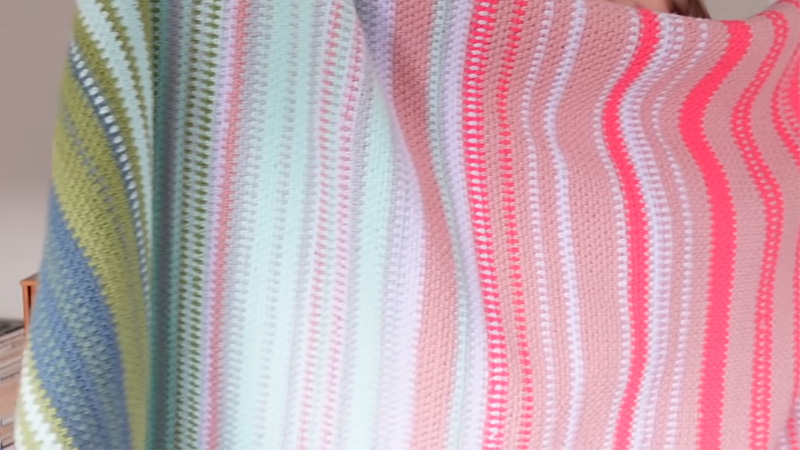
Creating a temperature blanket allows you to get creative with patterns and designs that reflect the changing weather throughout the year. Here are some creative temperature blanket patterns to inspire your project:
Color Gradient
Start with a simple single crochet or knitting pattern and use a color gradient to represent temperature changes.
Begin with cool colors like deep blues for colder days and transition to warm colors like fiery reds and oranges for hotter days. This creates a visually striking ombre effect that reflects the seasonal shifts.
Checkerboard
Create a checkerboard pattern by alternating squares or rows of two contrasting colors. Assign one color to represent cooler temperatures and the other for warmer temperatures.
This pattern creates a bold, geometric design that’s easy to follow and visually appealing.
Ripple or Wave
Use a ripple or wave stitch pattern to mimic the ebb and flow of temperature changes throughout the year. The peaks and valleys of this design can represent temperature highs and lows.
You can vary the colors within each ripple to reflect your chosen specific temperature ranges.
Sunburst
Craft a sunburst pattern by using circular motifs for each day’s temperature. Begin with a small central circle and gradually increase the size to create a sunburst effect.
The colors can radiate outward to represent the temperature range, with the center being the coldest and the outer edges the warmest.
Seasonal Stripes
Divide your blanket into four sections, one for each season (spring, summer, fall, and winter). Assign a color palette to each season and create stripes within each section to reflect the varying temperatures experienced during that time of year. This approach allows you to incorporate seasonal themes into your design.
Weather Icons
Add a whimsical touch to your temperature blanket by incorporating weather-themed motifs or icons corresponding to the day’s conditions.
For instance, use the sun for warm and sunny days, clouds for overcast days, raindrops for rainy days, and snowflakes for snowy days. This pattern adds a playful element to your project.
Mood Blanket
Instead of basing your color choices solely on temperature, create a “mood” blanket that reflects your emotions or experiences throughout the year. Assign colors to moods or events, such as happiness, sadness, excitement, or calmness.
This personal and expressive approach can result in a unique and meaningful blanket.
These creative temperature blanket patterns offer various design possibilities, allowing you to infuse your project with personality and artistic flair.
Choose the pattern that resonates with you the most and start crafting your one-of-a-kind temperature blanket that tracks the weather and tells a visual story of your year.
FAQs
What is a temperature blanket, and how does it work?
A temperature blanket is a creative project that involves crocheting or knitting a blanket over a year to represent daily temperatures. Each day corresponds to a specific color or stitch pattern based on the recorded temperature.
How do I choose the right colors for my temperature blanket?
Select colors based on a predetermined temperature range. Assign a color to each range (e.g., blues for cold, reds for hot). Make a legend to help you remember which color corresponds to which temperature.
What’s the best way to track daily temperatures for my blanket?
You can track daily temperatures through weather apps, websites, or local weather stations. Note either the high, low, or average temperature for consistency. Be sure to record the temperature accurately to maintain the integrity of your project.
How do I stay organized and not fall behind on my temperature blanket?
Establish a routine for recording temperatures and working on your blanket to stay on track. Consider using a calendar or spreadsheet to keep records organized. Break your project into manageable sections, like weekly or monthly updates, to prevent feeling overwhelmed.
Can I personalize my temperature blanket beyond tracking temperatures?
Absolutely! Your temperature blanket can be a unique expression of your journey. Consider adding particular motifs, weather symbols, or even dedicating sections to significant life events or milestones to make it more personal and meaningful.
Conclusion
In crafting, temperature blankets are a testament to the intersection of creativity and data. As we conclude our journey into making a temperature blanket, we’ve explored the artistry of selecting yarn, choosing stitch patterns, and weaving together a year’s temperature data into a beautiful textile narrative.
Each stitch is a brushstroke on the canvas of time, and the finished blanket is a vivid tapestry of memories, seasons, and climate.
But a temperature blanket is more than just a finished project; it’s a symbol of dedication, patience, and the ever-changing nature of the world around us.
Crafting one offers a tangible keepsake and a unique perspective on the passage of time and the beauty of the natural world.
So, whether you’re a seasoned crafter or a beginner looking for a meaningful project, making a temperature blanket is a journey worth embarking on an adventure that turns daily weather data into a work of art and a cherished heirloom.
Leave a Reply