Origami, the ancient Japanese art of paper folding, is a captivating and meditative craft that allows you to transform a humble sheet of paper into a thing of beauty.
Among its myriad creations, the origami butterfly stands out as an elegant and symbolic masterpiece. In this guide, we will embark on a journey of creativity and mindfulness, teaching you the art of crafting your very own origami butterfly.
Whether you’re a novice seeking a relaxing pastime or an experienced folder looking to refine your skills, our step-by-step instructions will help you master the delicate folds and graceful contours that bring this timeless symbol of transformation and beauty to life.
Join us in discovering the captivating world of origami butterflies and watch your imagination take flight.
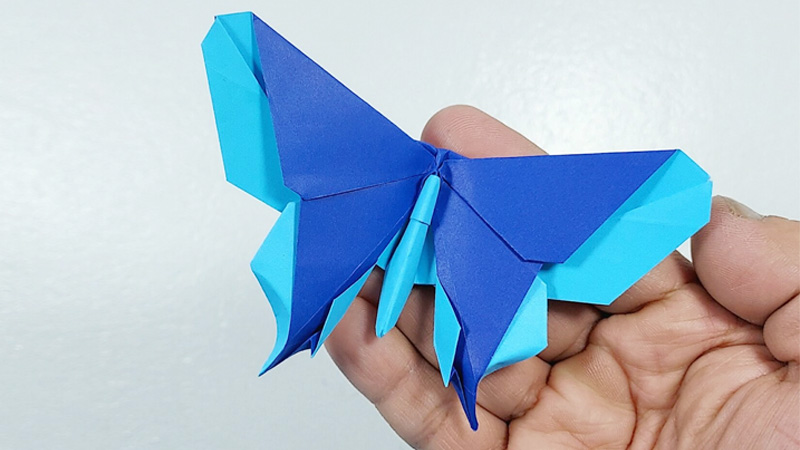
What Does the Origami Butterfly Mean?
The origami butterfly holds symbolic significance, often representing transformation, change, and beauty. It serves as a metaphor for personal growth and the potential for positive change arising from humble beginnings.
In Japanese culture, it is linked to young girls’ aspirations and their transition into adulthood. This delicate folded creature embodies the universal themes of metamorphosis and the pursuit of a more beautiful and fulfilling life, making it a cherished symbol in both art and culture.
Why Do People Make Origami Butterflies?
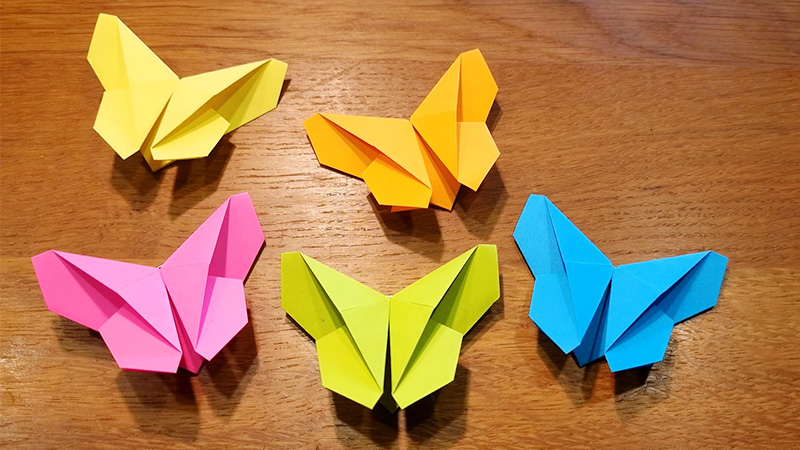
People make origami butterflies for a variety of reasons, and the motivation can differ from person to person.
Here are some common reasons why people create origami butterflies:
Artistic Expression
Origami butterflies, like other origami creations, are considered works of art. Many individuals are drawn to origami as a form of artistic expression.
Folding paper into intricate butterfly designs allows them to showcase their creativity and aesthetic sensibilities.
Symbolism
Butterflies hold symbolic meaning in many cultures. They are often associated with transformation, beauty, freedom, and personal growth. People fold origami butterflies to symbolize positive life changes, personal milestones, or as a representation of hope and aspiration.
Decorative Purposes
Origami butterflies can be used for decorative purposes. They can adorn greeting cards, scrapbooks, framed art, and various crafts. Origami butterflies add an elegant and whimsical touch to decorations, making them visually appealing.
Therapeutic and Relaxing Activity
Origami is a calming and meditative activity. The repetitive nature of folding paper can reduce stress and anxiety, promote mindfulness, and provide a sense of accomplishment.
Origami butterflies, in particular, can be soothing to create.
Educational Benefits
Origami is used as an educational tool in schools and learning environments. Creating origami butterflies and other models helps teach geometry, spatial reasoning, problem-solving, and fine motor skills.
It’s a hands-on way to engage with mathematical and artistic concepts.
Cultural and Traditional Significance
In some cultures, origami butterflies hold cultural and traditional significance. They may be used in ceremonies, celebrations, or rituals as symbols of good luck, love, or happiness.
Origami is integrated into cultural crafts and traditions.
Hobby and Pastime
Many people find joy in origami as a hobby. Creating origami butterflies allows enthusiasts to explore various folding techniques, experiment with different papers, and challenge themselves with increasingly complex designs.
It’s a rewarding and engaging pastime.
Gift-giving
Handmade origami butterflies can be thoughtful and meaningful gifts. They can be given on special occasions like birthdays, weddings, or anniversaries.
The effort put into crafting origami butterflies adds a personal touch to gift-giving.
Decorating Events
Origami butterflies can serve as decorations for events such as weddings, parties, or art exhibitions. They can be used to create unique centerpieces, garlands, or wall displays, enhancing the ambiance and providing a creative touch to the event.
Personal Enjoyment
For some, making origami butterflies is simply enjoyable. The process of folding paper into intricate shapes can be intrinsically rewarding and satisfying.
It’s a hobby that brings joy and relaxation.
How to Make an Origami Butterfly?
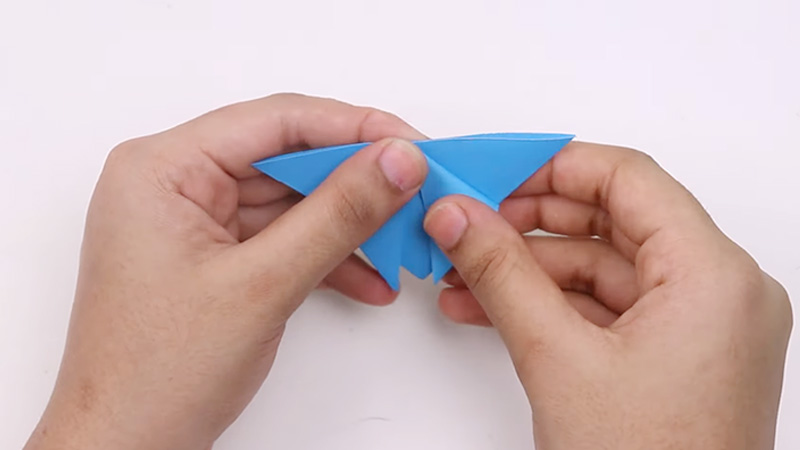
Creating an origami butterfly is a delightful and meditative craft that allows you to transform a simple square of paper into a beautiful and intricate winged creature.
This timeless art form originated in Japan and is known for its calming and creative benefits.
Here’s a comprehensive guide on how to make an origami butterfly:
Start With the Right Side Down
Begin by selecting a square piece of paper for your origami butterfly. If you’re using origami paper, it often has one side that is shiny or decorated, which is considered the “right side.” Lay your paper down with this right side facing down.
This is your starting position.
Create a Horizontal Valley Crease
Fold the paper in half horizontally by bringing the lower edge up to match the upper edge. Run your fingers along the fold, starting from the center and moving outward, to ensure a smooth and precise crease.
Then, gently unfold the paper while keeping the horizontal crease intact.
Make a Vertical Valley Crease
Now, fold the paper in half vertically by matching the right edge to the left edge. As before, use your fingers to create a crisp vertical crease along the centerline.
Unfold the paper, but this time, leave the vertical crease intact. You’ll have a cross-shaped crease pattern on your paper.
Rotate the Paper 45 Degrees
Turn the paper counterclockwise by 45 degrees. This rotation sets the stage for the subsequent folds.
Create a Horizontal Valley Fold
Fold the lower corner of the paper up to meet the upper corner, forming a triangle. Ensure that the fold is sharp and well-defined. After folding, unfold the paper to its original position.
Make a Vertical Valley Fold
Now, fold the right corner over to meet the left corner, creating another triangle. Like before, emphasize the crease. Unfold this fold as well. These two folds form an “X” shape on your paper.
Rotate the Paper Again
Rotate the paper once more by 45 degrees, either clockwise or counterclockwise, so that you’re working with an edge facing you, not a corner.
Fold the Sides Inward
Fold the left and right sides of the paper inwards, guiding them to meet the central vertical crease. Align the right edge with the middle vertical crease and fold.
Repeat the process on the left side. These folds will create two flaps on either side of the model. Do not unfold these creases.
Lift and Open the Diagonal Corners
Gently lift and slightly open the diagonal creases at the top left and right corners of your paper. Insert your thumb and middle finger underneath the folded corners while securely holding the bottom half of the paper with your other hand.
These actions will begin to form the butterfly’s wings.
Fold the Top Edge Down
To complete the butterfly’s wings, fold the top edge of the paper down, forming a “roof” shape. Align this upper edge with the horizontal crease in the middle of your model.
Once you’ve folded this section down, your origami butterfly is complete. Adjust and shape the wings as desired for a more lifelike appearance.
What Kind of Paper Should I Use to Make an Origami Butterfly?
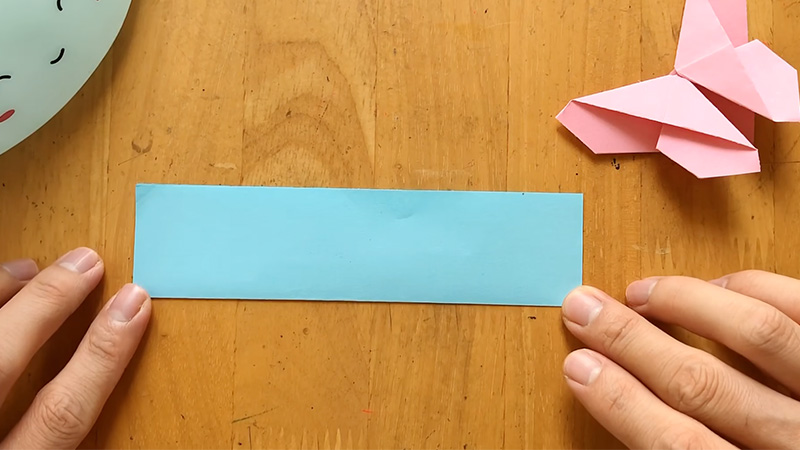
Choosing the right paper for your origami butterfly project is crucial, as it can greatly influence the final result. The type of paper you select will depend on your experience level, the size of your butterfly, and your desired aesthetics.
Here are some common paper options to consider:
Origami Paper (Kami)
Origami paper, also known as kami, is the traditional choice for origami projects. It is specially designed for folding and is available in various sizes, colors, and patterns.
Origami paper is lightweight, easy to fold, and comes in a square shape, making it ideal for both beginners and experienced folders. It is the go-to option for most origami enthusiasts due to its versatility.
Tissue Foil Paper
Tissue foil paper combines the flexibility of tissue paper with the strength and stability of foil. This type of paper is excellent for complex origami models like butterflies that require precise folds and the ability to hold their shape well.
Tissue foil paper can add a metallic or shiny appearance to your butterfly.
Washi Paper
Washi paper is a traditional Japanese paper known for its softness and unique texture. It is often handmade and comes in a wide range of patterns and colors.
Washi paper is perfect for creating elegant and artistic origami butterflies, adding a touch of authenticity and character to your creations.
Kraft Paper
Kraft paper is thicker than traditional origami paper and has a more rustic appearance. It is a good choice if you want to make larger and more durable origami butterflies.
Kraft paper can give your butterflies a natural and earthy look, which can be appealing for certain design themes.
Dual-sided Paper
Some origami paper comes with different colors or patterns on each side. Dual-sided paper can add visual interest to your origami butterfly, especially if you want the wings to have contrasting colors.
It provides versatility in your design choices.
Solid Colored Paper
Solid-colored paper, such as colored construction paper or lightweight cardstock, can be used for origami butterflies. It is readily available in craft stores and comes in a wide range of colors.
Solid-colored paper is suitable for simpler designs and can work well for practice.
Printed Paper
If you want a specific design or pattern on your origami butterfly, you can use printed paper. You can either purchase decorative paper designed for crafting or print your own patterns onto plain paper.
This allows for personalized and creative designs.
Tips for Making an Origami Butterfly
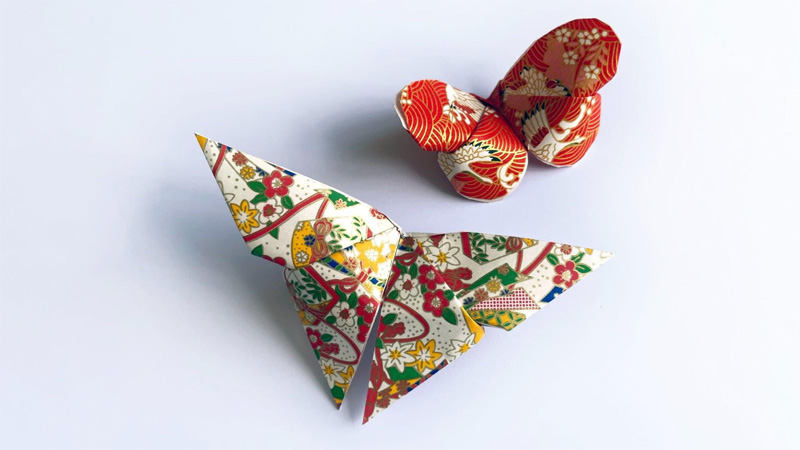
Making an origami butterfly can be a rewarding and enjoyable craft, but it can also be a bit challenging, especially for beginners.
Here are some tips to help you create a beautiful origami butterfly:
Start With the Right Paper
Origami paper, also known as kami, is the best choice for origami projects as it’s specifically designed for folding. It comes in various colors and sizes, and it’s easy to work with due to its square shape and thinness.
Practice Basic Folds
Before attempting to fold a butterfly, practice basic origami folds like the valley fold, mountain fold, and squash fold. These foundational folds will be used in more complex origami models, including the butterfly.
Use a Flat Surface
Work on a clean and flat surface, like a table or desk. A hard surface makes it easier to achieve clean creases and precise folds.
Precision is Key
Pay attention to the accuracy of your folds. The neater your folds, the better your butterfly will look. Take your time, and don’t rush through the steps.
Follow Step-by-step Instructions
Whether you’re following written instructions, diagrams, or video tutorials, carefully follow each step in the correct order. It’s easy to get lost if you skip or mix up steps.
Use a Ruler or Bone Folder
A ruler or a bone folder can help you make precise folds, especially for those that require straight lines or sharp creases.
Practice Patience
Origami can be intricate and may require patience, especially if you’re new to it. If you make a mistake, don’t get discouraged. It’s okay to start over or backtrack a few steps to correct errors.
Crease Well
Make sure to press down and crease each fold firmly. Well-defined creases are essential for a clean and polished origami model.
Finger Nails
Long fingernails can sometimes get in the way when folding small, detailed origami. If you have long nails, consider using a tool or the edge of a ruler to make precise creases.
Experiment With Colors
Origami paper often comes in various colors and patterns. Feel free to get creative and experiment with different combinations to make your butterfly unique.
Watch Video Tutorials
Sometimes, seeing someone else fold a model can be incredibly helpful. Video tutorials on platforms like YouTube can provide visual guidance.
Practice Makes Perfect
Don’t be discouraged if your first few attempts don’t turn out perfectly. Origami is an art that improves with practice. Keep trying, and you’ll get better with time.
FAQs
What materials do I need to make an origami butterfly?
To make an origami butterfly, you need a square sheet of paper. Origami paper is ideal, but any paper can work with appropriate folding techniques.
Are there any special tools required for origami?
No special tools are needed. Just a flat surface and your hands will do.
How long does it take to make an origami butterfly?
It depends on your experience level. Beginners may take 10-15 minutes, while experienced folders can do it faster.
Can I use different paper types for origami butterflies?
Yes, you can use various types of paper, including origami paper, tissue foil, washi paper, and even printed paper for unique results.
Can I make tiny origami butterflies?
Yes, you can scale down the size of your paper and folds to create miniature origami butterflies, perfect for jewelry or tiny decorations.
To Recap
In the enchanting world of origami, the journey from a plain square of paper to a delicate, intricate butterfly is both an art form and a metaphor. Crafting an origami butterfly is a testament to the power of patience, precision, and creativity.
As we conclude our guide on the art of making origami butterflies, we hope you’ve discovered the joy of transforming simple materials into symbols of beauty and metamorphosis.
These folded creatures hold within them the promise of change and the elegance of simplicity. So, cherish your origami butterfly, share it with others, and remember that, like this humble craft, life itself can be a canvas for beauty, creativity, and transformation.
Embrace the magic of origami and let your creativity take flight.
Leave a Reply