Creating a cross-stitch keychain is a delightful fusion of artistic expression and practical utility. In this craft, you’ll transform a simple piece of Aida cloth into a personalized and eye-catching accessory that can adorn your keys or make a heartfelt gift.
Cross-stitching, a centuries-old embroidery technique, offers an avenue for intricate designs, from monograms to intricate patterns.
As you embark on this creative journey, you’ll learn the art of selecting materials, mastering essential stitches, and embellishing your work with fine details.
Whether you’re a seasoned crafter or a novice seeking a rewarding project, making a cross-stitch keychain provides a charming blend of creativity and functionality, resulting in a unique and cherished item.

What Is a Cross Stitch Keychain?
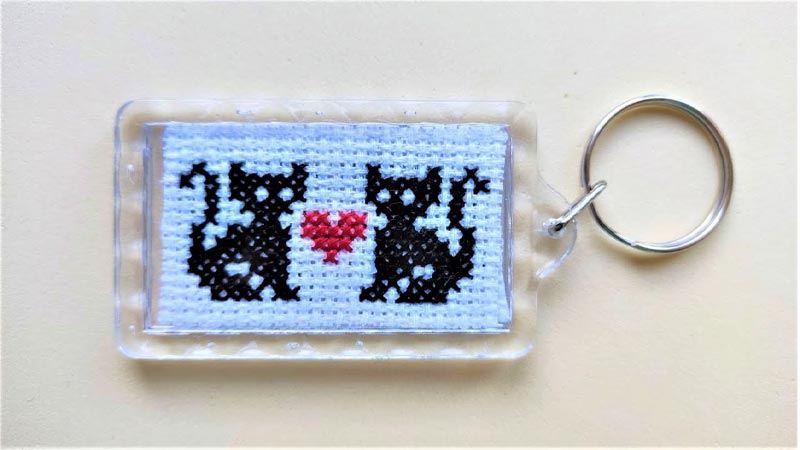
A cross-stitch keychain is a small, handcrafted accessory that combines the art of cross-stitching with practicality.
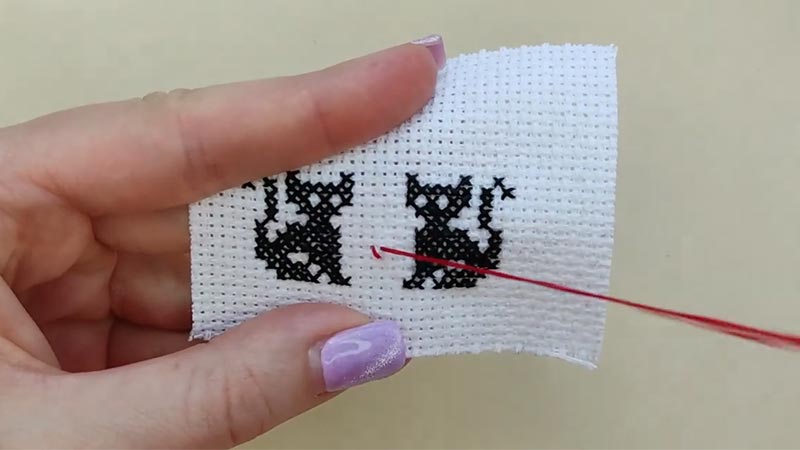
It starts with a piece of Aida cloth, a specialized fabric with evenly spaced holes. Using colorful embroidery floss, intricate designs are created by making tiny X-shaped stitches on the fabric.
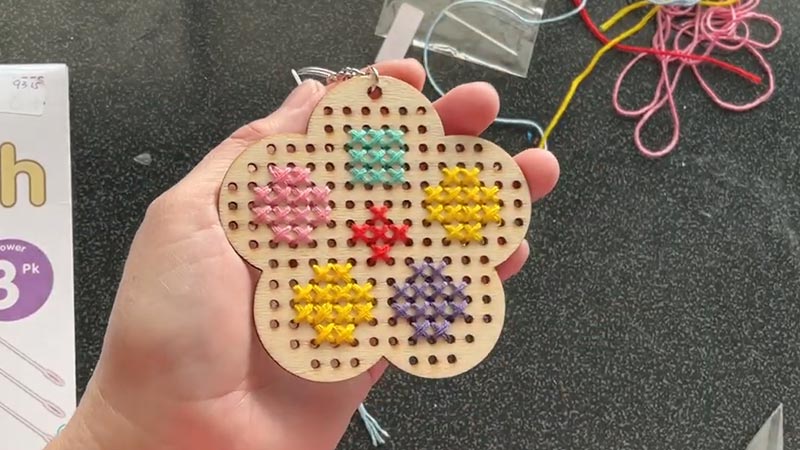
These designs can range from initials to small patterns or even miniature pictures. Once the stitching is complete, the piece may be backed with fabric for added support.
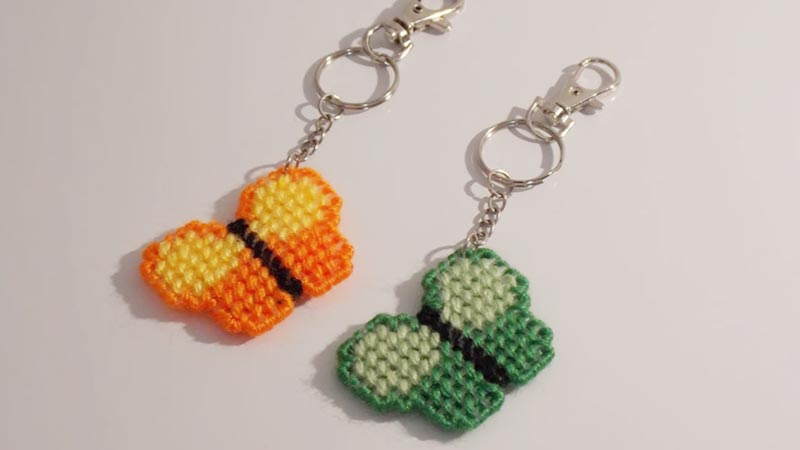
A keyring and chain are then attached, allowing the finished cross-stitch work to be used as a keychain. These personalized and often intricately detailed creations serve as functional items to hold keys and charming expressions of creative craftsmanship.
How to Make a Cross-Stitch Keychain?

Creating a cross-stitch keychain is a delightful and practical craft project that allows you to personalize your keys or gift them to friends and family.
Here’s a step-by-step guide to help you make your own cross-stitch keychain:
Materials Needed:
- Aida Cloth or Cross-Stitch Fabric.
- Embroidery Floss.
- Embroidery Needle.
- Scissors.
- Keyring and Chain.
- Backer Fabric.
- Felt.
- Craft Glue or Fabric Adhesive.
Steps:
Plan Your Design
Start by selecting or creating a design for your keychain. This could be as simple as initials, a small pattern, or even a tiny picture. If you’re new to cross-stitch, it’s best to start with uncomplicated designs.
You can find free patterns online or create your own using graph paper. Once you’ve decided on a design, transfer it onto the Aida cloth using an erasable fabric marker or a soft pencil.
Thread Your Needle
Select a single strand of embroidery floss that matches the color you want to start with. Thread your embroidery needle and leave a small tail at the end.
Ensure the thread is securely attached to the needle to prevent it from coming loose while you’re stitching.
Begin Stitching
Refer to your design and start stitching. Cross stitches are typically made in two steps: first, create a row of diagonal stitches in one direction (/), and then cross them with stitches in the other direction ().
Work methodically, filling in each area with the appropriate color. Take your time to ensure each stitch is neat and even.
Secure Loose Ends
While stitching, periodically check the backside. Take care to secure loose thread ends to prevent unraveling.
Neatly fastening them ensures the longevity of your work and maintains its integrity. This step ensures your cross-stitch keychain will withstand daily use.
Finishing Touches
Once you’ve completed the main part of your design, it’s time to add any additional details.
This might include outlining with a different color, adding French knots for texture, or incorporating any other desired embellishments.
Add Backing
When you want to add a backing to your keychain, cut a piece of coordinating fabric to match the size of your cross-stitch piece.
This can provide extra stability and a polished look. Use craft glue or fabric adhesive to secure it in place, ensuring it’s smooth and even.
Cut and Trim
After adding a backing, if you choose to do so, carefully trim any excess fabric or backing material. Use sharp, fine-tipped scissors to ensure clean edges.
Take your time with this step to create a polished and professional finish. Pay attention to the corners and curves, ensuring they are neat and even.
Attach the Keyring
Now, it’s time to incorporate the hardware. Slide the keyring through the top of your cross-stitch piece. Make sure it’s centered and secure.
When the fabric is thick or the hole is small, you might need to gently wiggle the ring or use a needle to help guide it through. Ensure the keyring is properly closed to prevent your keychain from slipping off.
Add Felt Backing
Cut a piece of coordinating felt to match your cross-stitch for added durability and a polished finish.
Apply a thin layer of fabric glue to affix it securely to the back. This backing provides stability and a professional touch to your keychain.
Final Touches
Give your keychain a final inspection. Ensure that all elements are securely in place and that the stitching is tight and even.
Make any necessary adjustments before proudly displaying or gifting your handcrafted cross-stitch keychain!
How Do You Prevent Your Stitches From Knotting?

Preventing knots while cross-stitching involves careful threading and stitching techniques.
Here are some tips to help avoid knots in your work:
Use Shorter Lengths of Thread
Cutting a manageable thread length, usually around 18-24 inches, helps prevent tangling and knots. Shorter threads are easier to control and less likely to become twisted or knotted as you work.
Thread Condition
Before threading your needle, ensure the end of the thread is clean-cut and free from frays. Frayed ends are more likely to catch on fabric fibers and create knots.
Stitch with a Single Strand
When you’re working with embroidery floss, separate it into individual strands and use only one at a time. Using a single strand reduces the bulk of the thread, making it less likely to tangle as you stitch.
Smooth Thread Tension
Maintain consistent and gentle tension on the thread as you pull it through the fabric.
Avoid sudden or forceful tugs, which can lead to loops or knots. A steady and controlled pull ensures smooth stitching.
Stitching Direction
Choose a consistent stitching direction from bottom left to top right (/) or from bottom right to top left ().
Sticking to one direction reduces the chances of threads crossing and potentially knotting.
Check the Back of Your Work
Periodically turn your work over and inspect the backside. Look for any signs of potential knots or tangles in the thread.
Address them promptly by gently untangling or straightening the thread to prevent further complications.
Avoid Pulling Too Hard
When pulling the thread through the fabric, be gentle. Avoid applying excessive force, leading to knots or distorting the stitches. A steady and controlled pull is all that’s needed.
Use a Needle Threader
Consider using a needle threader when threading the needle proves challenging, especially with fine threads.
It’s a small tool that helps guide the thread through the eye of the needle smoothly, reducing the likelihood of tangles.
Be Patient
Cross-stitching is an art that requires precision and patience. Take your time with each stitch, ensuring it’s placed correctly and smoothly. Rushing can lead to mistakes and increase the likelihood of knots forming.
Care For Your Cross Stitch Keychain

After investing time and effort into crafting a beautiful cross-stitch keychain, it’s important to ensure it remains pristine.
With a few simple steps, you can preserve its charm and longevity for years to come.
Handle with Clean Hands
Begin by washing and thoroughly drying your hands before handling your cross-stitch keychain.
This simple step prevents any dirt, oils, or residues on your hands from transferring onto the fabric, potentially leading to stains or discoloration over time.
Avoid Moisture and Humidity
Cross-stitch keychains are delicate, and moisture or high humidity exposure can compromise their integrity. Store them away from damp areas, like bathrooms or near windows, that may collect condensation.
When your keychain does get wet, gently pat it dry with a clean, absorbent cloth and allow it to air dry completely before storing.
Store in a Safe Place
Consider storing your cross-stitch keychain in a small pouch or box when not in use.
This provides an extra layer of protection against dust, potential snags from other items, and accidental exposure to moisture. A dedicated storage solution will help maintain its pristine condition.
Avoid Direct Sunlight
Prolonged exposure to direct sunlight can lead to the fabric and thread fading.
To preserve the vibrancy of your keychain, display or store it in an area where it won’t be subjected to harsh or constant sunlight. This precaution will help retain its original charm for years to come.
Clean with Care
When your keychain requires cleaning, do so with utmost gentleness. Fill a basin with lukewarm water and add a small amount of mild detergent.
Gently agitate the water to create suds. Dip a clean, soft cloth or sponge into the soapy water and gently dab at any stains or dirt. Avoid rubbing or scrubbing, as this can damage the delicate stitches.
Reinforce Loose Threads
Over time, some threads may loosen due to regular use. Inspect your keychain periodically for any loose threads.
Using a small embroidery needle, carefully weave the loose end back through nearby stitches to secure it.
This simple reinforcement prevents further unraveling and helps maintain the integrity of your keychain.
Avoid Rough Surfaces
When placing your keys, be mindful of the surface beneath. Avoid rough or abrasive materials that could potentially snag the fabric or cause it to fray.
A smooth, clean surface will help protect your keychain from unnecessary wear and tear.
FAQs
What Materials Do I Need to Make a Cross Stitch Keychain?
Aida cloth, embroidery floss, an embroidery needle, scissors, a keyring, and optional materials like backing fabric or felt.
Can I Create My Own Design for the Keychain?
You can create your own design using graph paper or find free patterns online. Start with simpler designs if you’re new to cross-stitching.
How Do I Secure Loose Ends in cross-stitching?
To secure loose ends, thread the needle under existing stitches on the backside of your work before trimming. This prevents unraveling.
Can I Wash a Cross Stitch Keychain?
Yes, but do so gently. Use a mild detergent, lukewarm water, and a soft cloth to dab at stains. Avoid rubbing or scrubbing, and let it air dry completely.
How Can I Add Extra Support to the Keychain?
Adding a backing fabric or a piece of felt provides extra support. Attach it with craft glue or fabric adhesive before finishing the keychain.
Wrap Up
Crafting a cross-stitch keychain is a delightful blend of creativity and functionality. With careful planning, precise stitching, and thoughtful care, you can fashion a personalized accessory with sentimental value.
Remember to handle your keychain with clean hands, avoid moisture, and store it safely. Regular inspections for loose threads and gentle cleaning, when needed, will ensure its longevity.
By following these steps and adding your unique touch, you’ll create a charming keepsake that secures your keys and reflects your artistic flair. Embrace this craft, and enjoy the satisfaction of crafting a practical work of art.
Leave a Reply