Are you tired of spending a fortune on salon visits for perfectly manicured nails? Look no further! Creating your own fake nails at home is an exciting and cost-effective way to achieve flawless and personalized nail extensions.
With a little creativity and skill, you can adorn your fingertips with stunning designs that match your style and mood.
In this comprehensive guide, we will walk you through the step-by-step process of making fake nails, and empower you to unleash your inner nail artist right at home. Stay focused.
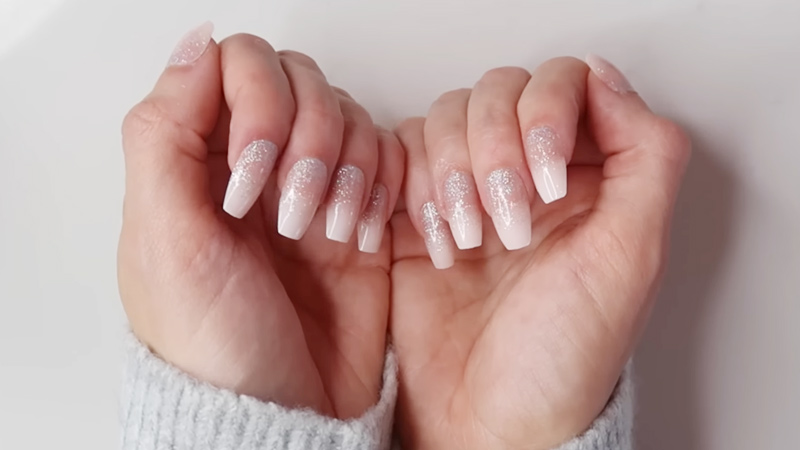
Can I Make Fake Nail At home?
Yes, you can create fake nails at home using various methods. One common technique is using press-on nail kits, which come with pre-designed nails that can be easily applied using adhesive tabs or nail glue.
Alternatively, you can use acrylic nail kits to apply and shape acrylic nails on your own. Another option is using gel nail extensions, where you apply a gel mixture onto your natural nails and cure it under a UV or LED lamp.
However, note that making fake nails at home requires some skill and practice, so be patient and follow instructions carefully for the best results.
Things You’ll Need to Make Fake Nails?
To create stunning fake nails at home, gather the necessary supplies:
Nail Tips or Nail Forms
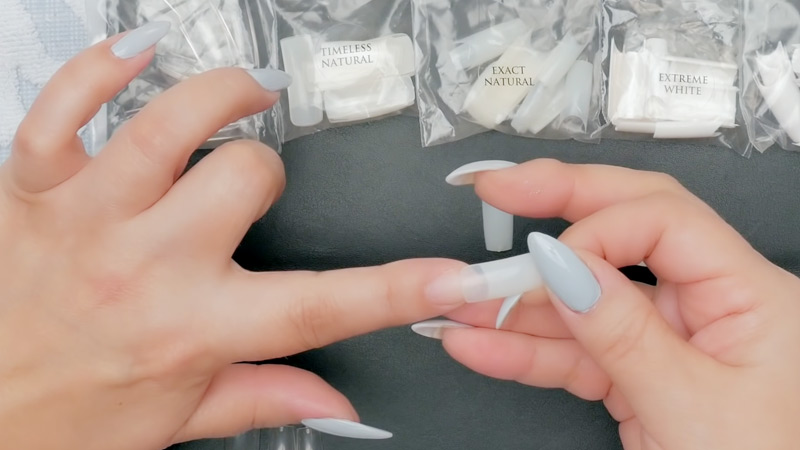
Nail tips, available in various shapes and lengths, provide a quick and easy way to achieve instant extensions. Nail forms, on the other hand, allow you to custom-create extensions with acrylic or gel, offering more flexibility in shaping and length.
Nail Glue
A vital component to ensure a secure and long-lasting bond between the artificial nail and your natural nail bed. Choose a high-quality nail glue for maximum adhesion.
Acrylic Powder and Liquid (for acrylic nails)
Acrylic nails are made by combining acrylic powder with liquid monomer, creating a malleable mixture that hardens when exposed to air. This popular method enables you to craft durable and strong nail extensions.
UV or LED Lamp (for gel nails)
If you opt for gel nail extensions, you’ll need a UV or LED lamp to cure the gel, setting it into a solid state. The curing process ensures the gel stays in place and offers a glossy finish.
Nail File and Buffer
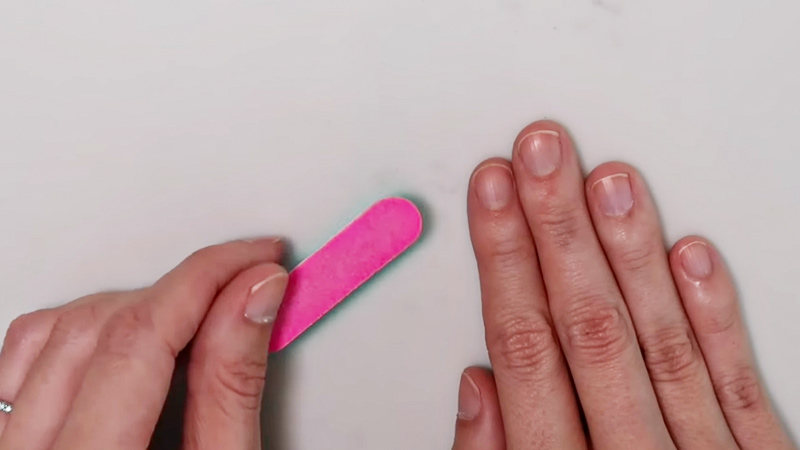
Essential tools for shaping and refining the fake nails to achieve your desired length and style. A buffer smoothens the surface, leaving it ready for polishing or additional decorations.
Cuticle Pusher
Creating a clean and tidy nail bed is crucial for the adhesive to bond effectively. Use a cuticle pusher to gently push back your cuticles and create a smooth canvas for the artificial nails.
Nail Clipper or Scissors
Trim the nail tips to your preferred length. Be cautious while cutting to achieve a natural and even look.
Nail Primer (for acrylic nails)
Applying a nail primer before acrylic application promotes adhesion and prevents lifting, ensuring the extensions stay intact for an extended period.
Nail Brush
To apply acrylic or gel products precisely and uniformly, invest in a good-quality nail brush with soft bristles.
Lint-Free Wipes
Keep your workspace clean by using lint-free wipes to remove any excess products during the application process. These wipes also come in handy for cleaning your brushes between uses.
Top Coat and Base Coat (for gel nails)
Once you have applied the gel extensions, seal them with a top coat to enhance durability and protect against chipping or peeling. A base coat creates a strong foundation for the gel application.
Acetone
In case you need to remove any leftover nail polish or clean up any mistakes, acetone acts as a potent solvent to do the job effectively.
Nail Polish (optional)
If you desire colorful or artistic nails, consider using your favorite nail polish to paint over the fake nails after the application is complete.
Remember, mastering the art of making fake nails at home may take practice, so be patient and follow the instructions carefully.
How to Make Fake Nails: Step-by-Step Process
Making fake nails at home can be a fun and creative way to achieve the perfect manicure. Here’s a step-by-step process to guide you through creating your own stunning fake nails:
Step 1: Gather Supplies
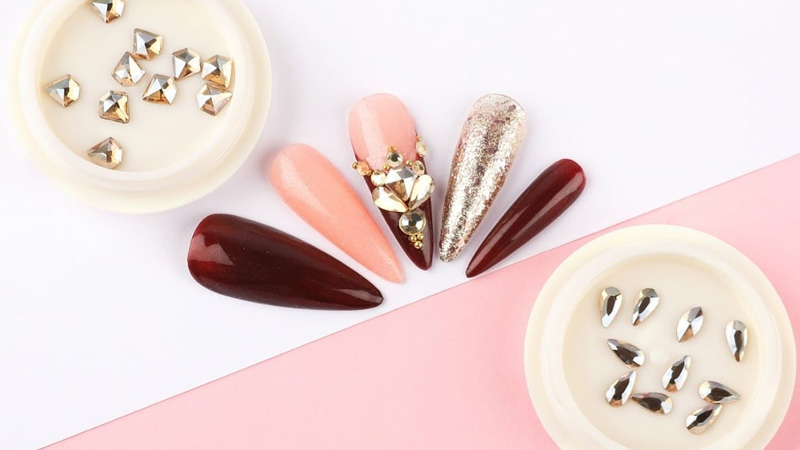
Collect all the necessary supplies for your preferred nail extension method. This typically includes nail tips or forms, nail glue, acrylic powder and liquid (for acrylic nails), a UV or LED lamp (for gel nails), a nail file, a buffer, a cuticle pusher, a nail clipper or scissors, etc.
Step 2: Prepare Your Natural Nails
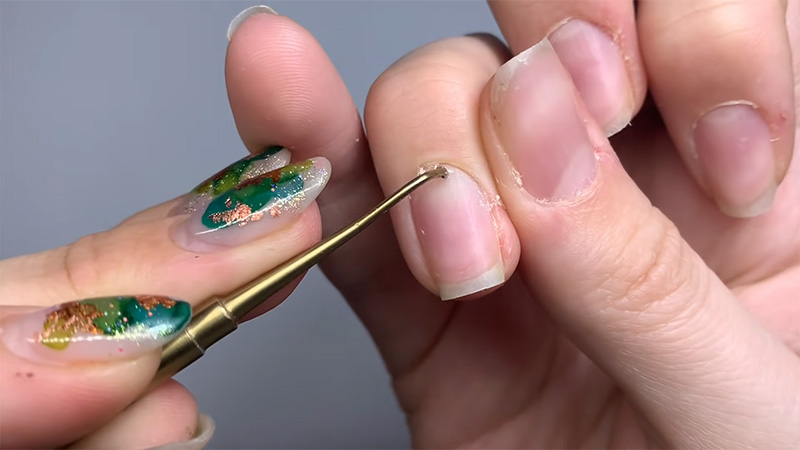
Start by preparing your natural nails. Trim them to your desired length using a nail clipper or scissors. Use a cuticle pusher to gently push back your cuticles, creating a clean nail bed. File the nails to your preferred shape and smooth the surface with a buffer.
Step 3: Apply Nail Tips or Nail Forms
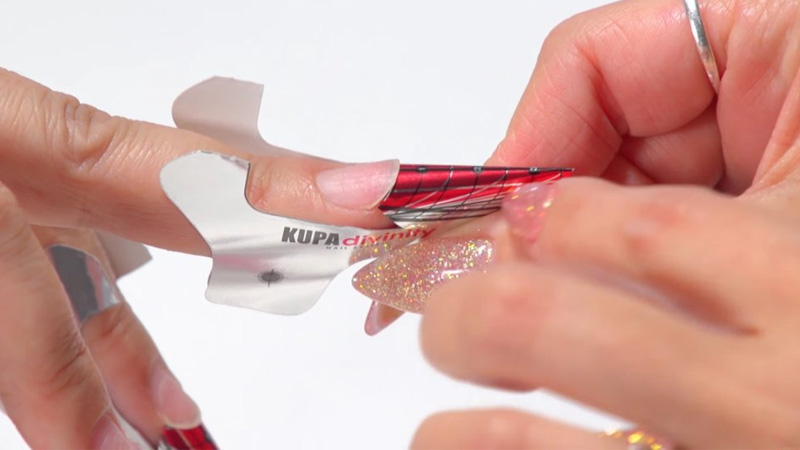
Choose between nail tips or nail forms for your extensions. If using nail tips, select the appropriate size for each nail and apply them using nail glue. For nail forms, follow the instructions to create extensions with acrylic or gel.
Step 4: Acrylic or Gel Application
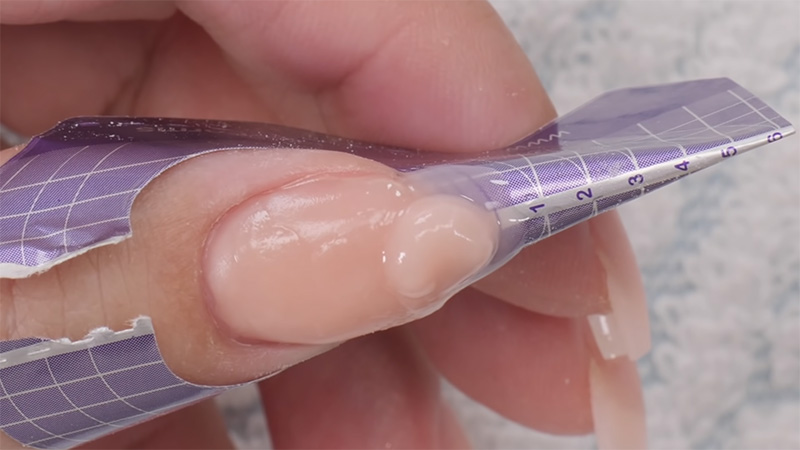
If using acrylic, apply a nail primer to promote adhesion and prevent lifting. Dip a nail brush into the liquid monomer and then into the acrylic powder to create a small ball. Apply the acrylic mixture onto the nail tip or form, shaping it to your desired style. Allow it to dry and harden.
For gel nails, apply a base coat and cure it under the UV or LED lamp. Then, apply the gel onto the nail tip or form and cure it under the lamp as per the manufacturer’s instructions.
Step 5: Shaping and Buffing
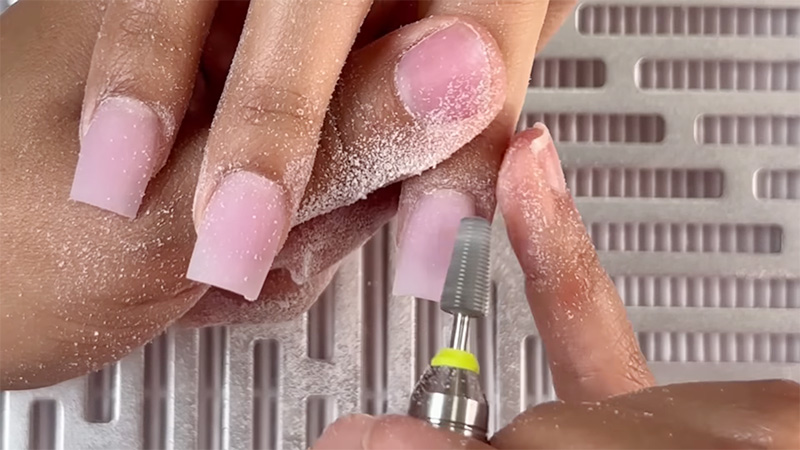
Once the extensions have dried or cured, use a nail file to shape them to your preferred length and style. Be gentle and precise while shaping. Then, use a buffer to smooth the surface of the extensions, ensuring a flawless finish.
Step 6: Optional Decoration
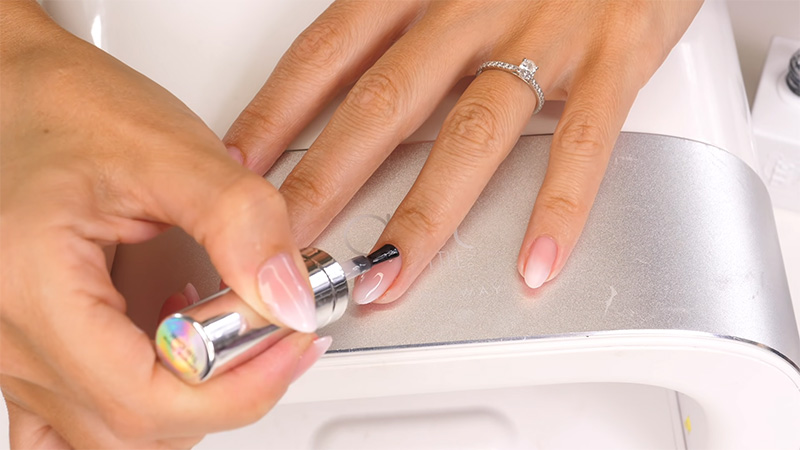
If you want to add a touch of color or design, apply your favorite nail polish to the fake nails once the shaping and buffing are complete. Allow the polish to dry completely.
Step 7: Apply Top Coat (for gel nails)
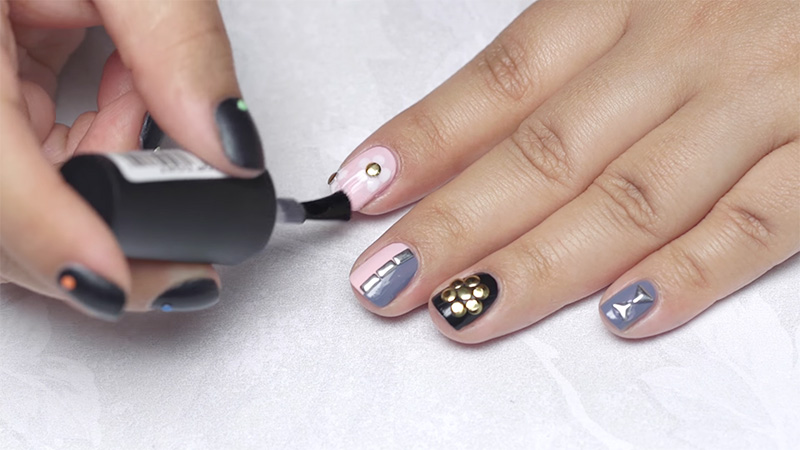
If you’ve chosen gel nails, apply a top coat to seal and protect the gel extensions. Cure the top coat under the UV or LED lamp.
Step 8: Final Touches
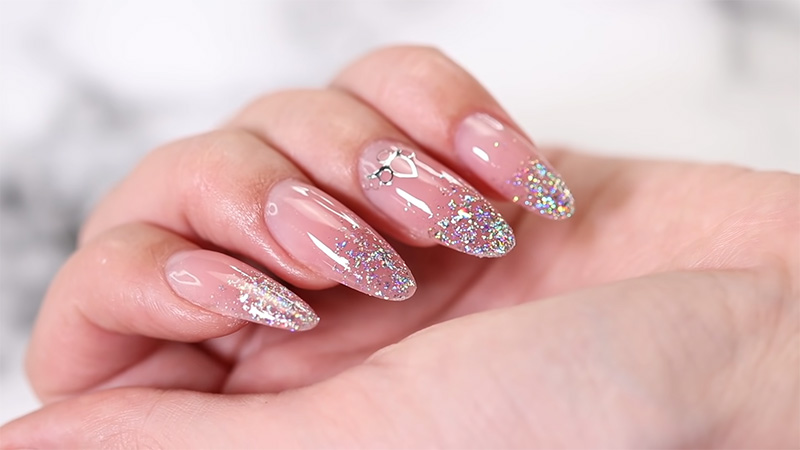
Clean up any excess product using lint-free wipes and acetone. Ensure your nails look flawless and tidy. Congratulations! You’ve now successfully created your own set of stunning fake nails.
Remember, practice makes perfect, so don’t hesitate to experiment with different techniques and styles to achieve the look you desire.
Tips for Reapplying Fake Nails
Here are some detailed tips to help you achieve a successful and long-lasting reapplication of fake nails:
Prep Your Natural Nails
Before reapplying fake nails, give your natural nails some TLC. Start by thoroughly cleaning them to remove any dirt or oils. Trim your nails to your desired length and shape them using a nail file.
Use a gentle nail buffer to smooth the surface of your natural nails, ensuring a clean and even base for the new application.
Gentle Removal
If you’re reapplying the same set of fake nails, avoid rushing the removal process. Soak your nails in a bowl of warm soapy water for a few minutes to soften the adhesive.
Alternatively, use an acetone-based nail polish remover to dissolve the glue gently. Gently lift the edges of the fake nails and peel them off, being careful not to force them and risk damaging your natural nails.
Sanitize Hands and Nails
Before proceeding with the reapplication, wash your hands thoroughly to remove any residual nail polish remover or adhesive. Use a nail brush to clean under your nails and remove any debris, ensuring a clean canvas for the new fake nails.
Choose Quality Products
Opt for high-quality nail tips, forms, or nail kits for the reapplication process. Investing in good-quality products ensures better adhesion and longer-lasting wear for your fake nails.
Select Suitable Adhesive
Depending on the type of fake nails you’re applying, choose the appropriate nail glue or acrylic/gel monomer. Specific adhesives designed for nail extensions offer better bonding and durability, reducing the chances of premature lifting or detachment.
Follow the Manufacturer’s Instructions
Each nail product may have specific application techniques and curing times. Read and carefully follow the manufacturer’s instructions provided with the product you’re using to achieve the best results.
Size the Nail Tips Properly
If you’re using nail tips, ensure they fit your natural nails well. File and shape the tips to match the contour of your nail bed, creating a seamless and natural-looking extension.
Apply Adhesive Moderately
When applying the adhesive or acrylic/gel product, use a moderate amount to avoid excess bulkiness. Too much product can make shaping the nails difficult and may lead to uneven results.
Press and Hold Firmly
After placing the fake nails onto your natural nails, press them firmly and hold them in place for a few seconds. This helps the adhesive bond securely and reduces the risk of premature lifting.
Cure Gel Extensions Correctly
If you’re using gel extensions, ensure each layer of gel is correctly cured under the UV or LED lamp according to the manufacturer’s recommendations. Proper curing ensures the gel sets properly, giving you strong and long-lasting nails.
Seal with Top Coat (for gel nails)
After curing the gel extensions, apply a high-quality top coat to seal and protect the nails. The top coat adds a beautiful shine and helps prevent chipping, keeping your nails looking fresh for an extended period.
Avoid Water Exposure
To give the adhesive or product sufficient time to set fully, avoid prolonged exposure to water immediately after reapplying your fake nails. It’s best to refrain from activities like washing dishes or soaking in water for at least a few hours.
Handle Nails with Care
Treat your reapplied fake nails with gentle care. Avoid using your nails as tools for everyday tasks, as this can lead to breakage or lifting. Remember that they are an extension of your natural nails and need to be handled delicately.
Regular Maintenance
keep your nails looking fabulous, and maintain them regularly. As your natural nails grow, fill in any gaps at the base of the fake nails with additional adhesive or acrylic/gel. Promptly replace any loose or damaged nails to avoid further issues.
By following these comprehensive tips, you can confidently achieve a successful and professional-looking reapplication of fake nails.
FAQs
Can I really make fake nails at home, even without professional experience?
Absolutely! Making fake nails at home is easier than you might think. With a bit of practice and attention to detail, you can create beautiful nail extensions that rival salon results.
What supplies do I need to get started?
To begin, you’ll need nail tips or forms, nail glue, acrylic powder and liquid (for acrylic nails), a UV or LED lamp (for gel nails), a nail file, a buffer, a cuticle pusher, a nail clipper or scissors, a nail primer (for acrylic nails), a nail brush, lint-free wipes, a top coat and base coat (for gel nails), acetone, etc.
How do I ensure my fake nails last longer and look professional?
Proper preparation of your natural nails, careful application of the adhesive or product, and following curing times (if using gel nails) are essential for longer-lasting and professional-looking results.
Can I customize my fake nails with different designs and colors?
Absolutely! One of the joys of making fake nails at home is the freedom to unleash your creativity. You can use nail polish, nail stickers, rhinestones, and other decorations to personalize your nail extensions to your heart’s content.
Is making fake nails a cost-effective alternative to salon visits?
Without a doubt! Making your own fake nails at home saves you money on salon appointments, as well as allowing you to have a vast selection of nail designs at your fingertips.
End Call
With the step-by-step guide and the answers to your burning questions, you are now well-equipped to embark on your DIY fake nails journey.
Enjoy the creative process, experiment with designs, and pamper yourself with stunning and budget-friendly manicures right from the comfort of your home.
Get ready to flaunt your unique and beautiful nails, impressing friends and family with your newfound nail artistry. So, dive into the world of DIY fake nails and let your creativity shine! Best of luck.
Leave a Reply